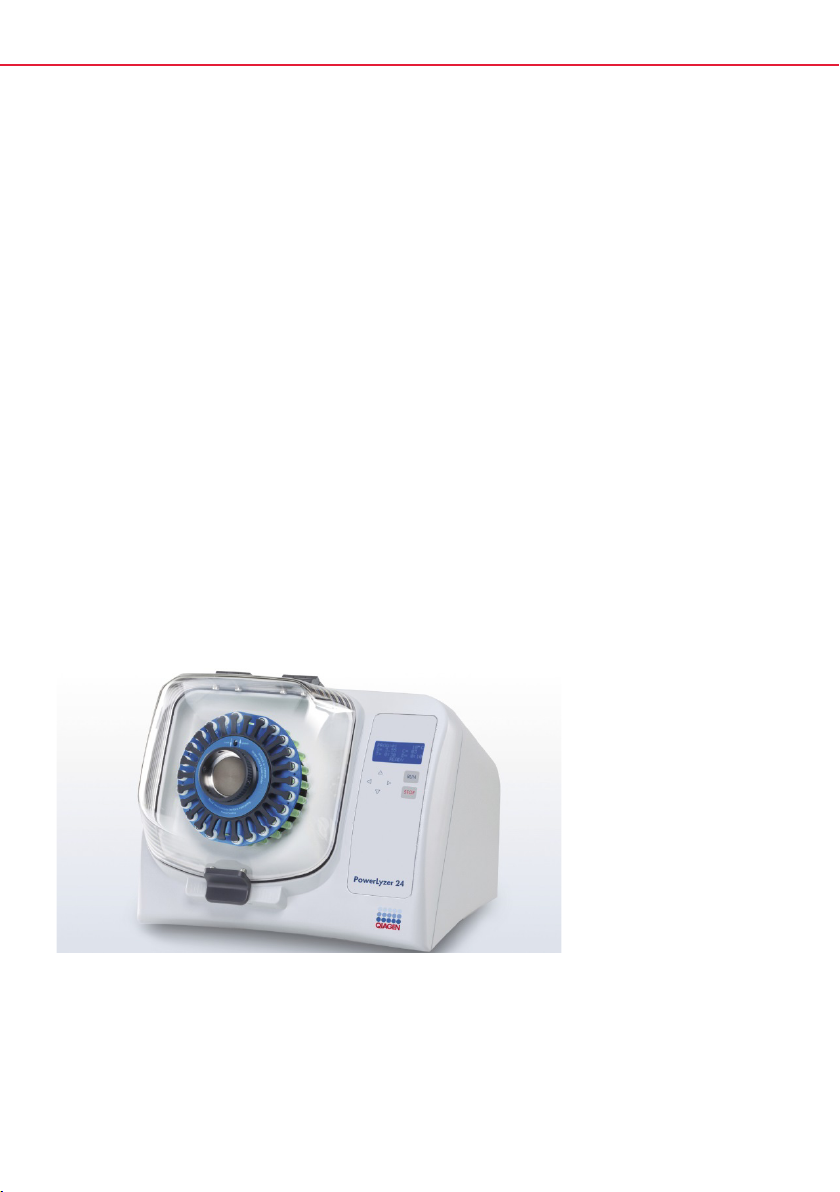
PowerLyzer 24 Homogenizer User Manual 05/2022
Introduction
Before using the PowerLyzer 24 Homogenizer, it is essential you read this user manual
carefully and pay particular attention to the safety information. The instructions and safety
information in this user manual must be followed to ensure safe operation of the PowerLyzer
24 Homogenizer and to maintain the PowerLyzer 24 Homogenizer in a safe condition.
Intended use of the PowerLyzer 24 Homogenizer
The PowerLyzer 24 Homogenizer is intended for molecular biology applications. This product
is neither intended for the diagnosis, prevention, or treatment of a disease, nor has it been
validated for such use either alone or in combination with other products. Therefore, the
performance characteristics of the product for clinical use (i.e., diagnostic, prognostic,
therapeutic or blood banking) are unknown.
Requirements for PowerLyzer 24 Homogenizer users
This table covers the general level of competence and training necessary for transportation,
installation, use, maintenance and servicing of the PowerLyzer 24 Homogenizer.
Task Personnel Training and experience
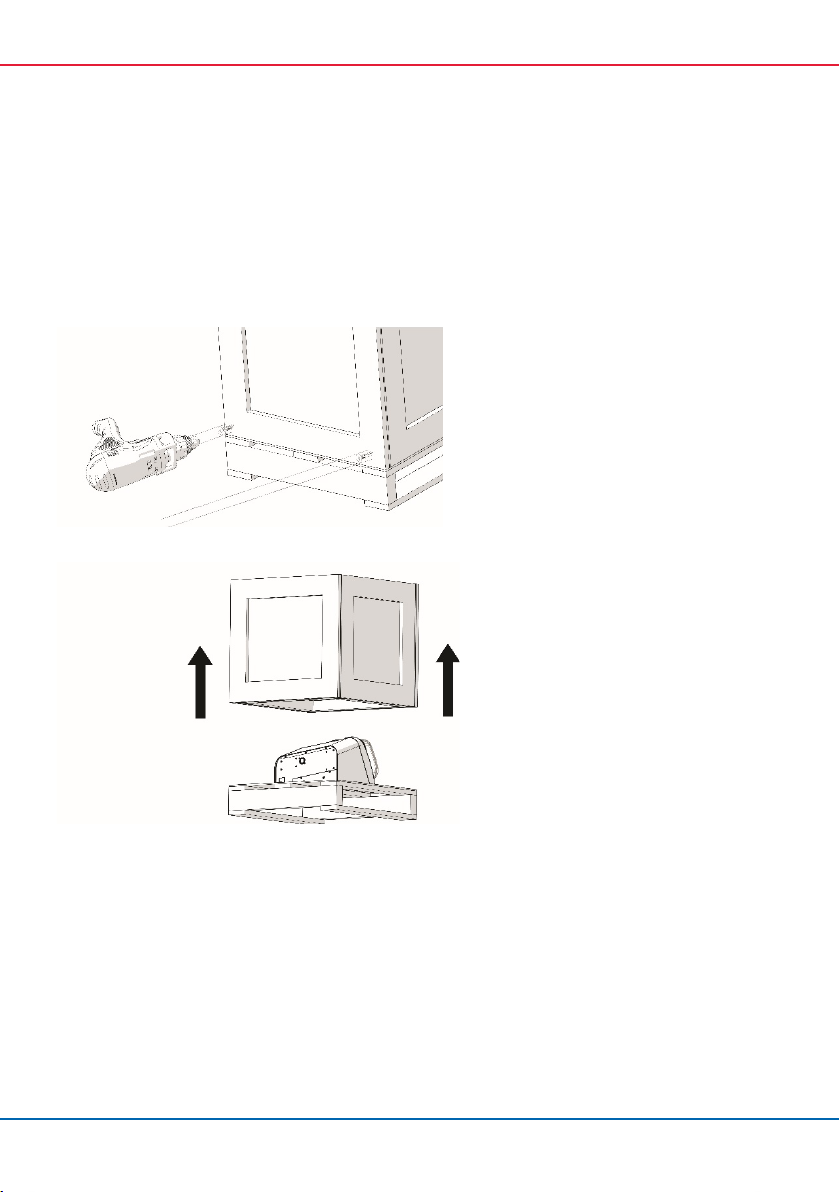
Transportation No special requirements No special requirements
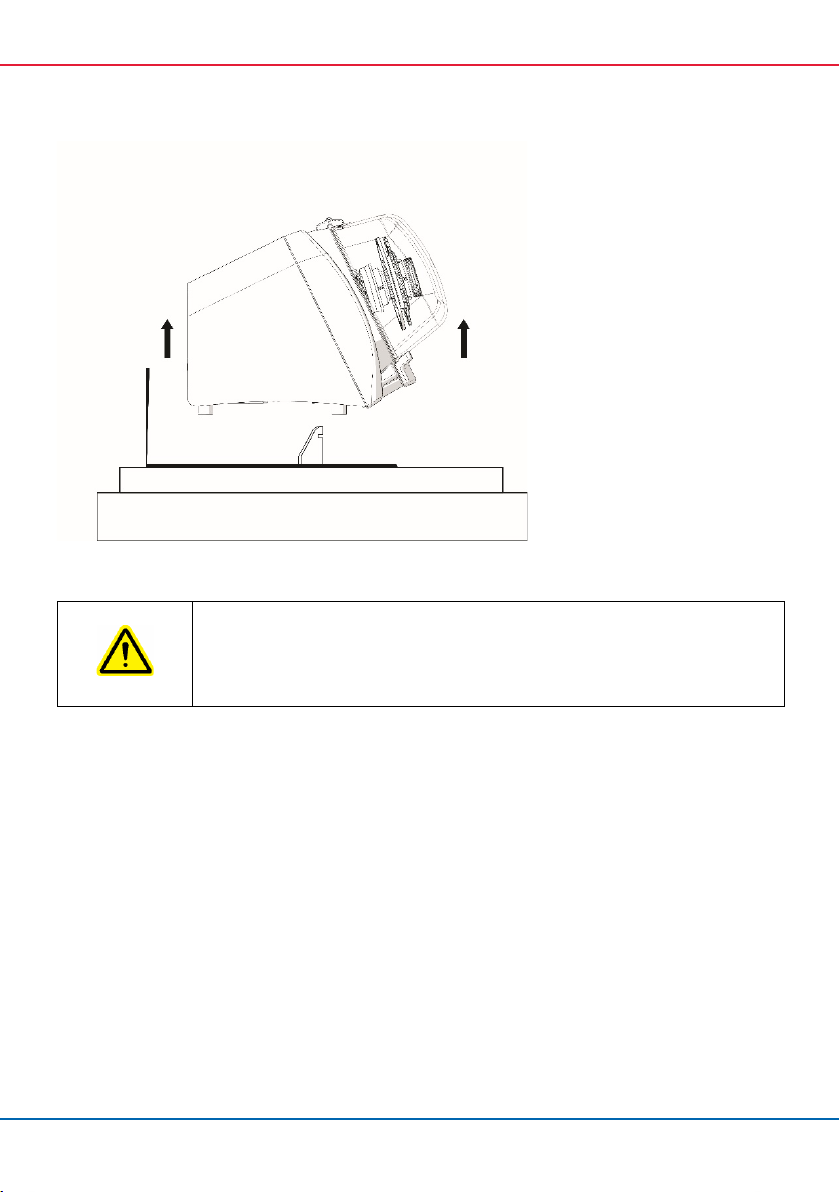
Installation, routine use and
maintenance
Laboratory technicians or equivalent Appropriately trained and
experienced personnel
Servicing QIAGEN Instrument Service
Specialists only
–