manuals.online logo
Brands
  1. Home
  2. •
  3. Brands
  4. •
  5. Hoover
  6. •
  7. Vacuum Cleaner
  8. •
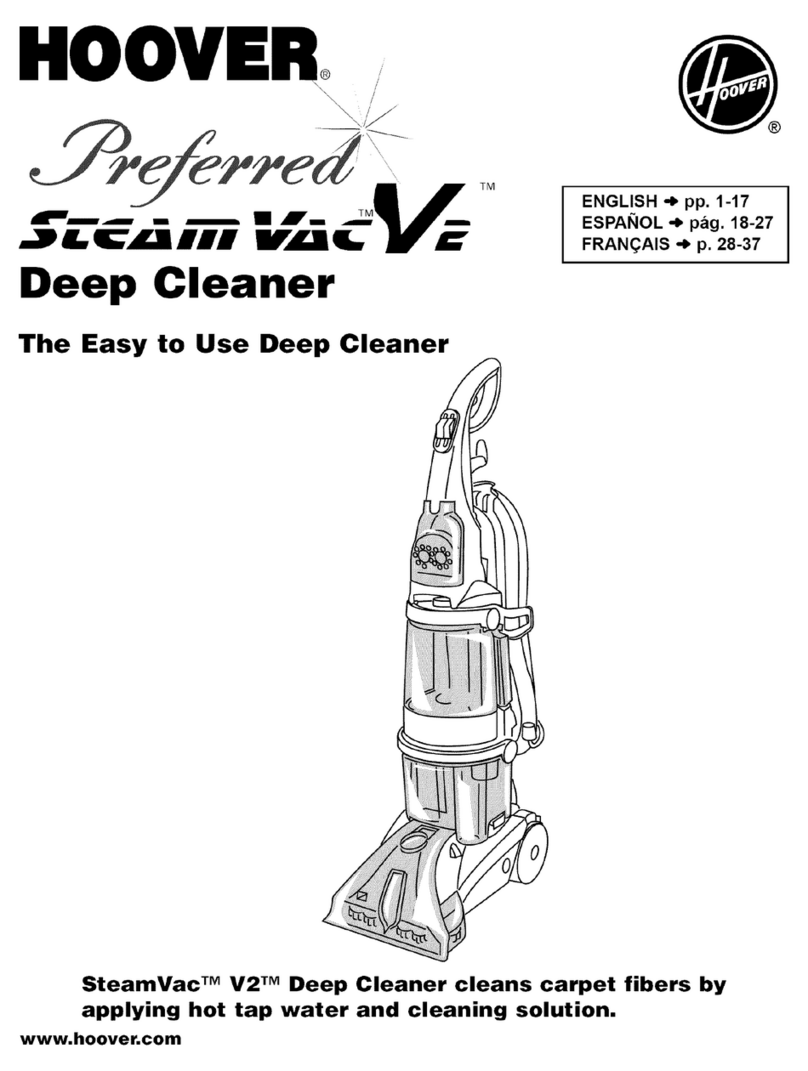
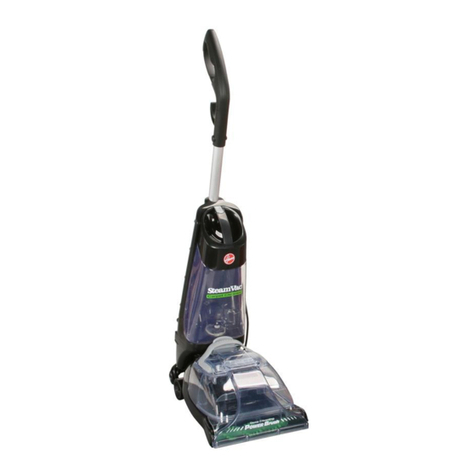
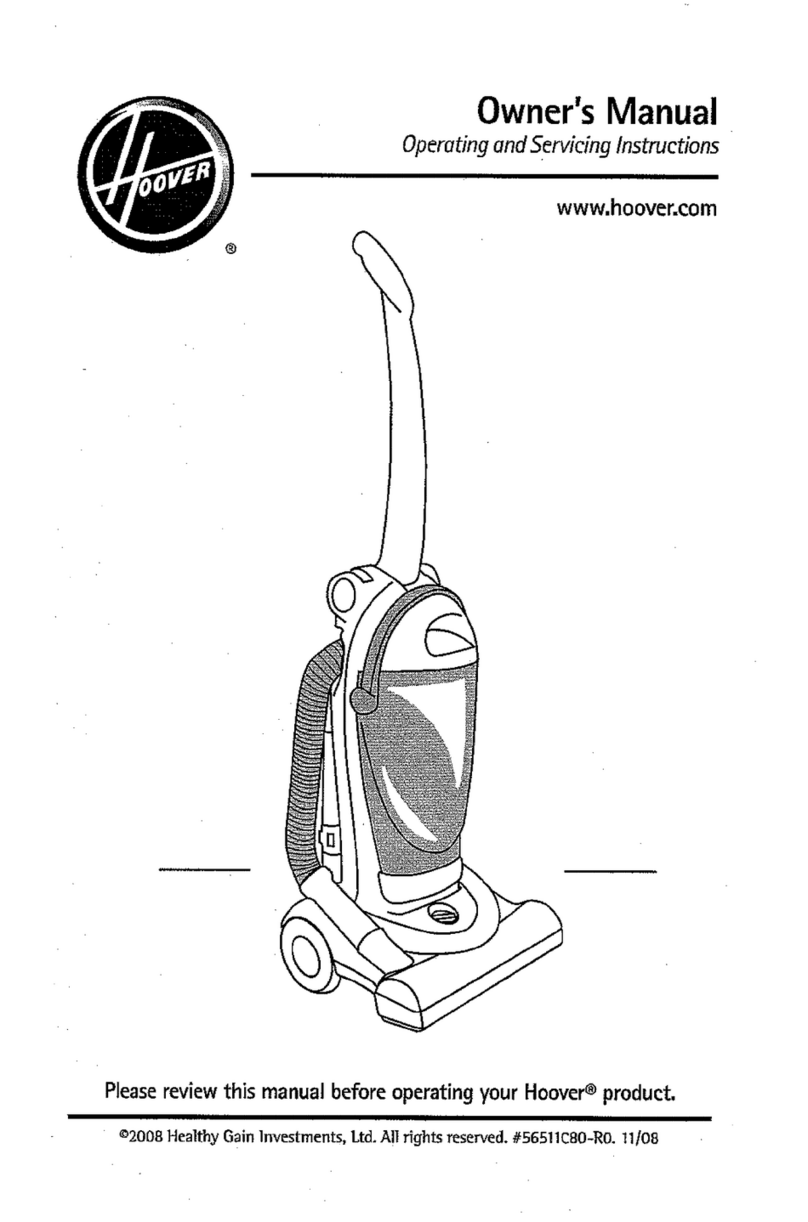
  9. Hoover ch20100 User manual

Hoover ch20100 User manual

Other Hoover Vacuum Cleaner manuals

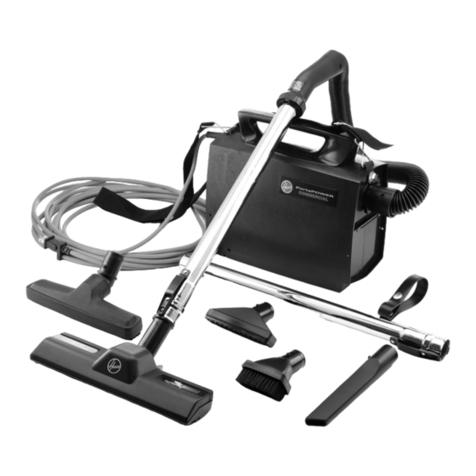
Hoover MULTI FUNCTION PRO User manual

Hoover

Hoover MULTI FUNCTION PRO User manual

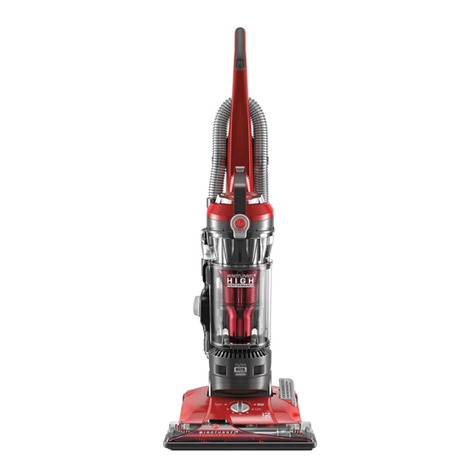
Hoover TurboPOWER WindTunnel S3646 User manual

Hoover

Hoover TurboPOWER WindTunnel S3646 User manual

Hoover H-Energy 700 IM ML User manual

Hoover

Hoover H-Energy 700 IM ML User manual

Hoover WindTunnel U5471-900 User manual

Hoover

Hoover WindTunnel U5471-900 User manual

Hoover telios plus User manual

Hoover

Hoover telios plus User manual

Hoover air cordless 2 in 1 User manual

Hoover

Hoover air cordless 2 in 1 User manual

Hoover FH50210 User manual

Hoover

Hoover FH50210 User manual

Hoover Sensory User manual

Hoover

Hoover Sensory User manual

Hoover CH50400 User manual

Hoover

Hoover CH50400 User manual

Hoover 5014 pets User manual

Hoover

Hoover 5014 pets User manual

Hoover REACT UH73100CDI User manual

Hoover

Hoover REACT UH73100CDI User manual

Hoover H-FREE User manual

Hoover

Hoover H-FREE User manual

Hoover POWER DRIVE User manual

Hoover

Hoover POWER DRIVE User manual

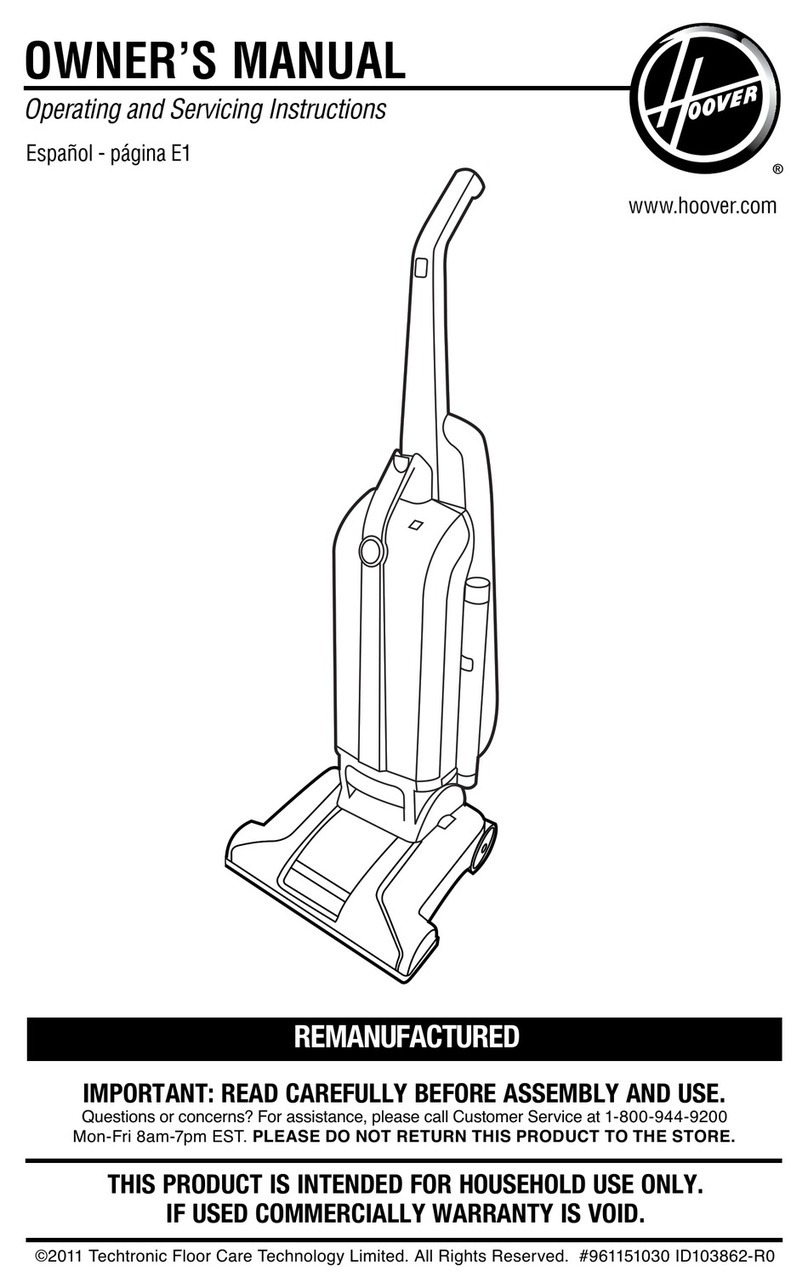
Hoover UH71230RM User manual

Hoover

Hoover UH71230RM User manual

Hoover U5063-930 User manual

Hoover

Hoover U5063-930 User manual

Hoover Convertible U4345 User manual

Hoover

Hoover Convertible U4345 User manual

Hoover SH40050 User manual

Hoover

Hoover SH40050 User manual

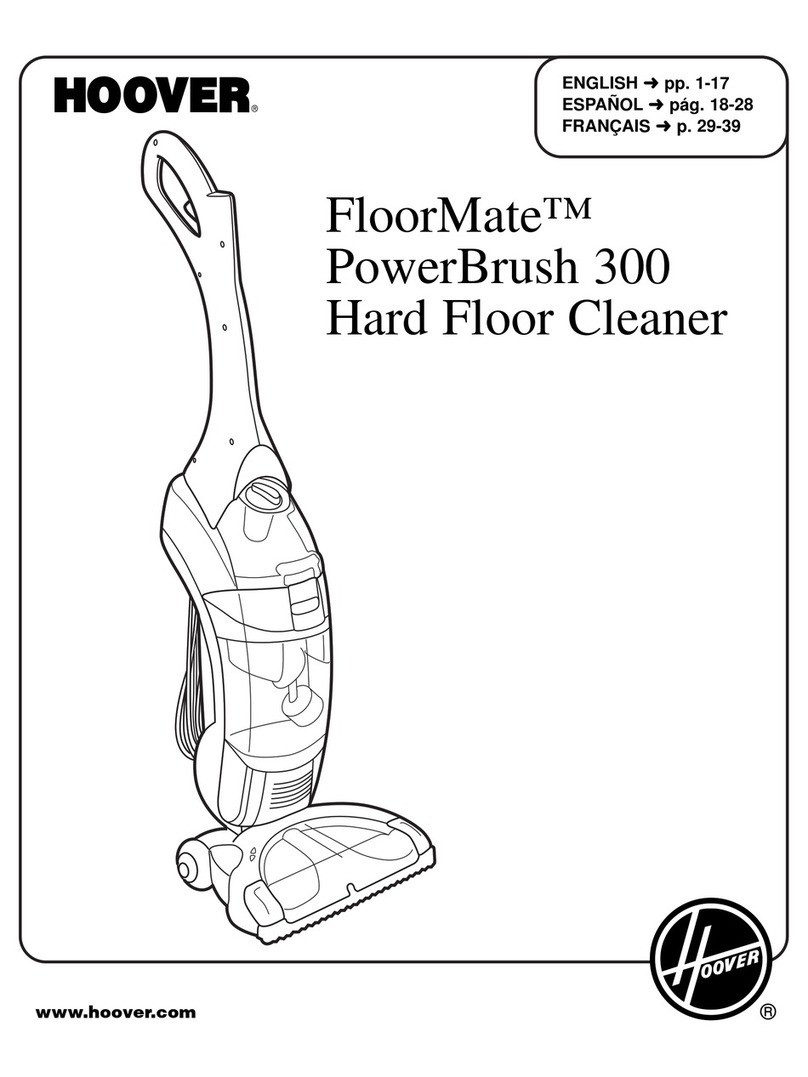
Hoover FloorMate SpinScrub 800 User manual

Hoover

Hoover FloorMate SpinScrub 800 User manual

Hoover SPRINT EVO User manual

Hoover

Hoover SPRINT EVO User manual

Hoover H-ENERGY 700 User manual

Hoover

Hoover H-ENERGY 700 User manual

Hoover PUREPOWER User manual

Hoover

Hoover PUREPOWER User manual

Hoover S3670 - WindTunnel Bagged Canister Vacuum... Quick setup guide

Hoover

Hoover S3670 - WindTunnel Bagged Canister Vacuum... Quick setup guide

Hoover UH30300 User manual

Hoover

Hoover UH30300 User manual

Hoover 5012PH VOGUE User manual

Hoover

Hoover 5012PH VOGUE User manual

Popular Vacuum Cleaner manuals by other brands

Shark KD400WM owner's guide

Shark

Shark KD400WM owner's guide

Shark CORDLESS SV780_N 14 user manual

Shark CORDLESS

Shark CORDLESS SV780_N 14 user manual

Philips FC9176/08 manual

Philips

Philips FC9176/08 manual

Kenmore KW3030 user manual

Kenmore

Kenmore KW3030 user manual

AMiO YF-101 user manual

AMiO

AMiO YF-101 user manual

Beko VRT 94929 VI user manual

Beko

Beko VRT 94929 VI user manual

Shark CORDLESS SV780 Series quick start guide

Shark CORDLESS

Shark CORDLESS SV780 Series quick start guide

Lumme LU-3203 instruction manual

Lumme

Lumme LU-3203 instruction manual

Melissa 640-040/051 instruction manual

Melissa

Melissa 640-040/051 instruction manual

Makita DVC152L instruction manual

Makita

Makita DVC152L instruction manual

Bosch BSN1 instruction manual

Bosch

Bosch BSN1 instruction manual

King Canada 8560LST Service manual & parts list

King Canada

King Canada 8560LST Service manual & parts list

EUFY RoboVac 11c+ owner's manual

EUFY

EUFY RoboVac 11c+ owner's manual

Panasonic MC-E4101 Service manual

Panasonic

Panasonic MC-E4101 Service manual

Panasonic MC-V9658 operating instructions

Panasonic

Panasonic MC-V9658 operating instructions

Bosch BGB 2 Series instruction manual

Bosch

Bosch BGB 2 Series instruction manual

FGE Far Tools NET UP 20 manual

FGE

FGE Far Tools NET UP 20 manual

MARIMEX SPA VAC user manual

MARIMEX

MARIMEX SPA VAC user manual

manuals.online logo
manuals.online logoBrands
  • About & Mission
  • Contact us
  • Privacy Policy
  • Terms and Conditions

Copyright 2025 Manuals.Online. All Rights Reserved.

OWNER’S MANUAL
Operating and
Servicing
Instructions
COMMERCIAL SWEEPER
• Pleasereadtheseinstructionscarefullybeforeusing
yourcleaner.
• Letushelpyouputyourvacuumtogetheror
answeranyquestions,call:1-800-944-9200.
©2011Allrightsreserved
Part#961151004
ID#102882R0
4/11
1. Handle Grip (1)
2. Handle Sub-Sections (3)
3. Pivot
4. Base
5. Bumper
6. Dirt Trays (2)
7. Edge Cleaning Brushes (4)
8. Rubber Blade Roller
9. Brush End Caps (2)
HOW TO ASSEMBLE
REFER TO Fig. 1 ABOVE
HandleAssembly
Notoolsneeded.Screwhandlegripandthree(3)sub-sec-
tionstogethertoformthehandle(Figure3).Connectbase
andhandlebyscrewinghandleontopivot.
HOW TO USE
Pushsweeperinforwardandbackwardmotiontoremovedirtonmanyfloorsur-
faces.NOTE:Empty when surface dirt becomes difficult to remove.
DIRT REMOVAL
Turnsweeperupsidedown.Liftupon
sidebrushes(Fig.1)anddumpout
eachdirttrayoverwastecontainer
(Fig.2).
STORAGE
Thesweeperfoldsflatagainstthewallwhenhungfrom
theholeinthehandlegrip.
REPLACE BRUSHROLL
ToRemove:Presstabsatbrushendcapsoutwardandpull
brushrollout.ToReplace:Inserttheendsofthebrushroll
intotheendcaps.Pushdownuntilbrushrollsnapsinto
place.
TROUBLESHOOTING GUIDE
PROBLEM POSSIBLE REASON POSSIBLE SOLUTION
Cleaner won’t
pick-up or low
suction
Dust escaping from
cleaner
Cleaner is difficult
to push
1
2
4
5
6
6
7
7
7
8
9
9
1.Dirttraysarefull.
2.Brushrollworn.
1.Dirttraysarefull.
1.Debriscaughtinwheels.
1.Emptydirttrays.
2.Replacebrushroll.
1.Emptydirttrays.
1.Removedebris.
3
Fig. 1 Fig. 2
Fig. 1 Fig. 1
Fig. 2
Fig. 2
7
7
Fig. 3
www.hoover.com
FEATURES
For quick reference, please record your
vacuum information below.
Model #:
Mfg. Code:
(Mfg Code is located on the bottom of the cleaner)
To obtain approved Hoover® service and genuine Hoover® parts, locate the nearest Authorized
Hoover® Warranty Service Dealer (Depot) by:
• Checking the Yellow Pages under “Vacuum Cleaners” or “Household”.
• Visit our website at hoover.com (U.S. Customers) or hoover.ca
(Canadian customers).
• Follow the service center link to find the service outlet nearest you.
• For an automated referral of authorized service outlet locations call
1-800-944-9200.
Do not send your vacuum to Hoover®, Inc., Company in Glenwillow for service. This will only
result in delay.
If you need further assistance:
To speak with a customer service representative call1-800-263-6376; Mon-Fri 8am-7pm
EST. In Canada, contact Hoover® Canada, Toronto: 755 Progress Ave., Scarborough, ON
M1H 2W7 OR Hoover® Canada, Edmonton: 18129-111 Ave., Edmonton, AB T5W 2P2,
Phone: 1-800-263-6376, Mon-Fri 8am-7pm EST.
Always identify your vacuum by the complete model number when requesting information or
ordering parts. (The model number appears on the bottom of the vacuum. Please do not
return this product to the store.
MANUEL DU
PROPRIÉTAIRE
Notice d’utilisation
et d’entretien
Instructions
SWEEPER COMMERCIAL
DESCRIPTION DE L’APPAREIL
• Veuillezlireattentivementcesinstructionsavant
d’utiliservotresweeper.
• Nouspouvonsvousaideràassemblervotresweeper.
Pourtoutequestion,composezle:1-800-944-9200.
Saisissez les spécifications de votre sweeper
ci-dessous.
Nº de modèle :
Code de fabrication :
(Lecodedefabricationsetrouvesurlapartie
inférieurearrièredusweeper)
Tousdroitsréservés©2011
#961151004
ID#102882R0
4/11
1. Poignée (1)
2. Sous-sections de la poignée (3)
3. Pivot
4. Base
5. Pare-choc
6. Plateau à poussière (2)
7. Brosses de nettoyage des rebords (4)
8. Lame-rouleau en caoutchouc
9. Extrémités du rouleau-brosse (2)
ASSEMBLAGE DE L’ASPIRATEUR
SE REPORTER À SCHÉMA 1 CI-DESSOUS
Assemblagedelapoignée
Aucunoutilrequis.Vissezensemblelapoignéeetlestrois
(3)sous-sectionspourformerlapoignée(Schéma3).
Connectezlabaseetlapoignéeenvissantlapoignéesur
lepivot.
MODE D’EMPLOI
Poussezlesweeperd’avantenarrièrepourenleverlasaletédelaplupartdes
planchers.REMARQUE :Viderdèsqueçadevientmoinsefficace.
VIDANGE DE LA POUSSIÈRE
Mettezlesweeperàl’envers.Soulevez
enmaintenantlesbrosseslatérales
(Schéma1)etvidezchaqueplateauà
poussièreau-dessusd’unepoubelle
(Schéma2).
RANGEMENT
Lesweeperseplieetserangeàplatcontrelemurlor-
squelestroussurlapoignéesontutiliséspour
lesuspendre.
REMPLACEMENT DU ROULEAU-BROSSE
POUR ENLEVER : Appuyez vers l’extérieur les languettes
au niveau des embouts du rouleau-brosse et enlevez le
rouleau-brosse. Pour réinstaller : Insérez les extrémités du
rouleau-brossedanslesembouts.Appuyez pourenclencher
lerouleau-brosse.
GUIDE DE DÉPANNAGE
PROBLÈME CAUSES POSSIBLES SOLUTIONS POSSIBLES
L’appareil n’aspire
pas ou n’a qu’une
faible succion
De la poussière
s’échappe de l’aspirateur
L’aspirateur est dif-
ficile à pousser
1
2
4
5
6
6
7
7
7
8
9
9
1.Lesplateauxàpoussière
sontpleins.
2.Lerouleau-brosseestusé.
1.Lesplateauxàpoussière
sontpleins.
1.Desdébrisobstruentles
roues.
1. Videzlesplateauxà
poussière.
2.Remplacezlerouleau-brosse.
1. Videzlesplateauxà
poussière.
1.Retirezlesdébris.
3
Schéma 1 Schéma 2
Schéma 1 Schéma 1
Schéma 2
Schéma 2
7
7
MANUAL DEL
PROPIETARIO
Instrucciones de
Funcionamiento y
Servicio
BARREDORA COMERCIAL
CARACTERÍSTICAS
• Porfavorleaestasinstruccionesconcuidadoantes
deusarsuaspiradora.
• Permítanosayudarleaensamblarsuaspiradoraoa
contestarsuspreguntas,llameal:1-800-944-9200.
Para tener una referencia rápida, anote por
favor la información de su aspiradora aquí.
No. de Modelo:
Código del Fabricante:
(Elcódigodelfabricanteapareceenlaparteposterior
einferiordelaaspiradora)
©2011Todoslosderechos
reservados#961151004
ID102882R0
4/11
1. Asa (1)
2. Subsecciones del Asa (3)
3. Pivote
4. Base
5. Tope
6. Charolas para Polvo (2)
7. Cepillos Limpiadores de Bordes (4)
8. Rodillo con Hojas de Hule
9. Tapas de los Cepillos (2)
CÓMO ENSAMBLAR
VEA LA FIG. 1 ARRIBA
EnsamblajedelAsa
Nosenecesitanherramientas.Atornillelaempuñaduraytres
(3)subsecciones para formarelasa (Figura 3).Conectela
baseyelasaatornillandoelasaenelpivote.
USO
Empujelabarredoraconmovimientohaciadelanteyhaciaatrásparaquitarelpolvo
demuchassuperficiesdepisos.NOTA:Vacíela cuando sea difícil remover el polvo.
VACIADO DEL POLVO
Volteelabarredorahaciaabajo.
Levanteloscepilloslaterales(Fig.1)y
vacíecadacharolaparapolvosobreun
basurero(Fig.2).
ALMACENAMIENTO
Labarredoraseaplanacontralaparedcuandolacuelga
delorificioenlaempuñaduradelasa.
REPONGA EL CEPILLO GIRATORIO
ParaRemover:Oprimalaslengüetasdelastapasdeloscepil-
los hacia fuera y saque el cepillo giratorio.  Para Reponer:
Insertelosextremosdelcepillogiratorioensustapas.Oprima
haciaabajohastaqueelcepillogiratoriocaigaensusitio.
GUÍA DE SOLUCIÓN DE PROBLEMAS
PROBLEMA POSIBLES CAUSAS SOLUCIÓN POSIBLE
La aspiradora no
aspira o la succión es
muy débil
El polvo sale de la
aspiradora
Es difícil empujar la
aspiradora
1
2
4
5
6
6
7
7
7
8
9
9
1.Lascharolasparapolvo
estánllenas.
2.Cepillogiratorio
desgastado.
1.Lascharolasparapolvo
estánllenas.
1.Desechosatrapadosen
lasruedas.
1.Vacíelascharolaspara
polvo.
2.Reemplaceelcepillo
giratorio.
1. Vacíelascharolaspara
polvo.
1.Retirelosdesechos.
3
Fig. 1 Fig. 2
Fig. 1 Fig. 1
Fig. 2
Fig. 2
7
7
Schéma 3 Fig. 3
www.hoover.com
www.hoover.com
Para obtener un servicio aprobado de Hoover® y piezas genuinas de Hoover®, encuentre
el Concesionario autorizado de servicio de garantía de Hoover® (depositario) más cercano:
• Consultando las Páginas amarillas en la sección “Aspiradoras – uso” doméstico.
• Visite nuestro sitio web en hoover.com (clientes estadounidenses) o hoover.ca (clientes
canadienses).
• Siga el enlace del centro de servicio para encontrar el centro de servicio más cercano.
• Para que le informen de manera automática la ubicación de los centros autorizados de
servicio, llame al 1-800-944-9200. No envíe su aspiradora a Hoover®, Inc., Company
en Glenwillow para realizar el servicio. Esto sólo provocará demoras.
Si necesita recibir más ayuda:
Para hablar con un representante de atención al cliente, llame al 1-800-944-
9200; de lunes a viernes, de 8 a.m. a 7 p.m., hora del Este. Siempre identif ique su
aspiradora por el número de modelo completo al solicitar información o realizar
pedidos de piezas. (El número de modelo aparece en la parte inferior de la aspiradora).
NO DEVUELVA ESTE PRODUCTO A LA TIENDA.
Pour obtenir du service autorisé HooverMD et des pièces HooverMD d’origine, trouver
l’atelier de service garanti autorisé (dépôt) le plus près de chez vous. Pour ce faire :
• Consulter les Pages jaunes à la rubrique « Aspirateurs domestiques ». OU
• Visiter notre site Web www.hoover.com (aux États-Unis) ou www.hoover.ca (au Canada).
Cliquer sur le lien « Service à la clientèle » pour connaître l’adresse du Centre de service le
plus près de chez vous.
• Composer le 1-800-944-9200 pour écouter un message indiquant les adresses des
Centres de service autorisés. Prière de ne pas envoyer votre aspirateur à HooverMD, Inc. à
Glenwillow, en Ohio, pour qu’il soit réparé. Cela n’entraînera que des délais supplémen-
taires.
Si vous avez besoin d’autres renseignements :
Pour parler avec un représentant du service à la clientèle, composer le 1-800-944-9200 du
lun. au ven. de 8 h à 17 h (HNE). Au Canada, communiquer avec HooverMD Canada, à
Toronto : 755, Progress Ave, Scarborough (ON) Toujours identif ier l’aspirateur par le numéro
du modèle et le code de fabrication lorsque vous demandez des informations ou que vous
commandez des pièces de rechange. (Le numéro de modèle figure au bas de l’appareil.)
SERVICE SERVICIO