Hopkins BLAZER LINK CWL623 User manual

CWL623•BLAZERLINK™•OWNER
’
SMANUAL
BLAZER-INTERNATIONAL.COM
1-800-835-0129
Patent Pending
© Copyright2018
Page 1 of 10
FCC ID: TJJCWL623HCO
IC: 6047A-CWL623HCO
Model Name:CWL623HCO
Overview
This is a professional wire management system that is linked to your smartphone. The Blazer Link™
is designed for operating accessories (including lights, horns, warning beacons, etc.) typically used on
work or off-road vehicles (trucks, jeeps, ATV/UTV, boats, heavy equipment, farm equipment, etc.).
The unit works on 12V DC and provides output to four terminals which are protected by a 40A fuse.
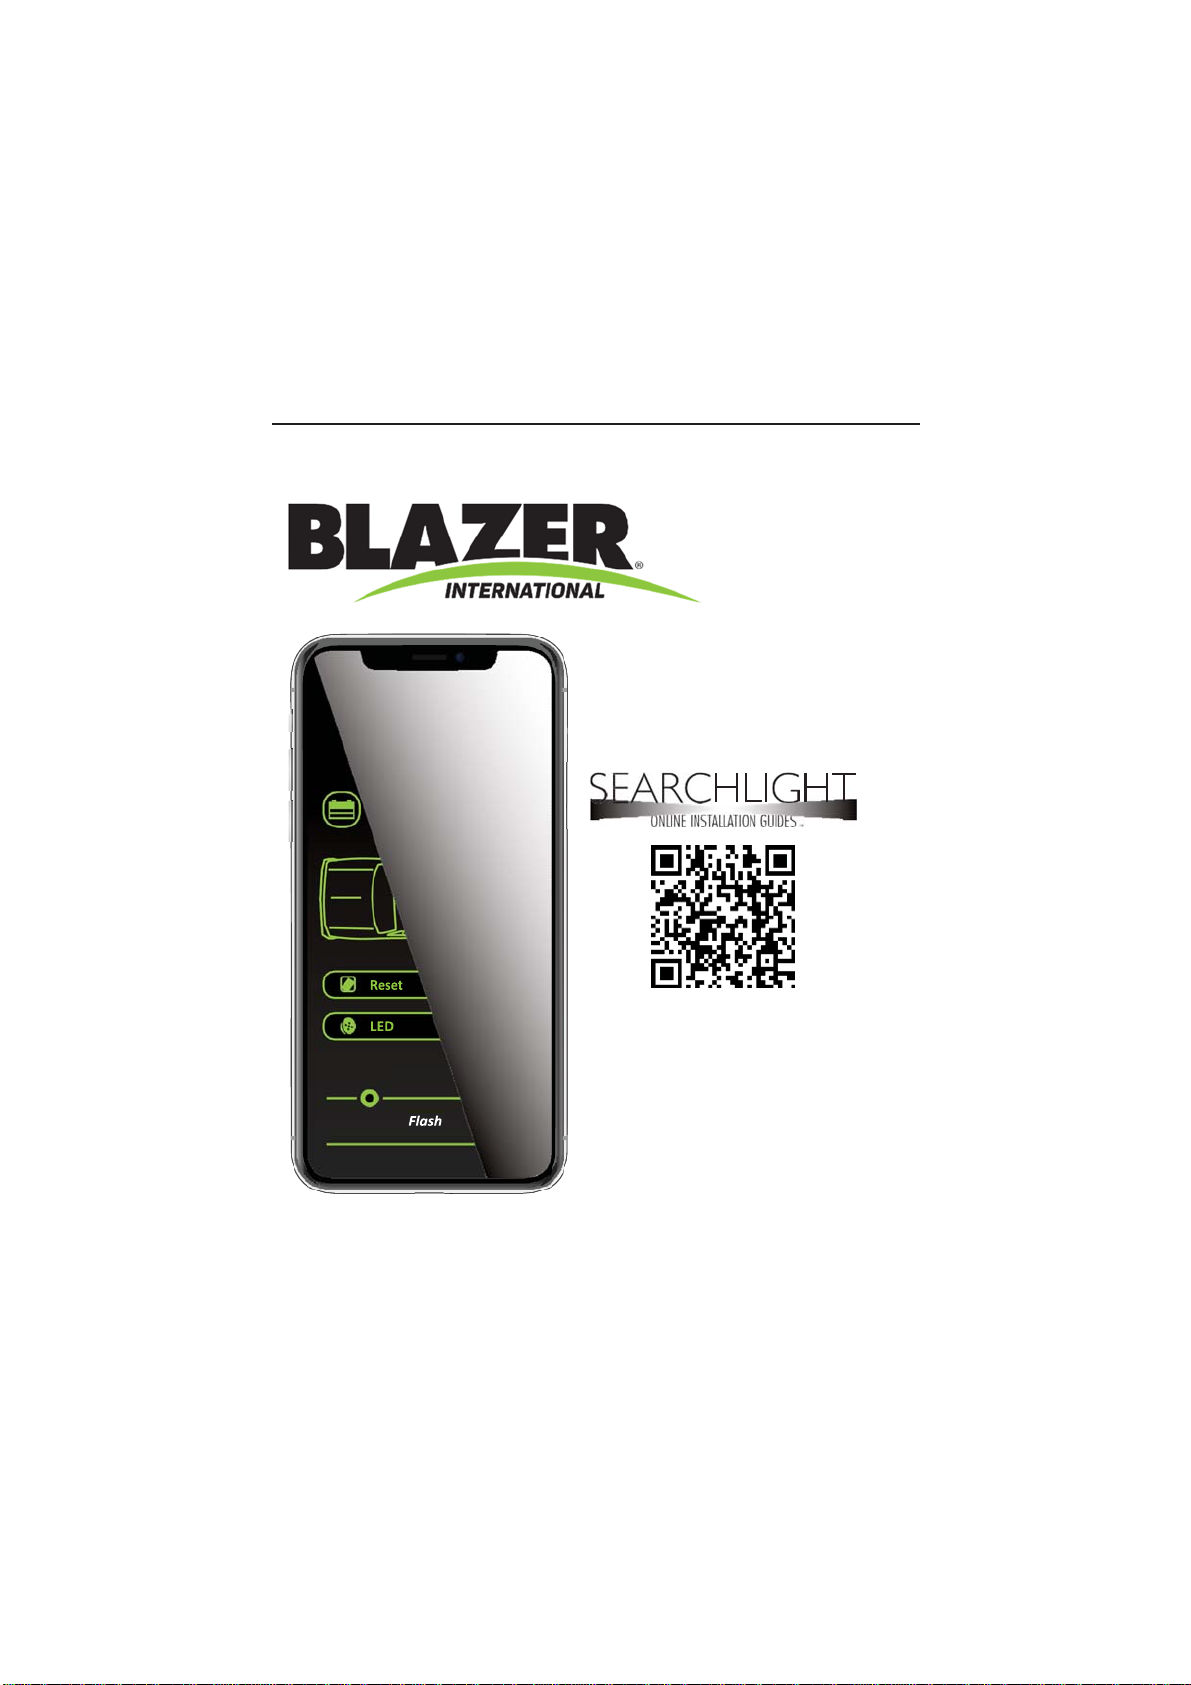
Please note that before you can operate this system, you need to download and install the Blazer
Link™ App on your smartphone from the App store.
Main Unit
1.
Please read these instructions carefully before installing this product. It is recommended to
consult a professional installer to prevent damage to vehicle and/or system.
2.
Do not connect to 24V DC or higher voltage system, as this product is designed for a 12V DC
battery system. In case you have a larger than 12V DC system, check vehicle owner’s manual to
determine if a 12V DC output is available and how to connect in order to use it safely, otherwise,
the product will be damaged.
3.
Find a suitable flat surface near the battery, clean the surface free of dirt and oil and then affix the
unit using provided adhesive strips and/or mounting holes.
4.
Remove the 40A fuse from the holder and disconnect the vehicle battery.
5.
Securely attach the positive (red) cable of the Blazer Link™ unit to the positive terminal of the
battery or battery cable and the negative (black) cable of the Blazer Link™ to the negative battery
cable or chassis.
6.
Terminal 2A has additional light control functions like adjusting brightness and strobe rate, and
should not be used for connecting warning/strobe lights or horns.
7.
Attach the auxiliary lights/equipment following correct polarity on the terminals and not exceeding
the maximum amperage of the channels (amperage printed on Blazer Link™ and corresponds to
amperage on your smartphone App for each terminal). See FIG 1 (on page 3)
8.
Reconnect battery cables.
9.
Insert the 40A fuse back into the holder and snap the cover close.
App Instructions
1.
Download and install the Blazer Link™ App for your smartphone operating system available on
App Stores.
2.
For initial setup, tap the “radio” icon to go to the “connect” screen. Simply select the module
and enter the appropriate numerical password (default is 123456).
3.
Once connected, hit the back button on top right hand screen, to return to the main screen.
4.
Now, select your vehicle type by tapping on the arrow to the right of the initial schematic.
5.
Next, select light location setup to assign lights to different locations on your vehicle. Tapon
the terminal and then tap on the desired location. Repeat this for the remaining terminals and
then hit enter to return to the main screen.
6.
Youare now set up to operate your lights.
7.
Activate thesystem bytapping thepower icon . It will turn green to indicate that it is
powered on .
8.
Now, select a light. The light icon will turn blue to indicate it is the active selection.

CWL623•BLAZERLINK™•OWNER
'
SMANUAL
BLAZER-INTERNATIONAL.COM
1-800-835-0129
Page 2 of 10
Patent Pending
© Copyright2018
9.
Youcan turn on and off the light via the “individual Terminal ON/OFF” switch.
Note: Terminals marked are used in conjunction with a warning light with different strobe
patterns built into it.
Most warning lights with strobe function come with three wires, black, red and yellow. Black
is to be connected to negative terminal, red to positive terminal and yellow is for advancing
the strobe patterns. Consult with the manufacturer of the light to determine if yellow is on the
negative side of the circuit or on the positive side and connect it to the appropriate polarity of
terminal.
Terminal 2A has been specifically designated for additional light controls. With
applicable lights, you may use the respective sliders to adjust both brightness and
strobe rate.
10.
Once the lights have been set up as desired, the whole system can be turned on and off by the
master power button . When this master power icon is grayed out, all the lights will beoff.
11.
Additional features can be found in the settings screen , indicated by the gear icon.
b.
Low voltage alert - If the Blazer Link™ detects that your battery level is lower than the
set voltage, it will notify you via the alert.
c.
Timer - allows you to set time period when you want your lights to
automatically turn off to prevent unnecessary battery draining.
d.
Youcan also rename your device and set a new password.
12.
Back on the main screen, select the battery icon to view readout of your battery level and voltage
standing. Additionally, this is the icon that will turn red and notify you when your battery level has
reached the low voltage level you defined earlier in the settings tab. It is also possible to pick one
of the five audible sounds or vibrator, which will alert you.
13.
Once set up, try to manipulate each light to ensure that the system is working properly.
Specifications
Standard design 12V, max 40A
Rated input voltage DC 13V
Working voltage DC 11-15V
Working temperature
0
°
F - 225
°
F / -17°C - 107°C
Fuse 40A
Low-voltage protection circuit
9.8V +/- 0.3V DC. with 8 sec delay
Thermal shut off temperature
248
°
F / 120
°
C

CWL623•BLAZERLINK™•OWNER
’
SMANUAL
BLAZER-INTERNATIONAL.COM
1-800-835-0129
© Copyright2018
3
Symptom Possible Cause and Solution
Auxiliary lights/equip-
ment not operational.
1.
Wires not connected
properly in the terminals.
2.
If the contacts don’t open,
gently push downwards on
the screws.
3.
App on smartphone not
connected (paired) to the
main unit. Reconnect.
4.
Vehicle battery voltage
below 9.8V +/- 0.3V DC.
Charge battery.
5.
Main unit not connected/
incorrectly connected to
thebatterysource.Check
connection of Blazer Link™.
6.
Blown fuse/Replace fuse.
7.
Pairing between the
smartphone and main unit
disrupted. Pair the system.
Some accessories/
lights will not come on. Check wire polarity for those
items.
Light/accessory comes
on momentarily. That channel is being overloaded.
Make sure the amperage of the
light is less than that stated at the
terminal (check fuse).
Lights turned off but the
battery is drained Weak battery. Test battery at an
Auto store.
Specifications (continued)
FIG 1
1
Main Unit
2
Terminals
3
Eyelet for Mounting Installation
4
Fuse Holder
5
Negative Cable
6
Positive Cable
Troubleshooting
Patent Pending
Page 3 of 10
6
4
5
1
2
FIG 1
2A 18B

FCC Statement
THIS EQUIPMENT HAS BEEN TESTED AND FOUND TO COMPLY WITH THE LIMITS FOR A CLASS B DIGITAL DEVICE, PURSUANT TO PART
15OFTHEFCCRULES.THESELIMITSAREDESIGNEDTOPROVIDEREASONABLEPROTECTIONAGAINSTHARMFULINTERFERENCEIN
ARESIDENTIALINSTALLATION.THISEQUIPMENTGENERATES, USES,ANDCANRADIATERADIOFREQUENCYENERGY,ANDIFNOTIN-
STALLEDANDUSEDINACCORDANCEWITHTHEINSTRUCTIONS,MAYCAUSEHARMFULINTERFERENCETORADIOCOMMUNICATIONS.
HOWEVER,THERE IS NO GUARANTEETHATINTERFERENCEWILLNOT OCCURINAPARTICULAR INSTALLATION.IF THISEQUIPMENT
DOESCAUSEHARMFULINTERFERENCETORADIOORTELEVISIONRECEPTION,WHICHCANBEDETERMINEDBYTURNINGTHEEQUIP-
MENT OFF AND ON, THE USER IS ENCOURAGED TO TRY TO CORRECT THE INTERFERENCE BY ONE OR MORE OF THE FOLLOWING
MEASURES:
–
REORIENT OR RELOCATE THE RECEIVING ANTENNA.
–
INCREASE THE SEPARATION BETWEEN THE EQUIPMENT ANDRECEIVER.
–
CONNECT THE EQUIPMENT INTO AN OUTLET ON A CIRCUIT DIFFERENT FROM THAT TO WHICH THE RECEIVER IS CONNECTED.
–
CONSULT THE DEALER OR AN EXPERIENCED RADIO/TV TECHNICIAN FORHELP.
THISDEVICECOMPLIESWITHINDUSTRYCANADALICENSE-EXEMPTRSSSTANDARD(S).
OPERATION IS SUBJECT TO THE FOLLOWING TWOCONDITIONS:
(1)
THIS DEVICE MAYNOT CAUSE INTERFERENCE, AND
(2)
THISDEVICEMUSTACCEPTANYINTERFERENCE,INCLUDINGINTERFERENCETHATMAYCAUSEUNDESIREDOPERATIONOFTHE
DEVICE.
L
I
N
K
™
VIEWINSTALLATIONVIDEOSHERE
VISIONNEZLESVIDEOSD’INSTALLATIONICI
VEALOSVIDEOSDEINSTALACIONAQUI
www.blazer-international.com/lightinstallguide
Brightness

CWL623•BLAZERLINK™•OWNER
’
SMANUAL
BLAZER-INTERNATIONAL.COM
1-800-835-0129
© Copyright2018
BlazerLinkApp
Hopkins Manufacturing Corporation
428 Peyton St., Emporia, KS 66801
www.HopkinsMfg.com|1-620-342-7320
www.FloTool.com
Made in China
Hecho en China
Fabriqué en Chine

FCC Warning
This device complies with part 15 of the FCC Rules. Operation is subject to the following two
conditions: (1) This device may not cause harmful interference, and (2) this device must accept
any interference received, including interference that may cause undesired operation.
Any Changes or modifications not expressly approved by the party responsible for compliance
could void the user's authority to operate the equipment.
Note: This equipment has been tested and found to comply with the limits for a Class B digital
device, pursuant to part 15 of the FCC Rules. These limits are designed to provide reasonable
protection against harmful interference in a residential installation. This equipment generates
uses and can radiate radio frequency energy and, if not installed and used in accordance with the
instructions, may cause harmful interference to radio communications. However, there is no
guarantee that interference will not occur in a particular installation. If this equipment does
cause harmful interference to radio or television reception, which can be determined by turning
the equipment off and on, the user is encouraged to try to correct the interference by one or
more of the following measures:
-Reorient or relocate the receiving antenna.
-Increase the separation between the equipment and receiver.
-Connect the equipment into an outlet on a circuit different from that to which the receiver is
connected.
-Consult the dealer or an experienced radio/TV technician for help.
RF warning:
This equipment complies with FCC radiation exposure limits set forth for an uncontrolled
environment. This equipment should be installed and operated with minimum distance 20cm
between the radiator & your body.
IC Warning
This equipment complies with IC radiation exposure limits set forth for an uncontrolled
environment. This equipment should be installed and operated with minimum distance 20cm
between the radiator & your body.
Cet équipement doit être mis en place avec des émissions de rayonnement émetteur pour un
environnement naturel. Ce matériel doit être installé et se faire avec une distance minimale de
20cm entre les radiateurs et les autresYour body shop.
This device contains licence-exempt transmitter(s)/receiver(s) that comply with Innovation, Science
and Economic Development Canada’s licence-exempt RSS(s). Operation is subject
to the following two conditions:
(1) This device may not cause interference.
(2) This device must accept any interference, including interference that may cause
undesired operation of the device.
Cet appareil contient des émetteurs / récepteurs exemptés de licence conformes aux RSS (RSS)
d'Innovation, Sciences et Développement économique Canada. Le fonctionnement est soumis aux
deux conditions suivantes :
(1) Cet appareil ne doit pas causer d'interférences.
(2) Cet appareil doit accepter toutes les interférences, y compris celles susceptibles de
provoquer un fonctionnement indésirable de l'appareil.
This manual suits for next models
1
Table of contents
Other Hopkins Lighting Equipment manuals
Popular Lighting Equipment manuals by other brands

Larson Electronics
Larson Electronics EPL-120-150-EPP instruction manual

Laserworld
Laserworld Club Series manual

AAMP Global
AAMP Global Stinger SPXWPRGB4D manual

Titanium
Titanium TT-PUCK-3W-S quick start guide

Robin
Robin Robin MMX Spot user manual

Lutron Electronics
Lutron Electronics GRAFIK OMX-CCO-8 installation instructions