GB
5
Bottle ageing compartment
The ageing compartment's main function is that of
guaranteeing that your wines are preserved in optimal
conditions.
The temperature has been set in the factory at a
temperature held to be excellent in most cases and is
15°C in the upper compartment.
Wine has a complex nature and it derives from a long
and slow process. In order to best express its
attributes, very specific conditions are necessary.
All wines are preserved at the same temperature, but,
depending on their different characteristics, wines are
served and tasted at very different temperatures (see
the Table of ideal wine temperatures).
Therefore, just as for manufacturers' wine cellars, for
your new appliance, the absolute temperature value is
not important for preserving your wine. Rather, the
constant temperature through time is important. Wine
preservation is ideal at any temperature, as long as
that temperature does not vary.
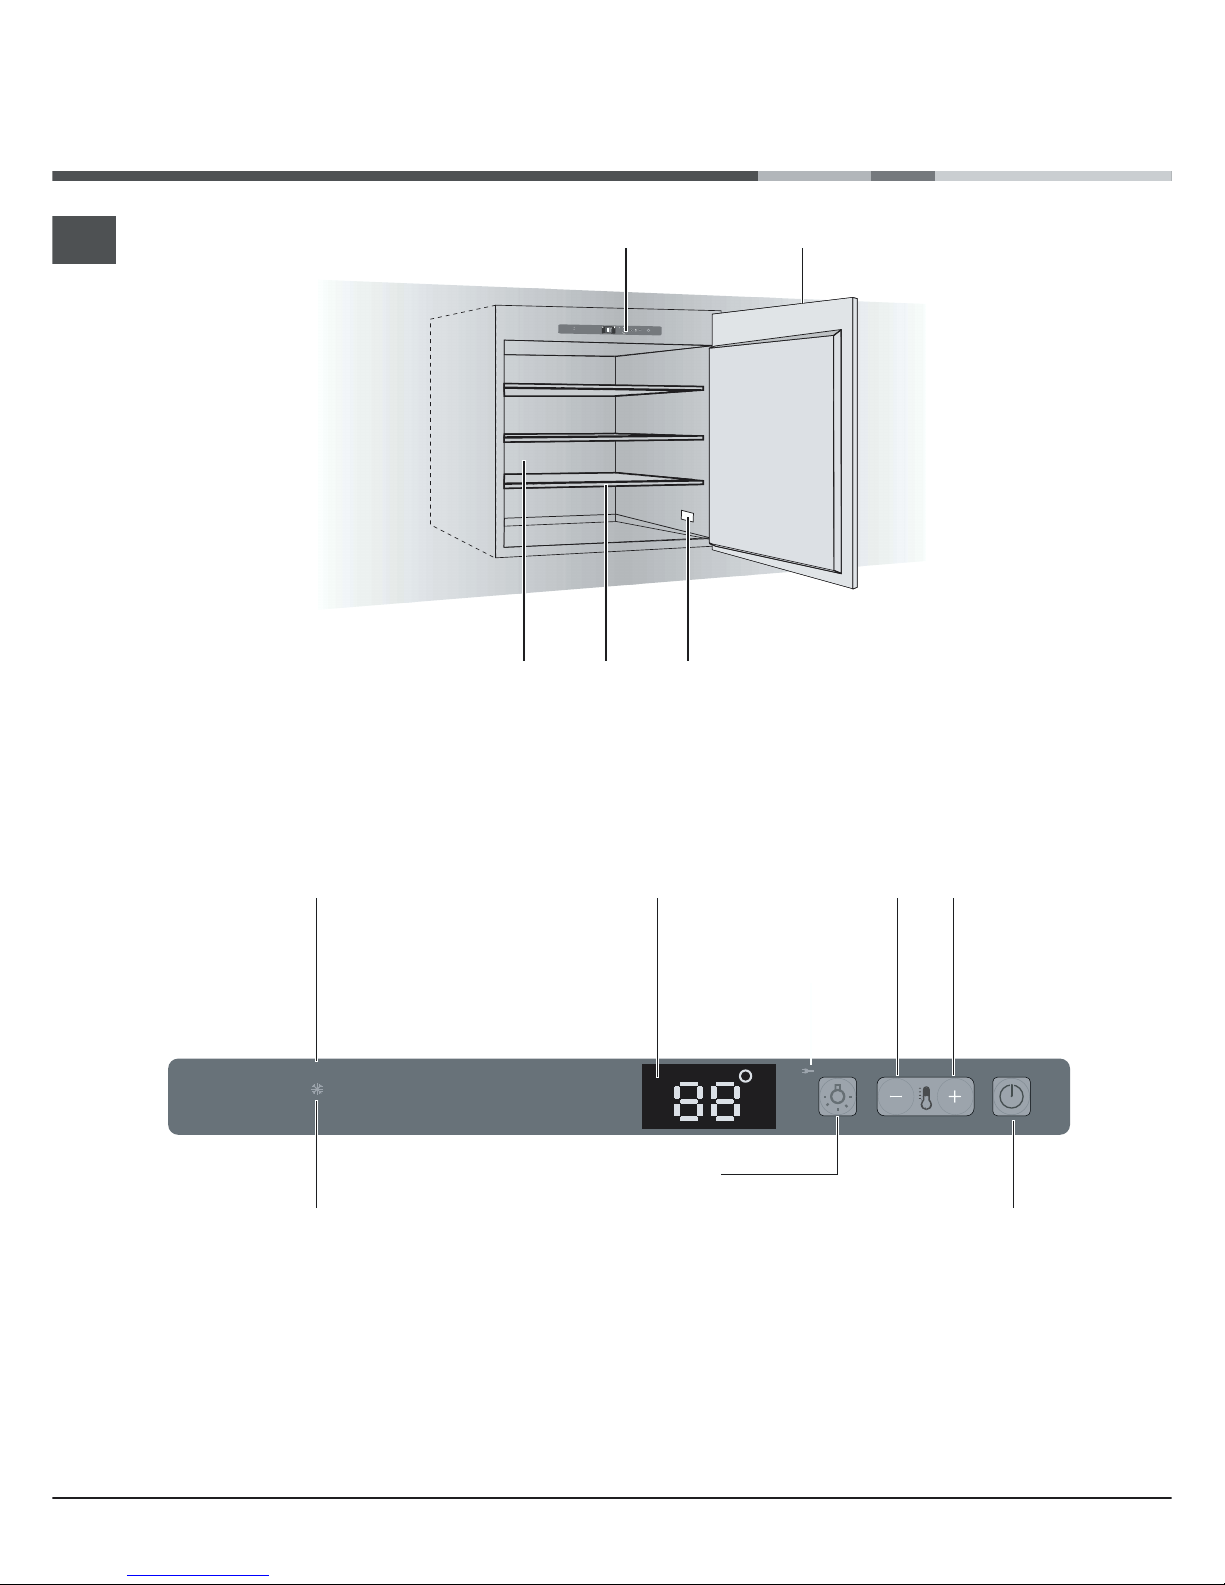
Using the wine cellar
Manual temperature control
When you plug in your wine cellar, the display shows
the temperature inside the cellar: it has been set to
reach 15° C and become steady on it. Should you
need to adjust it, follow the instructions below:
1. When you plug in your wine cellar, the display shows
the temperature that has been set
2. Press the button for one second (see the
Control Panel). The temperature will begin to blink.
3. Press the or buttons until you reach the
desired temperature.
4. Wait 5 seconds for the temperature to stop
blinking.
5. Wait until the wine cellar reaches its temperature
before you place the wine bottles inside.
The inside light does not go on (or it goes off
temporarily) when the inside temperature goes over
24° C. This allows you to reach the pre-set
temperature more quickly.
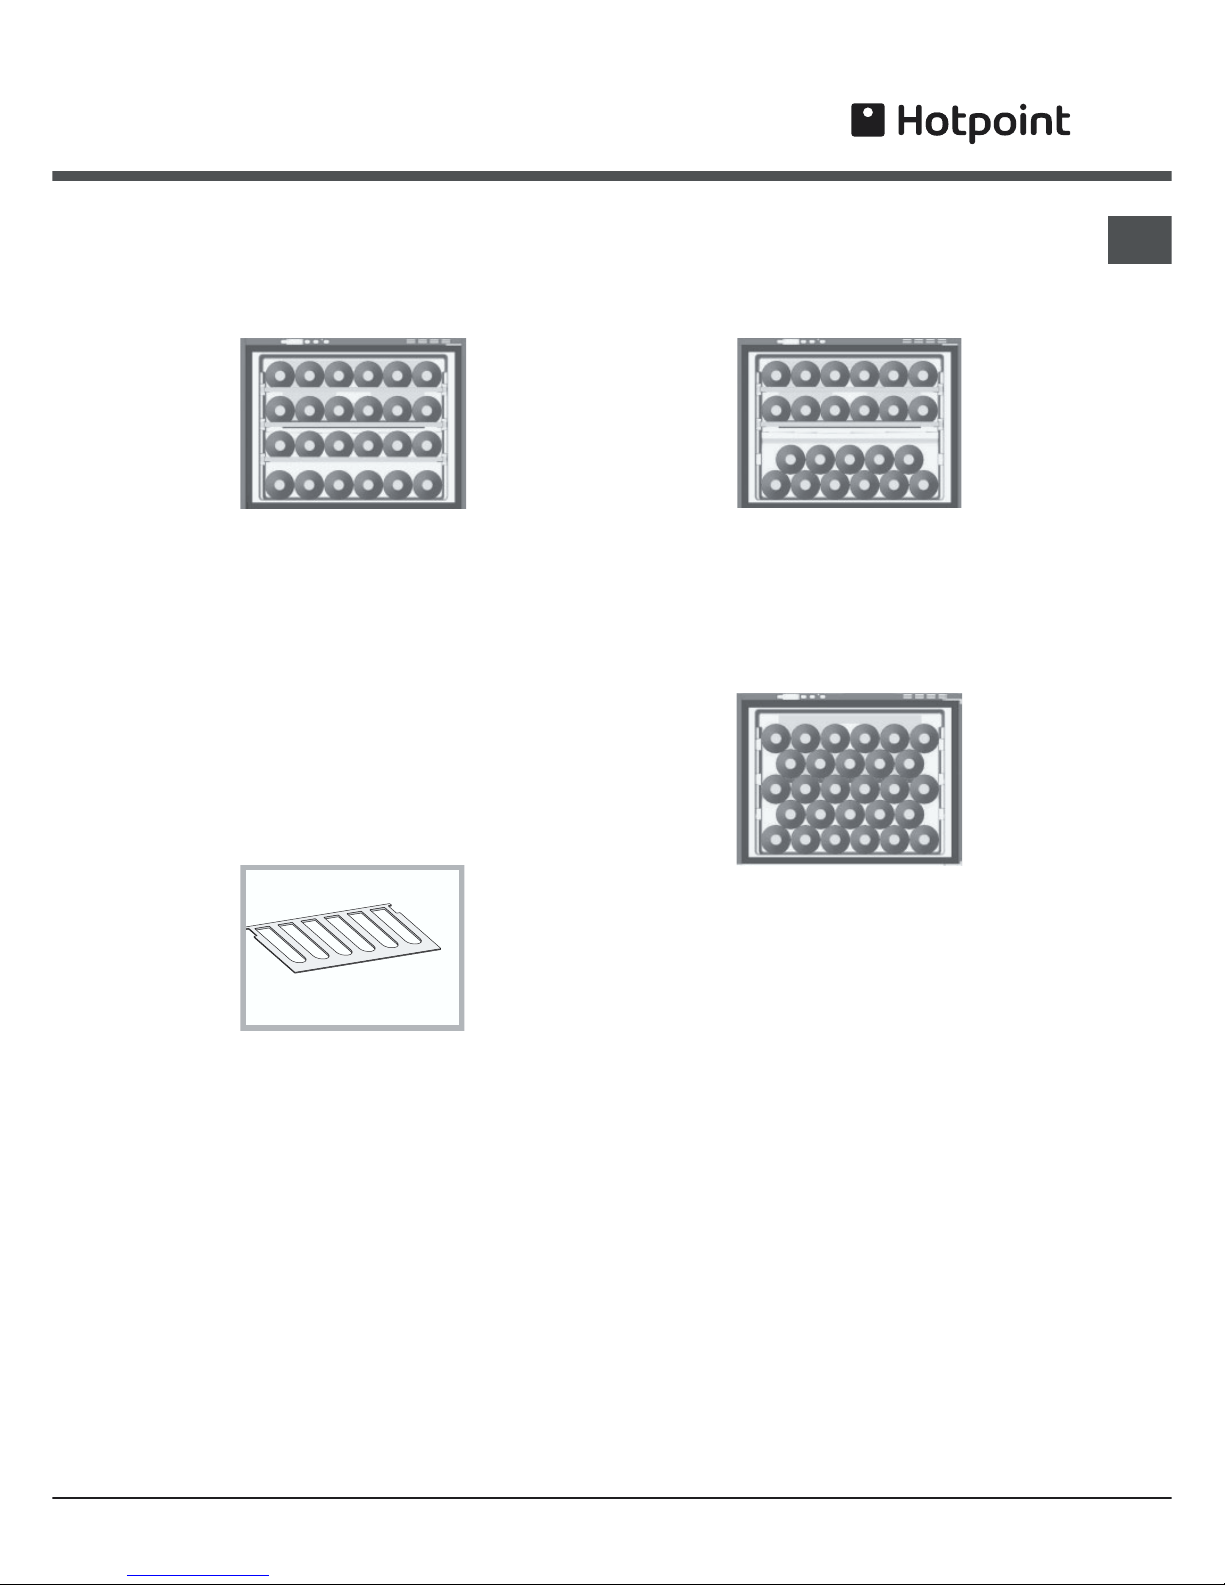
Taking out the wooden shelves
WARNING
The wooden shelves are not sliding. Do not take
them out when loaded with bottles, to prevent the
risk of the bottles breaking.
You can take the shelves out for cleaning only when
they are not loaded with any bottles.