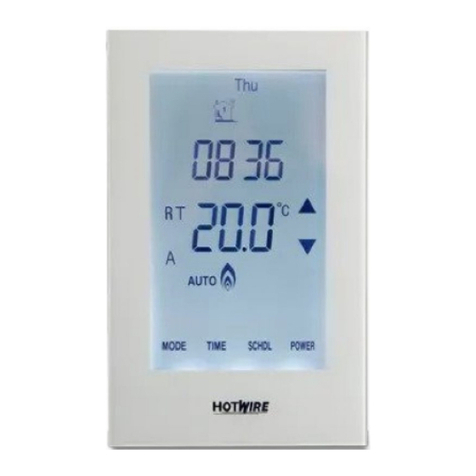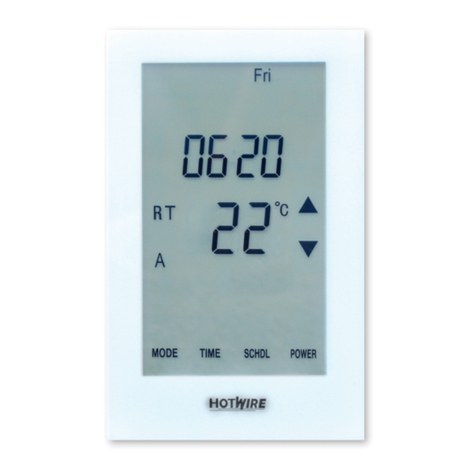
Setting the clock and day of the week
This thermostat is fitted with a real time clock. It is essential that the clock time
and day are set accurately if you require your programmed events to start on
time. To set follow the steps below:
(1). Touch the “ ” button and the time will start flashing. Use the increase and
decrease buttons to set the time. By holding these buttons down the time will
change faster.
(2). Press to move to the Day setting and use the increase and decrease
buttons to get to the correct day.
(2). Press to store and exit.
Programme Start Time Setpoint Explanation
01 WAKE
07:00 22 °C This is the time the heating will
come on in the morning.
02 LEAVE
09:30 16 °C
This is the time the heating will
switch off in the morning. It can also
be used to set a minimum
temperature for the day.
03 RETURN
16:30 22 °C This is the time the heating will
come on in the afternoon.
04 SLEEP
22:30 16 °C
This is the time the heating will
switch off in the afternoon / evening.
If you do not require the heating in
the afternoon / evening, simply set
this time to a couple of minutes after
the “on” time.
Setting the Programme Schedules
This thermostat has the ability to programme each individual day of the week
separately, or programme 7 days of the week at once. You can also programme
weekdays (5 days) to one schedule and then weekends (2 days) to a different
schedule. See the Menu information for details on how to set this up.(refer to
Menu 9) See page 4 of this manual.
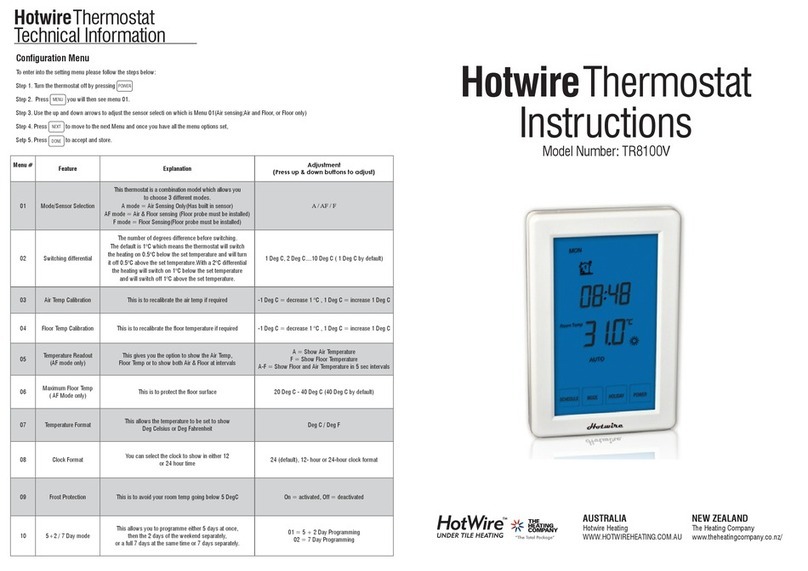
Power button
Confirmation button ( for horizontalmode)
Decrease button ( for horizontal mode)
Time and Day button
Programme button /Menu button (short-press)
Auto mode / Manual mode selection button (long-press)
LCD symbols
The buttons are locked
Icon Legend
Heating is turned on
Frost protection activated
Manual mode
Temporary temperature override
Er
Day of the week
... ...
The floor sensor is not being read by the thermostat
Default Programming is as follows.
Programming your Thermostat.
(1). Press and the day display will start flashing. Using the Increase or
Decrease button to select the day you wish to programme.(If your thermostat
is set to 5+2 day programmable mode, the programming will skip to step 3)
(7). Use Increase and Decrease buttons to adjust the time you wish the heating
to switch off in the morning on the selected day or days.
(8). Press and the temperature will start flashing. This can be used to
maintain a minimum temperature. In most cases this is not required and the
temperature should be set to 5.
This will help you programme your thermostat to come on and off automatically.
If you want to simply turn it on and off when required skip this section.
(9). Press and the Program 3 will display. The time is also flashing. Set the
time at which you want the heating to come on in the afternoon or evening.
NOTE: If you do not wish the heating to come in the afternoon, simply
set the “off” time for only a couple of minutes after the “on” time.
(*). Hint: If you use the default programming of 5 week days plus 2 weekend
days you will now need to repeat the above steps for the weekend.
You may use to delete time periods for the weekend schedule.
(11). Press and the LCD screen will show Program 4.
This is the time
that the thermostat will switch off in the afternoon / evening. Press
and set the temperature. As per above we recommend 5. Then Press
(3). Press
and Program 1
is displayed. This is the first programme function of the day.
(10). Press and set the temperature required in the afternoon.
(6). The LCD screen will show Program 2
and the time will be flashing.
This is the time that the thermostat will switch off in the morning.
(4). The time is now flashing. Select the time you want the heating to come on
in the morning. Then press .
(5). The temperature is now flashing. Set the temperature that you want the floor
to heat to. Then press .
(2). To select every day to be the same simply press and hold the Decrease button.
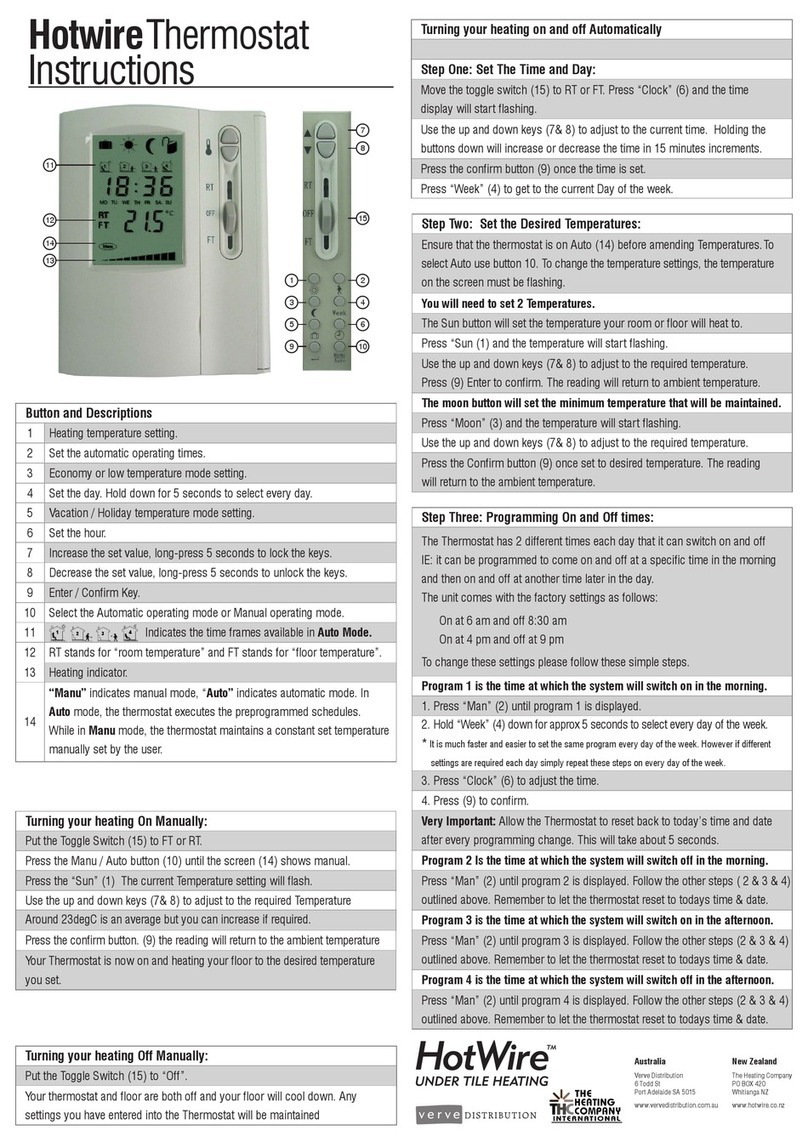
HotwireThermostat
Instructions
Increase button ( for horizontal mode)
