HOZAN L-701 User manual

クランプ
電源
ソケット
フレキシブルアーム
電源スイッチ
照度調整ツマミ
L D
ACアダプター
フィルター枠
拡散フィルター
1
11
1
取扱説明書
取扱説明書取扱説明書
取扱説明書
L-701
LED
LEDLED
LEDライト
ライトライト
ライト
このたびはホーザン L-701 LEDライト をお買い上げいただき、まこと ありがとうございま
す。この取扱説明書をよくお読み なり、正しくお使いください。また、お読み なったあとも
大切 保管してください。
各部
各部各部
各部の
のの
の名称
名称名称
名称と
とと
と入組明細
入組明細入組明細
入組明細
仕
仕仕
仕
様
様様
様
照明
照明照明
照明の
のの
の明
明明
明るさ
るさるさ
るさ(
((
(調光
調光調光
調光100
100100
100%
%%
%時
時時
時)
))
)
拡散フイルター
なし
lx
拡散フイルター
あり
lx
34230
11900
発光部から
の距離
mm
30
100
9110
1890
取付支柱径
外形寸法
本体
重量
L D
L D寿命
色温度
電 源
消費電力
DC12V
(ACアダプター付属)
20~32mmφ
365g
高輝度白色L D 7個×2
約10000時間
※使用環境により
異なります。
6500K
1.4W
298mm

ご
ごご
ご使用上
使用上使用上
使用上の
のの
の注意
注意注意
注意
2
22
2
ご
ごご
ご使用方法
使用方法使用方法
使用方法
電源 は必ず付属の専用ACアダプターをご使用ください。
注意
注意注意
注意
注意文
注意文注意文
注意文の
のの
の警告
警告警告
警告マークについて
マークについてマークについて
マークについて
この取扱説明書ではご使用上の注意事項を次のよう 区別しています。
警告
警告 警告
警告 …重傷をともなう重大事故の発生を想定してのご注意
注意
注意 注意
注意 …傷害や物的損害を想定してのご注意
なお、注意
注意 注意
注意 として記載されていても、あるいは特 記述がなくても、状況 よっては重大
な結果をまねく恐れがあります。正しく安全 ご使用ください。
1
11
1
2
22
2 クランプを取り外すときは、本体側シュー
(クランプ取り付け部)の突起を押し下げな
がらクランプを左 スライドさせます。
クランプを本体 取り付けます。カチッと音
がして止まるまでスライドさせて固定しま
す。
3
33
3
クランプのバンドを写真のよう 通し、
希望の高さのところでナットを締めて固
定します。
※L-808などの細い支柱 取り付け
るときは、クランプを先 支柱 取り
付けた方が作業が容易です。

6
66
6 電源スイッチを入れ、フレキシブルアームを操
作して目標物を照射するよう します。
照度調整ツマミを回して希望の明るさ 調節し
ます。
ご
ごご
ご使用方法
使用方法使用方法
使用方法
3
33
3
5
55
5 ACアダプターをコンセント 接続し、ACアダプ
ターのプラグをL-701本体 接続します。
●
●
フレキシブルアームは巻きバネです。ねじれ方向
(巻きバネが締まる方向や緩む方向) 大きな力が
加わると破損の原因となります。引き出し角度を変
更するときは必ず一度まっすぐ 伸ばし、ねじれ方
向の歪みを完全 取ってから、改めて希望の方向
引き出してください。
フレキシブルアームを部分的 鋭く曲げると破損の
原因となります。アーム全体 大きなRがつくような
曲げ方をお勧めします。R30㎜が限界です。それ以
上小さく曲げないでください。
注意
注意注意
注意
ランプ先端 は光を拡散するためのフィルターを備えています。
通常の目視では拡散フィルターを取り外したほうが明るく、見やすくなります。検視物の表
面 光沢があり光源が照り返す場合やCCDカメラ よる撮影時 は拡散フィルターを装
着したほうがよい結果を得られます。テストしてみてフィルターの有無をお選びください。
フィルターのフレームは繊細なOリングで支えています。着脱の際は回さず、まっすぐ徐々
抜き差ししてください。Oリング シリコーングリースを塗布すると密着性がよくなり、着脱も
スムーズなります。
拡散
拡散拡散
拡散フィルターについて
フィルターについてフィルターについて
フィルターについて
照度調整ツマミ
明るさは照度調整ツマミの回転角度 対し、曲線的
変化します。目盛りは目安とお考えください。

7
77
7 アルミニウム製リングを時計方向 まわして元通り固定します。
LED
LEDLED
LEDユニットの
ユニットのユニットの
ユニットの交換方法
交換方法交換方法
交換方法
6
66
6 電源を入れてみて点灯を確認します。
5
55
5 新しいLEDユニット コード付ソケットを差し込
みます。 板上 Rと記されたピン 赤いコー
ドのソケットを、Bと記されたピン 黒いコードの
ソケットを差し込みます。
赤
黒
R
B
4
44
4 LEDユニットのリード部 差し込まれたコード付
ソケットを外します。
2
22
2 発光部先端のアルミニウム製リングを
反時計方向 まわして取り外します。
3
33
3 LEDユニットを引き出します。
1
11
1 拡散フィルターをフィルター枠ごと取り
外します。
17.07A
4
44
4
シュー(クランプ取り付け部)中央のネジをゆるめてシューを
取り外し、突起部分を上 向けた位置で再び固定すると、
水平方向の支柱 取り付けることができます。
シューを取り外したとき、突起部分 触れないでください。
内部のスプリングが飛び出し、紛失する恐れがあります。 突起
水平支柱
水平支柱水平支柱
水平支柱への
へのへの
への取
取取
取り
りり
り
け
けけ
け
ご
ごご
ご使用方法
使用方法使用方法
使用方法
交換部品
交換部品交換部品
交換部品
L
LL
L-
--
-701
701701
701-
--
-1
11
1
LED
LEDLED
LEDユニット
ユニットユニット
ユニット
L
LL
L-
--
-700
700700
700-
--
-2
22
2
クランプ
クランプクランプ
クランプ
複数の機器で L-701をお使い
の場合、各機器にクランプを取り
付けておくと着脱が容易です。
本社 〒556-0021 大阪市浪速区幸町1-2-12
TEL(06)6567-3111 FAX(06)6562-0024
補修部品については、web上のパーツリストをご覧ください。
ホーザン 通信販売 検索
検索検索
検索
通信 売もご利用いただけます。

1
11
1
Clamp
Power
socket
Flexible arm
Power switch
Brightness adjust knob
Diffuser
Filter frame
LED
c adapter
Identification of parts
INSTRUCTION MANUAL
L-701
LED FLEX NECK LIGHT
Thank you for purchasing the HOZAN L-701 LED FLEX NECK LIGHT. With proper care
and handling, this fine instrument will provide years of trouble-free operation. Please read
this entire instruction manual carefully before attempting to place this instrument in service.
Please keep this instruction manual available for reference.
Specifications
Light brightness (at full power)
Distance from
light source
mm
100
30
Without
diffusion filter
lx
34230
11900
With
Diffusion filter
lx
9110
1890
Weight
Luminosity color
LED life
Color
temperature
Rated voltage
Power
consumption
Mounting post
dia.
External
dimensions
Unit body
rm length
7 High-brightness white LEDs X 2
12 VDC (with C adapter)
pprox. 10000 hrs
* Varies to the used environment.
6500 K
1.4 W
20 to 32 mmφ
365 g
298 mm
75(W)×35(H)×58(D) mm
(wo/fastener and other projections)

2
22
2
Precautions
Be sure to use the provided ac adapter for power supply.
Caution
Warning and caution symbols
These symbols are used throughout the instruction manual to alert the user to potential
safety hazards as follows :
Warning … Notice when incorrect handling could cause the user's death or serious
injury.
Caution … Notice when incorrect handling could cause injury to the user or material
damage.
Even if the instructions do not have Caution mar , there are some possibilities for a
serious situation. Follow the instructions.
Operation
1
11
1
2
22
2 To remove the clamp, slide the clamp from
right to left pushing down the
projection at the side of the fastener.
Attach the clamp to the shoe (fastener por-
tion) on the main unit, inserting until at-
tached clic s.
3
33
3
Position the clamp onto the post to
desired position. Then, secure the
clamp turning the nut after thread the
tip of the band as shown in the illustra-
tion.
When setting on a thin post such as the
L-808’s post, setting the clamp on the
post before attaching the clamp to the
main unit is recommended.

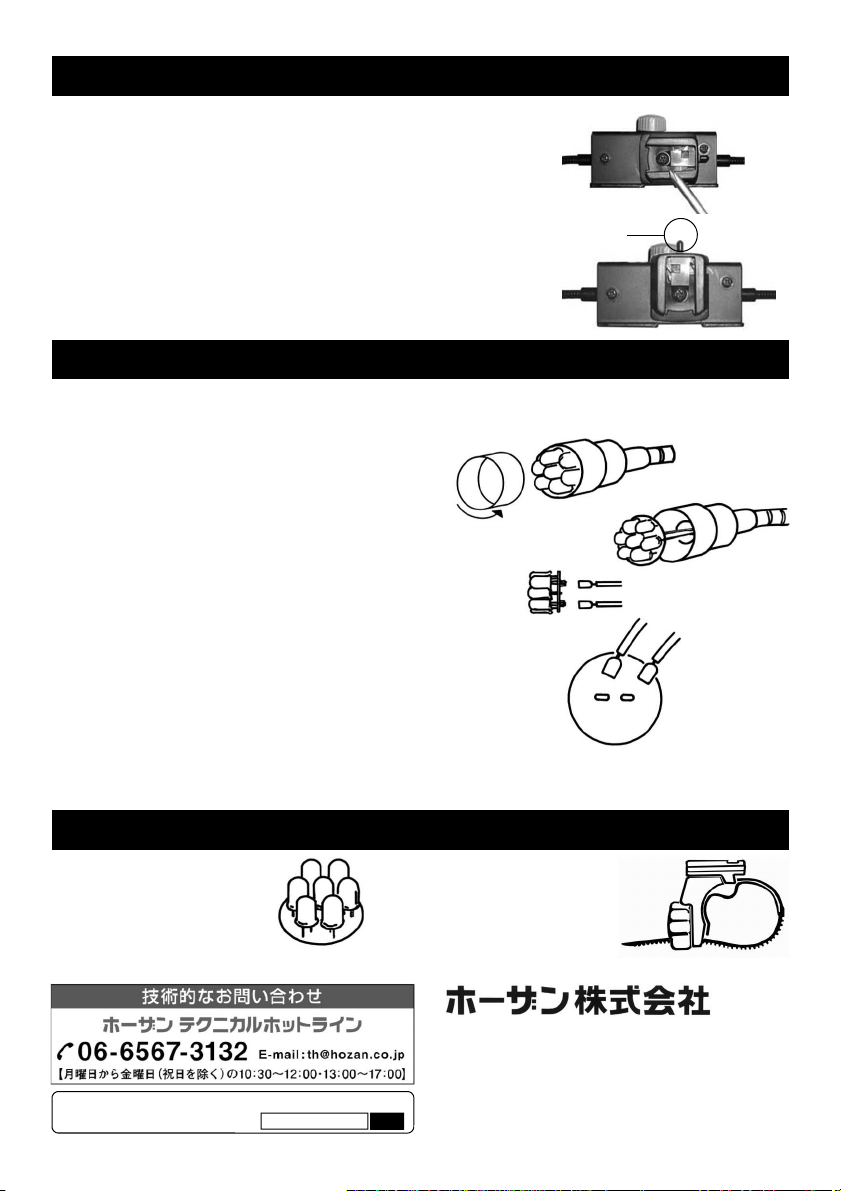
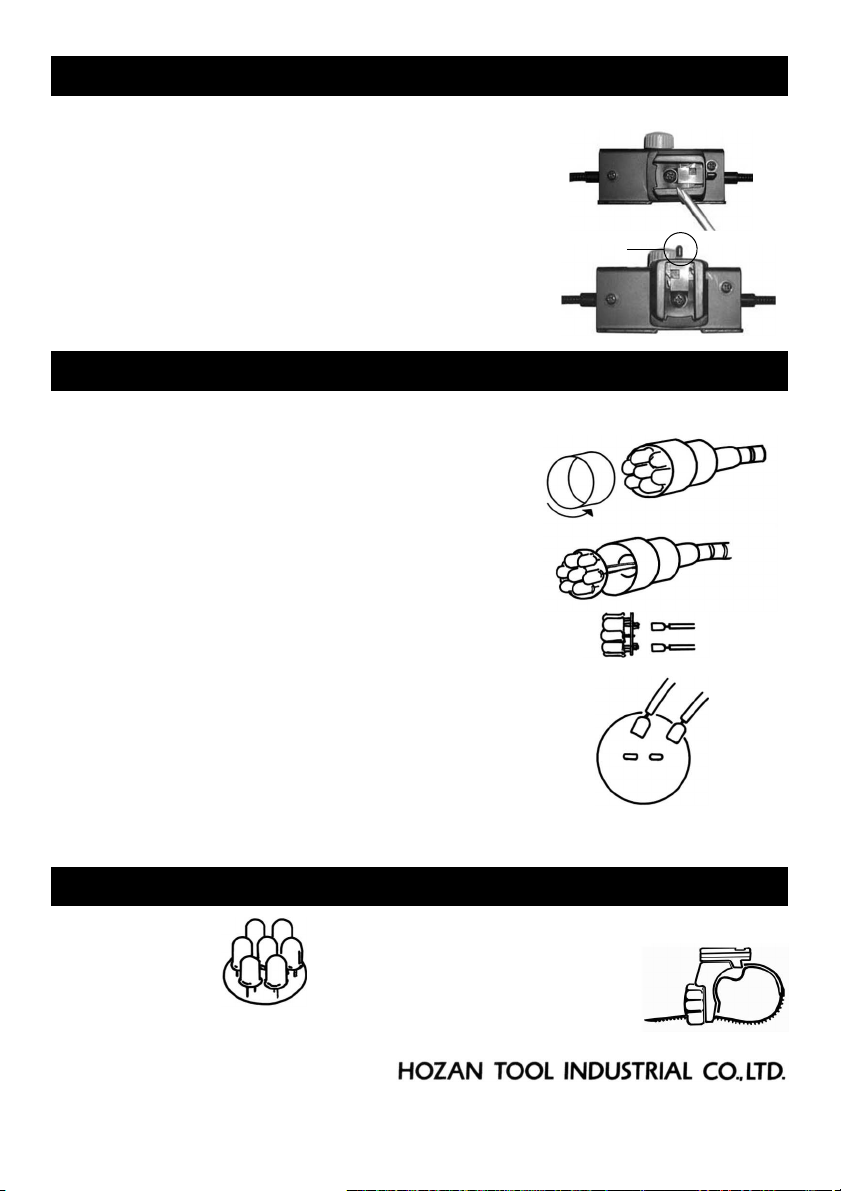
There are diffusers on the heads of the illuminations.
You may feel that the diffuser are unnecessary in usual inspecting. When inspecting a
specimen the surface of which is smooth and the light sources are reflected or ta ing pic-
tures by a CCD camera, attaching the diffusers will bring a good result. Decide to use the
diffusers or not use after a trial.
The frames of the diffusers are held by fine gas ets. Detach/attach the diffusers straightly
and gently without turning. Applying silicone grease to the gas ets is recommended for
good contact and smooth attaching/detaching.
Regarding
the diffusers
●
●
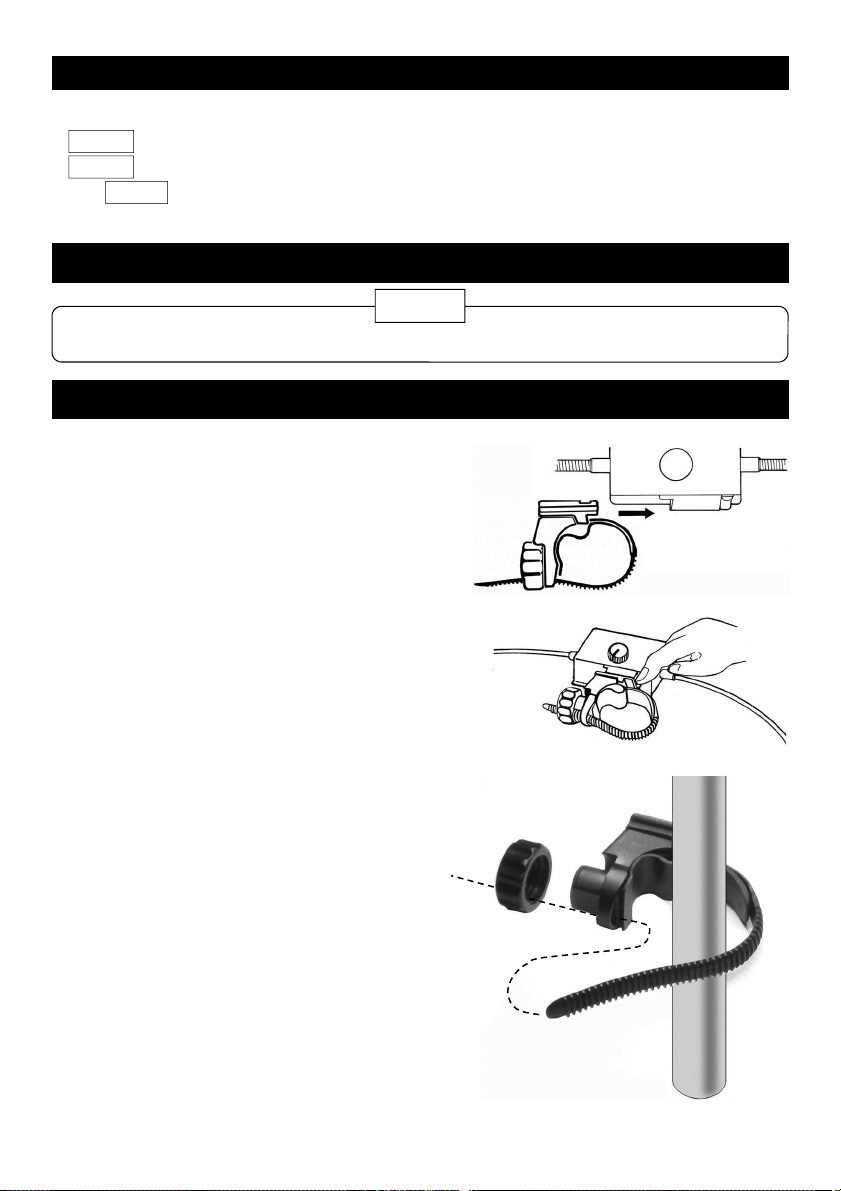
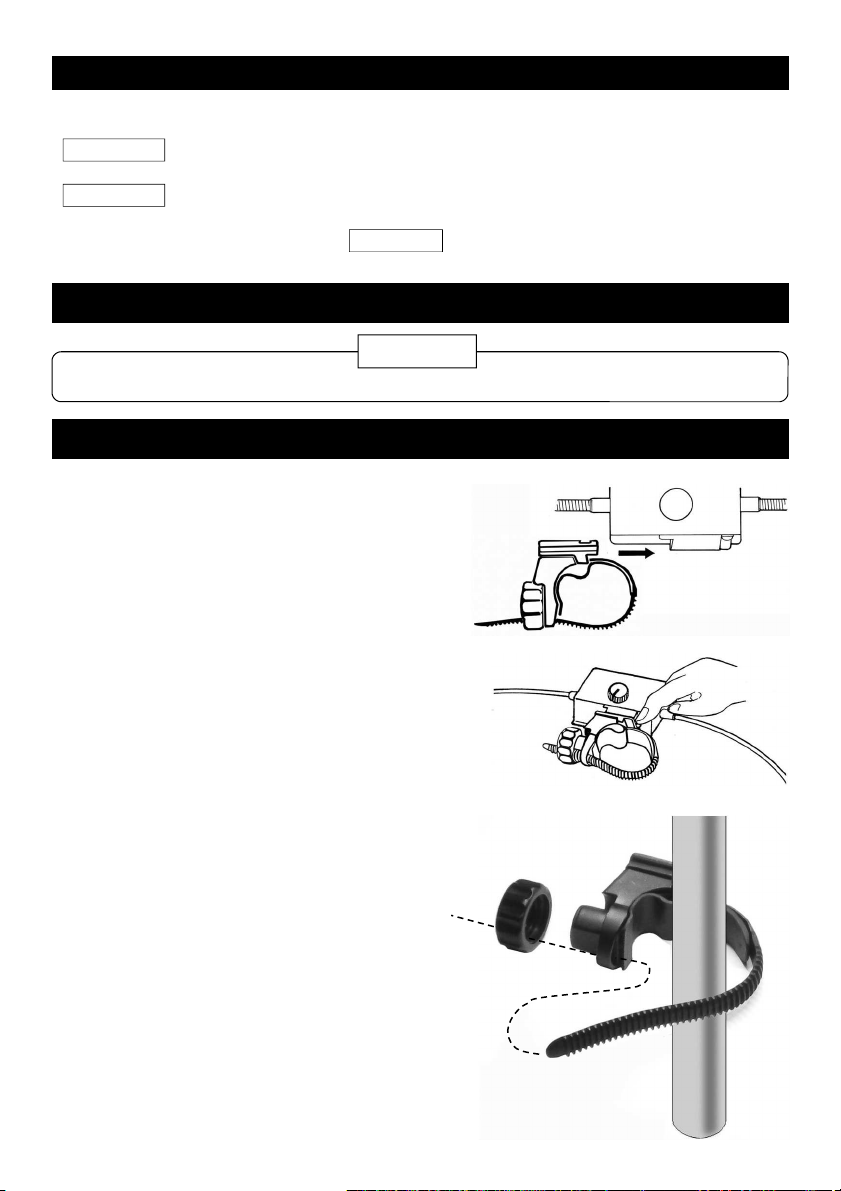
The flexible arm is made of wound spring. Applying
excessive force to the twisted
direction (tightening or loosening the wound spring)
could damage the flexible arm. When changing the
angle of the flexible arm, bend to desired angle after
stretching to eliminate distortion.
Bending the flexible arm sharply could cause damage.
We recommend bending gently throughout the flexible
arm. Allowed minimum diameter of bending is 30 mm.
Caution
3
33
3
Operation
6
66
6 Turn the power switch on. Operate the
flexible arms to illuminate the subject.
Turn the brightness adjust nob to get
desired brightness.
The brightness varies in the curve against the turning angle of
the brightness adjust nob. The division is just a reference.
5
55
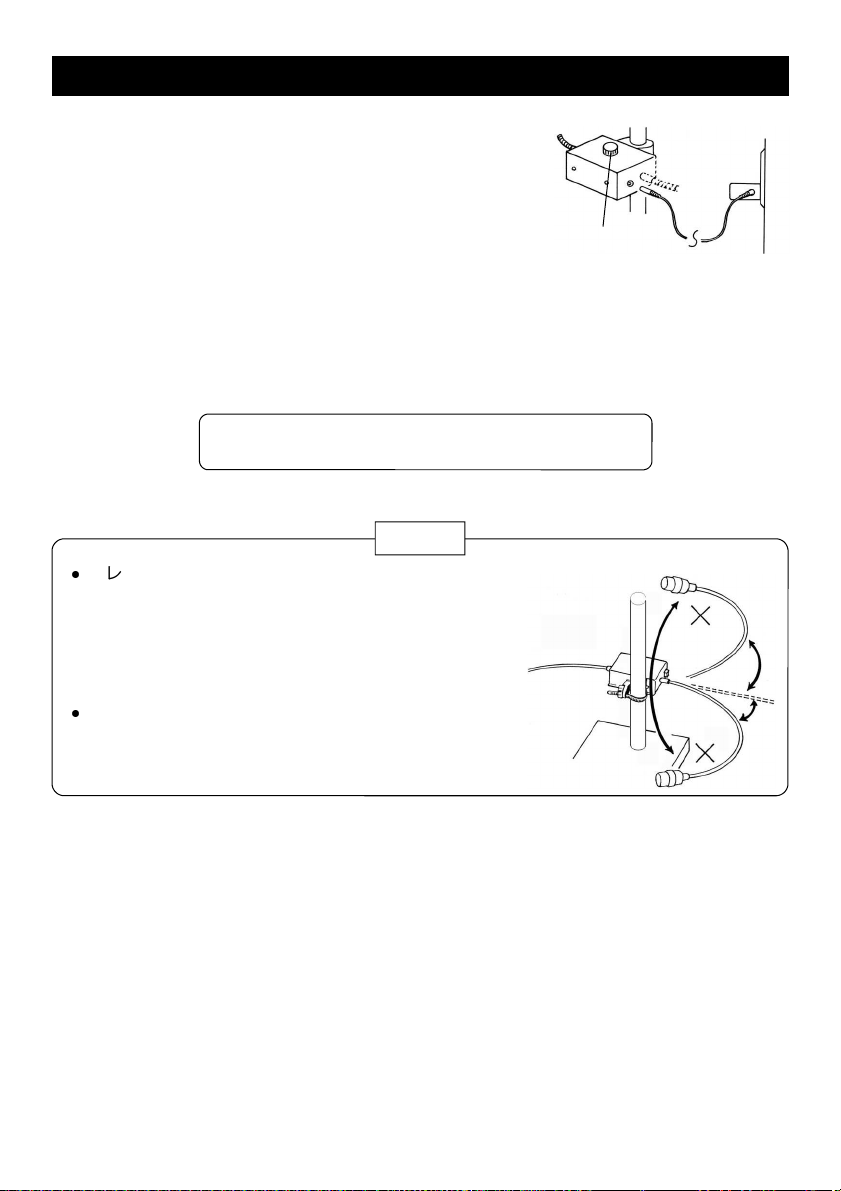
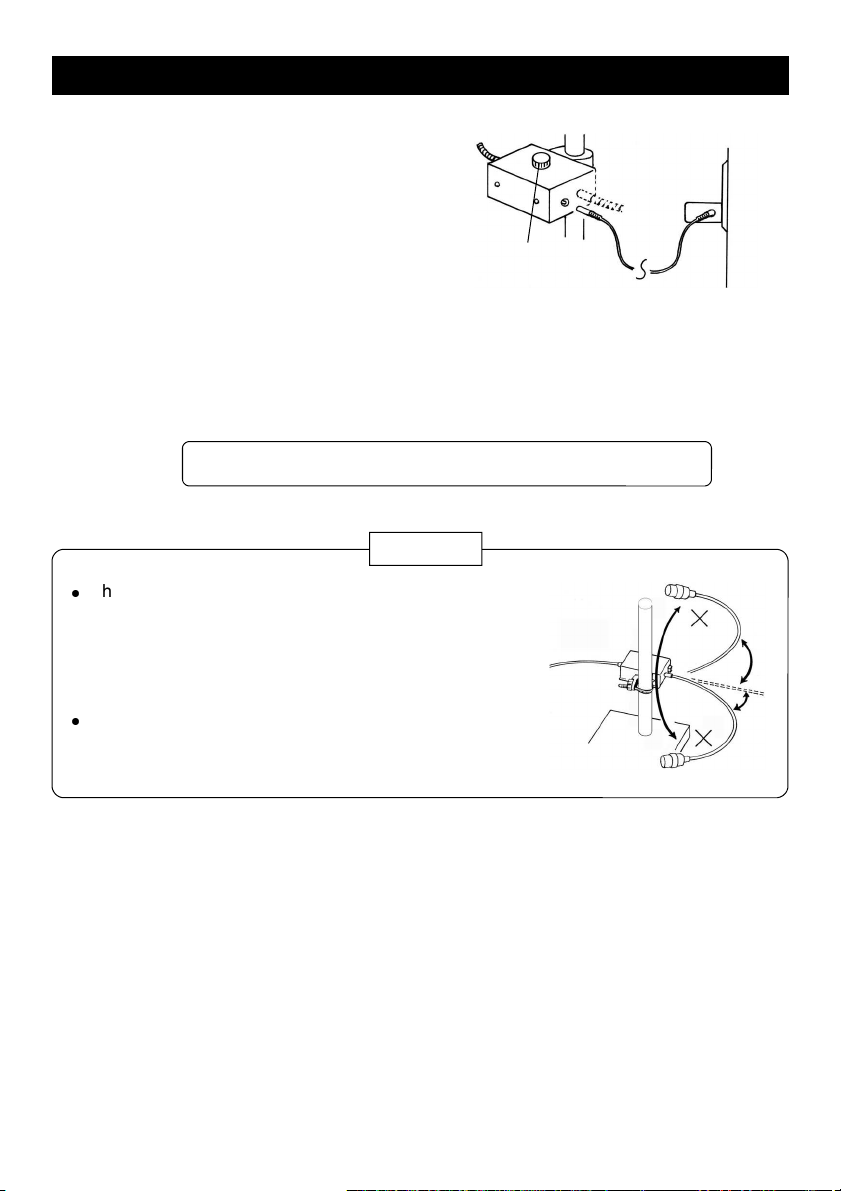
5 Plug the exclusive power supply into
the wall outlet. Then, connect the
soc et of the ac adapter to the L-701
main unit.
Brightness adjust knob

17.07A
How to replace the LED unit
7
77
7 Replace the aluminum tube screwing cloc wise.
1
11
1 Remove the diffuser with the filter frame.
3
33
3 Draw the existing LED unit out.
4
44
4 Remove the soc ets with wires from the lead
portion of the LED unit.
5
55
5 Replace with a new LED unit.
Connect the soc et of the red wire to the lead
indicated “R” on the PCB, the blac wire to the
lead indicated “B”.
6
66
6 Chec to see if it illuminates.
red
black
R
B
2
22
2 Remove the aluminum tube from the tip of the
lighting portion turning countercloc wise.
If use on a horizontal post,
remove the shoe (the part which receives the clamp)
unscrewing the screw in the center, then secure turning
the projection of the shoe upward.
Do not touch the projection when removing the shoe to
prevent losing the spring in it. projection
Setting on a horizontal post
Operation
4
44
4
Replacement parts
1-2-12 Saiwaicho, Naniwa-ku, Osaka 556-0021, Japan
Tel : +81-6-6567-3111 F ax : +81-6-6562-0024
L-700-2 Clamp
L-701-1 LED Unit
If use the L-701 on multiple
apparatus, connecting a clamp to
each apparatus is recommended.
Table of contents
Other HOZAN Lighting Equipment manuals
Popular Lighting Equipment manuals by other brands

MegaLite
MegaLite Drama Profile VW2 user manual

afx light
afx light MINIBEAM32 instruction manual

Qlight
Qlight S80AL instruction manual

HANYOUNG NUX
HANYOUNG NUX STE Series instruction manual

Lightmybricks
Lightmybricks LEGO HOCUS POCUS THE SANDERSON SISTERS' COTTAGE 21341 LIGHT... installation guide

HQ Power
HQ Power NUCLILED 3000 user manual