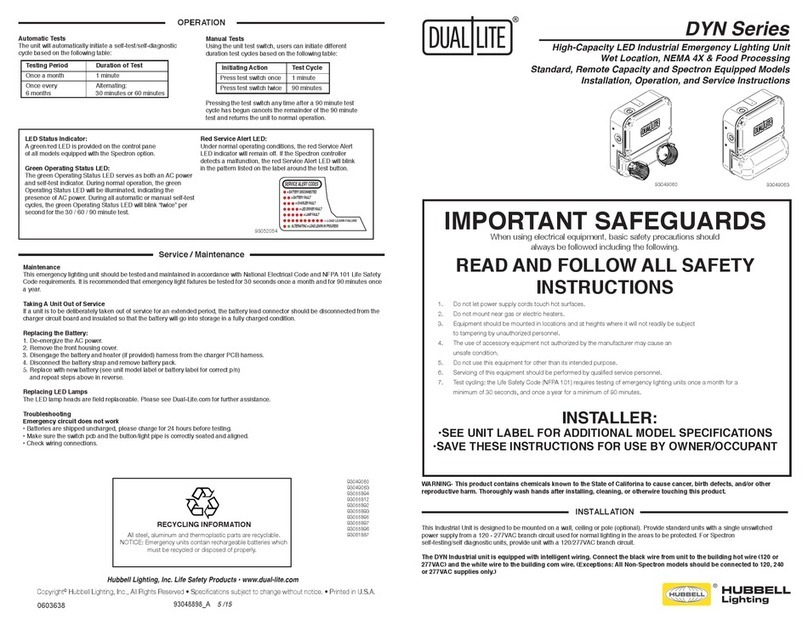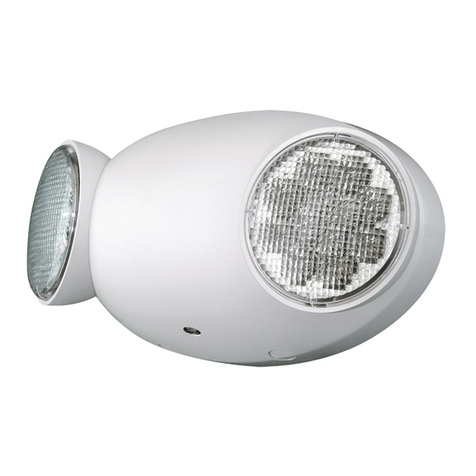
High-Capacity LED Industrial Emergency Lighting Unit
Wet Location, NEMA 4X & Food Processing
Standard, Remote Capacity and Spectron Equipped Models
Installation, Operation, and Service Instructions
DYN Series
IMPORTANT SAFEGUARDS
When using electrical equipment, basic safety precautions should
always be followed including the following.
READ AND FOLLOW ALL SAFETY
INSTRUCTIONS
1. Do not let power supply cords touch hot surfaces.
2. Do not mount near gas or electric heaters.
3. Equipment should be mounted in locations and at heights where it will not readily be subject
to tampering by unauthorized personnel.
4. The use of accessory equipment not authorized by the manufacturer may cause an
unsafe condition.
5. Do not use this equipment for other than its intended purpose.
6. Servicing of this equipment should be performed by qualied service personnel.
7. Test cycling: the Life Safety Code (NFPA 101) requires testing of emergency lighting units once a month for a
minimum of 30 seconds, and once a year for a minimum of 90 minutes.
INSTALLER:
•SEE UNIT LABEL FOR ADDITIONAL MODEL SPECIFICATIONS
•SAVE THESE INSTRUCTIONS FOR USE BY OWNER/OCCUPANT
RECYCLING INFORMATION
All steel, aluminum and thermoplastic parts are recyclable.
NOTICE: Emergency units contain rechargeable batteries which
must be recycled or disposed of properly.
Hubbell Lighting, Inc. Life Safety Products • www.dual-lite.com
Copyright© Hubbell Lighting, Inc., All Rights Reserved • Specications subject to change without notice. • Printed in U.S.A.
93048898_A 5 /15
Service / Maintenance
93049060 93049063
93049060
93049063
93055894
93055812
93055892
93055893
93055895
93055897
93055896
93061887
Maintenance
This emergency lighting unit should be tested and maintained in accordance with National Electrical Code and NFPA 101 Life Safety
Code requirements. It is recommended that emergency light xtures be tested for 30 seconds once a month and for 90 minutes once
a year.
Taking A Unit Out of Service
If a unit is to be deliberately taken out of service for an extended period, the battery lead connector should be disconnected from the
charger circuit board and insulated so that the battery will go into storage in a fully charged condition.
Replacing the Battery:
1. De-energize the AC power.
2. Remove the front housing cover.
3. Disengage the battery and heater (if provided) harness from the charger PCB harness.
4. Disconnect the battery strap and remove battery pack.
5. Replace with new battery (see unit model label or battery label for correct p/n)
and repeat steps above in reverse.
Replacing LED Lamps
The LED lamp heads are eld replaceable. Please see Dual-Lite.com for further assistance.
Troubleshooting
Emergency circuit does not work
• Batteries are shipped uncharged, please charge for 24 hours before testing.
• Make sure the switch pcb and the button/light pipe is correctly seated and aligned.
• Check wiring connections.
0603638
INSTALLATION
This Industrial Unit is designed to be mounted on a wall, ceiling or pole (optional). Provide standard units with a single unswitched
power supply from a 120 - 277VAC branch circuit used for normal lighting in the areas to be protected. For Spectron
self-testing/self diagnostic units, provide unit with a 120/277VAC branch circuit.
The DYN Industrial unit is equipped with intelligent wiring. Connect the black wire from unit to the building hot wire (120 or
277VAC) and the white wire to the building com wire. (Exceptions: All Non-Spectron models should be connected to 120, 240
or 277VAC supplies only.)
WARNING- This product contains chemicals known to the State of Califorina to cause cancer, birth defects, and/or other
reproductive harm. Thoroughly wash hands after installing, cleaning, or otherwire touching this product.
Initiating Action Test Cycle
Press test switch once 1 minute
Press test switch twice 90 minutes
Manual Tests
Using the unit test switch, users can initiate different
duration test cycles based on the following table:
Pressing the test switch any time after a 90 minute test
cycle has begun cancels the remainder of the 90 minute
test and returns the unit to normal operation.
Testing Period Duration of Test
Once a month 1 minute
Once every Alternating:
6 months 30 minutes or 60 minutes
Automatic Tests
The unit will automatically initiate a self-test/self-diagnostic
cycle based on the following table:
93052054
LED Status Indicator:
A green/red LED is provided on the control pane
of all models equipped with the Spectron option.
Green Operating Status LED:
The green Operating Status LED serves as both an AC power
and self-test indicator. During normal operation, the green
Operating Status LED will be illuminated, indicating the
presence of AC power. During all automatic or manual self-test
cycles, the green Operating Status LED will blink “twice” per
second for the 30 / 60 / 90 minute test.
Red Service Alert LED:
Under normal operating conditions, the red Service Alert
LED indicator will remain off. If the Spectron controller
detects a malfunction, the red Service Alert LED will blink
in the pattern listed on the label around the test button.
= LAMP FAULT
= LED DRIVER FAULT
= CHARGER FAULT
= BATTERY FAULT
= BATTERY DISCONNECTED
SERVICE ALERT CODES
ALTERNATING = LOAD LEARN IN PROGRESS
= LOAD LEARN FAILURE
OPERATION
