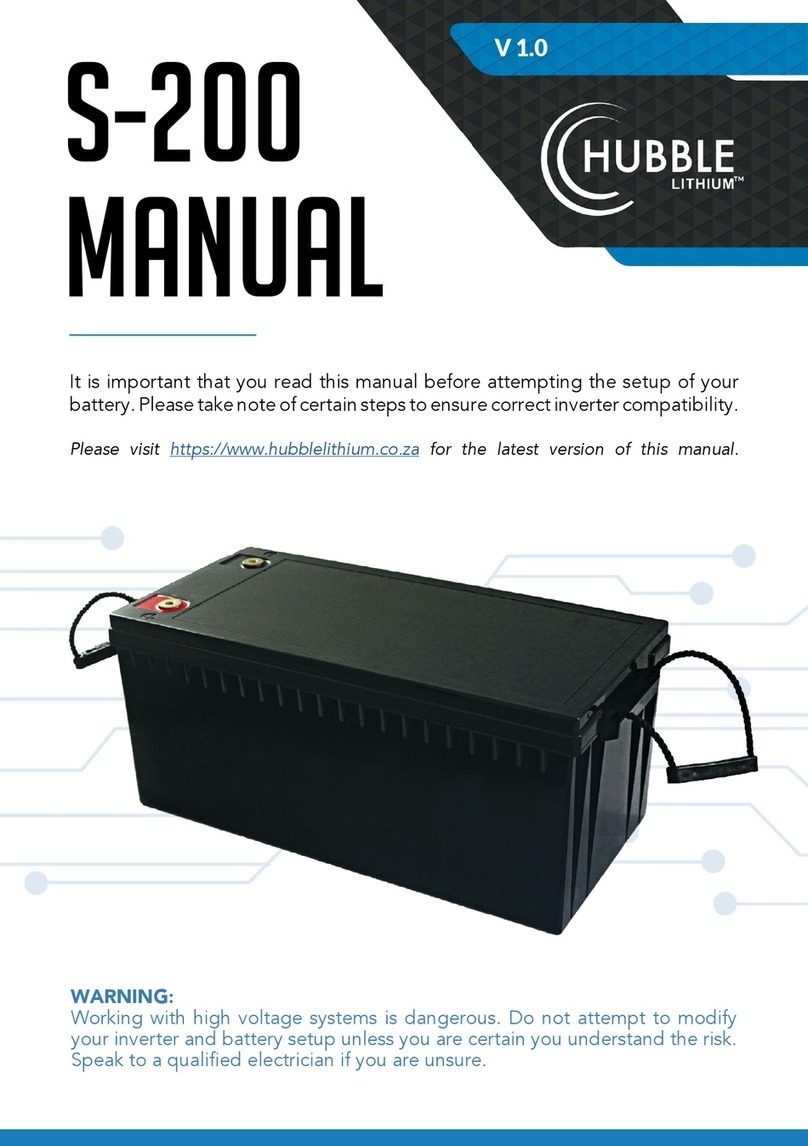
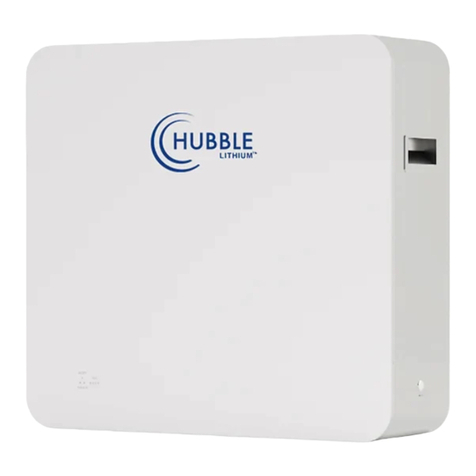
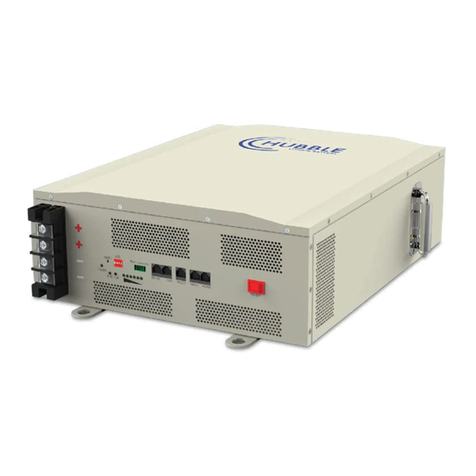
Hubble AM-2 User manual

HUBBLE LITHIUM AM-2 MANUAL
Integrated Lithium-ion Battery
Manual for Hubble AM-2
Version:V1.0
Released Date:2021-04-02

Content
1.
Appearance ............................................................................................................................................................3
2.
Installation..............................................................................................................................................................4
3.
Dip switch settings .................................................................................................................................................4
4.
Connections............................................................................................................................................................5
5.
DC Isolator ..............................................................................................................................................................5
6.
Inverter Setup (Pre launch)....................................................................................................................................5
7.
CAN Bus Setup (Optional) ......................................................................................................................................6
8.
Completing Setup...................................................................................................................................................6
9.
LED Indication.........................................................................................................................................................7
10.
BMS Low Power Mode...........................................................................................................................................8
11.
RS232 Communication Port...................................................................................................................................8
12.
RS485 Communication Port...................................................................................................................................8
13.
Data Storage...........................................................................................................................................................9
14.
Maintenance ..........................................................................................................................................................9
15.
BMS EMC Safety.....................................................................................................................................................9

1.
Appearance
Below illustration of the AM-2 model.

2.
Installation
The AM-2 is designed to be wall mounted or installed flat inside a cabinet. The unit is not designed to be
installed upside down or sideways on a wall.
When installing on a wall ensure you use Rawl bolts to secure the unit onto the wall.
3.
Dip switch settings
Configure each battery address to enable proper setup and communication. Each battery needs a unique
serial addresses in order to communicate. If you are only using 1 battery in your setup, ensure you set the
battery to address 1.
Address
Dip Switch
Remark
#1
#2
#3
#4
1
ON
OFF
OFF
OFF
Master
2
OFF
ON
OFF
OFF
Battery 2
3
ON
ON
OFF
OFF
Battery 3
4
OFF
OFF
ON
OFF
Battery 4
5
ON
OFF
ON
OFF
Battery 5
6
OFF
ON
ON
OFF
Battery 6
7
OFF
OFF
OFF
OFF
Battery 7
8
OFF
OFF
OFF
OFF
Battery 8
9
OFF
OFF
OFF
OFF
Battery 9
10
OFF
OFF
OFF
OFF
Battery 10
11
OFF
OFF
OFF
OFF
Battery 11
12
OFF
OFF
OFF
OFF
Battery 12
13
OFF
OFF
OFF
OFF
Battery 13
14
OFF
OFF
OFF
OFF
Battery 14
15
OFF
OFF
OFF
OFF
Battery 15

4.
Connections
To connect multiple batteries, ensure you use the supplied RJ45 to RJ45 (normal LAN cable) and plug the
one end into the master “Battery Link”, and the other end into battery #2. Continue this step until all the
batteries has been linked up.
NOTE: If you do not have a battery link cable supplied with your battery, you can use a normal computer
LAN cable to connect each battery. The pin layouts for the ports are the same as a normal LAN cable.
Continue to wire up the DC block terminals of each battery to the inverter/charger.
Once you have completed the address configuration, inter battery communication links and wired up the
DC connections you can proceed to configure the inverter charge settings.
NOTE: If your batteries are unbalanced or the voltage of each pack is different by more than 2 Volts DC then
your packs will try to inter balance by over 100Amps. This could cause the other batteries in the
configuration to Over Current and go into protection mode. If this occurs, charge each pack full individually
with the inverter/charger, then switch the other packs on once each has been charged to 100%.
5.
DC Isolator
The Hubble AM series of batteries has an integrated electronic circuit breaker built into the BMS. The
integrated electronic CB is for protecting the battery and the internal cells against overload, over current,
over volt etc. It is however required to install an external DC fuse or circuit breaker before using or
operating the batteries. Please ensure you use the correct rating as per battery specification.
6.
Inverter Setup (Pre launch)
Set your Inverter/charger to the following settings before you start charging or using the lithium batteries. It
is very important to set the voltages correctly as out of range voltages can damage the battery.
The following settings are to be used for all charger/inverters.
Inverter / Charger Settings
Bulk/Equalisation Charge
53.6 Volt
Float Charge
53 Volt
Low DC Cut off
43 Volt
Axpert Recommended Settings
Voltage Point back to Utility
47 Volt
Axpert Type
Voltage Point back to Battery
53 Volt
Axpert Type

7.
CAN Bus Setup (Optional)
The AM series models has an integrated CAN bus port on each battery. The CAN bus can be used to connect
to any inverter that is CAN bus ready. The Hubble range of lithium batteries with CAN bus port can integrate
with most leading inverters. For more information on CAN bus and compatible inverters see our website at
www.hubblelithium.co.za for more information.
To connect the CAN bus cable from the battery to the inverter, ensure you have the correct pin layout.
The below is the pin configuration that the Hubble battery CAN bus port uses. Ensure you have the pin out
for the cable required for your inverter.
PIN Number
CAN Pin
1
-
2
GROUND
3
-
4
CAN H
5
CAN L
6
-
7
-
8
-
8.
Completing Setup
Once all the above steps have been completed with CAN bus step being optional the setup should be
complete for your batteries. You can proceed to follow the start-up instructions from your inverter
manufacturer.
CAN Port

9.
LED Indication
Table 1: LED Operation Status
Status
Normal /
Alarm /
Protection
RUN
ALM
SOC Indication LEDs
Remark
●
●
●
●
●
●
Power Off
Sleep
OFF
OFF
OFF
OFF
OFF
OFF
All off
Standby
Normal
Flash 1
OFF
Indication by SOC
Standby state
Alarm
Flash 1
Flash 3
Cell low voltage
Charge
Normal
ON
OFF
Indication by SOC
(The top SOC Led Flash 2)
ALM Led OFF
when Cell over-
charge voltage
Alarm
Alarm
ON
Flash 3
Over
Charge
Protection
ON
OFF
ON
ON
ON
ON
If no mains
supply, LED as
standby
Temperature/
Over-current
Fault
Protection
OFF
ON
OFF
OFF
OFF
OFF
Discharge
Normal
Flash3
OFF
Indication by SOC
Alarm
Flash3
Flash 3
Under
Discharge
Protection
OFF
OFF
OFF
OFF
OFF
OFF
Temperature
Alarm
or
Over-current
Alarm
or
Short Circuit
Protection
OFF
ON
OFF
OFF
OFF
OFF
Fault
OFF
ON
OFF
OFF
OFF
OFF

Table 2: LED Flash Status
FLASH
ON
OFF
Flash 1
0.25 S
3.75 S
Flash 2
0.5 S
0.5 S
Flash 3
0.5 S
1.5 S
•When battery is turned on you can reset the BMS operation mode to default to clear a temporary
alarm status. Push the switch for 6 seconds, the BMS will reset. LEDs will flash one at the same.
10.
BMS Low Power Mode
The Hubble BMS will enter low power mode if the following conditions happen:
•When over-discharge protection has occurred. (30S later).
•When all cell-voltage less than sleep voltage parameter setting to prevent complete cell/battery
drain.
•Standby time is more than 24 hours (without charge and discharge current, without balance,
without protection and fault).
11.
RS232 Communication Port
The RS232 interface is used to connect to either the RIOT Cloudlink ( www.riotsystems.cloud ) device or for
technical support to interface directly through a service laptop and access the BMS directly for
programming and troubleshooting.
PIN Number
RS232 Pin
1
-
2
Ground
3
BMS Transmit
4
BMS Receive
5
Ground
6
-
12.
RS485 Communication Port
The RS485 interface is used only for performing firmware updates directly for the BMS. This port cannot be
used for any inverter communications. This port is reserved for administrative and workshop technicians.
RS232 Port

13.
Data Storage
The Hubble BMS has a built-in alarm and event data storage memory. Alarms and events are recorded as,
occurrence time, fault categories, over/under cell voltage, pack voltage, charge/discharge capacity,
charge/discharge current, temperature, etc. This can be downloaded by a service technician to help
troubleshoot any issues or problems of the battery.
14.
Maintenance
The Hubble BMS will protect the battery and life of your battery as best possible. However, it must be noted
that proper operation of the battery is recommended, and maintenance functions should be taken to
ensure the maximum life of your batteries.
1. Cell balancing is a very important function of the lifespan of your battery. It is important to ensure the
cell balancing functions are properly performed. The Hubble BMS cell balancer will only activate upon
100% state of charge when the batteries near full charge. Thus, it is critical that a full charge to the
batteries are provided at least once every 5 (five) days, but preferably daily upon a charge cycle. Enough
charge time should be provided to balance the cells until the BMS completely stops taking charge from
the inverter. Cell cycle life cannot be guaranteed if balancing is not performed on a regular basis. This is
especially important in complete off grid systems where a stable power supply is not available.
15.
BMS EMC Safety
ESD
Complies with Level 4 of GB/T 17626.2-2006 (EN55024): 8KV at contact and 15KV at air. Normal operation
after test.
Electromagnetic Conduction
Complies with Lever A of YD/T 983-1998 (EN55022).
Electromagnetic Radiation
Complies with Lever A of YD/T 983-1998 (EN55022).
Inrush
Complies with GB/T 17626.5-2008 (EN6100-4-2).
Disclaimer:
Information published on this manual is correct as of the date published on this manual.
Please ensure you have the latest manual which can be obtained from our website at
www.hubblelithium.co.za
Other manuals for AM-2
2
Table of contents
Other Hubble Camera Accessories manuals
Popular Camera Accessories manuals by other brands

Starblitz
Starblitz SRC-FREQUENCIA user guide

EnerSys
EnerSys DataSafe XE Series Installation, operation and maintenance manual

Glidecam Industries
Glidecam Industries Glidecam HD-1000 manual

Electron Plus
Electron Plus 389-1 user guide

Teradek
Teradek Ranger reference guide

Nikon
Nikon SB-400 instruction manual