2. Attach two wheels to rear end assern-
bly using screw (A), so that lug nuts
face out. Insert drive shaft (3) into
rear end assembly (3a).
3. Attach wheel drums (4) (5) to front
axle and .spring assembly (6) using
screw (B), so that boss on front axle
faces forward. Assemble tie rod (7)
to wheel drums using two screws (C).
Fasteh two wheels to front wheel
drums withscrews (A).
4. Place gear shift (8) in slot provided
on left side of engine block (9). place
right half of engine (10) on top.
Insert engine head ( I I ) in slot on
top of block. Secure entire engine
assembly with screw (C). Atiach
fan (12).
5. Rest engine on engine support brack_
ets. Insert drive shaft into rear of
transmission. Spring of rrl-- end as_
sembly slides into spring housing and
is secured to frame (tJ) with screw
(c).
6. Drop chassis (14) in position on top
of frame. Insert rear bumper ( 15)
into slots provided. Position luggage
rack (l5a) over bumper.. U.e Jcr&
(B) to secure luggage rack, chassis
and rear bumpers to frame. Insert
front end assembly into front spring
housing with tie rod toward ,"^, o1
car. Place radiator (16) in front of
front spring housing. Attach'radiator
- and front end assembly to frame with
screw (C). Attach hose (17) to radi-
ator.
7. Press two halves of body ( i8) ( 19)
together and secure with screw (C)
through spark coil. press steering
wheel (20) onto steering column
(21). Insert steering column through
dashboard (22) and tie rod. Attach
dashboard to bodt' with screw (C)
through firewall. Attach body to
frame with two screws (B).
8. Drop front ancl rear seats (23) (2+)
into position and fasten from undei-
neath with screw (C). Slide two
halves.of hood (25) (26) together and
place ln posltlon.
9. Cement tail light (27) into rear of
rear fenders.
10. Press lenses (28) into headlight (19).
Press headlight assembly into hoie, in
front fenders.
11. Insert parking lights (30)(31) into
upper cowl.
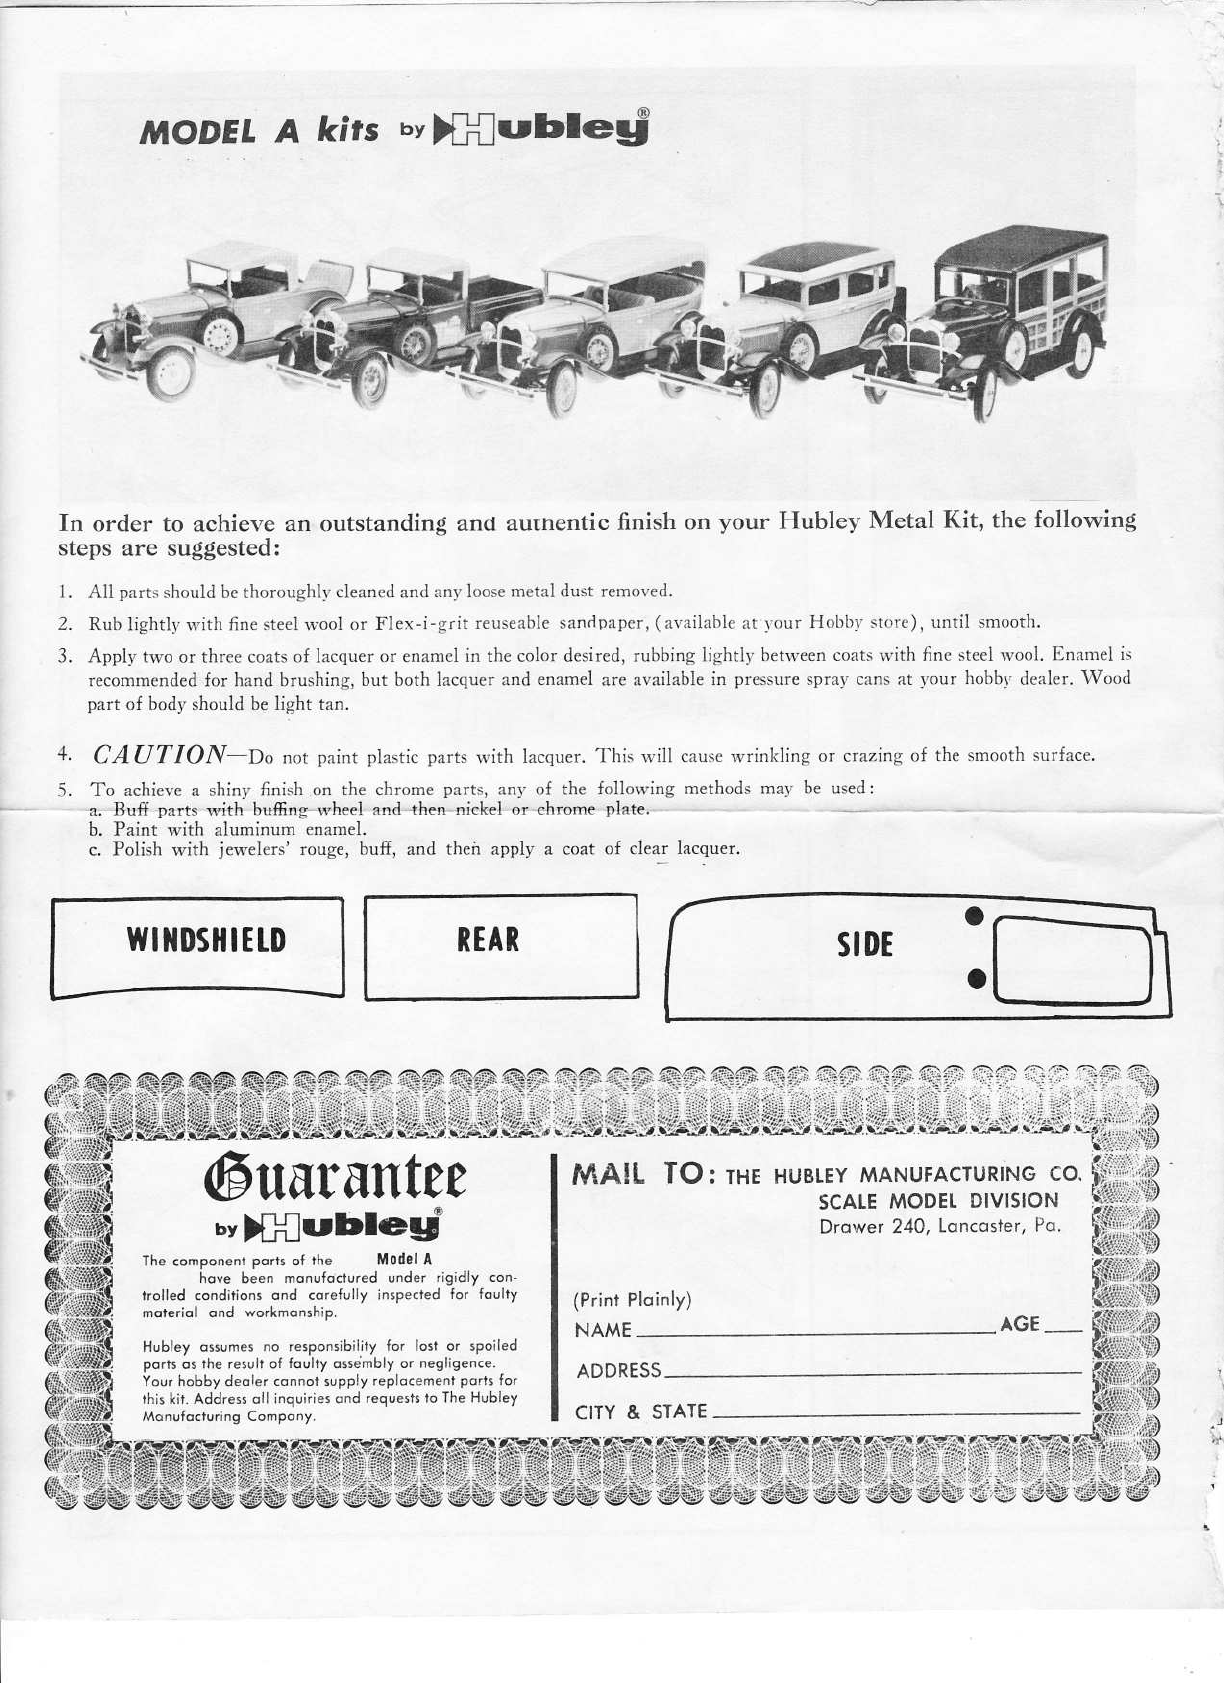
12. Cut plastic windows (32) by follow-
ing pattern provided on Page 4. Slide
windows and windshield into appro-
priate slots.
13. Position top of sedan (33) and se_
cure to body with screw (C) in center
of door post on each side. pi".. t.u.,k
(34) on luggage rack.
13"
STI',1-' No. -5
rJ_ _
STFjI' No. (r
STITP No. 7
' fire wall
fr,, /
\
- -'C
f-.2^
t
a/,
spark coil
S'ftrP No. 7
STEPNos.S&9
2s 30 c
1.f
2.t
3. L
3a R
4. \\
R
5. \\
6.F
st
7. 'r
8.G
9. E;
10. Er
R
ll Er
li Fr
13 Fr
lr "
li 1{,
tLr
llr
r(
&
"t
.4fii
STEI' Nos.8, 10, ll & 13