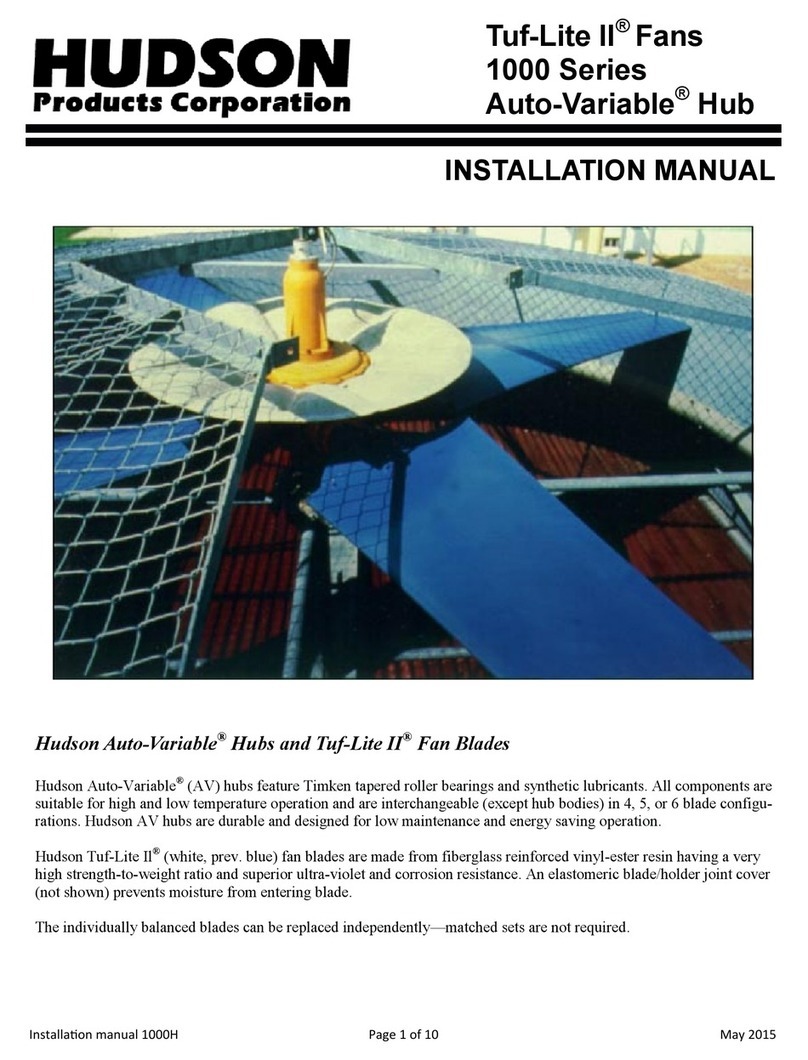
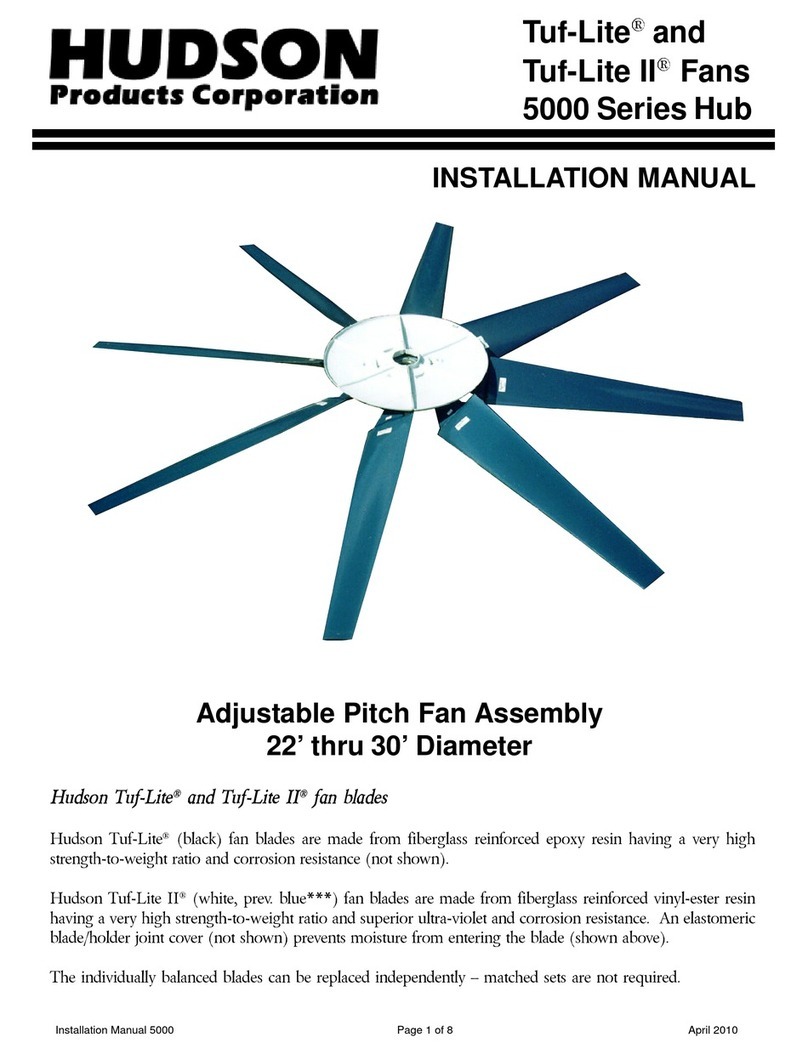
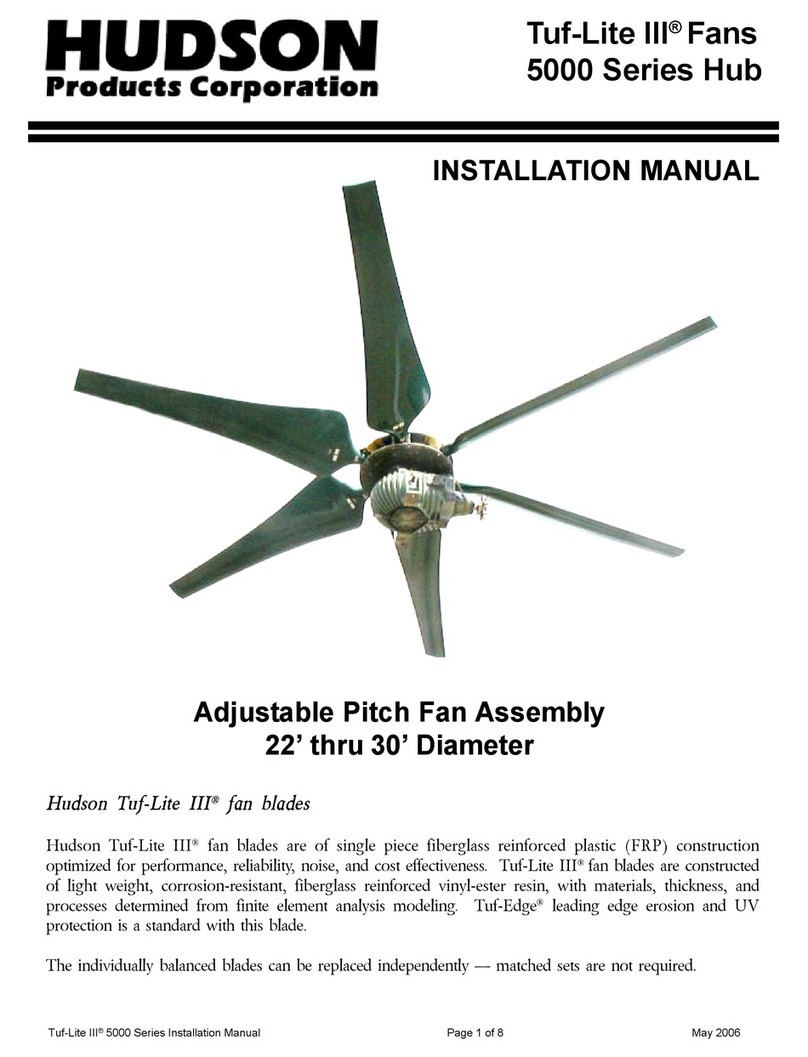
Hudson Tuf-Lite IV 5000MM Series User manual

Installaon Manual 5000MM Page 1 of 9 May 2019
Tuf-Lite IV® Fans
5000MM Series Hub
INSTALLATION MANUAL
Adjustable Pitch Fan Assembly
32’ - 33’ Diameter
Hudson Tuf-Lite IV® fan blades
Hudson Tuf-Lite IV® fan blades are of single piece berglass reinforced plasc (FRP) construcon op-
mized for performance, reliability, noise, and cost eecveness. Tuf-Lite IV® fan blades are con-
structed of light weight, corrosion-resistant, berglass reinforced vinyl-ester resin, with materials,
thickness, and processes determined from nite element analysis modeling. Tuf-Edge® provides su-
perior resistance against leading edge erosion and UV inhibited pigmentaon yields longer life.
The individually balanced blades can be replaced independently - matched sets are not required.

Installaon Manual 5000MM Page 2 of 9 May 2019
RECOMMENDED TOOLS
• Long T-Handle Allen Wrench Set (3/16" to 3/8")
• Medium Size Flat Head Screw Driver
• Brass Ball Peen Hammer
• Flat Bastard File
• 240 Grit Sand Paper
• An-Seize Lubricant
• WD-40
• 12" Crescent Wrench
• Shop Towels
• Exact-A-Pitch® Digital Protractor (P/N 62375)
• 25 . Measuring Tape
• Pencil or Marker
• Open/Box End Wrench Set (1/2" - 1-1/2")
• Socket Set for 1/2" Drive (1/2" - 1-1/2")
• Torque Wrench(s) Rated for 0-300 -lb.
INSTALLATION PROCEDURES
Bushing
Size
Allen
Wrench
Size
Cap
Screw
Size
Socket
Size
Torque
(-lb)
Dry
U1 3/16" 5/8" 15/16" 140 Torque Value
Cap Screw Socket (-lb)
Size Size Lubricated Dry
5/8" NC 15/16" 100 110
3/4" NC 1-1/8" 125 130
1" NC 1-1/2" 150 160
ASSEMBLY WITH BUSHING
Clean all mang surfaces between hub, bushing and sha. All
grease and lubricant should be removed, leaving the mang
surfaces dry.
If there is no shoulder on sha to prevent bushing from sliding
down sha, slide spacer/sleeve (not provided) on sha before
bushing or use a thrust retainer (oponal equipment) on top of
hub. Slide bushing and key onto sha unl ush with end of
sha. The sha size determines the bushing type (R2, S2, or
U1). Lock bushing on sha by ghtening the set screw in ange
with an Allen Wrench. Line up key and set hub on bushing. En-
gage the three (3) cap screws in ange of bushing into hub
spool, using a torque wrench with a socket, and ghten evenly.
Use the following table to determine the proper tools and
torque values.
ASSEMBLY WITH STRAIGHT SHAFT
(NO BUSHING)
Clean all mang surfaces between the hub and the sha. If
there is no shoulder on sha to prevent hub from sliding down
sha, slide spacer/sleeve (not provided) on sha before hub or
use a thrust retainer (oponal equipment) on top of hub. Install
key in sha. Line up key and keyway and set hub on sha.
Tighten set screw(s) in hub.
ASSEMBLY WITH TAPERED SHAFT
(NO BUSHING REQUIRED)
Clean all mang surfaces between the hub and sha.
Align keyways and install hub. Install retainer plate and cap
screw(s) with lock washer(s). Sha size determines what size
cap screw is necessary. Using a torque wrench with a socket,
evenly ghten cap screw to recommended standard per table
below.
NOTE: Retaining arrangement varies with gear sha design.

Installaon Manual 5000MM Page 3 of 9 May 2019
SEAL DISC HARDWARE INSTALLATION
*Seal disc mounng hardware must be installed BEFORE in-
stalling blades and blade clamps, due to limited access to seal
disc bolt holes.
Install seal disc spacer as shown in Figures 1 and 2. Install
3/8” bolts on the top hub plate with the threaded poron
poinng upwards. Place spacer on bolt, then at washer, and
then ghten 3/8” NC nut to recommended standard of 15 -
lb (lubricated) or 20 -lb (dry).
Figure 1
Figure 2
THRUST RETAINER
(oponal equipment)
Install proper load bolt (not provided) into top of fan sha and
ghten (See Figure 3). Install thrust retainer channel on top
hub plate using exisng hub spool cap screws. Torque cap
screws to 60-65 -lb. Install thrust retainer eyebolt and jam
nut. Hand ghten eyebolt. Tighten jam nut securely against top
of thrust retainer channel.
Figure 3
BLADE INSTALLATION
Remove blade clamp bolts, nuts, lock washers, and blade clamp
halves from hub. Assemble blade clamp halves over groove in
blade neck, and install into hub (See Figure 4). The thick leading
edge will be to your le and thin trailing edge will be to your
right as you stand at end of blade.
Figure 4

Installaon Manual 5000MM Page 4 of 9 May 2019
Install clamp bolts through hub plates and blade clamp, pung
bolt heads on top, lock washers and nuts on boom. Tighten
lightly (See Figure 5).
SET PITCH AND TRACK
Use Hudson EXACT-A-PITCH® digital protractor (See Figure
6) to set blade pitch. Mount protractor on the trailing edge
of the blade and ensure that protractor is long enough to
reach at least half across the blade chord. Place the pro-
tractor approximately 1" from p of blade. Note pitch on
protractor. Rotate fan 360°, nong high and low pitch
readings. Locate place where pitch reading is at mid-point
between high and low readings, and set pitch at that point.
Figure 5
Figure 6
Rotate blade in clamp unl digital protractor shows specied
pitch angle to within +/-0.2°. Fan pitch angle is shown on fan
specicaon sheet for design duty. Aer desired pitch angle is
set, raise and lower end of fan blade and nd midpoint of
blade travel. Hold blade at the midpoint. Pull blade outward so
that the blade neck ange rests against the back of the blade
clamps. Push blade to the right to remove all slack.
Use torque wrench to ghten clamp bolts per Table 1 below:
Re-check pitch seng. Blade must be set within +/-0.2° of de-
sired pitch angle. Tighten clamp bolts evenly. DO NOT OVER-
TORQUE CLAMP BOLTS.
When bolts are ghtened, hold a pencil against top end of
blade and mark the level onto a xed object, such as a pole or
the fan ring.
Install remaining blades at same place as rst blade, following
the instrucons above. Aer ghtening bolts, mark top end of
each blade in same place rst blade was marked. If marks
dier by 1" or more, adjust blade.
CHECK TRACK
Aer fan is installed in fan stack cylinder ring, outline top side
of each blade onto fan stack cylinder ring with a marker (See
Figure 7). The dierence between levels of highest and lowest
outlines should not be more than 1". Correct blade track by
loosening clamp bolts and adjusng blade to match track of
other blades. Re-ghten bolts and re-check track and pitch
angle seng. Re-ghten blade clamp bolts to recommended
standard per Table 1.
Figure 7
Clamp Bolt Type Torque Value (-lb)
Lubricated Dry
Grade 8, EcoGuard® n/a 220
Table 1: Clamp Bolt Torque Values

Installaon Manual 5000MM Page 5 of 9 May 2019
SEAL DISC ASSEMBLY & INSTALLATION
Aer installing blades, seal disc should be installed on the
previously installed seal disc hardware as shown in Figure 8
for 6 to 8 bladed hubs. For 9 to 12 bladed hubs, rst install
self adhesive rubber gaskets on both anges of one seal disc
half. Bolt two halves of seal disc together, using 3/8" NC
bolts, at washer, lock washer, and nut. Torque to 15 -lb
(lubricated) and 20 -lb (dry). Then, install seal disc on the
previously installed seal disc hardware as shown in Figure 8.
Install at washer, then place seal disc on top. Install an-
other at washer, lock washer, and nut on top. Tighten
3/8” NC nut to recommended standard of 15 -lb
(lubricated) or 20 -lb (dry). If diculty is encountered,
loosen bolts on seal anges unl seal disc can be mounted,
then re-ghten
NOTE: The purpose of the seal disc is to prevent adverse
air recirculaon at non-aerodynamic poron of the fan
blade, hence increasing eciency.
CHECK SWEEP
Measure the distance from trailing edge at blade p of one
blade to trailing edge at blade p of the adjacent blade (See
Figure 7a). This distance should be within 1” of each other for
all successive blades. Correct blade sweep by loosening clamp
bolts and adjusng blade to match sweep of other blades. Re-
ghten bolts and re-check sweep and pitch angle seng. Re-
ghten blade clamp bolts to recommended standard per Table
1.
Figure 7a
Note: Refer to instrucons included with seal disc for further
details.
Figure 8
CHECKING TIP CLEARANCE
Rotate fan in posion inside fan stack to check p clearance
(See Figure 9). The recommended p clearance is between 1"
and 1 1/2". Check for spots where fan blade clearance is not
within the recommended tolerance. If necessary, adjust fan
stack by shimming to obtain proper clearance.
Figure 9
Tip Clearance

Installaon Manual 5000MM Page 6 of 9 May 2019
OPERATING INSTRUCTIONS
Start fan and check rotaon. Viewed from top (discharge),
fan blades should rotate clockwise.
Hudson recommends to re-verify the blade clamp torque
aer the inial 10-15 minutes of cold operaon (i.e., the fan
doesn’t need to be exposed to the working temperature of
the process). This will ensure that the blades are seled
within the clamps aer the centrifugal forces have acted.
Check motor power consumpon to be sure fan is pulling
desired load. CAUTION: If posive pitch is set in summer to
use all available motor amps (nameplate rang), motor
could be overloaded in winter. Design pitch angles usually
do not use all of the available motor horsepower. This en-
sures that the motors will not be overloaded at low winter
temperatures.
For the fans that have remained idle (such as a shut-down
or turn-around), it is highly recommended to re-verify the
torque on the blade clamps before pung it back into oper-
aon.

Installaon Manual 5000MM Page 7 of 9 May 2019
PART LIST
HUDSON PRODUCTS CORPORATION
Adjustable Pitch Fan Assembly 32’ thru 33’ Diameter
Series 5000MM HUB
NO. OF BLADES
ITEM DESCRIPTION TYPE PART. NO 678910 11 12
32 Ft. & 32.8 Ft. Dia. Fans
4.25” thru 5.50” Diameter Shaft U-1Hub Assy. No.
Part No. 5806
42450 5807
42451 5808
42452 5809
42453 5810
42454 5811
42455 5812
42456
33 Ft. Dia. Fans
4.25” thru 5.50” Diameter Shaft U-1Hub Assy. No.
Part No. 5806P2.25
42460 5807P2.25
42461 5808P2.25
42462 5809P2.25
42463 5810P2.25
42464 5811P2.25
42465 5812P2.25
42466
148” Dia. Hub Plates for 32 & 32.8’
Dia. Fans U-1Part No. C5283CG 51167 C5283CG 61534 D5760 61525CG C5283CG
50.25” Dia. Hub Plates for 33’ Dia.
Fans U-1Part No. D5701 D5702 D5703 D5704 D5705 D5706 D5707
ITEM DESCRIPTION TYPE PART. NO QUANTITY PER ASSEMBLY
2Hub Spool U-165058 1111111
3Bushing U-1Specify Bore 1111111
4Blade Clamp Half, Powder Epoxy Coated Die
Cast Alum. (Standard)
Option 1: Powder Epoxy Coated Ductile Iron**
Option 2: Coal Tar Epoxy Coated Ductile Iron**
D5131
65013
65013C 12 14 16 18 20 22 24
5Blade Clamp Bolt 3/4”-10 x 10”
(Grade 8,EcoGuard®) 42404 24 28 32 36 40 44 48
63/4” Lock washer (EcoGuard®) 42405 24 28 32 36 40 44 48
73/4” Flat washer (EcoGuard®) 42406 48 56 64 72 80 88 96
8Hex Nut 3/4”-10 (EcoGuard®) 42407 24 28 32 36 40 44 48
9Hub Spool Cap Screw 5/8”-11 x 1 1/2”(316 SS) 72402 16 16 16 16 16 16 16
10 5/8” Lock washer (316 SS) 73731 16 16 16 16 16 16 16
11 5/8” Flat washer (316 SS) 73719 16 16 16 16 16 16 16
12 Pin, Grooved, 1/2” X 1-1/2 ”74540 4444444
13 76” Diameter “K” Seal Disc Kit * D5938 1111111
14 Tuf-Lite IV® Blade (Black) (Varies) 678910 11 12
* Includes all hardware (316 SS) to assembly and mount.
** Recommended on concrete and round towers, or corrosive environments. Contact Hudson for pricing.
STANDARD MATERIALS & FINISHES
Blades: Fiberglass reinforced vinyl ester
Hub Spool: Ducle Iron, Coal Tar Epoxy coang
Plates: Coal Tar Epoxy coated steel
Bushing: Malleable Iron
Seal Disc: Fiberglass Reinforced Polyester
Blade Clamps:
Epoxy Powder Coated Die Cast Alum (Standard)
Epoxy Powder Coated Ducle Iron (Opon 1)
Coal Tar Epoxy Coated Ducle Iron (Opon 2)
Fasteners:
Grade 8 (EcoGuard®)
Complete Fan with K500 Monel (Opon 1)
WHEN ORDERING, SPECIFY FAN DIAMETER, TYPE & NUMBER OF BLADES & SHAFT DIAMETER
4 1/2” BORE
Fan Model Fan Diameter & Blade Type Number Sha Diameter
Adjustable Pitch (Specify “M” for Tuf-Lite IV® Blades) of Blades
EXAMPLE: APT 32M 8

Installaon Manual 5000MM Page 8 of 9 May 2019
HUDSON PRODUCTS CORPORATION
Adjustable Pitch Fan Assembly 32’ thru 33’ Diameter
Series 5000M HUB
13
13
9,10 & 11
124
5
6,7 & 8
14
12
3
KEY, SET SCREW & CAP SCREWS
FURNISHED WITH BUSHING
9,10 & 11
THRUST RETAINER
(OPTIONAL EQUIPMENT)
6

Installaon Manual 5000MM Page 9 of 9 May 2019
Hudson, Auto-Variable, Combin-Aire, Exact-A-Pitch, Fin-Fan, Healo, Hy-Fin, Split-Flo, Solo Aire, Stac-Flo, Steamo, Thermo, Tuf-Edge, Tuf-Lite, Tuf-Lite II, Tuf-Lite III and Tuf-Lite IV
are registered trademarks of Hudson Products Corporaon.
©2019 Hudson Products Corp. All Rights Reserved.
9660 Grunwald Rd.
Beasley, Texas 77417-8600
Phone: 281-396-8100
Fax: 281-396-8388
1-800-634-9160 (24 Hours)
EMAIL: hudsonproducts@hudsonproducts.com
hp://www.hudsonproducts.com
Table of contents
Other Hudson Fan manuals