Husky 300 Parts list manual

Technical Description Page 1of 4
PRODUCT:
Husky 300 Headlamp
INTRODUCTION:
A. General Description
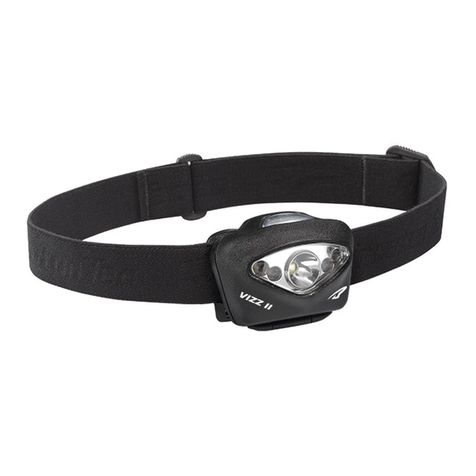
The Husky 300 Headlamp is a hands-free, portable, battery-powered light source. The
headlamp is compact, light-weight, and easy to use. The Husky 300 Headlamp consists of four
major parts; the LED bulbs, the base, the battery case and the head-strap. The base of the
headlamp is a rectangular shape, accompanied by a circular case to hold the LED bulbs. The
headlamp is small in size, the base measuring 3in x 5in x 1in and the circular light casing
measuring 2in x 1in. The headlamp is able to fit into a small bag or pocket and weighs just
about 1 pound. The headlamp is powered by 3 AAA batteries. The head-strap, made of nylon,
is adjustable and, therefore, one size fits all.
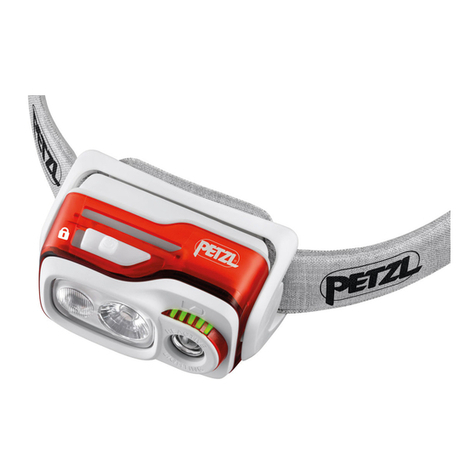
Figure 1: Parts Diagram
(1) LED Bulbs
(2) Reflector Cone
(3) Circular Case
(4) Battery Case
(5) Power Button
(6) Base
(7) Head-strap
(8) Plastic Adjuster
B. Purpose
The Husky 300 Headlamp provides light in several situations including, but not limited to,
night time, emergencies (e.g. blackouts), when there’s no suitable light (e.g. camping), in
places where there is little to no light (e.g. basement, crawlspace, under a car).

Technical Description Page 2of 4
PARTS DESCRIPTION:
A. LED Bulbs
The LED bulbs provide are the light source
for the Husky 300 Headlamp. The headlamp
contains 2 LED bulbs in the circular case
attached to the headlamp’s base. Beneath the
LED bulbs, lies a reflector. The reflector is
cone-shaped and is used to concentrate the
light into a beam. A glass lens protects the
LED bulbs and reflector from damage.
Figure 2: Light Source Layout
B. Base
The Husky 300 Headlamp’s base attaches the
light bulbs circular casing to the headlamp’s
head-strap. The base is hinged allowing the
light source to change angle through
movement of the base, either up or down.
Located on the right side of the base, is the
on/off button used to operate the headlamp.
Figure 3: Hinged Base Operation
C. Battery Case
The battery case houses 3 AAA batteries, which power the headlamp. Inside the battery case is
a copper strip that serves as the electrical wiring connecting the batteries to the light bulbs. A
hinged door encloses the batteries to keep them in place. The hinged door allows for easy
opening to replace batteries when necessary. In addition, the hinges prevents loss of the battery
door by keeping the door attached to the base while opening.
D. Head-strap
The head-strap is made of a nylon material. The strap is adjustable, which makes the Husky
300 Headlamp one-size-fits-all.

Technical Description Page 3of 4
OPERATING DESCRIPTION:
A. Operate Headlamp
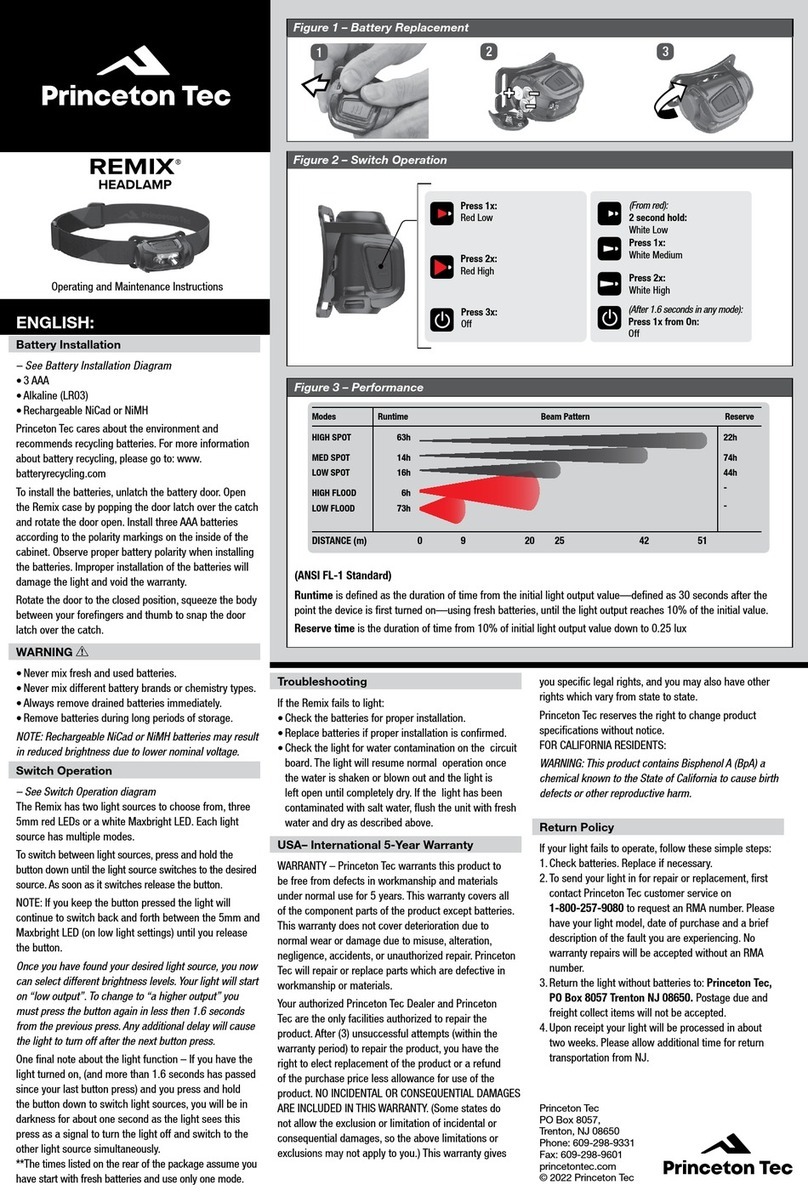
1. Open hinged battery door, located on the left side of the headlamp.
2. Place 3 AAA batteries into battery
compartment. Batteries should be
placed
[Positive Negative Positive]
(see Figure )
Figure 4: Battery Compartment
3. Close hinged battery door to secure batteries.
4. Locate plastic clip on head-strap. Use the clip to adjust the head-strap to the desired
size. Pull the clip to the left for a tighter fit and to the right for a looser fit.
5. Place head-strap around head, once desired fit is reached, with flashlight positioned on
the forehead.
6. Press the on/off button, located on the right side of the headlamp, to initiate light
source.
7. Move hinged base to the desired angle.
8. Point light in the desired direction, using your head to guide the light.
9. Press on/off switch to deactivate light, when not in use.
10. Remove head-strap from head, when not in use.
B. Maintain Headlamp Life
If the headlamp will not be in use for an extended period of time (more than a few hours) you
should remove the batteries to prevent battery corrosion. Corrosion can cause damage to the
copper strip within the battery compartment, thus ending the life of your Husky 300
Headlamp.
Routine cleaning should occur to extend the life of your Husky 300 Headlamp. A damp rag or
paper towel may be used to remove dirt or debris from the headlamp’s surfaces. The nylon
head-strap should be regularly cleaned to prevent accumulation of dirt, which can cause the
strap to break down over time. The nylon can trap dirt between the threads. Soap and warm

Technical Description Page 4of 4
water may be used to relieve the strap of any trapped dirt or debris. Use a rag to apply the soap
and water mixture to the nylon, preventing water from reaching the headlamp.
C. Limitations
There are several limitations associate with the Husky 300 Headlamp that should be noted.
The headlamp has a battery life of up to 20 hours. If the headlamp will be used for close to, or
longer than, 20 hours, back up batteries should be obtained.
The headlamp’s beam of light has a range between 10ft and 15ft. The further the light’s target,
the less light will be shone on said target.
The headlamp is not waterproof or shock resistant. Caution should be taken around water,
when using the headlamp.
Failure to remove batteries while headlamp is on standby for an
extended period of time, can cause battery corrosion. Corrosion
is harmful to the product’s life, as well as the user. User contact
with corroded batteries can result in eye, skin, and respiratory irritation. If batteries corrode
within the product, use gloves to protect skin when removing corroded batteries from their
compartment.
Table of contents
