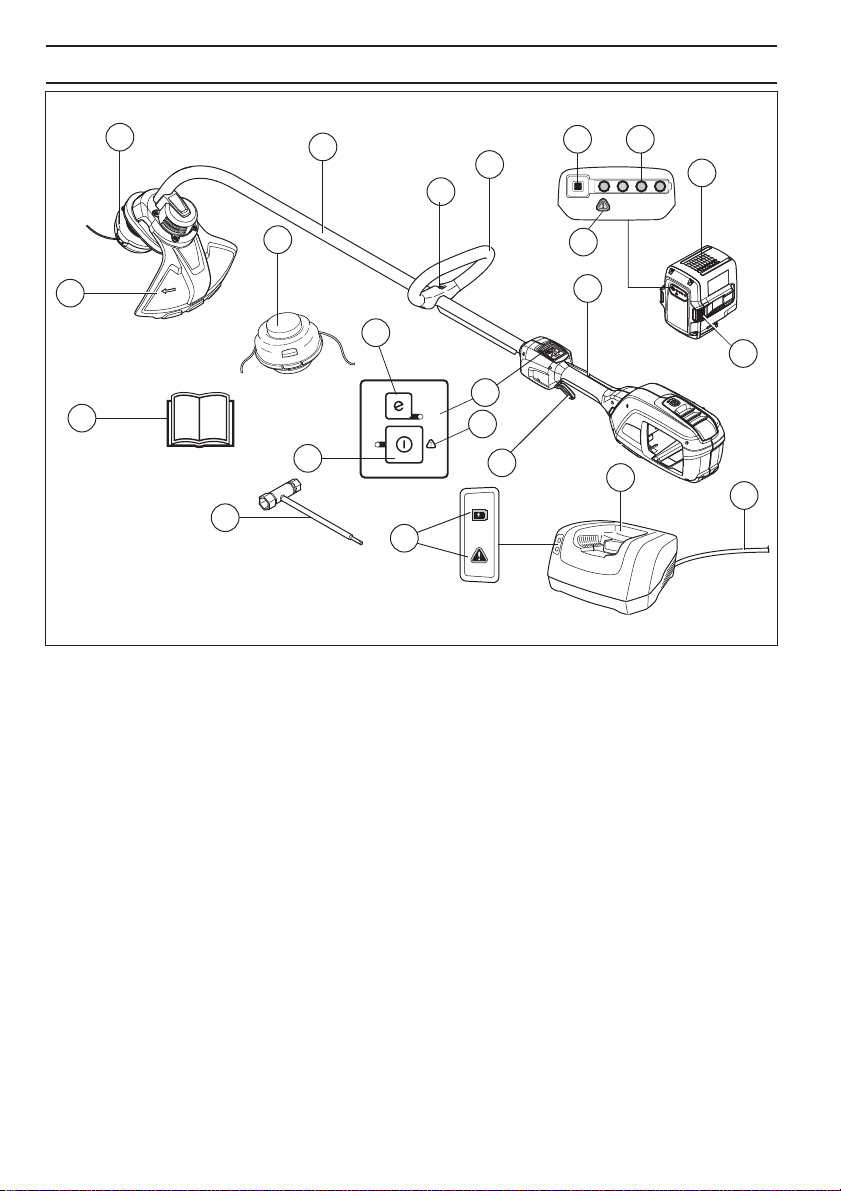
GENERAL SAFETY PRECA
UTIONS
English
–
7
General po
wer tool safety
warnings
Please read the oper
ator’s manual carefully and make
sure you understand the instructions before using the
machine.
Chec
k before starting
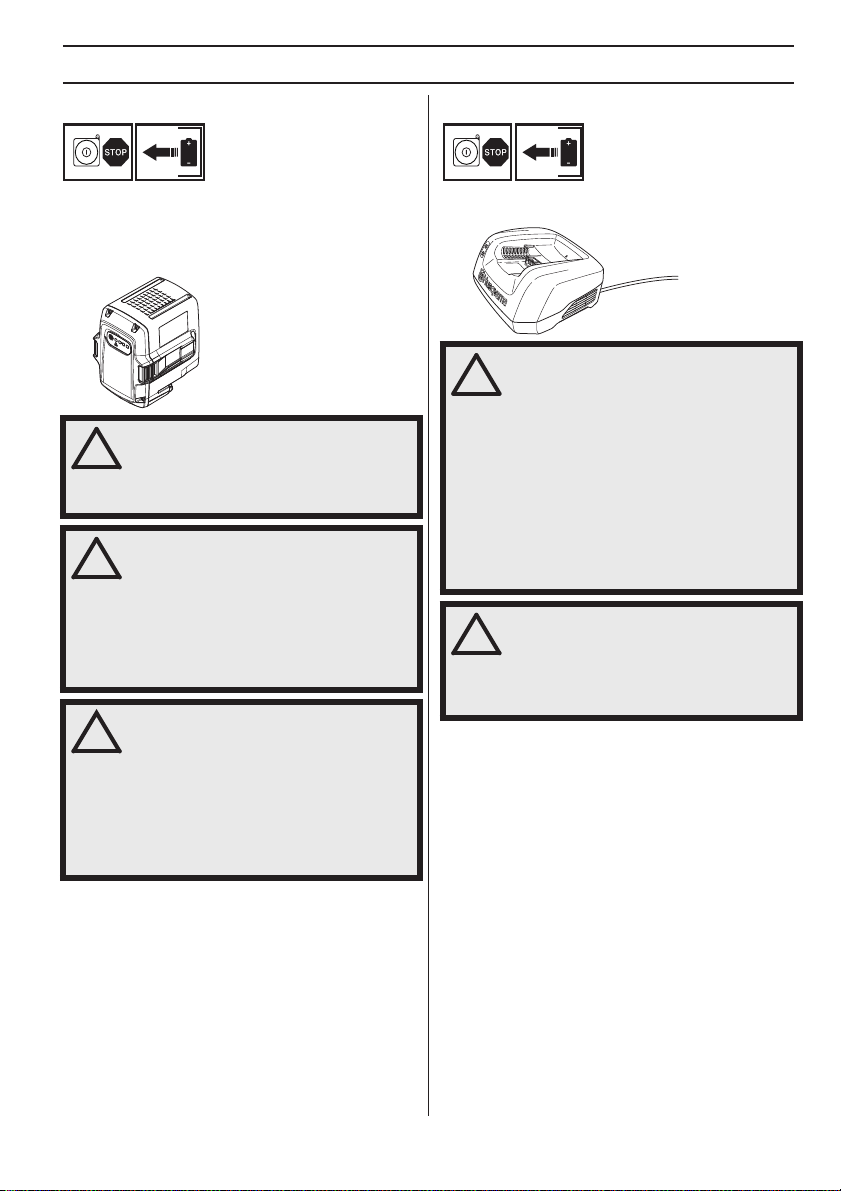
•
Always remove the battery to prevent the machine
being started by accident. Always disconnect the
battery before any maintenace on the machine.
• Before using the machine and after any impact, check
for signs of wear or damage and repair as necessary.
• Inspect the working area. Remove all loose objects,
such as stones, broken glass, nails, steel wire, string,
etc. that could be thrown out or become wrapped
around the cutter or cutter guard.
• The machine operator must ensure that no people or
animals come closer than 15 metres while working.
When several operators are working in the same area
the safety distance should be at least 15 metres.
• Do an overall inspection of the machine before use,
see maintenance schedule.
P
ersonal safety
•
The cutting tool does not stop immediately after the
machine is turned off.
• The machine is only design for trimming. Never fit
metal cutting elements. Do not use the lawn trimmer
for any job except that for which it is intended.
•
Stay alert, watch what you are doing and use
common sense when operaing a power tool. Do
not use a power tool while you are tired or under
the influence of drugs, alcohol or medication.
A
moment of inattention while operating power tools
may result in serious personal injury.
• This appliance is not intended for use by person
(including children) with reduced physical, sensory or
mental capabilities, or lack of experience and
knowledge, unless they have been given supervision
or instruction concerning use of the appliance by a
person responsible for their safety. Children should be
supervised to ensure that they do not play with the
appliance.
• Never allow children or other persons not trained in
the use of the machine and/or the battery to use or
service it. Local laws may regulate the age of the user.
• Store the equipment in a lockable area so that it is out
of reach of children and unauthorized persons.
• Keep hands and feet away from the cutting area at all
times and especially when switching on the motor.
•
Dress properly. Do not wear loose clothing or
jewellery. Keep your hair, clothing and gloves
away from moving parts.
Loose clothes, jewellery or
long hair can be caught in moving parts.
• Never use the machine if you are tired, if you have
drunk alcohol, or if you are taking medication that
could affect your vision, your judgement or your co-
ordination.
• Wear personal protective equipment. See instructions
under the heading ”Personal protective equipment”.
• Turn off the machine when it has to be moved.Always
remove the battery when passing the machine to
another person.
P
ower tool use and care
•
The only accessories you can operate with this
product are the cutting attachment we recommend in
the technical data chapter.
• Never use a machine that has been modified in any
way from its original specification. Never use the
machine near explosive or flammable materials.
• Never use a machine that is faulty. Carry out the safety
checks, maintenance and service instructions
described in this manual. Some maintenance and
service measures must be carried out by trained and
qualified specialists. See instructions under the
heading Maintenance.
• Only use original spare parts.
• Always ensure that ventilation openings are kept clear
of debris.
• All covers, guards and handles must be fitted before
starting.
• Only use the machine in daylight or in other well-lit
conditions.
• Never use the machine in bad weather, for instance in
fog, in rain, damp or in wet locations, strong winds,
intense cold, risk of lightning, etc. Extremely hot
weather may cause overheating of the machine.
Al
ways use common sense
It is not possib
le to cover every conceivable situation you
can face. Always exercise care and use your common
sense. Avoid all situations which you consider to be
beyond your capability. If you still feel uncertain about
operating procedures after reading these instructions,
you should consult an expert before continuing.
!
W
ARNING! Read all safety warnings and
all instructions. Failure to follow the
warnings and instructions may result in
electric shock, fire and/or serious injury.