manuals.online logo
Brands
  1. Home
  2. •
  3. Brands
  4. •
  5. Hussmann
  6. •
  7. Merchandiser
  8. •
  9. Hussmann IMPACT M1CIMP-4B User guide

Hussmann IMPACT M1CIMP-4B User guide

Other Hussmann Merchandiser manuals

Hussmann Specialty Products CR3-H Instruction Manual

Hussmann

Hussmann Specialty Products CR3-H Instruction Manual

Hussmann DVG-8 Quick start guide

Hussmann

Hussmann DVG-8 Quick start guide

Hussmann EcoVision EZ Door Upgrade User manual

Hussmann

Hussmann EcoVision EZ Door Upgrade User manual

Hussmann RBB Instruction Manual

Hussmann

Hussmann RBB Instruction Manual

Hussmann IMPACT D5LR User manual

Hussmann

Hussmann IMPACT D5LR User manual

Hussmann SHM Series User manual

Hussmann

Hussmann SHM Series User manual

Hussmann R3 Operating instructions

Hussmann

Hussmann R3 Operating instructions

Hussmann IMPACT LW User manual

Hussmann

Hussmann IMPACT LW User manual

Hussmann IMPACT LWE Instruction Manual

Hussmann

Hussmann IMPACT LWE Instruction Manual

Hussmann FL5NX-LEP Instruction Manual

Hussmann

Hussmann FL5NX-LEP Instruction Manual

Hussmann Impact Excel P1X-XE Instruction Manual

Hussmann

Hussmann Impact Excel P1X-XE Instruction Manual

Hussmann IMPACT D6L User manual

Hussmann

Hussmann IMPACT D6L User manual

Hussmann NVBA User manual

Hussmann

Hussmann NVBA User manual

Hussmann G5 Quick guide

Hussmann

Hussmann G5 Quick guide

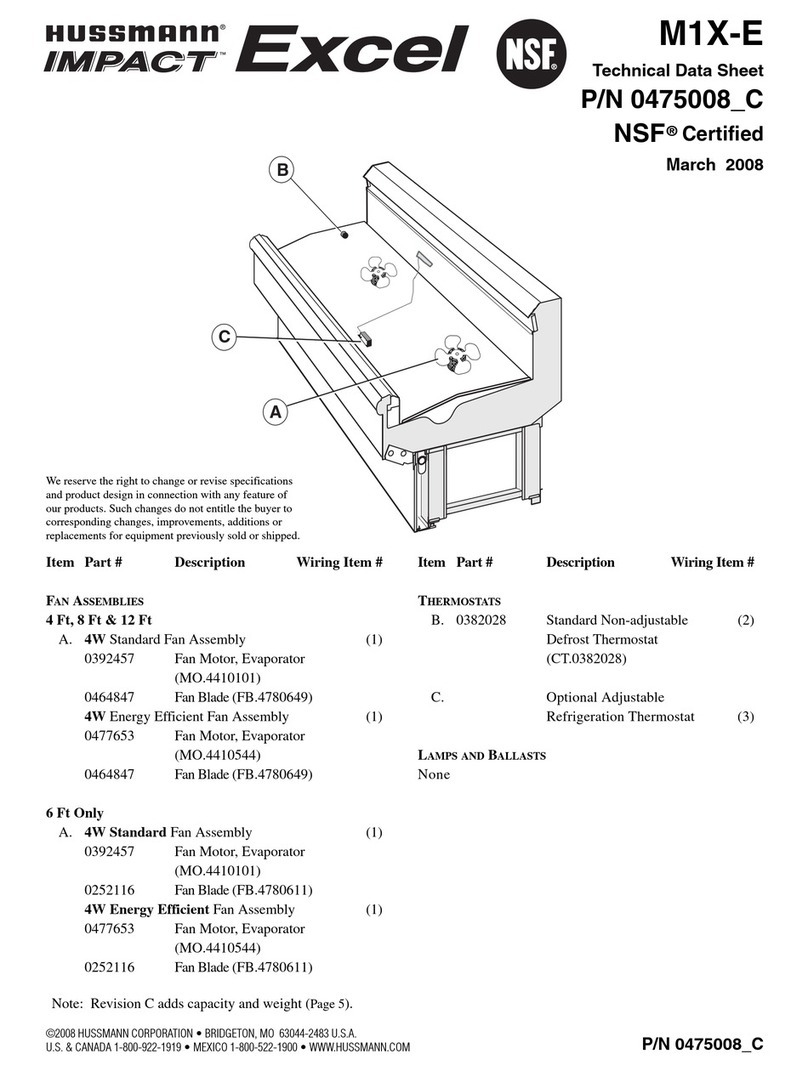
Hussmann Impact Excel M1X-E Instruction Manual
Hussmann

Hussmann Impact Excel M1X-E Instruction Manual

Hussmann IMPACT CW2U-XGE Instruction Manual

Hussmann

Hussmann IMPACT CW2U-XGE Instruction Manual

Hussmann microSC MDN-BA User manual

Hussmann

Hussmann microSC MDN-BA User manual

Hussmann Q1-DC Wedge Instruction Manual

Hussmann

Hussmann Q1-DC Wedge Instruction Manual

Hussmann SCSS Instruction Manual

Hussmann

Hussmann SCSS Instruction Manual

Hussmann HGM-3 BS User manual

Hussmann

Hussmann HGM-3 BS User manual

Hussmann impact C4LE Instruction Manual
Hussmann

Hussmann impact C4LE Instruction Manual

Hussmann M5GEP User manual

Hussmann

Hussmann M5GEP User manual

Hussmann D5X-E Instruction Manual

Hussmann

Hussmann D5X-E Instruction Manual

Hussmann C6L-EP User manual

Hussmann

Hussmann C6L-EP User manual

Popular Merchandiser manuals by other brands
FRIGOGLASS Flex 20 HC user manual

FRIGOGLASS

FRIGOGLASS Flex 20 HC user manual

EPTA COSTAN RHINO MULTI User instructions
EPTA

EPTA COSTAN RHINO MULTI User instructions

CASCO Nano Cube owner's manual

CASCO

CASCO Nano Cube owner's manual

True GDIM-26 installation manual

True

True GDIM-26 installation manual
Structural Concepts Oasis Mobile Series Installation & operating manual

Structural Concepts

Structural Concepts Oasis Mobile Series Installation & operating manual

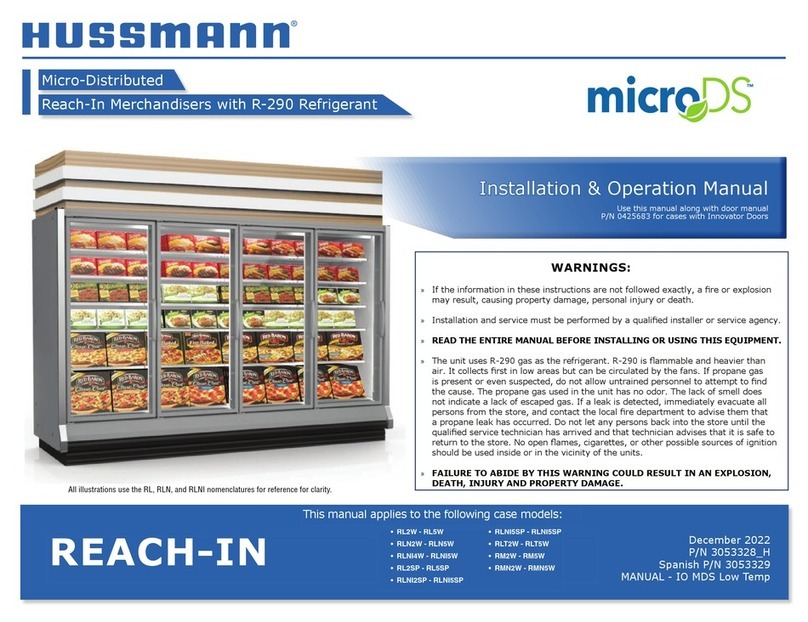
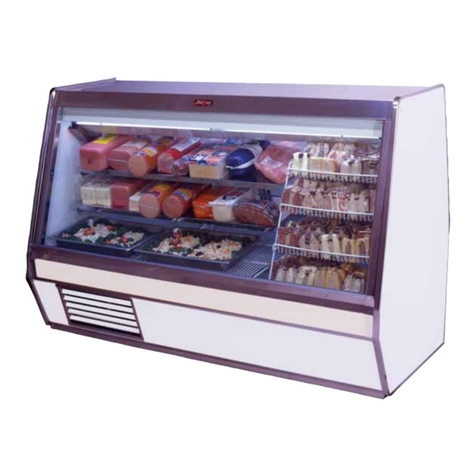
Haussmann RL Installation & operation manual
Haussmann

Haussmann RL Installation & operation manual

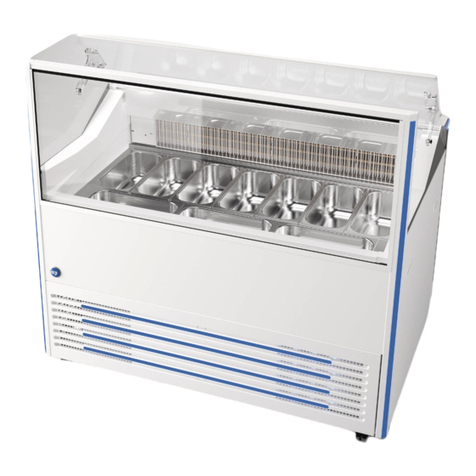
Howard McCray R-CDS32E-4 Specifications
Howard McCray

Howard McCray R-CDS32E-4 Specifications

EPTA iarp Cool Emotions Delight Lite User instructions

EPTA

EPTA iarp Cool Emotions Delight Lite User instructions

Tefcold FSC1950H - datasheet

Tefcold

Tefcold FSC1950H - datasheet

Hatco HZMH Series Installation and operating manual

Hatco

Hatco HZMH Series Installation and operating manual

Silver King SKMB supplementary guide

Silver King

Silver King SKMB supplementary guide

VALERA BC 85 datasheet

VALERA

VALERA BC 85 datasheet

True TVM-400 Specifications

True

True TVM-400 Specifications

True GDM-7F Specifications

True

True GDM-7F Specifications

Dixie Narco DNCB 501E Technical manual

Dixie Narco

Dixie Narco DNCB 501E Technical manual

Hoshizaki KD-90C Service manual

Hoshizaki

Hoshizaki KD-90C Service manual
FRIGOGLASS Flex 35 HC user manual

FRIGOGLASS

FRIGOGLASS Flex 35 HC user manual

EPTA iarp Cool Emotions GLEE 40 User instructions

EPTA

EPTA iarp Cool Emotions GLEE 40 User instructions

manuals.online logo
manuals.online logoBrands
  • About & Mission
  • Contact us
  • Privacy Policy
  • Terms and Conditions

Copyright 2025 Manuals.Online. All Rights Reserved.

Merchandisers
®
Startup
Instruction Supplement
for
M1CIMP-4B
Self Contained Spot Merchandiser
March 2006
P/N 0482457
HUSSMANN CORPORATION • BRIDGETON, MO 63044-2483 U.S.A.
Begin with power cord
UNPLUGGED!
The condensing unit
should be started up and
checked to ensure proper
performance before
installing the support
brackets and all lower
panels. To gain access to
the unit’s control panel,
remove the front close-
off panel.
Remove the unit control
panel cover. Check all
wiring terminal connec-
tions and make sure they
are tight.
Check defrost settings on
the time clock and adjust
as needed. Refer to the
data sheet (P/N 0480307)
provided with the unit for
recommended settings.
Page 3
P/N 0482457
HUSSMANN CORPORATION • BRIDGETON, MO 63044-2483 U.S.A.
M1CIMP-4B Self-Contained Spot Merchandiser
Startup Supplement to Installation Instructions
Remove Close-Off Panel
Remove
Unit Control Panel
Cover
Power Switch
Unit Control / Time Clock /
T-Stat / Dual Pressure Control
Install a set of refrigera-
tion gauges on the
refrigeration system.
Plug in the unit’s power
cord and turn the unit
ON. Use an Amp-probe
to check the compressor
amp draw. Adjust the
compressor CPR
(crankcase pressure
regulator) as needed to
maintain the rated amp
draw of the compressor.
Check the
LP (low pressure) and
HP (high pressure)
control settings.
While the merchandiser
is pulling down in
temperature:
• Install the panel
retainers so that there
is a gap of approxi-
mately 1/2-inch
between the bottom of
the retainer and the
floor.
P/N 0482457
Page 4 HUSSMANN CORPORATION • BRIDGETON, MO 63044-2483 U.S.A.
Install Panel Support Brackets
at Front, Sides and Back
The CPR Valve is Located at the Left Upper Rear of the
Compressor Compartment
• Install the return air
grilles.
• Install the plexiglass
return air guard.
• Install plug button
caps over end bolt
holes.
• Install the side and
rear panels. Some pre-
drilling of holes may
be required.
Check the unit’s operat-
ing pressures before
installing the front panel.
Advance the time clock
to verify it will start a
defrost cycle and return
to the refrigeration mode
on its own. While in the
defrost mode, check the
operation of the conden-
sate heater to make sure
that it operates as
required. When you are
satisfied with the unit’s
performance, replace the
control panel cover and
front close-off panel,
then install the vented
front panel.
Page 5
P/N 0482457
HUSSMANN CORPORATION • BRIDGETON, MO 63044-2483 U.S.A.
M1CIMP-4B Self-Contained Spot Merchandiser
Startup Supplement to Installation Instructions
Remove 2x4 Shipping Brace.
Discard Long Bolts.
Install Shorter Bolts Supplied.
Finish with Button Plugs.
Complete the Installation of
Front, Rear and Side Panels
(Pre-drill all holes as required)
Install Return Air Grilles and
Plexiglass Return Air Guard
Button Plug
Top View
Bottom View
The unit will use less
energy, run less, and
maintain even product
temperature with a clean
condenser.
To clean the Condenser,
begin by raising the front
lower panel up and off
the panel brackets. Pull
the bottom edge out and
allow the panel to clear
the upper retainers.
Turn the power switch
to “OFF” (see Page 1).
Use a vacuum hose or
soft brush (non-metallic)
to remove dust and
debris from the surface
of the condenser. Be
careful to not damage the
condenser.
Once condenser is clean,
turn the power switch
“ON” and re-install the
lower front panel.
P/N 0482457
Page 6 HUSSMANN CORPORATION • BRIDGETON, MO 63044-2483 U.S.A.
Front Panel
Free Airflow
with
Clean
Condenser
Dirty
Condenser
Airflow
blocked by
accumulated
dust
Cleaning the interior of a
self-contained display is
similar to cleaning
remote displays with one
major exception:
NEVER USE A HOSE!
The evaporator pan of
the self-contained display
is sized to eliminate
condensate from the
refrigeration process,
similar to a residential
refrigerator.
The evaporator pan must
be cleaned regularly.
Page 7
P/N 0482457
HUSSMANN CORPORATION • BRIDGETON, MO 63044-2483 U.S.A.
M1CIMP-4B Self-Contained Spot Merchandiser
Startup Supplement to Installation Instructions
Exterior Surfaces
The exterior surfaces should be cleaned with a mild detergent and warm water to protect
and maintain their attractive finish. NEVER USE ABRASIVE CLEANSERS OR SCOURING PADS.
Interior Surfaces
The interior surfaces may be cleaned with most domestic detergents, ammonia based
cleaners and sanitizing solutions with no harm to the surface.
DDOONNOOTTUUSSEE::
• Abrasive cleansers and scouring pads, as these will mar the finish.
• Solvent, oil or acidic based cleaners on any interior surfaces.
• Ammonia based cleaners on acrylic surfaces.
DDOO::
• Remove the product and all loose debris to avoid clogging the waste outlet.
• Store product in a refrigerated area such as a freezer. Remove only as much product as
can be taken to the freezer in a timely manner.
• First turn off refrigeration, then disconnect electrical power.
• Thoroughly clean all surfaces with soap and hot water. DO NOT USE STEAM OR HIGH
WATER PRESSURE HOSES TO WASH THE INTERIOR.THESE WILL DESTROY THE SEALS CAUSING
LEAKS AND POOR PERFORMANCE.
• Remove screws and lift hinged fan plenum for cleaning. BE SURE TO REPOSITION THE
FAN PLENUM AFTER CLEANING MERCHANDISER.
• Take care to minimize direct contact between fan motors and water.
• Rinse with hot water, but do NOT flood. NEVER INTRODUCE WATER FASTER THAN THE
WASTE OUTLET CAN REMOVE IT.
• Allow merchandisers to dry before resuming operation.
• After cleaning is completed, turn on power and refrigeration to the merchandiser.
• Verify that merchandiser is working properly.