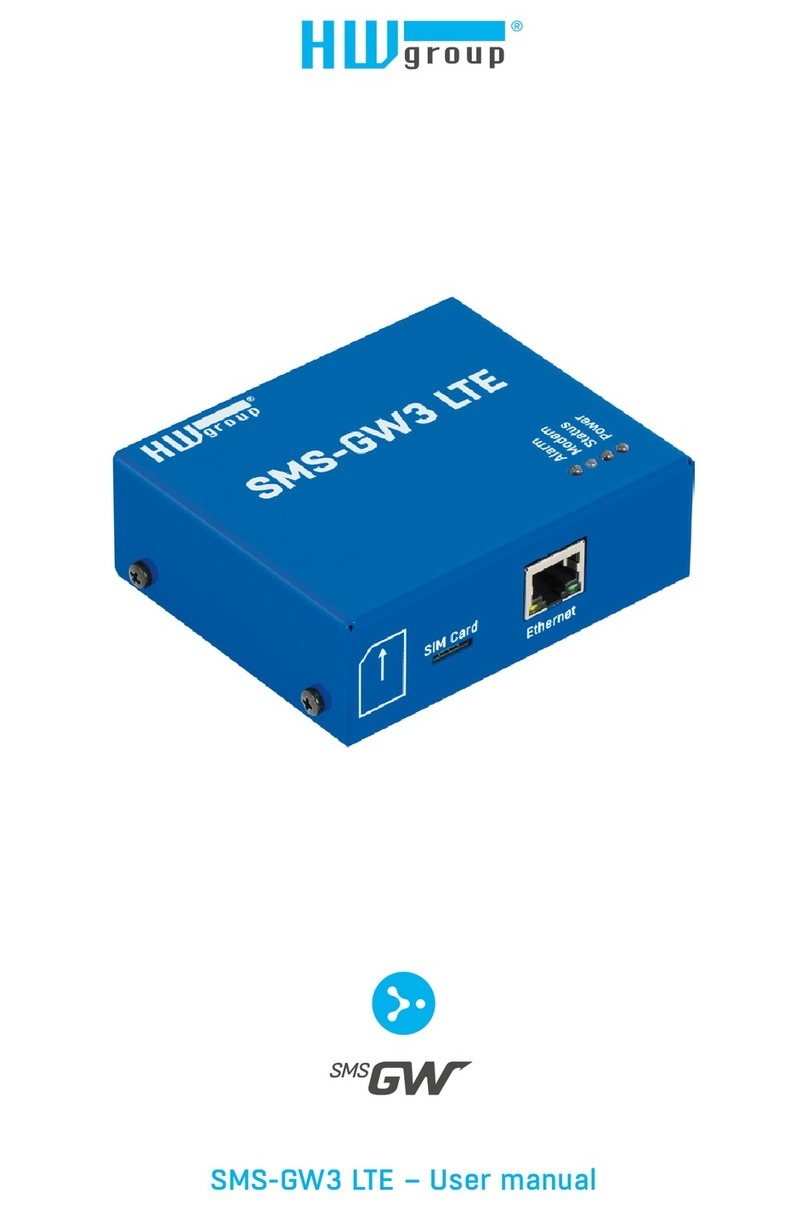
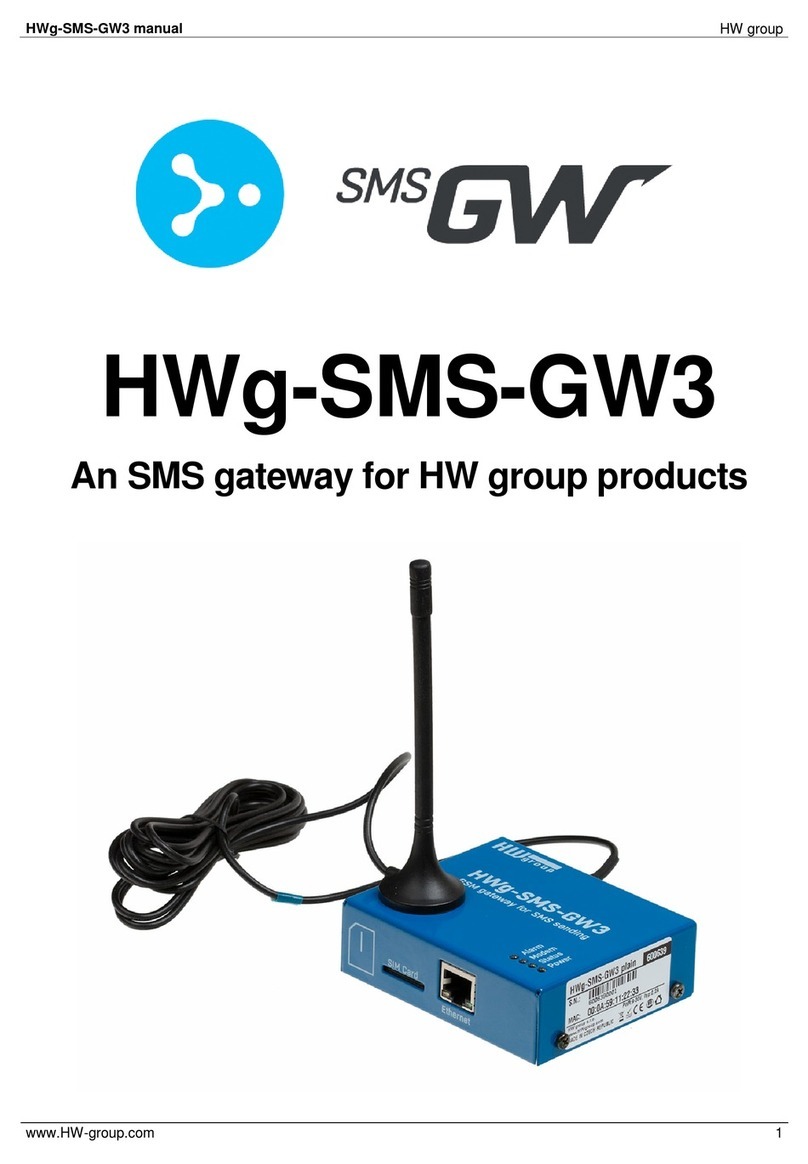
HW Group HWg-SMS-GW2 User manual

HWg-SMS-GW2 manual
HW group
www.HW-group.com
1
HWg-SMS-GW2
SMS gateway for HW group products

HWg-SMS-GW2 manual
HW group
www.HW-group.com
2
Recommended connection
HWg-SMS-GW is a device that enables multiple HW group devices to send alarm text messages
(SMS) through a single GSM modem using the netGSM function.
1) Insert a SIM card (without PIN protection)
2) Run the UDP Config utility and note the
assigned IP address (DHCP)
3) Try to send a SMS via web interface
4) Enter the HWg-SMS-GW
IP address + port (default is 80)
5) Enter twice the SMS recipient's number and
try to send a test SMS

HWg-SMS-GW2 manual
HW group
www.HW-group.com
3
Technical specifications
ETHERNET
Interface
RJ45 (10BASE-T) –10 Mbps or 10/100 Mbps network compatible
Supported protocols
IP: ARP, TCP/IP (http, NTP), UDP/IP (SNMP), netGSM
SNMP compatibility
Ver:1.00 compatible, partial ver. 2.0 implementation
GSM
Interface
Quad-Band 850/900/1800/1900 MHz,
Compliant to GSM phase 2/2+ –Class 4 (2W @ 850/900 MHz) –Class 1 (1W @ 1800/1900MHz)
Antenna connector
SMA male
POWER input
Port
POWER 9-15V DC
Type
Main device power input (typically 400 mA + external devices)
Connector
Jack (barrel, inner 2.5mm outer6.3 mm) + Terminal block (parallel connection)
LED status indicators
POWER
Green –power OK
LINK & Activity
Yellow - Ethernet connectivity
DIP SWITCH
DIP1
Load defaults: Toggle 3 times during first 5 seconds after power-up to load default settings.
DIP2
Not used
Physical parameters
Temperature range
Operating: -10 to 65 °C (14 to 149 °F) / Storage: -25 to 85 °C (-13 to 185 °F)
MTBF
> 90,000 hours
Dimensions / Mass
100 x 213 x 35 [mm] / 300 g
EMC
FCC Part 15, Class B, CE - EN 55022, EN 55024, EN 61000
Restoring default settings
Restoring default settings using UDP Config
In the UDP Config utility, right-click the device MAC address. Factory defaults can be restored
using UDP Config within 60 seconds after powering up the unit.
Restoring default settings using DIP switches
Disconnect the power from the unit. Set DIP1 to ON and reconnect the power. Toggle DIP1
several times during the first 5 seconds after powering up. Leave DIP1 set to OFF and wait for
10 seconds. Defaults will be restored.

HWg-SMS-GW2 manual
HW group
www.HW-group.com
4
First steps
Connecting the cables
Turn the unit upside down and write down its MAC address that
is printed on the label.
Set the switches: DIP1=Off, DIP2=Off.
Connect HWg-SMS-GW to the Ethernet.
Plug the power adapter into a power outlet and connect it to the
power connector.
The green POWER LED lights up.
If the Ethernet connection works properly, the LINK LED lights up after a short while, and then
flashes whenever data are transferred (activity indication).
Power Connect the power adapter (9-15VDC)
Servis Maintenance connector
Ethernet Connect the network/data connection
DIP DIP1 –restore defaults, DIP2 unused
GSM SIM Insert the SIM card.
The SIM tray is ejected by pressing the button.
HWg-SMS-GW

HWg-SMS-GW2 manual
HW group
www.HW-group.com
5
Configuring the IP address –UDP Config
UDP Config utility –root directory of the
supplied CD (Windows and Linux versions).
Available for download at www.HW-
group.com Software > UDP Config.
Click the icon to launch UDP Config.
The program automatically looks for
connected devices.
To search for devices, click the Find
Devices icon.
The program searches for devices in your local
network. Double-click a MAC address to open a
basic device configuration dialog.
Network parameters
Enable DHCP
or
Set the IP address / HTTP port (80 by default)
Set the network mask
Set the gateway IP address for your network
Click Apply Changes to save the settings.
Open the device WEB interface
Directly enter the device IP address into your web browser.
Alternatively, open the interface with UDP Config >> click the underlined IP address, or right-click
and select from the menu.
Right-click

HWg-SMS-GW2 manual
HW group
www.HW-group.com
6
WEB interface
Web interface –Main page
SMS Queue Info
Pending Message / Capacity –Number of messages being delivered / total capacity
Messages Sent –Number of messages sent (since the last restart)
Messages Dropped –Number of dropped messages (since the last restart)
GSM modem Info
State –Modem status
Last Message –Status of the last message
SMS Queue
Overview of messages waiting in the transmit queue

HWg-SMS-GW2 manual
HW group
www.HW-group.com
7
Web interface –GSM
The GSM page displays the modem status and allows for configuration of the default alarm recipient
phone number. This number is used only if there is no phone number defined in the device
(Poseidon, HWg-WLD, HWg-PWR etc.) where the alarm originated.
GSM Interface
SMS Center Number –Retrieved from the SIM.
Useful for checking the communication with the SMS center.
GSM Modem State –Shows the modem status
Last Message –Shows the status of the last transmitted SMS
SMS Recipient
Alarm SMS Recipient –If the SMS gateway does not receive a target phone number via the
netGSM protocol, the message will be sent to the number shown here
Send Test SMS
Used to check the functionality, sends a test SMS to the configured number

HWg-SMS-GW2 manual
HW group
www.HW-group.com
8
Web interface –Setup
Device Information
MAC Address –MAC address of the device, unique within the entire Ethernet network
Firmware Version –Version of the product firmware. This information is needed when
contacting the technical support.
Uptime –Uptime since the last restart. May be requested by the technical support.
Device
Name –Identifies the device in SMS, SNMP or UDP Setup
Authorization
Protects the HWg-SMS-GW settings with a username and a password. It is possible to define
separate credentials for read-only (user) access and for configuration changes (admin access).
The SMS transmission (netGSM protocol) is NOT password-protected.
Firmware Upload
Used to upload a new firmware version if available.

HWg-SMS-GW2 manual
HW group
www.HW-group.com
9
Web interface –Network and Time
IP Address –IP address of the device. Assigned by your network administrator.
Submask –Subnet mask. Assigned by your network administrator.
Gateway –IP address of the default gateway. Assigned by your network administrator.
Primary DNS / Secondary DNS –IP address of your DNS server. Assigned by your network
administrator.
HTTP Port –Port number for the embedded web server. The default is 80. Useful when
accessing several devices via the same IP address. For details, see your network administrator.
DHCP Client –Enables automatic IP assignment via DHCP, if available. Ask your network
administrator if unsure about the correct setting.
SNTP server –Address of the SNTP server for synchronizing time.
Timeshift –Time zone configuration.
Current Date –Current date, DD.MM.YYYY format.
Current Time –Current time, HH:MM:SS format.
Synchronize Time –Performs one-time clock synchronization using the configured server.

HWg-SMS-GW2 manual
HW group
www.HW-group.com
10
Web interface –SNMP
The SNMP interface can only read the status of HWg-SMS-GW. It cannot be used to send SMS.
General SNMP Settings
SNMP port –Port number for SNMP communication. The default is 161.
SNMP Access
oCommunity –Two different SNMP communities for access to the device.
For each Community, the Read, Write and Enable permissions can be set.
MIB II System Group
System Name –Name of the device within SNMP.
System Location –Location of the device within SNMP.
System Contact –Contact info of the device administrator within SNMP.

HWg-SMS-GW2 manual
HW group
www.HW-group.com
11
Using HWg-SMS-GW with Poseidon 4002
Poseidon 4002 configuration
To send a SMS from a Poseidon 4002 using the HWg-SMS-GW, both devices must be able to
access each other over LAN. In case of problems, double-check the following:
1) IP address + port
2) NetMask setting in both devices
Settings to configure at the GSM & RFID tab:
1) IP Address of the remote HWg-SMS-GW + link (service.xml) + Port (80)
2) GSM Function: Remote
3) Remote Destination: Remote Server A
4) Alarm SMS Recipient: Recipients' phone numbers
5) Click Apply Changes
6) Click Send Test SMS
Select a Remote modem
IP addresss
of HWg-SMS-GW
Alert SMS (+ ring)
will be delivered to
these phone
numbers.

HWg-SMS-GW2 manual
HW group
www.HW-group.com
12
The Web interface of HWg-SMS-GW shows:
The Web interface indicates if the HWg-SMS-GW received requests to send SMS.
Notes / FAQ
Outgoing messages are not lost. HWg-SMS-GW stores the outgoing message queue in its
memory. SOAP protocol is used for communication. If the connection is not established or is
refused, Poseidon tries to send the SMS again.
Speed of SMS delivery depends on the configuration and conditions of the particular GSM
network. HWg-SMS-GW can send more SMS per minute than a modem connected to the
Poseidon unit.
In order to send alerts from a Poseidon unit to more than 2 recipients, we recommend to use
the HWg-Trigger software. The HWg-SMS-GW is still used to send the messages, and the
number of recipients is only limited by the number of conditions.

HWg-SMS-GW2 manual
HW group
www.HW-group.com
13
Using HWg-SMS-GW with SensDesk.com
SensDesk.com is an online portal for monitoring IP sensors by HW group.
SensDesk.com can send e-mail alarm alerts. HWg-SMS-GW can be used to send SMS alerts.
1) Set the IP address of your HWg-SMS-GW in your account settings:
SensDesk.com: My Account >> Edit
2) Set the SMS alert recipient's phone number for each individual sensor:
SensDesk.com: Sensors >> Edit
Note:
In order to send SMS alarms from your SensDesk.com account, your HWg-SMS-GW must be
accessible at a public IP address and port.

HWg-SMS-GW2 manual
HW group
www.HW-group.com
14
Using HWg-SMS-GW with Nagios
Nagios notifications can be send using the HWg-SMS-GW text message gateway.
A Nagios plugin for sending text messages using HWg-SMS-GW has been developed
in cooperation with Netways.
The notify-poseidon-sms.pl plugin takes messages about state changes of monitored devices from
Nagios and forwards these messages to the HWg-SMS-GW, which in turn sends the SMS message.
Installation
The following installation steps assume a standard Ubuntu Server installation. In other Linux
distributions, some directories or commands may be different.
2.1) Download the notify-poseidon-sms.pl plugin from https://www.netways.org/projects/plugins/files
to the /usr/lib/nagios directory and grant the “execute” permissions.
nagios-server:~# cd /usr/lib/nagios
nagios-server:~# wget https://www.netways.org/attachments/download/262/notify-poseidon-sms.pl
nagios-server:~# chmod a+x notify-poseidon-sms.pl

HWg-SMS-GW2 manual
HW group
www.HW-group.com
15
2.2) Send a test SMS to verify correct operation of the plugin and the HWg-SMS-GW unit. The -H flag
specifies the IP address of the gateway to use for sending the SMS. Use the -D flag to specify the
test message recipient's phone number.
If the plugin fails to start with the “Can't locate LWP.pm” message, you need to install the Perl LWP
module for HTTP support. In Ubuntu or Debian distributions, this is done with this command:
Configuring Nagios
For basic Nagios configuration, we recommend this document:
http://www.hw-group.com/support/an38/index_en.html
3.1) To add text message (SMS) support via the notify-poseidon-sms.pl plugin, create a
/etc/nagios3/notify-poseidon-sms.cfg file with the following contents:
Note: Do not wrap the command_line definition over multiple lines. For the plugin to work correctly,
the entire command_line statement must be on a single line.
Remember to change the -H parameter to the actual IP address (or DNS name) of your HWg-
SMS-GW unit.
The SMS text is composed using the -M parameter. For a list of available variables (macros), see:
http://nagios.sourceforge.net/docs/3_0/macrolist.html
nagios-server:~# cd /usr/lib/nagios
nagios-server:~# ./notify-poseidon-sms.pl -M "Test message" -H 192.168.1.1 -D +420777888999
nagios-server:~# apt-get install libio-all-lwp-perl
define command {
command_name notify-host-by-sms
command_line /usr/bin/perl /usr/lib/nagios/notify-poseidon-sms.pl -H 192.168.1.1 -D
$CONTACTPAGER$ -M "$HOSTALIAS$ $HOSTOUTPUT$"
}
define command {
command_name notify-service-by-sms
command_line /usr/bin/perl /usr/lib/nagios/notify-poseidon-sms.pl -H 192.168.1.1 -D
$CONTACTPAGER$ -M "$HOSTALIAS$ $SERVICEOUTPUT$"
}

HWg-SMS-GW2 manual
HW group
www.HW-group.com
16
3.2) In /etc/nagios3/conf.d/contacts_nagios.cfg, define the contact(s) and contact group for
sending the text messages.
Note: To send notifications to multiple phone numbers, create a contact for each number and list the
individual contacts (comma-separated) in the “members”parameter of the contactgroup.
If you use a standard Nagios configuration and want to add SMS notifications to all hosts and
services, simply add peter-gsm to the admins group, without creating a contactgroup. The
configuration is done. After restarting the Nagios service (see point 3.4), notifications will be also sent
via text messages.
3.3) To add SMS notification for individual hosts and services, add a contact_groups parameter to
their definitions, for example:
Note: Contacts are usually defined in host and service templates. The added contact_groups
parameter overrides the value in the template. This example is based on the standard configuration
of the “admins”contact group that uses e-mail notifications. When the “contact_groups sms”
parameter is added, notifications will be sent by SMS only.
3.4) Restart Nagios to activate the changes.
define contact {
contact_name peter-gsm
alias Peters GSM phone
service_notification_period 24x7
host_notification_period 24x7
service_notification_options w,u,c,r
host_notification_options d,r
service_notification_commands notify-service-by-sms
host_notification_commands notify-host-by-sms
pager +420777888999
}
define contactgroup {
contactgroup_name sms
alias Notifications via SMS
members peter-gsm
}
define contactgroup {
contactgroup_name admins
alias Nagios Administrators
members root,peter-gsm
}
define host {
use generic-host
host_name localhost
alias localhost
address 127.0.0.1
contact_groups admins,sms
}
define service {
use generic-service
host_name localhost
service_description Disk Space
check_command check_all_disks!20%!10%
contact_groups admins,sms
}
nagios-server:~# service nagios3 restart

HWg-SMS-GW2 manual
HW group
www.HW-group.com
17
Using the product in your own software
HWg-SMS-GW communicates over the LAN using the http-based
netGSM protocol.
In order to take advantage of this product in your program, use the
HWg-SDK (Software Development Kit). The SDK provides commented
examples of source code for various programming languages.
Or, contact HW group for documentation about the netGSM protocol.
www.HW-group.com
EX131: SMS GW Client (Borland C++ Builder)
Supported devices: Poseidon 2250, Poseidon 4002, SMS-GW-GW
Project file: sms_gw.bpr
Win EXE version: sms_gw.exe
Screenshot: EX31_screen.png
Used: TSession class of library C++ SDK Classes
Some HWg devices can send SMS via a connected GSM
modem. In this case, the device works as a SOAP Web Service
and this example demonstrates how to make a simple client with
a graphical user interface. Written in Borland C++ Builder using
the HWg SDK.
Easy to use with simple GUI
Sends SMS via remote GSM modem
EX232: SMS GW Client CMD (Microsoft Visual C++)
Supported devices: Poseidon 2250, Poseidon 4002, HWg-SMS-GW
Project file: sms_gw_cmd.bpr
Win EXE version: sms_gw.exe
Screenshot: EX32_screen.png
Used: TSession class of library C++ SDK Classes
Some HWg devices can send SMS via a connected GSM modem. In this case, the device works as a
SOAP Web Service and this example demonstrates how to make a simple client with a command-
line user interface. Written in Borland C++ Builder using the HWg SDK.
Sends SMS via remote GSM modem
This is a command-line tool, it can be used in BAT scripts
Message text is entered as a command-line parameter or read from the standard input
Table of contents
Other HW Group Gateway manuals
Popular Gateway manuals by other brands

NETGEAR
NETGEAR DEVG2020 DOT user guide

AudioCodes
AudioCodes Mediant 500L MSBR Hardware installation manual

THOMSON
THOMSON SpeedTouch 716v5 (WL) user guide

Alcatel-Lucent
Alcatel-Lucent OmniAccess 5510 ADSL reference guide

Avaya
Avaya G700 Quick start installation guide

ZyXEL Communications
ZyXEL Communications P-873HNU-51B user guide