Hy-Gain 600 User manual

ORDER NO.
GOO
~
_•...•UN EAR RF DECK
INSTALLATION
&
OPERATION INSTRUCTIONS
HV-GAIN ELECTRONICS CORPORATION
. Rural
Routl:
3 • Lincoln.
Nebraska 68505
SECTION I
GENERAL DESCRIPTION
The Hy-Gain Model 600 Bi-Linear Amplifier is a precision built,
compact ampIifier of advanced design. It uti Iizes an integrated
circuit, two tubes, two transistors. two diodes and a tuned grid.
tuned plate circuit for amplification for AM, FM, CWand SSBsig-
nals.
A special feature of the AmpIifier is its dua, -purpose versati 1-
ity. It requires an external power supply, eltber AC supply for
base station use or DC supply for mobile station use. This, to-
gether with a quick-release mobile mount, allows the Ampl ifier
to be easily transported between base and mobile stations.
The Ampl ifier has a .buiIt-in automatic antenna change over re-
lay. which operates without special external connections, making
it perfect for operation with low power transceivers having no ex-
ternal amplifier control circuits.
'The amplifier also amplifies the received signal, utilizing an in-
~ted circuit amplifier. The variable plate tuning capacitor,
1
is accessible through a hole in the top cqver, allows for
t""rtuning of the amplifier. An internal load capacitor has been
used to offer impedance matching for maximum output into a 50
ohm antenna system.
The Ampl ifier has been designed and constructed to suppress
radiation that may cause television interference. TVI problem
has been given full consideration in the design and the layout
of the chassis. There are, however, some types of TVI that can-
not be prevented within the amplifier. This"is particularly true
in weak signal areas. In such cases, a good commercial low
pass fi Iter is recommended. .
Operation of this equipmer requires a FCC license. Failure to
comply is punishable by penalties seT forth in the Rules and
RE>gulationsof the FCC. A copy of these Ruies, for use under
the appropriate section', is available from the U.S. Government
Printing Office and should be in the possession of the operator.
Carefully remove the Model 600 Bi-Linear RF Deck from the car-
ton. Examine it closely for signs of shipping damage. If inspection
.r---...,
damage the delivering carrier must be contacted immediately
_<I
claim filed.
Height (including feet) 3 nches
Width.......................................•.................... 7 1/8 nches
Depth................................. .. 11 3/4 nches
Net Weight 4 1/4 pounds
Shipping Weight 6 pounds
Construction ,..Lightweight aluminum chassis
with rugged steel case
Frequency Range 26-35 MHz
Types of Emission AM, FM, CW, SSB, DSB
Power Output 150 AM with full upward modulation
300 Watts CW (with 3.5 watts driVe')
Ampl ification of Received Signal. 20 db
Drive ReqUired to Trigger Antenna Relay.....•.......•..•........ 1 Watt
Max Drive (unmoduIated carri er and FM)..•..•.............•....... 15 Watts
(amplitude modulated carrier) ...............•....... 3.5 Watts
(amplitude modulated peak) 14 Watts PEP
Harmonic Suppression Exceeds FCC requirements
Input Impedance (unbalanced)." 50 ohm nominal
Less than 2 : 1 VSWR
Output Impedance (unbalanced) 50 ohm fixed
Antenna Switching Automatic provided by RFsensing network
Tube and Semiconductor Complement 2 Tubes
2 Transistors
1 Integrated Circuit
Power Requirements . +800v
@
700 mA
+300v
@
SOmA
-lOOv
@
10mA
12VAC or DC at 2.S amps
(obtained from either Model 601 Base AC Power Supply or Model
602 Mobile DC Power Supply)
ponsibility in obtaining reimbursement rests with you. Prompt action
will speed adjustment. Our warranty does not cover malfunction or
damage which is a result of improper handling by a carrier.

SECTION III
INSTAllATION AND OPERATION
3.1 The location of the mounti~g is not critical, but consideration
must be given to provide adequate ventilation. The amplifier may
be used as either a base or mobile station when used with the ap-
propriate.power supply.
When used as a mobile station the amplifier may be mounted ~nder
the dash using a Hy-G2in Model 494 quick release mobile mount-
ing bracket and the Model
602
DC Power Supply. (Refer to the
602
instruction manual for installation.)
For base station operation use the Hy-Gain Model 601 AC Power
Supply. When the
600
omplifier and its power supply has been suit-
ably mounted in a convenient position connect a length of RG58/U
coaxial cable between the transceiver and XCVR socket (Next to
the power plug). Connect a
50
ohm antenna to the ANT socket (on
the left viewed from the back,)
The ontenna system should be checked for VSWR of less than 2 : 1
before the Model
600
Amplifier is used.
For best performance of your communication system, the VSWR
should be as low as possible.
II
is
rtlcoo,,,,endP.d 10 put ~"
~d<litivn;,1
f'lse eillS<'
\0 the hattery Tills preuents ~i1l1\1ry,i"",,,O'-' should
lh" conneclin[lca l e develop a shortr.ir:uit
1""I\'-"Il11
l~le lJatte,\- ,,~d Ihe an ,phi Ie,
Adj usts deloy constont of automotic
antenna relay
Controls the outomatic antenna circuit
and also supplies power to the receive
amplifier circuit.
Controls the integrated circuit receive
amplifier.
An integrated circuit amplifier increases the level of the incoming
signals from the antenna before it is applied to the transceiver. This
amplifier is controlled by the XMT Standby switch and the REC AMP
switch. With the XMT Standby switch in the XMT position the re-
ceiving amplifier can be switched ON or OFF as required. With the
switch in the Standby pasition, the receive amplifier is disabled and
the receive amplifier switch should be in the OFF position.
Output Meter Visual indication of relative RF power out0
Tune-Operate Switch (Rear Panel) .... Provides for low power tune-up
during initial tuning.
Drive Cantrol (Rear Panel) .... Controls power output for optimum
operation.
The side control in the cover is used for tuning the amplifier. The
amplifier is pretuned at
27.575
MHz and the tune control will allow
tuning the amplifier to some other frequency. The LOAD control is
not accessible from the outside. It is preset to provide a correct
match to
50
ohm antenna system. This control should not be ad-
justed. It is factory preset.
When the amplifier is used in the Business Band, adjustments must
be made by a FCC licensed technician.
The
600
Bi-Linear Amplifier is factory adjusted for the range of
26
to 31 Mhz. Operotion over the range of 31 to 35 MHz requires
a change in the number of turns in the RF Tank Coil. A shorted tap
is placed on the end of the coil adjacent to the loading capacitor and
tapped one turn.
This Amplifier must be used with a transmitter or transceiver cap-
able of at least 1 watt output.
THIS SECTION SHOULD BE READ THOROUGHLY BEFORE OPER.
ATING THE AMPLIFIER.
Place the function switch in the AM-FM position. Push the ON-OFF
switch to ON. The meter illumination light will come on.·After allow-
ing approximately
60
seconds for warm-up, push the XMT Standby
switch to XMT. This will energize the automatic antenna relay con-
trol circuitry and provide power to the integrated circuit receive ampli-
fier.
or')
Set the Slide switch on the rear panel to the Tune position. Adju .
the drive control for midway position. Apply 3.5 watts drive power
by keying the exciter (transceiver) microphone and quickly adjust
the tune control for maximum reading on the output meter. Remove
the drive power after adjustment.

Do not apply drive power for more than five secondswithout adjust-
ing the tune control or damage to the tubes can result.
~
I
Jpply drive power and adjust the drive control (on the rear
panel) so that the amplifier produces approximately 1Q0 w~tts
output.
The input tuning coil is preset for the 26-31 MHz range. If
operated outside this range it should be reset. To reset the
input tuning coil (accessible from bottom), first place a VSWR
bridge between the linear and the exciter. Apply drive power and
reset the coil slug with a hex shaped non-metallic alignment
tool for lowest SWRand maximum output in the "tune" position
of the switch. '
Set the Tune-Operate slide switch to the Operate position, re-
apply drive power and adjust the drive control for 150 watts
output on the watt meter. A re-adjustment of the input tuning
coil may be necessary to produce minimum input VSWR.
Readjust the tune control for maximum output and reset the drive
control for 150 watts carrier output.
The amplifier is now adjusted to provide 150 watts carrier and 300
watts with full upward modulation. If the average output power de-
creases with modulation then either the transmitter (exciter) is in-
capable of upward modulation or the Amplifier has not been tuned
up correctly and the above procedure shouId be re-checked. If this
does not correct the situation, the drive control (on the rear paneD
should be adjusted for a slightly lower power level necessary to pro-
duce upward modulation. It is far better to have reduced carrier power
with upward modulation than a carrier power of a higher level with
I""""'\nward modulation, this will increase your communication range
_1'
provide a clearer signal with much less distortion.
The automatic antenna change-over operation in the amplifier is
provided by a special transistorized input sensing circuit. Should you
desire to hold the amplifier in a ready position, but not use it until
needed, simply place the XMT-Standby switch in the Standby posi-
tion. The sensing circuit will be disabled and the antenna connected
to'the exciter (tronsceiver) at all times. (The RecAmp switch must be
in the off position),
3.5 TUNING FOR AM WITHOUT WATTMETER
(26-31 MHz)
After proper installation and attachment of a nominal 50 ohm
antenna, place the function switch in the AM-FM position and
push the ON-OF F Switch to ON.
The meter illumination light will come on. After allowing ap-
proximately 60 seconds for warm-up, push the XMT Standby
switch to XMT. This will energize the automatic antenna relay
control circuitry and provide power to the integrated circuit
receive amplifier.
Set the Slide switch on the rear panel to the Tune position.
Adjust the drive control for midway position. Apply 3.5 watts
drive power by keying the exciter (transceiver) microphone and
quickly adjust the tune control for maximum reading on the output
meter. Remove the drive power after adjustment.
(\
Do not apply drive power for more than five seconds without
adjusting, the tune control or damage to the tlJbes can result.
Re-apply drive power and adjust the drive control for a meter
reading of "6". Remove drive power.
Set the Tune-Operate switch to the Operate position, reapply
drive power and adjust the drive control for a meter reading of
"7". Readjust the Tune Control for maximum reading on the
meter. Reset the dri ve control for a meter reading of "7", if
necessary.
The amplifier is now adjusted to provide approximately 150 watts
carrier output with full upward modulation to 300 watts. If the
meter reading decreases with modulation, either the exciter is
incapable of upward modulation or the amplifier has not been
. tuned correctly and the procedure' should be re-checked. If
this does not correct the situation the drive control (on the rear
panel) should be adjusted for a slightly lower power level neces-
sary to produce upward modulation.
For best AM operation' the Iinear must be tuned accordi ng to
above procedures. Many misconceptions regarding linear oper-
ation exist among Iinear. users., Reviewing a few points regard-
ing proper Iinear operation wi II help to provide better tune-up
and communications for the user.
If the output signal reproduced is identical to the
cept stronger, the amplifier is said to be linear.
amplifier is non-linear.
input, ex-
If not, the
Non-linear operation produces spurious outputs and distor-
tion of the signal.
5. All power used to produce distortion and spurious signals is
power not being used for communication.
6. The Model 600 provides a 300 watt RF envelope maximum
power output.
7. Any attempt to operate AM at the 300 watt carrier level wi II
produce downward modulation with distortion, and spurious
signals.
8. Distortion and spurious signals (lost power) will occur in all
Iinear amps if operation at maximum carrier power is attempted.
9. All linear amplifiers should be operated at about one half the
maximum carrier output to allow for modulation expansion of
the carri er.
10. Operation without leaving room for modulation expansion will
not provide good communication. The carrier contributes
nothing toward intelligibility, only good modulation can carry
intelligence. Running higher carrier power and lower modu-
lation is a detriment rather than an asset.

11..At a carri er Ievel output of 150 watts you wi II see approxi-
;r;ately 15% to 25% increase in output on a watt meter whi Ie
talking. The modulation peaks are expanding to 300 watts,
however, the watt meter is incapable of measuring these mod-
ulation peaks. A steady tone, like a whistle. will produce a
higher indication approximately 25% to 50% increa~;e in watt
meter reading.
12. If your watt meter does not show 25% to 50% increase with
tone or whistle your linear is not working properly a,ld should
be readjusted for upward modulation. Full modulation expan-
sion to 100% should be your major concern not carrier output.
Downward modulation will not permit communication at its best.
Example:
150 watts carrier with 100%mod
vs
300 watts carrier with 10%mod 30 watts talkpower
OPERATE LINEAR ONLY
DON'T WASTE POWER IN DISTORT ION
Place the function switch in the SSB POSition. This will con-
nect a delay circuit to the automatic relay control and extend
the "dropout" approximately one second. This will prevent ~
rei ay "chattering" and erratic operation.
If the exciter (transceiver) has provision for either carrier inser-
tion or a tune position adjust it for 3.5 watts output and then
follow the procedure in Section 3.4 or 3.5 for AM Tune Up.
If the exciter (transceiver) does not have provision for carrier
insertion a steady whistle will produce a carrier. The Model 600
should then be tuned as specified in Section 3.4 or 3.5.
The power output level will be affected slightly by the Rec Amp.
The drive control should be adjusted to maintain output at the
correct Ievel when using the Rec Amp.

SECTION IV
SERVICE INFORMATION
DO NOT ship equipment to the Manufacturer without prior authori-
zation. We prefer to send special shipping labels which will avoid
the delay of unexpected shipment.
If time is extremely important, wire or call for approval and we will
rush labels to you. When a shipment is expected, even the time of
sending the labels is less than that lost when an unexpected ship-
ment is received.
It is VERY IMPORTANT that the shipment be well packed ana fully
insured. Damageclaims must be settled between you and the car-
rier and will greatly delay any retorns. Proper packing normally
avoids this trouble.
ALL SHIPMENTS MUST BE SENT TO US PREPAID. We do not
accept collect shipments. All returns should be made in our standard
cartons only - so save your carton when unpacking the unit. When
a shipment is returned it will be handled in one of three ways ....
1-Where all service is in warranty the shipment will be returned
prepaid by a carrier of our choice.
2-lf there are any charges not covered by warranty we will hold
the shipment and advise you of costs, which you can then send.
3-0r, upon your written authorization, we will ship C. O. D. for any
charges not covered by warranty, then the carrier will collect these
charges and the transportation costs on arrival. Unclaimed or re-
fused C. O. D. shipments will not be reshipped until payment of
~rvice and transportation charges is received. Shipment will then
.t
made collect for reshipment transportation charges. Unclaimed
SECTION V
WARRANTY
Hy-Gatn ElectroniCSCorporation warrants each new product manu-
factured to be free from defects in material and workmanship and
agrees to remedy any such defect, or to furnish a new part, in ex-
change for any part of any unit which under normal installation, use,
and service discloses such defect within ninety days from the date
of purchase by original owner. The unit serial number must be regis-
tered by the original owner at the time of purchase to validate the
warranty.
This warranty does not
exten
to anyof our products which have been
subjected to mis-use, neglect, accident, incorrect wiring not our
own, improper installation or to use in Violation of instructions fur-
nished by us. Nor does it extend to units which have been repaired
or altered outside of our factory nor to accessories used therewith
not of our own manufacture, nor to any caseswhere the serial number
has been removed, defaced. or changed.
Hy-Gain Electronics Corporation reserves the right to make any
equipment automatically becomes the property of the Manufacturer
60
days after date of refusal or return and will be disposed of for
payment of charges due.
WeWILL NOT ship by meansof a carrier that will not fully insure the
shipment. Some carriers have a
$200.00
limit. The exception to
this is when there is no other means (APO-FPO-etc.) of shipment
than parcel post, and then we will ship by this means with your writ-
ten agreement that you assume any loss over that which the carrier
will insure. C. O. D. shipments cannot be made to APO-FPO ad-
dresses.
All replacement parts orders must be prepaid or C. O. D. only.
Replacement part price Quoteswill be furnished on request for those
who desire plepaid shipment or cannot accept C. O. D. shipments.
All requests. inquiries, warranty claims or equipment returns should
be made to:
Hy-Gain Electronics Corporation
Rural Route 3
Lincoln. Nebraska
68505
changes deemed necessary or desirable without advance notice
or incurring any obi igation to make like changes in units pre-
viously manufactured or sold.
This warranty does not cover transportation or installation costs that
may be incurred. Hy-Gain Electronics Corporation's sale liability
is the remedy of any defect for ninety days. Hy-Gain Electronics
Corporation isnot responsible for personal injury or property damage
resulting from improper or careless installation not intended by the
manufacturer.
No person is authorized to assume for us any other liability in con-
nection with the sale of our products.
All warranties are void and terminated one year aftlilr the last unit
of its type and design has been manufactured by us.

(
~1--------- --
I
I
-,
I
I
C.i:o 4--- ---01..;,2:-
--c------,
'LpF IN'2. 70
~51.~~ :
I
I
•.••...10\ I
O-\",~ I
I
I
i
?OWER
METER :
~--- J
"'4<1l.
ZZ\(.D-
IW
R401
IOO~
I'" 1
'800
VDC (5')
PltJ"
31.5
VD"
B
VARIA..~\..'C.
c.l.,..P,b..,c.\-rOR.CIC'S 15 TO
~E.
PRE.~ET
TO
~2.£.pF.
'7.
TUBE~
VIOl tV\O'Z. A.RE.
M.•••.ICI-lE.~ PA\~'5.·
Wo. UU\.:E.'5'=-
o"'n\E.~\).:)\5E. ,SPEC\F\E.D~
""\..'- ~6oe.\S""Oes
llt..lC::;<:IIz. \),) .•..-n-
S. Jl'..l-L..
51:.£1£.'5
400
COM.Pot-.1E\...l.T~ Il..~e.
flAOL.)\..)lE.O
ou
,\olE.
PO~~ ~1i:.C> ~S'ST
4. PoJ,.l-
5"~IE'5
300
COAAPo~E\.J,"'S
"~E
~\)""'"Te.D
Cl'J
"T\\E. li'E.L
1''''' 8O"'R
D 1-.",,,,.,,
3.
~L-\..
SERIES
eoo
COMF'OIoJ,E).JT5 .••.RE
HOl,)lJTE..'O 010.)
'T\oI.E.
\-POP'
Po.ss"t'
2.:
&lo.LL
lCO
~e.F:I6-'5
COH\PO)..)e.uTS
,b.,.i :E.
CH"~50\S
fl\OO1U \E..D
t
;to..LL
.'RE.......,...~
AR1=-
5\ol.O~U \\..}
\~E
9::e.\..J:Io,,'t-E.DpO'5\'Tl()U
t-JOTE5,
r---------------
: R.F 5NIFFER
I
I I
I I
I I
I
I :
.301
I
I
330~
I
Ie
303
=_~Q:-=.I=_=-::.::::_::::::::_---------------------..J-I
..':L=-z=ooc:p=-:l_ ~~~_
:RC,\/R. PRE.I\N\ P
-R307I.iK:.---------l
I
I
I
1 I
1
1
I
1
1
I
1
I
1
1
I
I
_______ I
-----------------
PJU1.11
PolIJeR 5UPPL'1' CoOJTfi:OL
PI
t..J
11
C~fL
II§ i
'RC\l~~~~ I
a~
OFF;
1
I
I
1 ,
L_-~
J

SYMBOL DESCRIPTION PART NO. SYMBOL DESCRIPTION PART NO.
CHASSIS MOUNTED COMPONENTS R201 18Ktl.1/2W Res 721339
,r---.,
C101 · 01
mid
Disc Cap 721550
C102 · 01
mid
Disc Cap 721550 RELA Y BOARD COMPONENTS
C103
10 pi
3KV Cap 721613
C104
560 pi
DSM Cap 500v 721677 C301
6800 pi
Disc Cap 721160
C105 Load Cap 720015 C302
10 mid
Ele Cap 721121
C106 Tune Cap 721157 C303
2200 pi
Disc Cap 721161
C107 · 001
mid
2. 5KV Cap 721660 C304
500 mid
Ele Cap 721120
C108 · 003 3KV Disc Cap 721159 C305
150 pi
Disc Cap 727980
C306
2200 pi
Disc Cap 721161
K1 4PDT Relay 730006 C307
100 pi
Disc Cap 721016
K2 4PDT Relay 730006 C308
2200 pi
Disc Cap 721161
C309
2200 pi
Disc Cap 721161
L101 800 uh Choke 721902 C310
2200 pi
Disc Cap 721161
L102 Tank Coil 270014 C311
2200 pi
Disc Cap 721161
LID3 Plate Choke 721124 C312
56 pi
Disc Cap 725711
L104 Plate Choke 721124 C313
20 pi
Disc Cap 725717
C314
500 mid
Ele Cap 721120
M101 0~1 ma Meter 795680 D301 1N270 Diode 765722
N101 #53 Lamp 12V 715665 D302 1N270 Diode 765722
D303 1N645 Diode 761113
P101 Parasitic Choke 721950 D304 1N753 Diode 765721
P102 Parasitic Choke 721950 IC301 MC1550/G Inter-
R101
33 n.1/4W
Resistor 721103 grated Amp 765724
.~.
R102
22.a.
1/2W Resistor 725639
-' R103 270.a.lW Resistor 720016 L301 .56 uh Coil 725679
R104
18.n.
2W Resistor 720017 L302 Z 144 Coil 728025
R105
270n.1W
Resistor 720016 L303 .56 uh Coil 725679
R106 7. 5Kn.Lin Pot 721451 L304 47 uh Coil 725710
R107 4. 7K.n.1W Resistor 721367
R108 15K.n.1/2W Resistor 721340 Q301 MPS6516 Transistor 761115
R109 2Kn.10W Resistor 721527 Q302 2N696 Transistor 761114
R110 3. 5K.a..10W Resistor 721515 R301 330.a.1/2W Res 721167
T101 Input Coil 720018 R302 270n..1/4W Res 721112
R303 33.t1 1/4W Res 721103
VIOl Beam Pentode Tube 760004 R304 510n..1/4W Res 725727
V102 Beam Pentode Tube 760004 R305 2. 2Kfl1/4W Res 721116
R306 In. 1/2W Res 720020
LOW PASS FILTER ASSEMBLY R307 1.
2Kn.1/4W
Res 725728
C201
180 pi
SM Cap 720013
C202
240 pi
SM Cap 720004 POWER BOARD COMPONENTS
C203 180 pi SM Cap 720013
C204 2 pi Disc Cap 721609 C401
.001 mid
Disc Cap 721158
C205 20 pi Disc Cap 725717 C102 · 001 mfd Disc Cap 721158
C206 . 01 mfd Disc Cap 721178 C403 · 001 mfd Disc Cap 721158
C404 · 001 mfd Disc Cap 721158
D201 1N270 Diode 765722
~
D202 1N270 Diode 765722 R401 100 1/2W Res 720005
L201 LPF Choke 720003 R402 22K 1W Res 721373
L202 LPF Choke 720003 R403 100 1/2W Res 720005
Table of contents
Other Hy-Gain Amplifier manuals

Hy-Gain
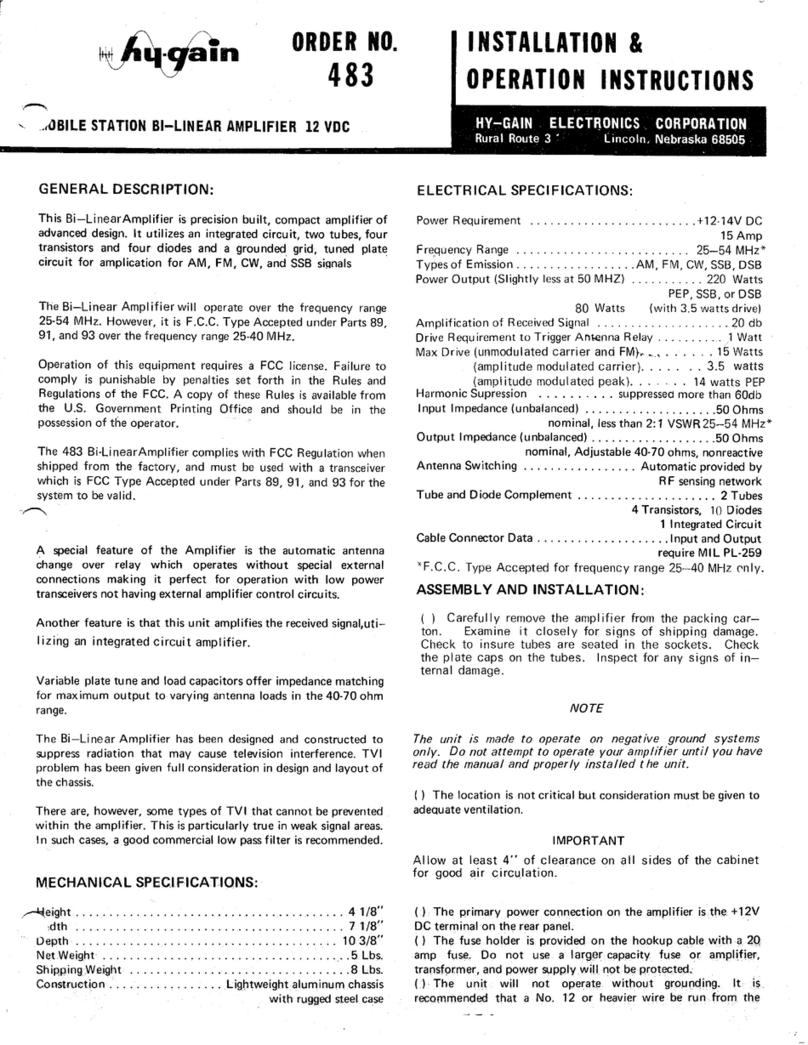
Hy-Gain 483 User manual

Hy-Gain
Hy-Gain 422 Installation instructions

Hy-Gain
Hy-Gain Afterburner 419 Installation instructions

Hy-Gain
Hy-Gain 482 Installation instructions

Hy-Gain
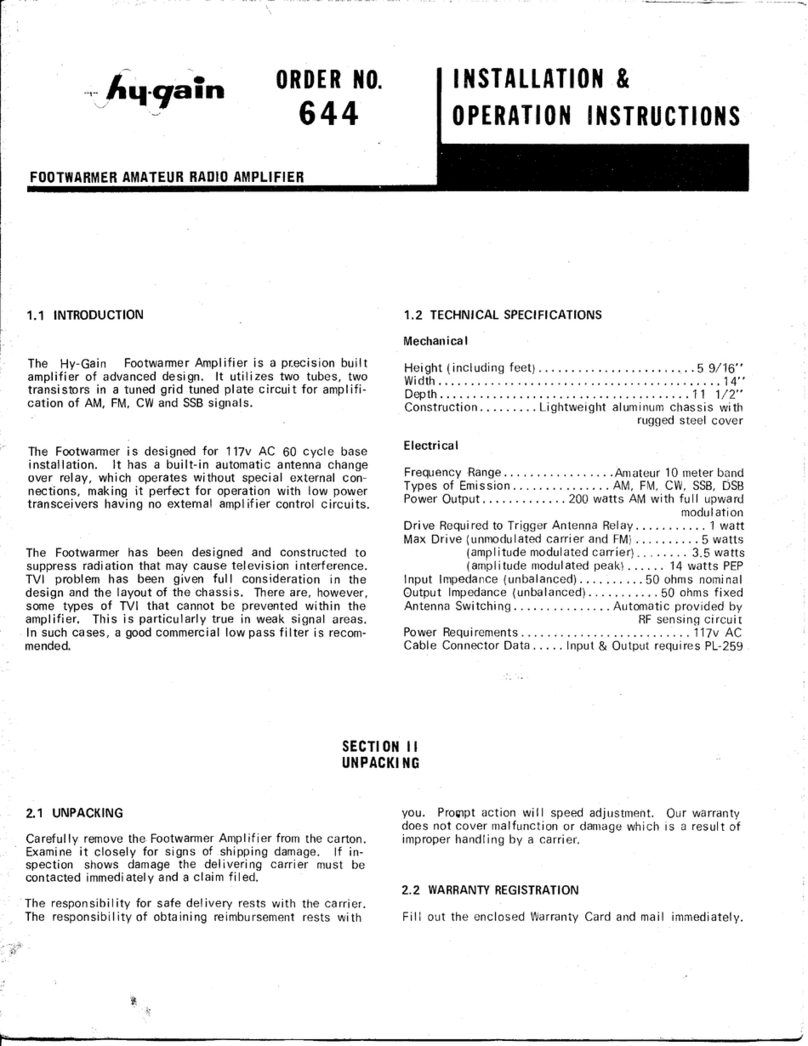
Hy-Gain 644 Installation instructions

Hy-Gain
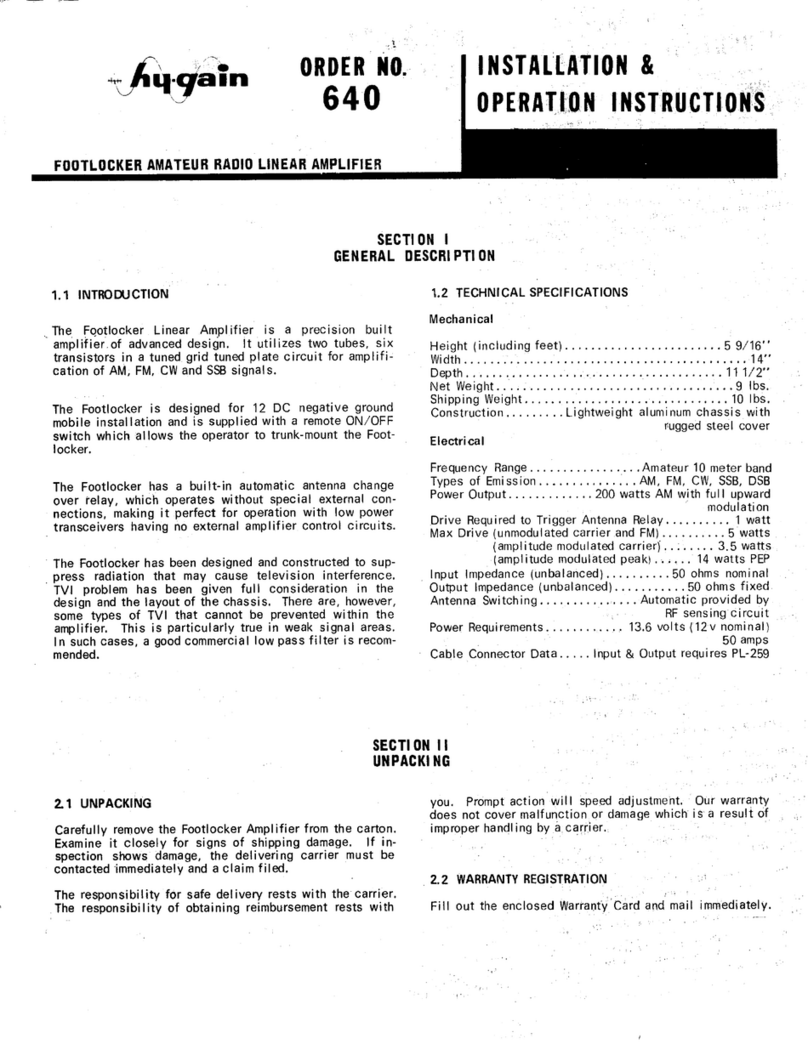
Hy-Gain 640 Installation instructions

Hy-Gain
Hy-Gain 483 Installation instructions

Hy-Gain
Hy-Gain 480 Installation instructions
Popular Amplifier manuals by other brands

AUSTRALIAN MONITOR
AUSTRALIAN MONITOR AMIS26 Specifications

Budda
Budda Stringmaster instruction sheet

Key Digital
Key Digital KD-RGBDA8 operating instructions

Momentum
Momentum Momentum Amplifier none installation manual

ButtKicker
ButtKicker Gamer BK-GR2 quick start guide

Pioneer
Pioneer PRS-A700 Service manual