Hyd-Mech S-25A User manual

P.O.BOX1087/WOODSTOCK,ONTARION4S8P6·PHONE(519)539-6341/FAX(519)539-5126
HYD-MECH
DearCustomer,
As a businessman you understand the necessity of keeping the cost of each step of production to an absolute
minimum without sacrificing quality. In the purchase of any new piece of equipment you are looking to in-
creaseyourproductionandconsequentlyreduceyourcost,whilemaintainingorimprovingquality.
With these points clearly in mind we have designed the HYD-MECH S-25A. Our goal is to change stock cut-
offfrom a "necessary evil" to a money making and time savingpart of your operation.
Pleaseuse this manual to familiarizeyourselfandyour employees on the properoperationandmaintenance of
the S-25A.
We appreciate the confidence you have shown in our product and wish you every success in its use.
Sincerely,
HYD-MECHENGINEERINGLTD.
Stan Jasinski, P. Eng.,
President
PRINTED IN CANADA 1995

THIS PAGE INTENTIONALLY LEFT BLANK

TABLE OF CONTENTS
SECTION 1 - INSTALLATION
Safety......................................................................................................................................... 1.1
Lifting and Shipping.................................................................................................................... 1.1
Vise Cylinders............................................................................................................................. 1.2
Head Restraint Bar..................................................................................................................... 1.3
Leveling..................................................................................................................................... 1.3
Wiring Connections.................................................................................................................... 1.4
Hydraulic Oil and Cutting Fluid................................................................................................... 1.4
SECTION 2 - CONTROLS AND OPERATIONS
SUBSECTION 2A - The Control Console........................................................................................... 2.1
Start-up...................................................................................................................................... 2.1
S25 Manual Controls.................................................................................................................. 2.1
Shuttle Length Control................................................................................................................ 2.5
Conventional Length Control Set-up and Calibration................................................................... 2.5
S25 Automatic Controls (PLC 100)............................................................................................. 2.6
Blade Kerf......................................................................................................................... 2.6
PLC in Manual Mode ....................................................................................................... 2.7
PLC in Auto Mode - Single Job......................................................................................... 2.8
PLC in Auto Mode - Multi Job............................................................................................ 2.9
Important Notes With Respect To PLC Operation............................................................. 2.10
Interrupting the Auto Cycle...................................................................................... 2.10
Entering Blade Kerf................................................................................................. 2.11
Inch-Metric Input or Measuring................................................................................ 2.11
SUBSECTION 2B - Saw Cutting Controls........................................................................................... 2.12
Blade Basics............................................................................................................................... 2.12
Variable Speed Control............................................................................................................... 2.13
Hydraulic Feed Control............................................................................................................... 2.13
Using The Saw Cutting Parameters Door Chart........................................................................... 2.14
Step 1 Determine Effective MAterial Width....................................................................... 2.14
Step 2 Setting The Feed Force Limit................................................................................. 2.15
Step 3 Determine Optimum Blade Pitch............................................................................ 2.16
Step 4 Determine Optimum Blade Speed.......................................................................... 2.17
Step 5 Determine Feed Rate Setting................................................................................. 2.18
Cutting Control Set Up Examples................................................................................................ 2.20
SUBSECTION 2C - Mechanical Controls............................................................................................ 2.22
Head Up And Down Limit Setting................................................................................................ 2.22
Guide Arm Positioning................................................................................................................ 2.23
Coolant Flow.............................................................................................................................. 2.23
Blade Changing.......................................................................................................................... 2.24
SECTION 3 - MAINTENANCE AND TROUBLESHOOTING
Blade Brush................................................................................................................................ 3.1
Blade Guides.............................................................................................................................. 3.1
Lubrication............................................................................................................................... 3.2
Cleanliness................................................................................................................................. 3.3
Hydraulic Maintenance................................................................................................................ 3.3
Trouble Shooting......................................................................................................................... 3.4

SECTION 4 - ELECTRICAL SYSTEM
General Information.................................................................................................................... 4.1
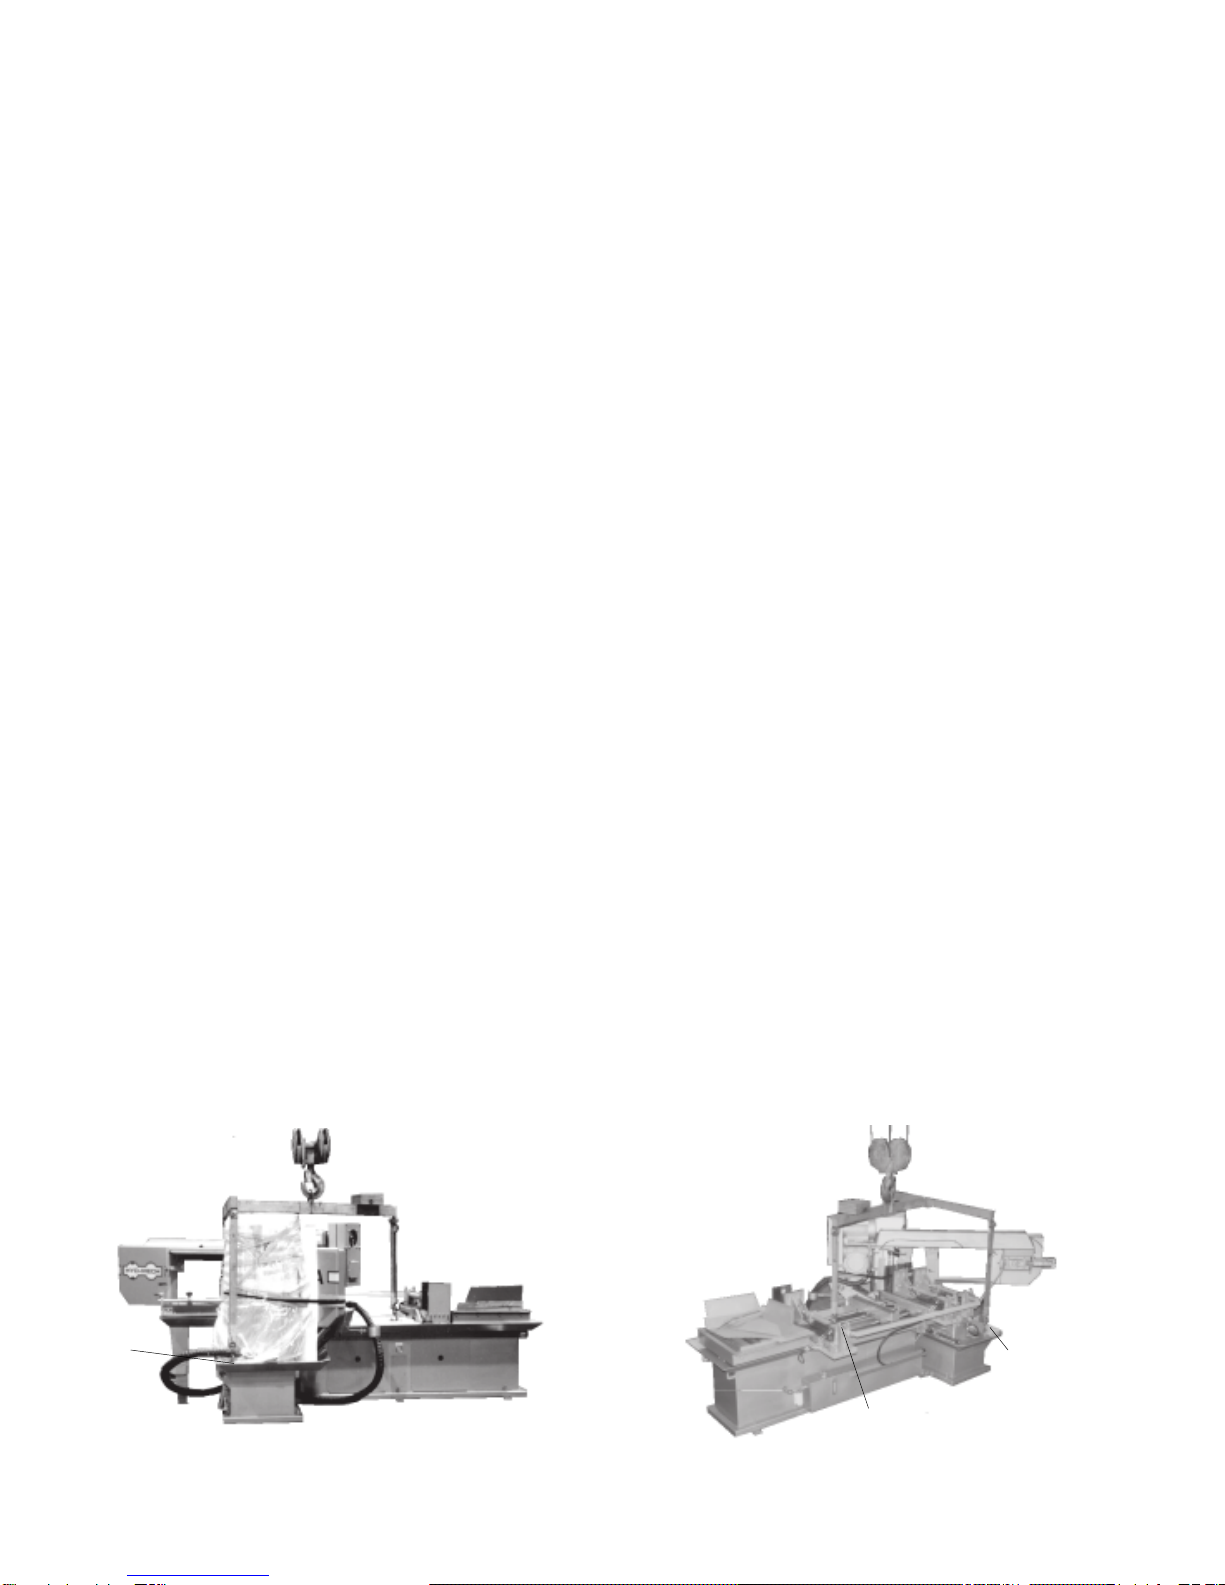
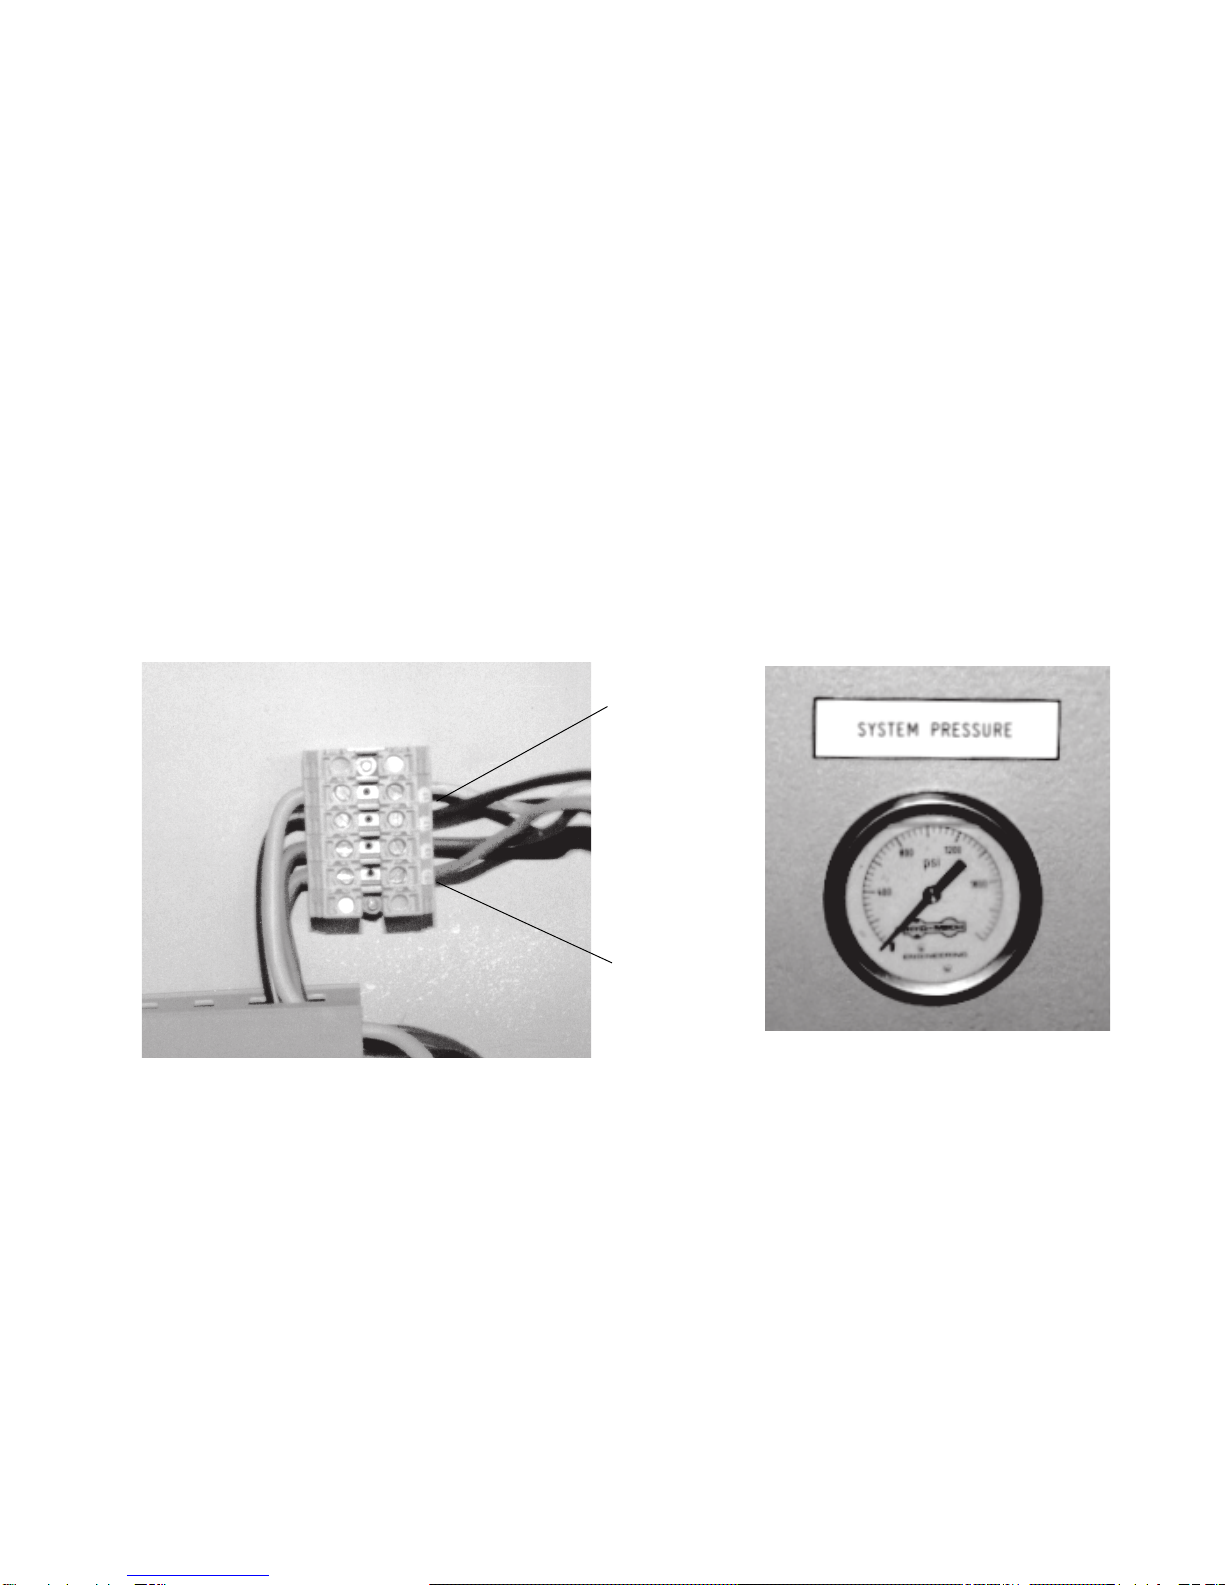
Photos of Standard Electrical Components................................................................................. 4.1
Photos of Optional Electrical Components.................................................................................. 4.3
List of Electrical Components For An S-25A With the Optioanl PLC100.................................... 4.4
List of Electrical Components For A Standard S-25A.................................................................. 4.7
Standard Electrical Schematic S25-7-00-1.......................................................... 4.12
Standard Electrical Wiring Diagram S25-70-02 pg.1............................................... .... 4.13
Wiring Diagram S25-70-02 pg. 2 ................................................. 4.14
Wiring Diagram ( Contol Box) S25-70-02 pg.3.................................................... 4.15
Electrical Schematic (PLC Option) S25A-7-00-1A ..................................................... 4.16
Electrical Wiring Diagram PLC S25A-7-00-2A pg.1 ............................................. 4.17
Electical Wiring Diagram PLC (Control Box) S25A-7-00-2A2 pg.2 ........................................... 4.18
SECTION 5 - HYDRAULIC SYSTEM
General Information.................................................................................................................... 5.1
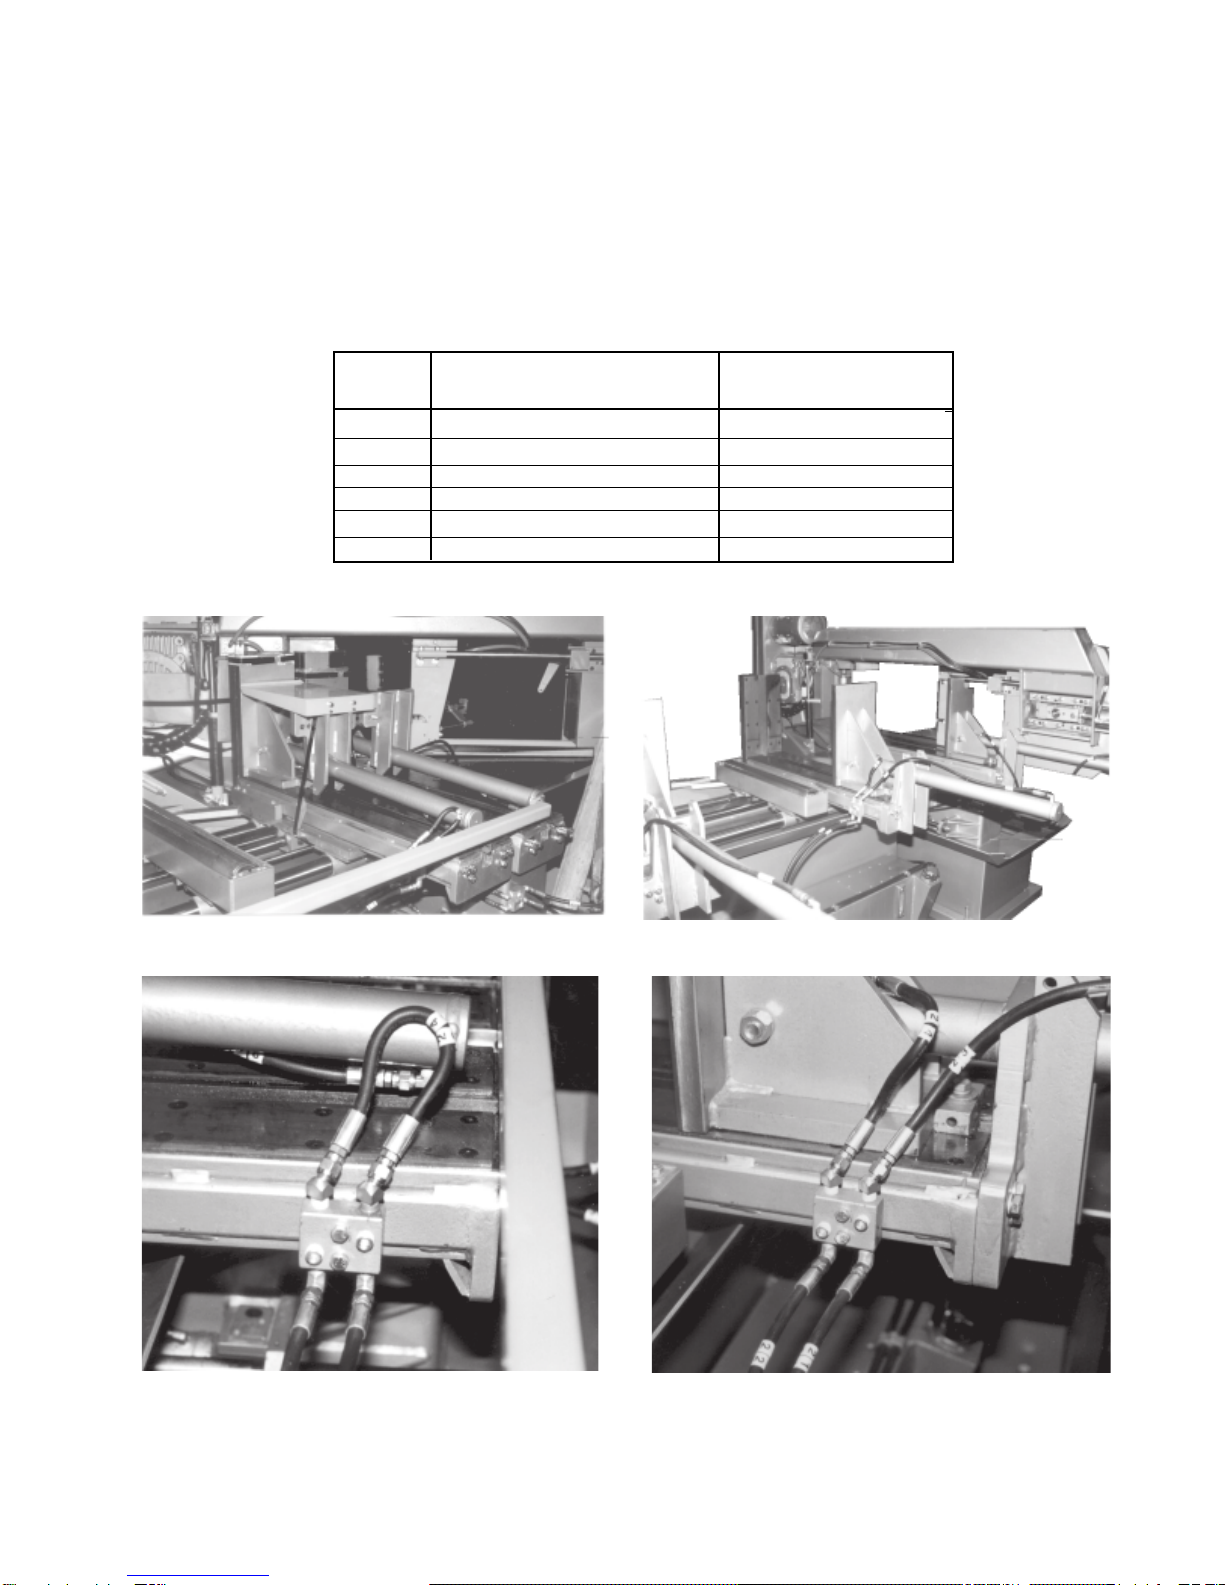
Parts List and Photos of Hydraulic Components.......................................................................... 5.1
Cylinder Components .................................................................................................................. 5.2
Positive Downfeed Valve Components ...................................................................................... 5.3
Hydraulic Schematic S25A-6-00-1 ...................................................... 5.4
Hydraulic Plumbing Diagram S25A-6-00-2 ....................................................... 5.5
Plumbing Diagram (VVP Option) S25A-6-00-2....................................................... 5.6
SECTION 6 - MECHANICAL ASSEMBLIES
Parts List and Photos:
Blade Guide Arm Assembly........................................................................................................ 6.1
Guide Arm Rack Assembly......................................................................................................... 6.2
Blade Brush Assembly................................................................................................................ 6.3
Drive Assembly.......................................................................................................................... 6.4
Idler Wheel Assembly................................................................................................................. 6.5
Vise Cylinder Mounting Assembly............................................................................................... 6.6
Front Table Assembly ................................................................................................................ 6.7
Gearbox Assembly.................................................................................................................... 6.8
Auxiliary Table Assembly............................................................................................................ 6.9
Shuttle Guide Assembly.............................................................................................................. 6.10
Infeed Conveyor assembly......................................................................................................... 6.11
Pivot Link Assembly.................................................................................................................. 6.12
Head Swing Assembly............................................................................................................... 6.13
Coolant System Assembly.......................................................................................................... 6.14
Outfeed Table Assembly............................................................................................................. 6.15
Length Control Assembly............................................................................................................ 6.16
SECTION 7 - OPTIONAL SAW EQUIPMENT
Overhead Bundling Attachment.................................................................................................. 7.1
Variable Vise Pressure................................................................................................................ 7.2
Blade Breakage Switch............................................................................................................... 7.3
Out of Stock Limit Switch............................................................................................................ 7.4
Remote Blade Speed Adjustment............................................................................................... 7.5
SECTION 8 - SPECIFICATIONS
Specification List........................................................................................................................ 8.1
Dimensional Drawings................................................................................................................ 8.2
SECTION 9 - WARRANTY
Warranty..................................................................................................................................... 9.1

SECTION 1 - INSTALLATION
SAFETY
All safety precautions must be observed during installation, operation, maintenance or repair work on the
S-25Abandsawmachine.
-Inspectthe machine throughout before powerhook-up. Specialattention should be paid to electricaland
hydraulic systems keeping an eye out for any potential shipping damage.
-Powerhook-upshouldbeperformedbyqualifiedpersonnel.
-Machine should be used according to its specifications.
-Longhair, loose clothing, gloves, should not be worn while operating the machine.
-Stock must not be loaded while blade is running.
-Machineshould not be operated unless all guards, coversanddoorsare in place and
closed.
-Long and heavy stock should be supported in where it extends off the saw table.
-Area around the machine should be kept clean and tidy.
-Operator should keep a safe distance from all moving parts especially the blade and vises.
-If not performing properly the machine should be stopped immediately and repaired by a qualified person.
-NomodificationstothemachineareallowedwithoutHyd-Mech’spriorapproval.Anyapprovedmodifications
shall be performed by trained personnel.
LIFTINGANDSHIPPING
Tolift the S-25 bandsawan overhead crane witha“T” shaped lifting harnessshouldbe used Fig.1-1Aand Fig.
1-2A. Hook the lifting harness to a chain shackle on the infeed base 'A' and to chain shackles on both sides of
the saw base 'B'. An experianced rigger should select the rigging based on the 7300 LB. weight of the saw.
WARNING: Under no circumstances should the lifting harness be pushing against any part of the saw.
B
B
A
Fig. 1-2AFig. 1-1A
1.1

HOSE # HOSETOCYLINDER CONNECTINGHOSE
CONNECTION ATJUNCTIONBLOCK
34 RODEND(FRONTVISE) 32
33 PISTONEND 31
24 RODEND(SHUTTLEVISE) 22
23 PISTONEND 21
34C RODEND(AUX.VISE) 32C
33C PISTON 31C
TABLE 1
1.2
Fig. 1-4 Reassembled vises.
Fig. 1-3 Vises disassembled for shipping.
Fig. 1-5 Junction block plumed for shipping. Fig. 1-6 Vise cylinder plumed to junction block.
VISECYLINDERS
To permit the S-25A to be shipped in a standard trailer, the three vise cylinders must be fully retracted, the
hydraulichoses disconnected, and the mounting brackets unbolted fromtheinfeedtable Fig. 1-3. The cylinder
tube is then rotated around the cylinder rod so that the mounting bracket and tube are upside-down. This jaw
is now pushed completely toward the fixed jaw letting the bracket rest on the infeed table. Before the initial
start-up, reinstall the vise bracket and reconnect the vise cylinder hoses Fig. 1-4. TABLE 1 lists the hose
reconnections, Fig 1-5 shows one of the junction blocks as it appears when machine is shipped. Fig. 1-6
showsa junction blockafterthe vise cylinder hoseshavebeen reconnected.

HEAD RESTRAINT BAR
The S-25A bandsaw is shipped with the head secured at the 45° position by a restraint bar and is wired down
to the base to ensure that the head can not move in any direction during shipping. After the saw has been lifted
into position, the head restraint bar must be removed along with the wire.
1.3
Fig. 1-7 Head restraint member and tie down wire.
LEVELLING
Machinelocationshould be carefully selected. A flat concrete floor area should be chosen. It should have
enoughfreespacesurroundingthemachinetoenablefreeaccessforsafeoperationandmaintenance.
Machine should be levelled in both directions ie. across its table and along its infeed conveyor especially when
machine is to be inserted into a large conveyor system.
Ninelevelling screws areprovided. Steel platesareto beplacedunder each screwtoprevent theirsinkinginto
theconcretefloor. Incaseswhenmachineis tobeanchoredpermanently,anchoring holesareprovided.They
are located next to the levelling screws.
NOTE: In some cases levelling the saw infeed and auxiliary conveyors with a slight slope towards the blade is
recommended.This will preventcoolantfrom running down theraw stock. (This isespeciallytrue when cutting
tubingorbundles).
Fig. 1-8 Level the saw using a precision level.

HYDRAULICOILANDCUTTINGFLUID
The S-25A bandsaw is supplied with Valvoline 150-46 hydraulic oil. If it is necessary to change the oil to a
differentbrandseetheHYDRAULICSECTIONforanequivalentgradeoil.
No cutting fluid is supplied with the machine. There are two types of coolant available:
- oil based; dilute 1:10 ratio
(one part concentrated coolant to 10 parts water)
- synthetic; dilute as recommended by the manufacturer.
WIRINGCONNECTIONS
Afterthemachineis levelledand anchoredthe necessarypower hook-upneeds tobe performed.Inorderto
providesafeoperationas wellasto preventpotentialdamagetothemachine,onlyqualifiedpersonnelshould
make the connections.
BEFORESTART-UPTHEFOLLOWINGTWOPOINTSSHOULDBECHECKEDFOR
-signs of damage that may have occurred during shipping to the electrical cables and the hydraulic hoses.
-thehydraulicoil level is between the upper and lower lines on the level gauge (see SECTION 3 pg. 3.4).
As supplied, the machine is set to run on three phase voltage as indicated on the serial plate and voltage
label.
Power connection to the machine is made to L1, L2, L3 terminals at the junction block inside the control box
Fig.1-9. During the initial hook-up it is very important to check that the phase order is correct. This is indicated
by the hydraulic pressure gauge registering a pressure rise Fig. 1-10 and the blade running in a counter
clockwise direction. If the hydraulics do not register an immediate pressure rise, shut the hydraulics off and
changethephaseorder.
ATTENTION:Runningthehydraulics"backwards"candamagethehydraulicpump.
1.4
Fig. 1-9 Electrical junction block.
L1, L2, L3
Terminals
GroundClamp
Fig. 1-10 System pressure gauge.

SUBSECTION2A-CONTROLSANDOPERATIONS
THECONTROLCONSOLE
START-UP
The S-25A control console has been designed to simplify the operation of the saw, to give the operator the
ability to stop any function at any time, and to be able to control all the functions remotely. (See Fig. 2A-1)
We can not overstress the importance of familiarizing yourself with the controls of the S-25A prior to starting
themachine.
NOTE:WHENSTARTINGTHES-25AFORTHEFIRSTTIME
MAKESURE
THATTHEMODESELECTOR
SWITCHISINIT'S
NEUTRAL
POSITION,THEBLADEISRUNNINGINA
COUNTERCLOCKWISE
DIRECTION,ANDTHATTHEHYDRAULICPRESSUREIS
900PSI
±25PSI(seeSECTION3
pg. 3.4).
Fig. 2A-1 Standard S-25A operation control panel.
S-25A MANUAL CONTROLS
HYDRAULICSTARTBUTTON: StartshydraulicpumpmotorandenergizestheBLADESTARTBUTTON
andtheMODESWITCH.
The fixed vise will open or close according to its selector switch position.
Theactionsofallotherfunctionsaredependent upontheMODESWITCH
position.(seeMODESWITCH)
BLADEMOTOR This button is only operative when the hydraulic system has been
STARTBUTTON: started. Momentarily depressing this button will start the blade
motor.
BLADEMOTOR Momentarily depressing this button will stop the blade motor.
STOPBUTTON:
2.1

EMERGENCYSTOP This button will stop both the hydraulic and blade motors and
BUTTON: de-energizestheMODESWITCH.
The head and shuttle motion will cease.
The vises will remain as they are, but if closed, they will gradually
lose gripping force. For this reason all long stock should be
supported so that in this eventuality, it will not fall.
HYDRAULICANDBLADE Bothofthedrivemotorsareprotectedbyindividualoverloadrelays.
MOTORRESETBUTTONS: Ifamotordrawsexcessiveamperage,thecorrespondingrelaywill
open and the entire machine will shut down as if the EMERGENCY
STOP buttonhadbeen pressed.
DepressingthecorrespondingRESETbuttonwillclosetheopened
contactoroverloadand allow the machine to be restarted.
MODESWITCH: Hasthreepositions,MANUAL,NEUTRAL,andAUTO
MANUAL: in manual all the following functions except the HEAD
SWING CONTROLS and the AUTO CYCLE DIAL,
are operative.
NEUTRAL:onlytheFIXEDVISESWITCH,theCOOLANTSWITCH
and the HEAD SWING CONTROLS are operative.
AUTO: all of the functions are under the control of the AUTO
CYCLE DIAL, and the MANUAL CONTROL switches
are inoperative.
HEADCONTROLSWITCH: InoperativeunlessMODESWITCHisinMANUAL.
UP: the head will rise until it reaches the HEAD UP LIMIT SWITCH
SETTING.
HOLD:the headwill remainstationary.
DOWN: the head will descend until it reaches the bottom. Descent
is controlled by the FEED RATE and FEED FORCE
controls.
INDEXFORWARDBUTTON: Button is inoperative except when MODE SWITCH is in MANUAL.
Depressing this button fully will cause the shuttle table to quickly
advance toward the saw table until the button is released or the
shuttlereachestheforwardlimitoftravel.
Depressing this button partially will cause the shuttle table to
advance toward the saw table at a very slow rate until the button is
releasedortheshuttlereaches the forward limit of travel. This
control is intended to assist in the accurate positioning of heavy
pieces of stock.
INDEXREVERSEBUTTON: Button is inoperative except when MODE SWITCH is in MANUAL.
Depressing this button fully will cause the shuttle table to quickly
retract away from the saw table until the button is released or the
shuttlereachesthe rearwardlimitoftravel.
Depressing this button partially will cause the shuttle table to retract
away from the saw table at a very slow rate until the button is
releasedortheshuttle reaches the rearward limit of travel. This
control is intended to assist in the accurate positioning of heavy
pieces of stock.
INDEXVISESWITCH: This switch is only operative when the MODE SWITCH is in
MANUAL. It operates in the same manner as the FIXED VISE
SWITCH but controls the vise mounted on the shuttle table.
2.2

FIXEDVISESWITCH: This switch is operative as long as the machine is supplied with
power. Unlike the other function switches it is active when the
MODESWITCHisinNEUTRAL. TheFIXEDVISESWITCH
is wired this way to insure that the fixed vise will not release the
work piece when switching between AUTO and MANUAL, or if the
saw should shut down during a cut due to a motor overload. This
security is provided only if the FIXED VISE SWITCH is left in the
CLOSEpositionduringautomaticoperation;theAUTOCYCLE
DIALwill openthe frontvise asrequired. TheFIXED VISE
SWITCHshouldbeturnedtoOPEN when shutting the saw down
foraprolonged period of time (i.e. overnight). When this switch
is in the CLOSE position, the fixed vise will stay closed even when
shutting the saw down with the EMERGENCY STOP button, but the
vise pressure will quickly drop off and it should not be relied upon
toholdunbalancedworkpiecesaftershutdown.
FASTSWINGSWITCH: This switch is only operative when the MODE SWITCH is in the
NEUTRALposition.
Positioning this selector switch to 90° will swing the head fast towards the 90°
position. Likewise positioning this selector switch to 30° will swing the head
toward the 30° position. Leaving the switch on the lock position will restrain
theheadfromfurtherangularmotion.Theanglechangecanbeobservedon
the angle scale located on the head swing drum Fig. 2A-2.
COOLANTSWITCH: Has three positions ON, WASH, and OFF
ON: the coolant flows only when the head descends
WASH: coolant flows any time the machine is under power, permitting
wash-downwiththehandlinewithoutrunning themachine
OFF:no coolant flow
MULTIINDEXCOUNTER:The counter is operative onlyinthe AUTO MODE. The number on
the manually set thumb wheel display, controls the number of
shuttles made by the shuttle table between each saw cut Fig 2A-3. If the
setting is changed during the shuttling portion of the AUTO CYCLE,
the new setting will not be accepted until after the current cutting
cycle.
2.3
SLOWSWINGSWITCH: Operates in the same manner as the FAST SWING SWITCH except it
swings the head at a slower rate making fine adjustment easier.
Fig. 2A-2 Angle scale.

AUTOCYCLEDIAL: This knob rotates in a clockwise direction when the saw is running and the
MODE SWITCH is in AUTO Fig. 2A-4.
As it rotates it sends out control commands indicated on the dial. Whenever
the head or shuttle motion is initiated, the dial will stop and wait for the
motion to reach the end of its travel, and then it will resume its rotation.
It is recommended that the AUTO MODE always be initiated with the AUTO
CYCLE DIAL in the START position. This will result in the fixed vise closing,
theindex vise opening, the head lowering (unless it is already down),and
the shuttle table retracting (unless it is already retracted). The head will then
rise to the limit set by the HEAD UP LIMIT SWITCH and the cycle will
Fig. 2A-6 Blase speed digital readout. Fig. 2A-7 Blade speed display
window on the PLC 100.
BLADE SPEED SWITCH: This optional switch controls the blade speed which can be infinitely adjusted
between 75 and 400 SFPM. The blade speed change can be observed on the
blade speed digital display, located on the front control panel (Fig. 2A-6). On
machines quipped with the optional PLC 100 controller the blade speed is
displayed in the blade speed window located on the PLC controller (Fig. 2A-
7). Switch is active only when blade is running.
PIECECOUNTER: The counter is operative in both AUTO and MANUAL Fig. 2A-5. It is manually
set to the number of cuts desired and counts down to zero at which point it
turns the saw off. If the counter is set at zero it will not permit the saw to be
started. If in the MANUAL MODE it is desired to have the saw shut down at
the end of the cut, the PIECE COUNTER must be set to 1 (one) before the
cut. The counter counts one half count when the head down signal begins and
the other half count when the head down signal ends. Thus, if the AUTO
CYCLE is interrupted during cutting, a false count will be recorded. In this
eventsimplypush the PIECE COUNTER back up one count.
Fig. 2A-3 Multi index
counter.
Fig 2A-4 Auto cycle dial. Fig. 2A-5 Piece counter.
2.4
proceed in order, as on the dial. When manually positioning the AUTO
CYCLE DIAL, it should always be turned in the clockwise direction.
NEVERTURNTHEAUTOCYCLEDIALCOUNTERCLOCKWISE.
(OPTIONAL)

SHUTTLE LENGTH CONTROL
To adjust for desired stock for a production run,as shown in Fig. 2A-8, move the Adjusting block 'A' to the
desired position along the scale. Fine adjustments can be made using the micrometer 'B'. The zero point on
the micrometer is .250 inch. This gives you 1/4" in and 1/4" out for fine adjustment.
The result is less than 40". Set the adjusting block pointer to 9 13/16" and the MULTI INDEX COUNTER to "1".
Example 2
Desired piece length 73 3/8"
+ Kerf 1/16"
= Total shuttle required 73 7/16"
The result is greater than 40". We must divide by 2 in order to get a dividend less than 40 inches.
73.4375
= 36.719
2
Set the adjusting block to 36 23/32" and the MULTI INDEX COUNTER to "2".
+ Kerf aprox. 1/16"
= Total shuttle required 9 13/16"
Example 1
Desired piece length 9 3/4"
CONVENTIONAL LENGTH CONTROL SET-UP AND CALIBRATION
The calibration makes no allowance for kerf loss and this must be added by the operator. Although blade
thickness is standard with relation to blade size, blade kerf may vary due to different pitch or manufacturer. We
recommend that you measure the kerf of the blade which you are using by making a cut into a solid piece of
steel and measuring the width of the cut. In the following examples we will use a blade kerf of .080". The
procedure for setting and calibrating the conventional length control is as follows:
To obtain a desired piece length add the kerf allowance. If the resulting length is less then 40", fully advance
the shuttle and set the adjusting block pointer to the resulting length. Set the Multi-Index Counter to "1".
If the resulting length is greater than 40", divide it by the smallest number which will result in a dividend less
than 40". Fully advance the shuttle and set the adjusting block pointer to the resulting dividend. Set the MULTI
INDEX COUNTER to the divisor.
Fig. 2A-8 Length control block.
A
B
2.5

Set the PIECE COUNTER to "2" and the AUTO CYCLE KNOB to "START". Start the blade and switch the
MODE SWITCH to "AUTO". The stock will advance and a cut will be made resulting in a trial piece.
Check the length of this piece. If it is not accurate enough, use the micrometer head to zero in on exactly the
length you require. The general procedure for using the micrometer length adjustment is as follows:
NEW MICRO SETTING = OLD MICRO SETTING + (DESIRED LENGTH - ACTUAL LENGTH)
NUMBER OF INDEXES
If in example 1, the resulting piece was 9.775 inches rather than the disired 9.750" then:
NEW MICROSETTING = .250 + 9.750 - 9.775
1
= .250 + (-.025)
= .225
If in example 2, the resulting piece was 83.313" rather than the required 83.275" then:
NEW MICROSETTING = .250 + 83.375 - 83.313
3
= .250 + .062
3
= .271
Increasing the micrometer setting increases the part length, while decreasing the micrometer setting de-
creases the part length.
NOTE: Remember to reset the micrometer to exactly midscale at the end of each run.
It is wise to make a trial cut in order to check the accuracy of the length setting. Start by being certain that the
head up limit switch is correctly set up for the work piece. Using the manual mode raise the head fully and
advance the stock about 1/16" - 1/8" beyond the blade for a trim cut. Make the required trim cut.
S-25A AUTOMATIC CONTROLS
BLADE KERF
Although blade thickness is stand-
ard with respect to blade size, blade
kerf may vary due to different pitch
or manufacturer. We recommend
that you measure the kerf of the
blade which you are using by mak-
ing a cut into a solid piece of steel
and measuring the width of the cut.
In the following examples we will
use a blade kerf of .080".
Fig 2A-9 Optional PLC 100 programmable controler.
2.6

SUBSECTION2B- SAWCUTTINGCONTROLS
This section has been prepared to give the operator the ability to set up the saw for most cutting situations.
Thesaw is equipped with variable speed control andhydraulicfeedcontrol, as well as an extensive door chart
to guide the operator in the correct setting of these controls.
BLADEBASICS
Technology is rapidly changing all aspects of production machining. Metal cut-off is no exception. The
advancesmade in the bandsaw blade industry have definitely brought downthecostper cut, despite the three
foldhigherprice ofhightechnologyblades.
Variable pitch, bi-metal blades (like the 2/3 or 4/6 bi-metal blade supplied with the S-25A series saws) last
muchlonger, cut faster, andmoreaccurately than conventional carbon steelblades.
In order to take advantage of the superiority of bi-metal blades, it is critical to properly “break-in” a new blade.
This is accomplished by taking two or three cuts through solid four or five inch diameter mild steel at an
extremelyslow feed rate. (utilizing a very slow blade speed is recommended)
These two or three slow cuts sufficiently lap (polish) the new blade so that it does not snag the material being
cut. Properbreak-inwillalleviatebladevibration, improvesurfacefinish, accuracy,andbladelife.
After “break-in” the following six points must be closely monitored to ensure long blade life:
1. Properbladetensionshouldbemaintained.(seeSECTION3 pg.3.4BLADETENSION)
2. Generous coolant application is essential with almost all materials. A high quality and well mixed
coolant will many times extend blade life, and also increase cutting rate quality. On those materials
where coolantisundesirableforcutting, a slight coolant flow or periodic oiling of the blade is necessary
toprevent the blade from beingscoredby the carbide guides.
3. The stock being cut must be securely clamped in the vises.
4. Theproperfeedforcemustbechosen.
5. Theproperblade speed must beselected.
6. Theproperfeedratemustbeapplied.
2.12

VARIABLESPEEDCONTROL
Blade speed can be adjusted infinitely between 75 and 400 SFPM (Surface Feet/Minute). Adjustment should
be made only when the blade is running. Clockwise rotation of handwheel “A” (Fig. 2B-1) increases the blade
speed while counter clockwise rotation decreases the blade speed. Blade speed is displayed on an indicator
locatedinthe adjustment hand wheel. On machines equipped with the optional remote blade speed adjust-
ment, adjustment is made using the BLADE SPEED selector switch Fig 2B-2 located on the control panel.
Blade speed is displayed on the digital blade speed display Fig. 2B-3 or on the blade speed display window
located on the optional PLC 100 controller Fig. 2B-4.
HYDRAULICFEEDCONTROL
The hydraulic feed control is located on the control panel below the electrical control console. These controls
allowindependent controlofFeed Force andFeedRate. SeeFig.2B-5.
Fig. 2B-1 Blade speed adjust-
ment. Fig. 2B-2 Blade speed selector
switch. Fig.2B-3Digital blade speed
display.
Fig.2B-4 Blade speed display window.
FastApproachLever
Depressforfastheaddescent
FeedForceKnob
Used to set Feed Force Limit
(clockwise rotation to increse
andcounterclockwiserotation
todecrease).
FeedRateKnob with feed rate scale
(calibratedininches/minute)
Used to set Feed Rate (counter clockwise
rotation to increase and clockwise
rotationtodecrease
FeedForceGauge
Fig2B-5Hydraulic feedcontrol.
2.13
A

USINGTHESAWCUTTINGPARAMETERSONCHART
Fig. 2B-6 Saw cutting parameter door chart.
As Example #1 we will use the CHART to set up the saw, for cutting 8" Diameter, 1045 Carbon Steel.
STEP 1
DETERMINEEFFECTIVEMATERIALWIDTH,W(in.)
Effectivematerial width, W (in.) for most
common shapes of materials, is the widest
solid part of the material to be in contact with
blade during cutting. For simple shapes, as
illustrated on the chart, this can be diractly
measured.Forbundlesoftubesand
structuals,measuringtheeffectivewidthis
difficult.For those cases effective width is
60% to 75% of the actual material width.
NOTE:
Fig. 2B-4
A full size chart is mounted on the
panel.The chartcontainsfive stepsfor
theoperatortofollow inorderto achieve
optimumperformanceofthesaw.
2.14

Both effective material width and guide arm width are used in setting the saw. Guide arm width is the distance
between the guide arms and is used in STEP 2. Effective material width, as determined here in STEP 1, can be
thought of as the average width of material “seen” by each tooth, and it is used in STEP 3 and 4.
In Example #1, for an 8" diameter solid, effective material width is 8".
STEP 2
SETFEEDFORCELIMIT
The Feed Force Limit is the maximum amount of force with which the head is allowed to push the blade into the
workpiece. The controls for setting the Feed Force Limit consist of:
FeedForceGauge
- With the Mode Switch in “manual” position, move the head fully down.
-After the head is down, open the feedratevalve,depress the yellow FEED
FORCE SETTINGbuttonand adjusttheFEED FORCE.
Example#1
Fig.2B-6 Feed Force pressure.
Fig.2B-5 Hydraulicfeed control.
FeedForceKnob
FeedRateKnob
To set FEED
FORCELIMIT:
2.15
Set the feed force at 250-300 psi. This will protect
thebladefrombuckling.Thisamountoffeedforce
willalso prevent the blade from cutting out of square.
If the cuts obtained are not square and the blade is
notatfault,reducethefeedforcepressure.Gener-
ally a higher feed force can be used when cutting
solids. When cutting structuals or bundles a lower
feedforceshould beused.

2.16
SIGNIFICANCEOFGAUGEREADING:
Withthehead down and yellow button depressed the (FEED FORCE “set” on manual control panel) FEED
FORCE gauge indicates the setting of the FEED FORCE LIMIT. During cutting the gauge shows the actual
forcebeingappliedbythebladetotheworkpiece.
In typical cutting situations, the needle on the gauge will rise toward the preset FEED FORCE LIMIT and
stabilize, usually at a lower level. If the material being cut is very hard or wide, the needle may rise all the way
to the preset FEED FORCE LIMIT, which it will not exceed.
When cutting soft materials and or narrow cross sections, the gauge reaging may be low, but the FEED RATE
will be maintained. Any changes during cutting, such as, material hardness or material cross section will
influencethe gaugereadings.Therefore, insomecutting situationsthegauge readingmayrise and fall.A very
low gauge reading is uaully observed when the blade is approaching the material to be cut, but not yeyt cutting.
STEP 3
DETERMINEOPTIMUMBLADEPITCH,TEETHPERINCH(T.P.I)
Selecting a blade with proper tooth pitch is important in order to acheive optimal cutting rates and good blade
life.
For cutting narrow or thin wall structual materials a fine blade with many teeth per inch (T.P.I) is recommended.
For wide materials a blade with a coarse pitch should be used (see Fig 2B-7 below).
It is impractical to change the blade to the proper pitch every time a different width of material is cut and it is not
Fig.2B-7 Optimum blabepitch,teeth per inch (T.P.I.)for effective material
width, W (in.).

necessary, but remember that the optimum blade will cut most efficiently. Too fine a blade must be fed slower
on wide material because the small gullets between the teeth will get packed with chips before they get across
and out of the cut. Too coarse a blade must be fed slower because it has fewer teeth cutting and there is a limit
to the depth of a cut taken by each tooth. Allowance for the use of a non-optimum blade is made in STEP 5.
In our Example #1, for an effective material width of 8" the optimum blade has 2/3 teeth per inch.
STEP 4
DETERMINEOPTIMUMBLADESPEED,V(ft/min)
Therelationshipbetweenoptimumbladespeedandeffectivematerialwidthforvariousmaterialsisrepresented
on the graph Fig. 2B-8.
Thegraph showsthatas effectivematerialwidth getswideror asmaterialgets harder,lowerblade speedsare
recomended.Ifmaterialisnarrowerorsoft, higherblades speedsshould beselected.
Fig.2B-8Optimumbladespeed curves.
In Example #1 8" Dia, 1045 Medium Carbon Steel solid bar is to be cut.
-OnthegraphabovefindtheMediumCarbonSteelCurvewhichrepresentstheoptimumbladespeedsfor
1045 Carbon Steel.
-Onthehorizontalaxis (effectivematerialwidthaxis)findnumber8whichrepresent effectivematerialwidth
of an 8" diameter solid.
-Find the point where a vertical line from 8"intersectstheMedium Carbon Steel Curve.
- From this intersection point run horizontally left to the vertical axis (optimum blade speed axis) and find the
point marked “200”.
- Thus, for 8"diameter, 1045 Carbon Steel solid bar 200 ft/min is the optimum blade speed.
NOTE:Higherthanoptimumbladespeedwillcauserapidbladedulling.Lowerthanoptimum bladespeeds
reduce cutting rates proportionately and do not result in significantly longer blade life except where there is a
vibrationproblem. If the blade vibrates appreciablyatoptimum speed as most often occurswithstructuals and
bundles,alowerbladespeedmayreducevibrationandpreventprematurebladefailure.
Thetablebelowshowsafewexamplesofoptimumbladespeedfordifferentmaterials.
TABLE2B-1
2.17
Table of contents
Other Hyd-Mech Saw manuals

Hyd-Mech
Hyd-Mech V-18 User manual

Hyd-Mech
Hyd-Mech S20P III Series User manual

Hyd-Mech
Hyd-Mech M-16A PLC 500 E600 User manual

Hyd-Mech
Hyd-Mech H-22A User manual

Hyd-Mech
Hyd-Mech V-18 Manual

Hyd-Mech
Hyd-Mech H-14P User manual

Hyd-Mech
Hyd-Mech H18 A User manual

Hyd-Mech
Hyd-Mech H-18 ASV User manual

Hyd-Mech
Hyd-Mech H14A User manual

Hyd-Mech
Hyd-Mech S-23H User manual

Hyd-Mech
Hyd-Mech H14A User manual

Hyd-Mech
Hyd-Mech M-16A User manual

Hyd-Mech
Hyd-Mech S20 SERIES III User manual

Hyd-Mech
Hyd-Mech S-20DS User manual

Hyd-Mech
Hyd-Mech M-16 User manual

Hyd-Mech
Hyd-Mech V18APC User manual

Hyd-Mech
Hyd-Mech PH 211 User manual

Hyd-Mech
Hyd-Mech S-23A User manual

Hyd-Mech
Hyd-Mech S-23A User manual

Hyd-Mech
Hyd-Mech S-23 Manual