Before your start assembling this kit please mind the following:
We expect you have basic knowledge of electronics and you are aware of the dangers related to electricity.
If you do not feel confident, please ask someone who has this knowledge to assist you.
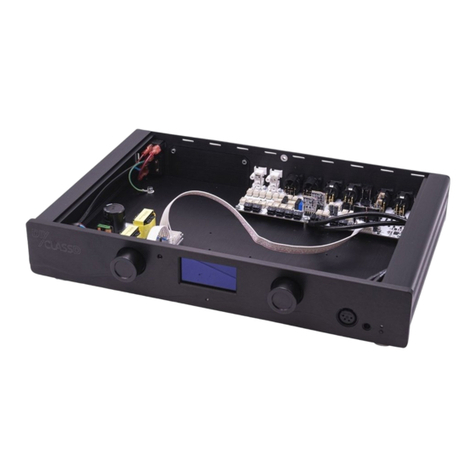
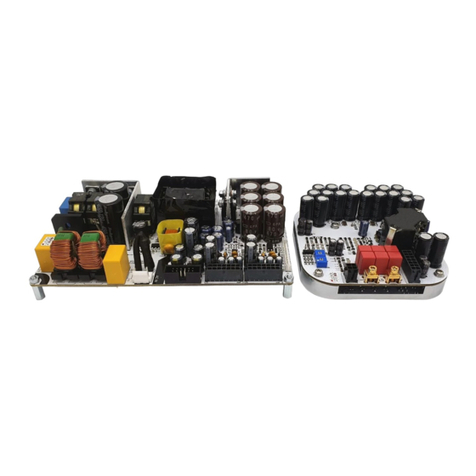
1: Place amplifier and supply
Position the amplifier and power supply in your enclosure. The ca-
ble connections will be made later. Use the spacers and bolts sup-
plied with the kit.
2: Place the binding post and XLR
Mount the NC400 signal wire according to the drawing, use the
screws provided with the kit.
Binding post:
The red binding post refers to the positive (+) speaker output and
the black binding post refers to the negative (-) speaker output.
Mount the binding posts accordingly. Make sure the posts are
electrically insulated from the amp case.
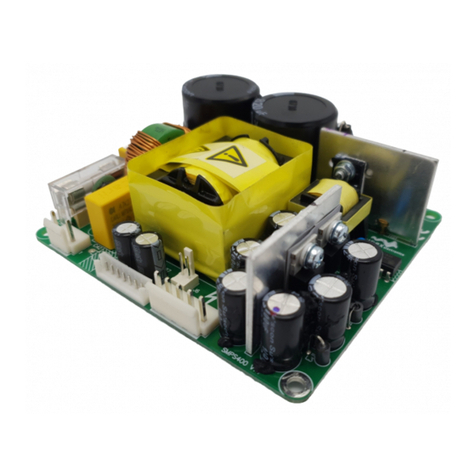
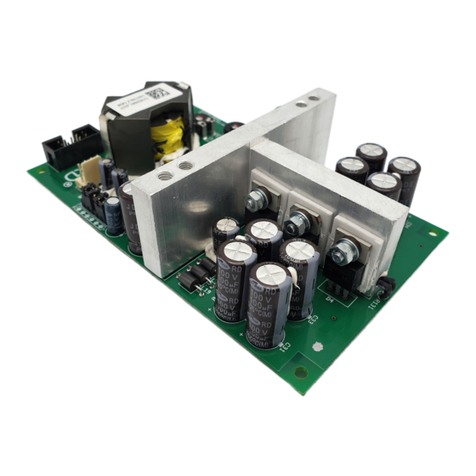
3: Connecting the mains to the SMPS
Mount as shown on the front page of this document
Place fuse in its holder
Connect ground correctly
Glue connectors and switch
3.1: Connecting LED
Connect the cable between the small LED board and the
power supply
Fits only one way
3.2: Fixing the feet
Fix the feet with a 2,5mm Allen key. Make sure the earth
is connected as shown in this manual
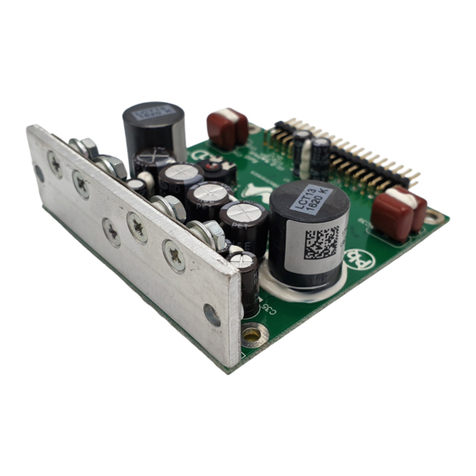
4: Connecting the SMPS to the NC400
Mount the supply cable like you can see in the picture in step 1.
The cable for the NC400 can only be placed in one way, please do
not try to force it, it either fits or is placed wrong! Use a cable tie
to fix the wires together.
Earth connection
5: Connecting audio wires to NC400
Connect LS+ (red) to the red binding post.
Connect LS- (black) to the black binding post.
ooptional: insulate with shrink sleeve.
Before you power up your amplifier you should check your work.
Check if you have followed the previous instructions cor-
rectly.
Make sure all connections are made according to the in-
structions.
Make sure all cables and wires have room to spare, there
should be no tension on the cables and wires!
Are all cables securely connected?
Tip: You can use cable ties to bind cables together.
All screws should be fixed. But remember, fixed is fixed.
Do not overdo it, you risk damaging your material.
Make sure there is no debris in the case left. Clean it care-
fully if necessary.
For further details please refer to our website: www.hypex.nl
Enjoy your new amplifier!
The Hypex Crew
