manuals.online logo
Brands
  1. Home
  2. •
  3. Brands
  4. •
  5. I-Tech
  6. •
  7. Switch
  8. •
  9. I-Tech BMil21730-8HDMI User manual

I-Tech BMil21730-8HDMI User manual

17.3" FHD TFT LCD -1920x1080 , Brightness:400nits (Typ) View
angle:160(H)/140(V) Contrast ratio:600:1(Typ) Color:16.7 M
colors, Input Device:81 keys backlight plastic membrane
keyboard with 5 levels brightness adjustable, Stainless steel
Trackball, USB input Power input:110-220VAC input Tempered
glass to protect screen 20" deep. Design to meet: MIL-STD-810G
Wide temperature 0-60C, Vibration & Shock with 8-ports combo
HDMI + USB KVM, included KVM cables 6ft long
2U MILITARY GRADE DUAL SLIDES RUGGED RACKMOUNT LCD KEYBOARD DRAWER
Model: BMil21730-8HDMI
SPECIFICATIONS:
Ports 8-ports combo HDMI + USB KVM
Weight 38 lbs
Dimensions 482.60 x 88.9x 500 mm (19"x 3.5"x 19.7")
Power Supply 110-220VAC input
Construction Heavy Duty Steel Frame
Keyboard 81-backlight keys with 5 levels of adjustable brightness
Pointing Device Stainless steel Trackball
Protection Tempered glass
Approvals CE, FCC, UL, RoHS
Display
Size 17.3" FHD TFT LCD
Resolution 1920x1080
Brightness 400 nits (Typ)
Contrast Ratio 600 : 1 (Typ)
Viewing Angles 160(H)/140(V)
Display Colors 16.7 M colors
FEATURES:
■ Built-in Dual rails to meet the flexible use needed
■ Mechanism meets EIA/ECA-310- 19" Rackmount 2U, depth: 500mm
■ Cabinet mounting: with fixed rear extend holder up to 600mm (Std) with Jonathan rails up to 600mm (Options)
■ Touch Panel ( Optional)
The BMil21730-8HDMI only occupies a fraction of the space of traditional monitor and keyboard units, the installation of
the BMIL leaves ample room for other critical components. The monitor keyboard unit has a built-in slide rail and mounts
easily into any 19” rackmount cabinet.
The BMil21730-8HDMI is a 2U dual rail rack mount monitor drawer with a full HD 17.3" monitor, keyboard, and trackball. The
LCD is built into the cover and the keyboard and trackball are built into the base, allowing you to independently use the
monitor or keyboard thanks to the dual rail system.
■ Temperature, MIL-STD-810G, Method 501.5, Procedure II (0 ~ +60C)
■ Temperature, MIL-STD-810G, Method 501.5, Procedure I (-20 ~+80C)
■ Vibration, MIL-STD-810G, Method 514.6, Procedure II , Random General vibration,
■ Shock, MIL-STD-810G, Method 516.6, Procedure II , Saw tooth wave, 20G/11ms,
DESIGNED to MEET:
*Specifications subject to change without notice, not responsible for typographical errors.
MECHANICAL DRAWINGS:
i-Tech Company LLC
TOLL FREE: (888) 483
-
2418 • EMAIL:
info@itechlcd.com
• WEB:
www.iTechLCD.com
Modified Date: 05-26-2021
This is subject to change without Notice. Final Drawings Will be Provided for Approval after Order.
1. Power socket
2. USB Port for Keyboard (Type A)
3. USB Port for Mouse (Type A)
4. HDMI Port connects to Monitor (Console)
5. Speaker jack (Console)
6. Microphone jack (Console)
7. PC1~PC8 (right to left as marked) HDMI Port, USB Port (Type
B), Speaker and Mic jacks
Rack-Mountable HDMI KVM Switch w/ Audio Mic & Hub
Quick Installation Guide
Rack-Mountable HDMI KVM Switch w/
Audio, Mic & Hub
Introduction
Rack-mountable KVM Switch with the
HDMI video interface.
User can manage multimedia computers via
this unique KVM Switch with its
simplicity. It can fully control 8 / 16
PCs from a single keyboard, mouse and
monitor console. It also provides multimedia
keyboard plus audible support. It can
connect to each of the computers audio input
and output through the microphone and the
set of speakers one at a time.
Package Contents
Please check whether you have all the
following items within this packing box.
1 x Switch Unit
1 x Quick Installation Guide
1 x Power Adapter DC 9V
Front-panel & Back-panel
The front-panel and back-panel are where
the various connectors are located on the
Units. Before you connect this unit to any
computer cabling accessories or peripherals,
you should get a glimpse of the main
connectors you are going to encounter when
setting up the system.
8 Ports Front-panel and Back-panel
overview
8 Ports Front-panel overview
a. USB Device Port (Type A, Female)
b. USB Device Port (Type A, Female)
c. Computer port LEDs and push buttons
(1~8)
8 Ports Back-panel overview
1. Power Socket
2. USB Port for Keyboard (Type A)
3. USB Port for Mouse (Type A)
4. HDMI Port connect to Monitor
(Console)
5. Speaker jack (Console)
6. Microphone jack (Console)
7. PC1~PC8 (right to left as marked)
HDMI Port, USB Port (Type B),
Speaker and Mic jacks
16 Ports Front-panel and Back-
panel overview
16 Ports Front-Panel overview
a. USB Device Port (Type A, Female)
b. USB Device Port (Type A, Female)
c. Computer Port LEDs and push buttons
(1~16)
16 Ports Back-Panel overview
1. Power socket
2. USB Port for Keyboard (Type A)
3. USB Port for Mouse (Type A)
4. HDMI Port connect to Monitor
(Console)
5. Speaker jack
6. Microphone jack
7. PC1~PC16 (down row, right to left as
marked)
8. PC1: HDMI Port, USB Port (Type B),
Speaker and Mic jacks.
Installation
1. Please ensure that your KVM Switch,
monitor, and computers are power off.
2. Connect keyboard to USB port (2)
3. Connect mouse to USB port (3)
4. Connect monitor to HDMI port (4)
5. Connect Speakers to Speaker jack (5)
6. Connect Microphone to Microphone
jack (6)
7. Power on the Monitor.
8. Power on the KVM Switch by plug in
the External Power Adapter.
9. Connect each KVM Switch PC port to
the Computers.
10. Power on Computers.
11. Connect each of your USB devices to
the USB Hub ports; you can now
begin to use the KVM Switch.
Operation
They are two methods to control your KVM
Switch for PC/Hub port / Audio &
Microphone ports selection: Front-panel
push buttons and Keyboard Hotkeys.
1. Front-panel push buttons
The Front-panel push buttons allows you
can direct control over KVM Switching
operation. Simply push desired button to
switch rapidly to the respective PC port. For
more operation about push button, please
refer to “Quick Reference Sheet”
2. Keyboard Hotkeys
For Keyboard Hotkeys, please refer to the
“Quick Reference Sheet”.
FCC / CE Statements
FCC Statement: This equipment has been
tested and found to comply with the
regulations for a class B digital device,
pursuant to Part 15 of the FCC Rules. These
limits are designed to prove reasonable
protection against harmful interference when
the equipment is operated in a commercial
environment. This equipment generates, uses,
and can radiate radio frequency energy and,
if not installed and used in accordance with
this Quick Installation Guide, may cause
harmful interference to radio
communications. Operation of this
equipment in a residential area is likely to
cause harmful interference in which case,
the user will be required to correct the
interference at his/her own expense.
CE Statement: This is a Class B product in
a domestic environment, this product may
cause radio interference, in which case the
user may be required to take adequate
measures.
Rack-Mountable HDMI KVM Switch w/ Audio Mic & Hub
Quick Reference Sheet
Quick Reference Sheet –8/ 16 Ports Switch Operation –Hotkeys / Front-panel Buttons
Command
Hotkeys
Front-panel Buttons
Description
Define Hotkey Preceding Sequence
ScrLk + ScrLk + [H] + F12 /
NumLock / CapsLock / ScrLock ]
--
Define Hotkey Preceding Sequence
Bind PC and Hub Port Control
Switching
ScrLK + ScrLK + Z
--
Enable the binding of PC port and hub port control switching (Once this feature is enable, any PC and/or hub
port control switching is bound together) (Factory default)
Unbind PC and Hub Port Control
Switching
ScrLK + ScrLK + X
--
Disable the binding of PC port and hub port control switching
Next lower PC port
ScrLK + ScrLK + [UpArrow]
Press corresponding button switch for
port selection
Next lower PC port
Next higher PC port
ScrLK + ScrLK + [Down Arrow]
Press corresponding button switch for
port selection
Next higher PC port
Previous PC Port
ScrLK + ScrLK + [BackSpace]
Press corresponding button switch for
port selection
Toggle between the previous port and current port
Beep Sound On/Off [Default = ON]
ScrLk + ScrLk + B
--
Toggle On/Off the beep sound
Autoscan Period
[Default = 10 seconds]
ScrLK + ScrLK + [S] +[1~9]
--
Specify the scanning period [10~90 seconds]

Other I-Tech Switch manuals

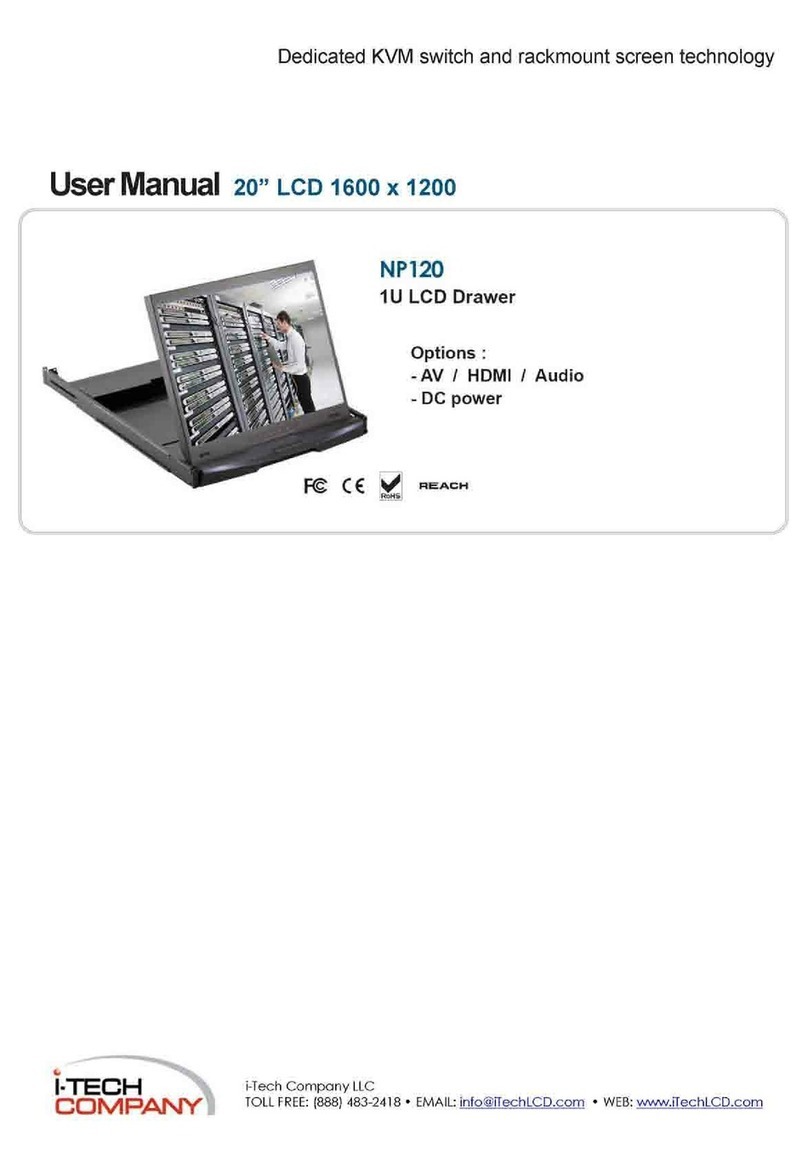
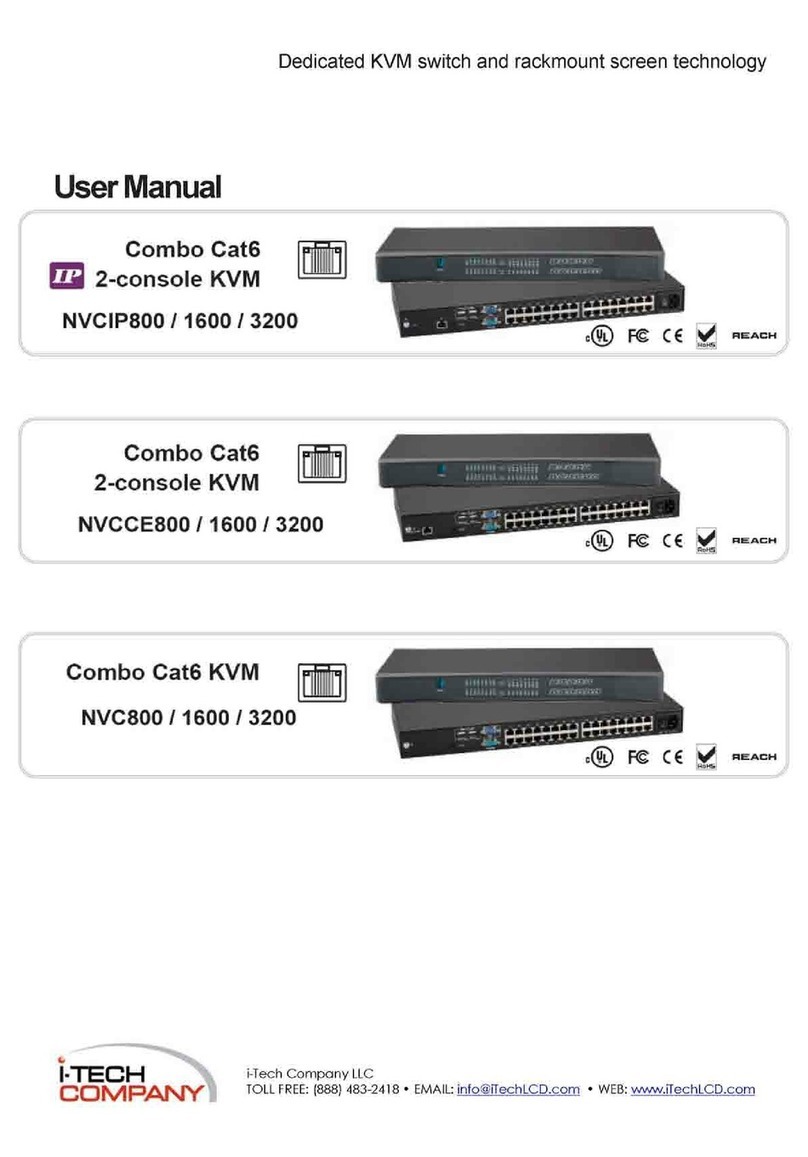
I-Tech NVCIP800 User manual

I-Tech

I-Tech NVCIP800 User manual

I-Tech JKP115-801e User manual

I-Tech

I-Tech JKP115-801e User manual

I-Tech AVS801 User manual

I-Tech

I-Tech AVS801 User manual

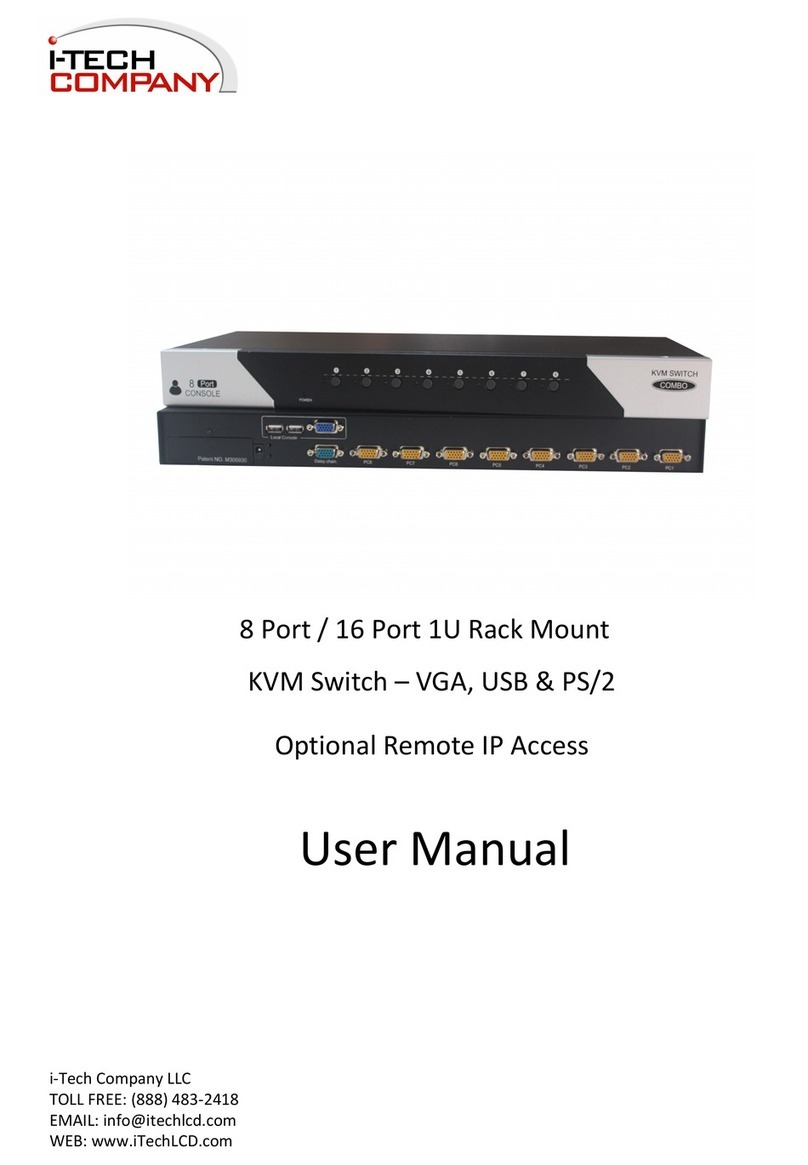
I-Tech Combo Cat6 User manual

I-Tech

I-Tech Combo Cat6 User manual

I-Tech WKP120 Series User manual

I-Tech

I-Tech WKP120 Series User manual

I-Tech IT-N2100 Series Operating instructions

I-Tech

I-Tech IT-N2100 Series Operating instructions

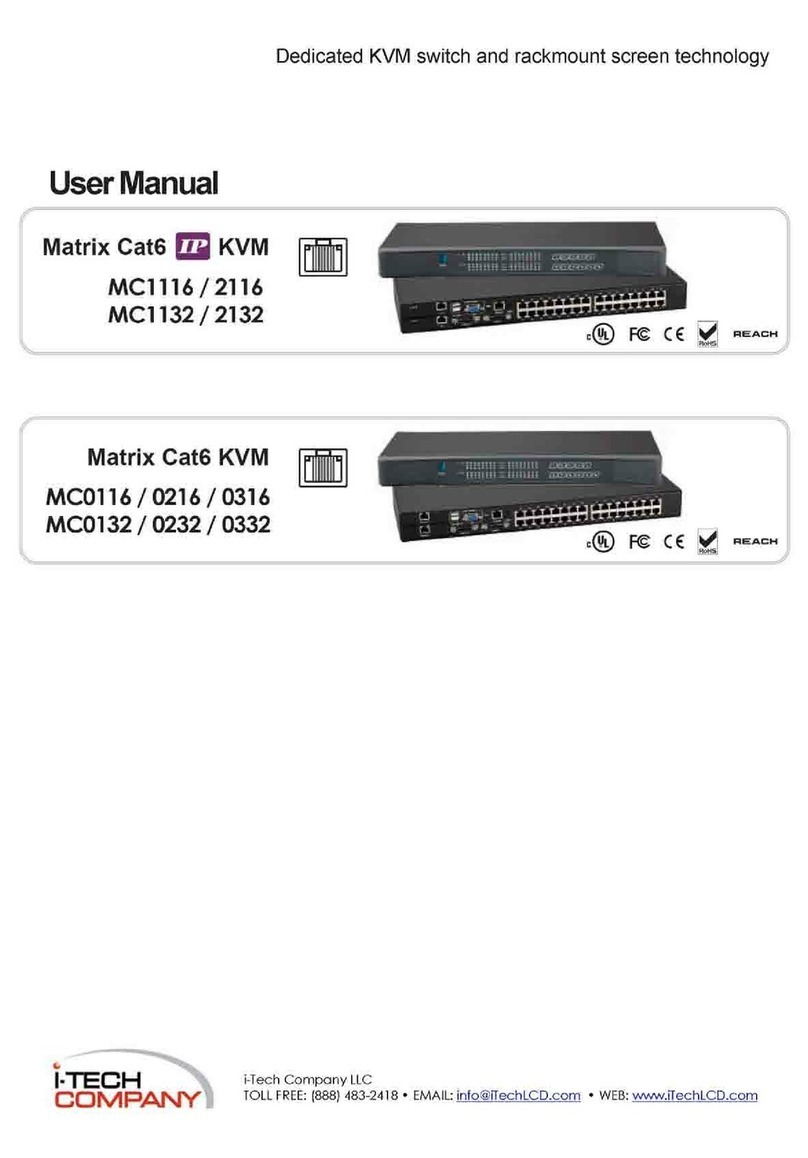
I-Tech MC1132 User manual

I-Tech

I-Tech MC1132 User manual

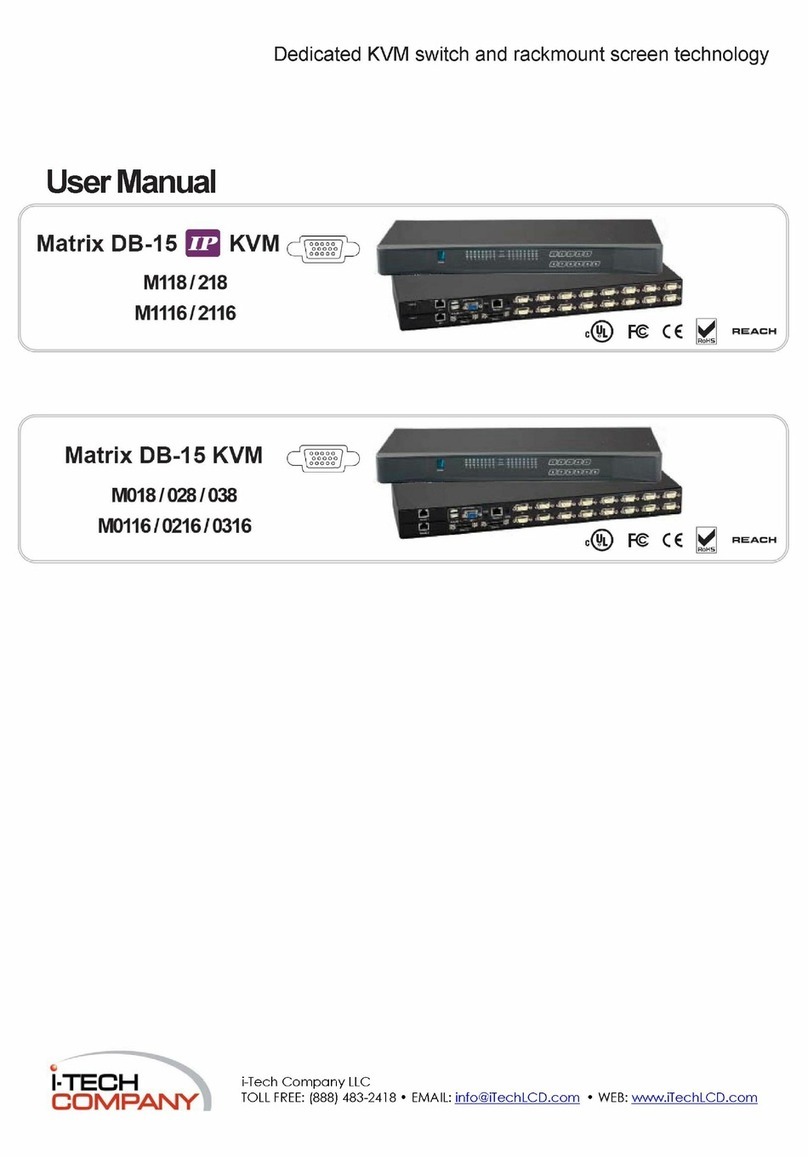
I-Tech M118 User manual

I-Tech

I-Tech M118 User manual

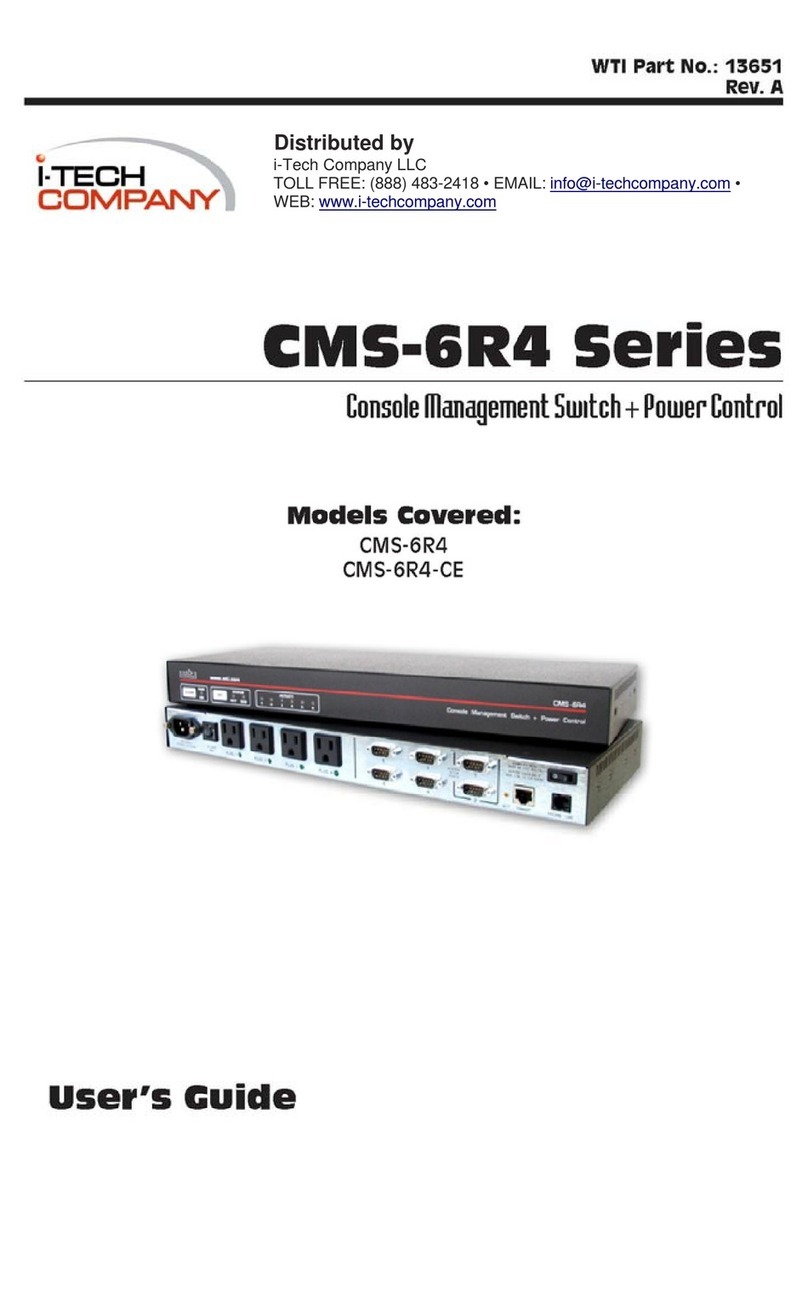
I-Tech CMS-6R4 User manual

I-Tech

I-Tech CMS-6R4 User manual

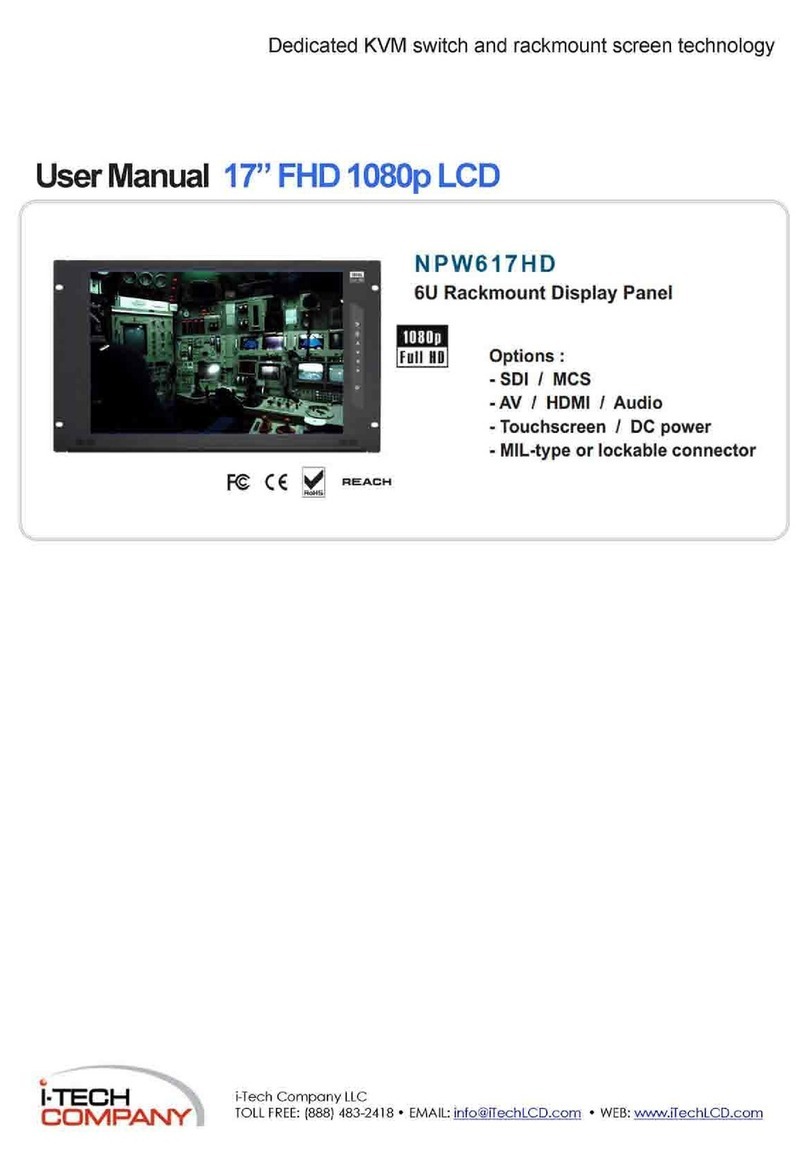
I-Tech NPW617HD User manual

I-Tech

I-Tech NPW617HD User manual

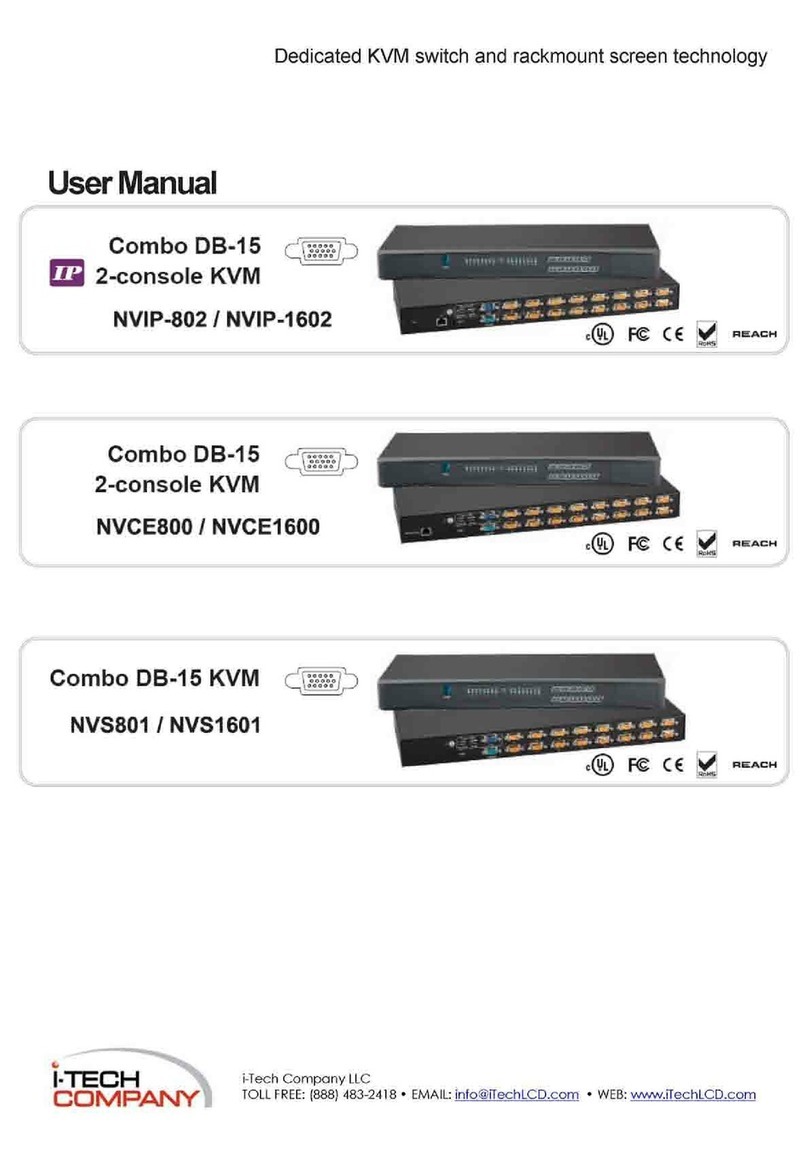
I-Tech NVIP-802 User manual

I-Tech

I-Tech NVIP-802 User manual

I-Tech NP120 User manual

I-Tech

I-Tech NP120 User manual

I-Tech USB Hub DB-15 IP 2-console KVM User manual

I-Tech

I-Tech USB Hub DB-15 IP 2-console KVM User manual

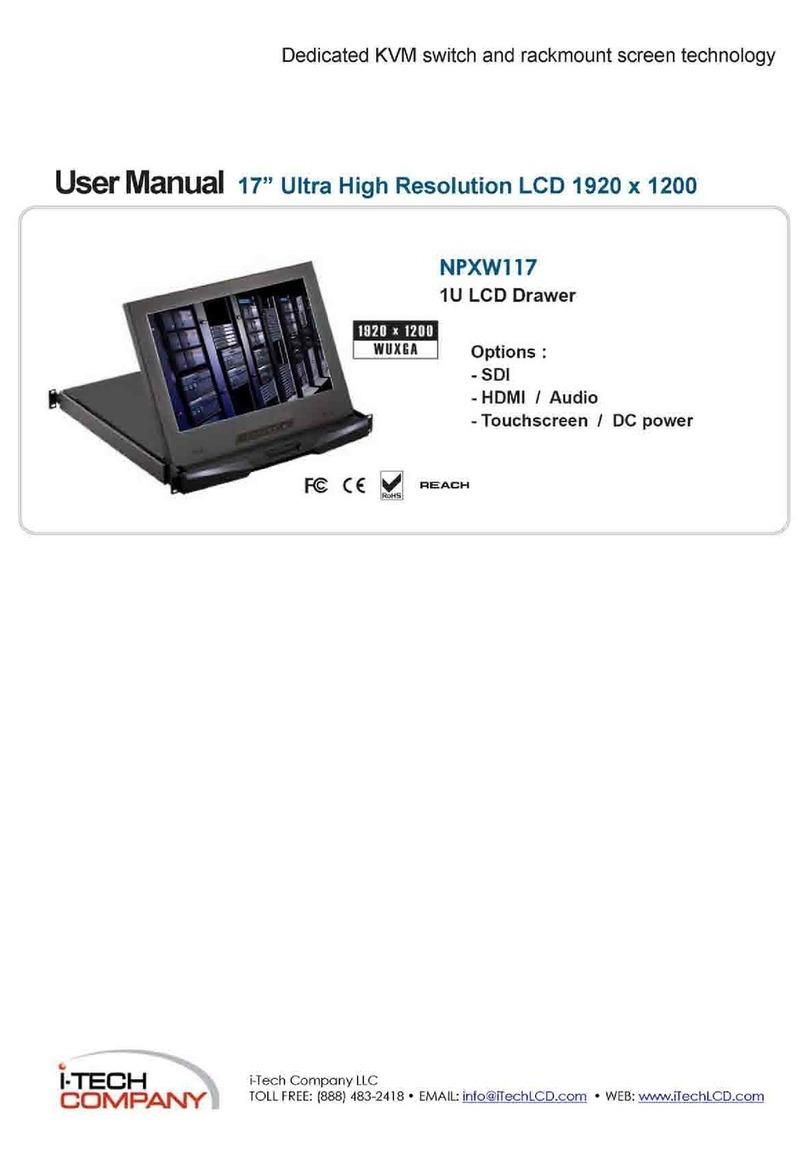
I-Tech NPXW117 User manual

I-Tech

I-Tech NPXW117 User manual

Popular Switch manuals by other brands

KanexPro HDSC12D manual

KanexPro

KanexPro HDSC12D manual

Edge-Core AS5812-54T quick start guide

Edge-Core

Edge-Core AS5812-54T quick start guide

Zonet ZFS3216E Quick installation guide

Zonet

Zonet ZFS3216E Quick installation guide

Murphy Electric Gage and Swichgage Brochure & specs

Murphy

Murphy Electric Gage and Swichgage Brochure & specs

Oppo OPPO HM-31 user manual

Oppo

Oppo OPPO HM-31 user manual

ZyXEL Communications Dimension ES-3124 brochure

ZyXEL Communications

ZyXEL Communications Dimension ES-3124 brochure

KCC KTD-600 Series manual

KCC

KCC KTD-600 Series manual

Altronix HubWayLD8CDS installation guide

Altronix

Altronix HubWayLD8CDS installation guide

EVA Logik ZW30 manual

EVA Logik

EVA Logik ZW30 manual

Eaton NTCEC2X20400WRU O & M Manual

Eaton

Eaton NTCEC2X20400WRU O & M Manual

Stage Line electronic DSP3A operating manual

Stage Line electronic

Stage Line electronic DSP3A operating manual

Pakedge MS-1212 quick start guide

Pakedge

Pakedge MS-1212 quick start guide

AirLive Live-GSH5T user manual

AirLive

AirLive Live-GSH5T user manual

Allied Telesis SB244-03 specification

Allied Telesis

Allied Telesis SB244-03 specification

LTS Security POE-SW1602N quick start guide

LTS Security

LTS Security POE-SW1602N quick start guide

ATEN VP2730 user manual

ATEN

ATEN VP2730 user manual

G Trans KS-3002 user manual

G Trans

G Trans KS-3002 user manual

Kramer VP-774A user manual

Kramer

Kramer VP-774A user manual

manuals.online logo
manuals.online logoBrands
  • About & Mission
  • Contact us
  • Privacy Policy
  • Terms and Conditions

Copyright 2025 Manuals.Online. All Rights Reserved.