IBM UISDMC4S User manual

Introduction
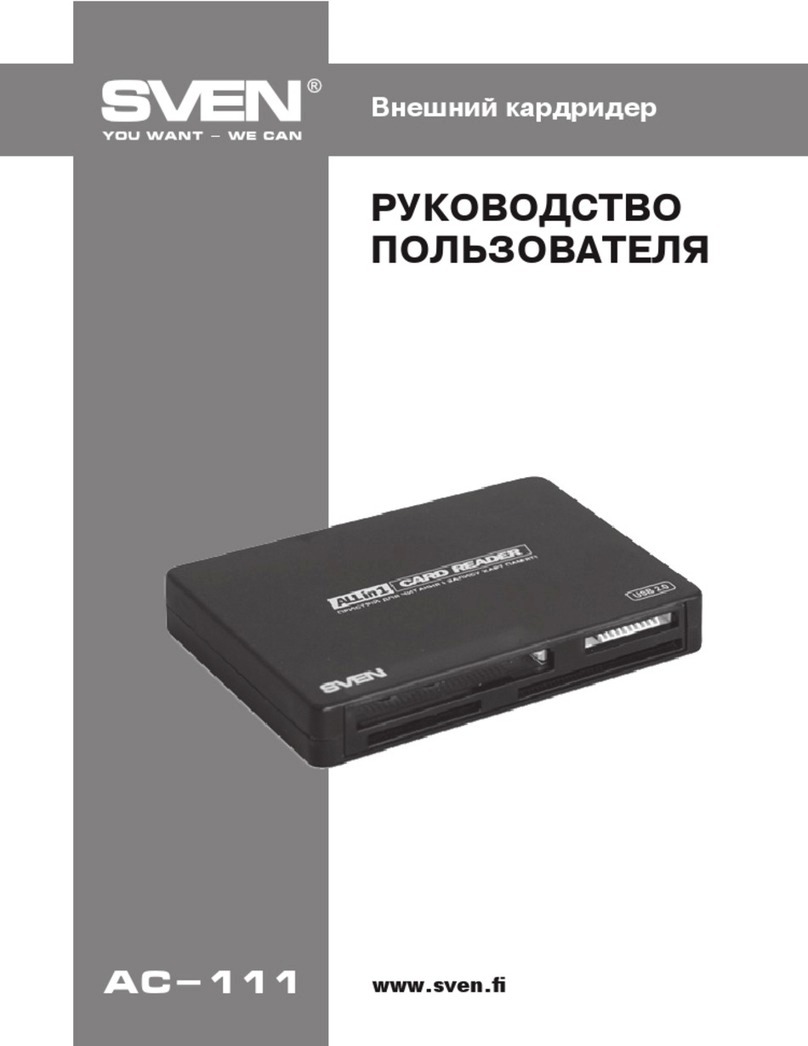
Thank you for purchasing USB Card Reader. The UISDMC4S
USB Card Reader is the most powerful and multi-functional
device among all the other available readers, for it is able
to access most of the flash cards and read/write four kinds
of storage card at the same time.
UISDMC4S utilizes the most useful and public USB interface; ,
and no driver needed under Windows ME/XP; bringing you
convenient and high-speed access to a variety of storage
cards.
Equipped with 4 sockets, UISDMC2S USB Card Reader
supports almost all of the available storage cards including:
3.3V SmartMedia Card, CompactFlash Card, IBM
MicroDrive, Memory Stick, SecureDigital Card, and
MultiMedia Card.
Features
1
Features

Introduction
2
Features
Primary features of the UISDMC4S USB Card Reader include:
* High-speed(12Mb/s) USB interface access to storage cards.
* USB bus powered.
* Supports Hot-Swapping and Mass Storage Class Drive;
adopt to native driver provided by Windows ME/XP.
* With POWER and ACCESS LED indicators.
* Data in inserted cards can be exchanged in different socket.
* Supports for storage cards including:
SM Socket: 3.3V SmartMedia Card
SD/MMC Socket: SecureDigital Card/MultiMedia Card
MS Socket: Memory Stick
CF Socket: CompactFlash Card/IBM Microdrive
* Internal design make it fit into 3.5" drive bay.
* Supports for operation systems including:
Windows 98/98SE/ME/2000/XP

Introduction
3
Package Contents
Package Contents
USB Card Reader X 1
In the package of USB Card Reader you will find following
items:1 Card Reader, 1 USB cable, and 1 Setup Disc.
Please contact your local dealer if there are any shortages.
Setup Disc X 1 USB Cable X 1

Introduction
4
System Requirements
System Requirements
Hardware
Software
* IBM PC compatible computer with USB support
* Free 3.5" drive bay
* Windows 98/98SE/2000 requires device which
can read CD-ROM
* Microsoft Windows 98/98SE/ME/2000/XP

Introduction
5
Sockets
Sockets
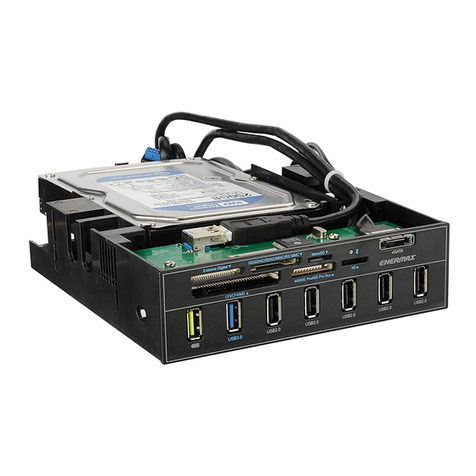
Refer to following figure and identify the storage card your
USB Card Reader supports.
CF Socket
for
Type I/II CompactFlash Card
& IBM Microdrive
MS Socket
for
Memory Stick
SD Socket
for
SecureDigital & MultiMedia Card
SM Socket
for
3.3V SmartMedia Card

Introduction
6
Indicators
Indicators
Two active LED indicators are used to display operation
status of your USB Card Reader.
Do not insert or extract storage cards while the red LED is
flashing.
Red - Access Indicator
Green - Power Indicator
WARNING!

Installation
7
Attention
Attention!
Guide
* On Windows 98/98SE/2000, software setup must be
done first, then hardware setup.
* Windows ME/XP requires no software setup; just
connect the reader to you computer then the system
will detect the new device.
* The upper case of the computer must be remove
before hardware setup. Please refer to the manual of
your computer for the instruction.
* Please be sure to remove the power plug of your
computer before removing the upper case and doing
hardware setup to avoid damage to the system.

8
Software Setup
Software Setup
Before connecting the USB Card Reader into USB port,
refer to following instructions to install the device driver.
1. Insert Setup Disc into the CD-ROM drive.
2. Double-click the CD-ROM icon in My Computer to
browse the contents in the Setup Disc. Then, double-
click the Setup icon.
3. Follow the on-screen instructions to complete the
software setup.
4. At last, restart the system.
The software driver revision number is recorded in
README.TXT in the Setup Disc. After completing device
driver setup, refer to and install the USB
Card Reader.
Hardware Setup
* You can skip this chapter ifyour OS isWindows ME/XP.
Installation
Guide

9
Hardware Setup
After completing device driver setup for your USB Card
Reader and restarting the system, refer to following
instructions to install the USB Card Reader.
1. Shut down the computer and remove the power plug.
2. Remove the upper case of your computer and free a
3.5" drive bay.
3. Lift the upper case of the reader, and connect the USB
cable to the connector on the PCB of the reader.
Hardware Setup
Installation
Guide

10
Hardware Setup
Installation
Guide
4. Re-place the upper case of the reader. Put the reader
and the cable into the 3.5" drive bay, then secure the
unit with screws.
5. Connect the USB cable to the internal USB connector
on the mainborad. About the position and direction
of the Internal USB connector, please refer to the
manual of your mainboard.
6. Cover the upper case of the computer and plug the
power back, then power on the computer.
7. While entering the system, the computer will detect
and register new device.
8. Depending on the sockets the reader equipped, there
should be 4 Removable Disk icons added into My
Computer.
9. Installation completes.

11
Using the Reader
Using the Reader
Please refer to following instructions to use the reader.
1. Insert your storage card.
2. Open My Computer or File Explorer.
3. Double-click on the proper Removable Disk icon.
4. Access images and files on your storage cards just as
the way you open, copy, move, or delete images and
files on your hard disk drive.
Do not insert or extract storage cards while the red LED is
flashing.
WARNING!
Installation
Guide

Specification
12
Specification
Host Computer
IBM PC compatible computer with USB support
Windows 98/98SE/ME/2000/XP
Sockets 3.3V SmartMedia Card socket X 1
SecureDigital / MultiMedia Card socket X 1
Memory Stick socket X 1
Type I/II CompactFlash Card socket X 1
Interface Internal USB device
Power DC+5V directly from USB port
oo
Environment Operating temperature: 0 C~70 C
oo
Storage temperature: -40 C~70 C
Humidity: 90% RH (max. without condensing)
Table of contents
Other IBM Card Reader manuals

