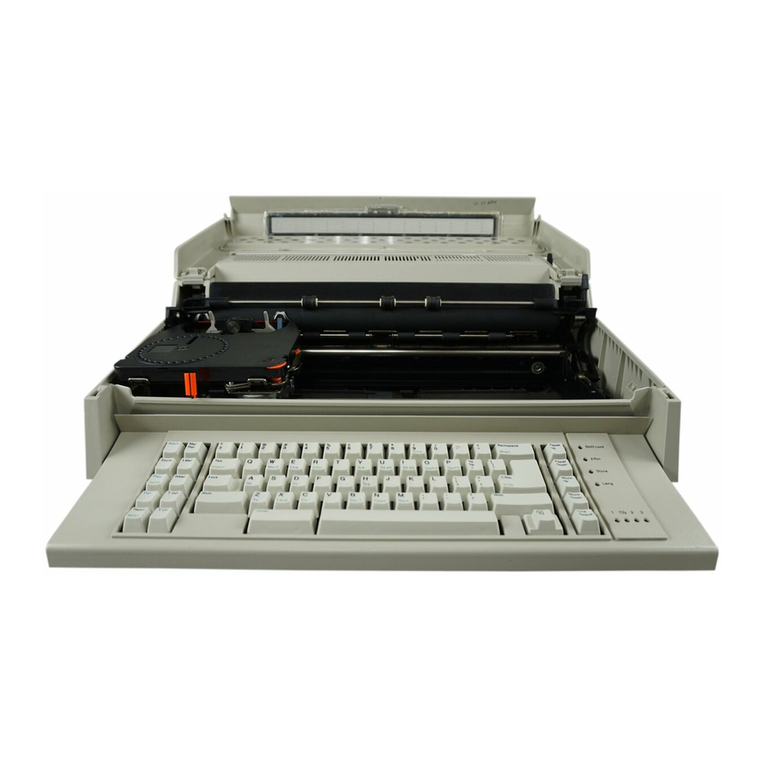
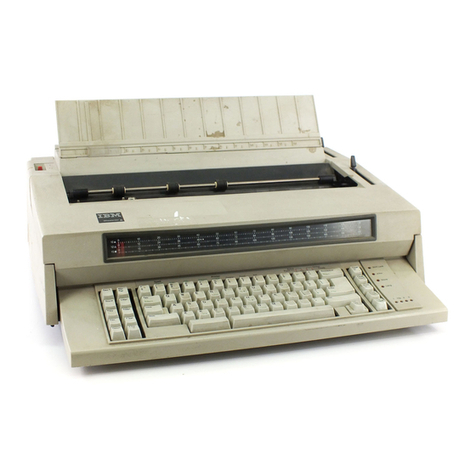
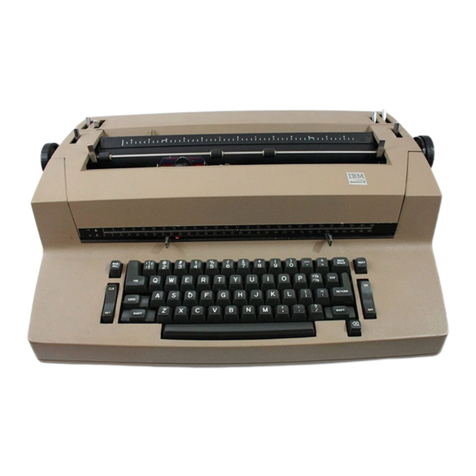
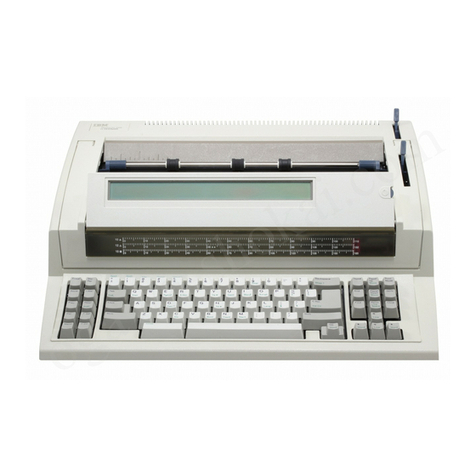
IBM Quietwriter III 5202 User manual


Fourth Edition (August 1987)
Publications
are
n
ot
stocked
at
the
address
below
. F
or
copies
, contact
your
po
int of purchase, IBM Authorized Deal
er
, or IBM Direct.
You can send co
mments
or
suggestions using the form
in
the back
of
this
book. If the
form
has been
re
moved,
simply
address
your
comments
to the
IBM
Corporation
, Dept. F95/035-3, 740 N
ew
Cir
cle
Road N.W.,
Lexington
, KY
40511.
Infor
mat
i
on
you
supply
may
be used by IBM
without
obligation. You
may
,
of
c
ourse
,
use
it
yourse
l
f.
Necessary changes
wi
ll be
made
in later
edit
ions of
the
manual.
References to IBM products,
programs
,
or
serv
i
ces
do
not
imp
ly
that
IBM
intends
to
make
them avail
abl
e ou
tsid
e
the
United States.
© Copyright International Business Machines Corporation 1986, 1987.
All Rights Reserved.
,,__,
L
'--
\......,
\......,
L
L.:
L
L

......,
-
--
........
-
--
........

Iv
FCC Notice
The IBM
Quietwriter
® Ill
Printer
generates
and
uses
radio
frequency
energy
.
If
the
printer
is
not
installed
and used
in
accordance
with
the
oper-
ating
instructions
, technical
or
service
information
,
it
may
interfere
with
radio
or
television
reception.
It
has
been
tested and found
to
comply
with
the
limits
for
a Class B
computing
device
pursuant to
Subpart
J of
Part
15 of
Federal
Communications
Commission
(FCC) rules,
which
are
designed
to
provide
reasonable
protection
against
such
interfe
ren
ce
when
operated
in
a
residential
area.
If
this
printer
Interferes
with
radio
or
television
reception,
which
can
be
determined
by
switching
the
printer
off
and on,
the
user
is encouraged to
try
one
or
more
of
the
following:
•
Move
the
receiving
antenna
on
the
radio
or
television;
• Relocate
the
printer
in
relati
on
to
the
radio
or
television
;
• Plug the
printer
into a
different
electrical
outlet
from
the
radio
or
tele-
vision
.
• Ensure
that
the
grounding
wire
is
tightly
secured
.
If
necessary
,
contact
your
Authorized
IBM
dealer
or
IBM
service
represen-
tative
for
additional
suggestions.
The
manufacturer
is
not
responsible
for
any
radio
or
TV
interference
caused
by
unauthorized
modifications
to
this
equipment.
It
is
the
responsibility
of
the
use
r
to
correct
such
interfe
rence.
Warning: To comply
with
FCC
regulations on electromagnetic inter-
ference
for
a Class B computing device, the
printer
cable
must
be
shielded and
properly
grounded.
To assure
compliance
with FCC regulations
for
a Class B computing
device, use the
six
foot IBM cab
le
, Part
Number
1525612. Use of sub-
stitute cable not
properly
shielded
and grounded
ma
y result
in
vio-
lating
FCC
regulations.
CAUTION
Connect this printer only to a properly grounded outlet of the proper
voltage.
Japanese VCCI Notice
.:(7)~r.t
.t
, iffi.I1:IJ!ii!!lt,·
itlll
e
tl~
"'
~
l:1\
-!
I
llffl~11.,
·
"f
ti:'.tii!!!i
31.
tH(7)~
ji
l.,
f:±i!!l~,
if
lllT
~
l::5~
;!"
.
'rvl::~
3
:.,~1!lll~l:
~i
if
U f
~q.~~.:ttJ
'
<f.>
1
J!T
VCCl-1
,.--
,........
-

,--..
,....._
,-,.
,...
..
Preface
This publication describes
how
to
operate the IBM "Quietwrit
er
"
Ill
Printer
and some of
the
options
available
for the pr
in
t
er
. The
ma
nual
has seven chapters and an index. Start
at
the beginning
of
the
manual and
work
through
Chapter
3
to
learn
how
to
set
up
and
operate
your
printer.
Use
Chapter
4 as a reference tool
after
you have
learned
the basic
operations of
your
printer. As you become
familiar
with
your
new
printer
, you
will
find
that
the ASCII code charts help you use the
control,
graphic
, and special character set codes. In addition, you
can
alter
the
way
your
printer
functions by changing the setup swi
tc
h
settings.
As
you
go
through
this
manual,
refer
to
the
"Glossary"
on
page 7
-1
for
definitions of any
terms
that
may
be
unfamiliar
to
you.
With "Problem Determination Procedures" on page
6-1
you can
diag-
nose
many
minor
prob
l
ems
yourself, saving
downtime
for
service
to
the
printer
.
Below
is a description of
what
you
will
find in each chapter.
"Introduction" highlights the special functions
of
the
printer
and pro-
vides safety
guidelines
.
"Getting Started" explains
how
to
turn on the
printer
, install the
ribbon, attach the top
cover
, run the
printer
self
test, attach the
printe
r
cable, load
single
sheets of paper, and
print
a
simple
job.
"Operating
the
Printer
"
explains
the
printer
functions and
front
panel
buttons and lights. It te
ll
s you
how
to
in
terr
upt
printing
and reset the
pri
nter, choose
print
modes, select embedded and pluggable fonts,
and install and use the pinwheel
form
feeder.
Pref
ace
v

"Reference" explains in detail the
printer
panel lights, setup
switches, and graphics capability. It describes the basic
printer
control codes,
lists
the ASCII codes, and explains
how
software pack-
ages
work
with
your
printer. This chapter
also
contains additional
information about the
cover
switch,
printer
interface, and
print
quality.
"
Supplies"
lists
the
available
supplies and
tells
you
how
to
obtain
them. It also explains how
to
change the ribbon and printhead.
"Problem Determination Procedures," helps you diagnose and
correct
problems
that
may
occur
during setup
or
normal
operations.
"Glossary" explains
some
terms
used in this manual which
may
be
unfamiliar
to you.
Related Publications
vi
If needed, additional technical information can be found
in
the
IBM
"Quietwriter"
Ill
Printer
Technical Reference Guide (Item No.
1319601
[Form No. S544-4083])
or
the
IBM
"
Quietwriter
"
Ill
Printer
Hardware
Maintenance
and
Service
Manual
(Item No. 1319580 [Form No.
S544-4084]).
,---.,,

Contents
Introduction . . . . . . . . . . . . . . . . . . . . . . . . . . . . . . . . . . . . . . . . . . 1-1
Basic
Features
..
. . .
....
.
..
...
..
...
.
....
...........
.
...
1-1
Options
....................
.
.........................
1
-1
For
Assistance
. . . . . . . . . . . . . . . . . . . . . . . . . . . . . . . . . . . . . . . . 1-2
Safety
Guidelines
............
..
......
. .
..
....
.
....
...
..
1-3
Getting Started . . . . . . . . . . . . . . . . . . . . . . . . . . . . . . . . . . . . . . . .
2-1
General
Functions . . . . . . . . . . . . . . . . . . . . . . . . . . . . . . . . . . . . . 2-2
Printer
Self
Test
........
.
......
...
....................
2-10
Attaching
the
Printer
Cable
........
.
.........
.
..........
2-12
Printing
a
Document
....
.............
...
......
.
......
. . 2-14
Operating the Printer
...
.
..
.
..............
.....
..
. .
.....
3-1
Printer
Status (Ready/
Not
Ready) .
....
..
.
.................
3-1
Interrupting
Printing
..................
.
....
.
........
.
...
3-2
Resetting
the
Printer
.....
.
..
.....
..............
...
..
.
..
3-2
Paper
Movement
. . . . . . . . . . . . . . . . . . . . . . . . . . . . . . . . . . . . . .
3-2
Print
Mode
Selection
.........................
.
.........
3-4
Fonts and Pitches . . . . . . . . . . . . . . . . . . . . . . . . . . . . . . . . . . . . . . 3-6
Pinwheel
Form
Feeder
.........
.
...........
.
....
...
....
3-13
Reference . . . . . . . . . . . . . . . . . . . . . . . . . . . . . . . . . . . . . . . . . . . .
4-1
Printer
Lights
.......
.
.......
..
........................
4-1
Cover
Switch
. . . . . . . . . . . . . . . . . . . . . . . . . . . . . . . . . . . . . . . . . 4-4
Interface . . . . . . . . . . . . . . . . . . . . . . . . . . . . . . . . . . . . . . . . . . . . . 4-5
Setup
Switches
. . . . . . . . . . . . . . . . . . . . . . . . . . . . . . . . . . . . . . . . 4-6
Print
Quality
..
........
..
...........
.
..
...
......
.
.....
4-12
Contrast
Control
. . . . . . . . . . . . . . . . . . . . . . . . . . . . . . . . . . . . . . 4-13
Printer
Commands
....
..
.....
...
............
.
.........
4-14
Quick
Reference . .
....................................
4-16
Printer
Control
Codes and Escape
Sequences
..
............
4-20
Printer
Table
with
ASCII
Decimal
and
Hexadecimal
Values
....
4-55
Programming
Reference
............
. . .
................
4-65
Supplies
..........
..
..........................
.......
5-1
,......,
Ordering
Supplies
.................
.
..
.
..
. . .
.........
. . 5-1
IBM
Quiet
® Ill
High
Yield
Printer
Ribbon
...................
5-1
IBM
Quiet
® Ill Printhead
..
..............................
5-5
IBM
Electronic
Font
Ill
. . . . . . . . . . . . . . . . . . . . . . . . . . . . . . . . . 5
-1
1
Contents vii
Paper
.....
. . . .
..
............
..
.......
.
.....
.
.......
5-12
Transparencies
.
..
....
.
............
.....
........
.
....
5
-1
3
Problem Determination Procedures
.............
. .
...
.
....
6-1
Power-On Self
Test
....
.
...............
.
...
..
. .
.....
. . 6-14
Printer
Self
Tes
t 6
-1
5
Hex
Tra
ce
Dump
....
.
.................
..
....
.
.........
6-17
Glossary .
..
.
..............................
.
..........
7-1
Index . . . . . . . . . . . . . . . . . . . . . . . . . . . . . . . . . . . . . . . . . . . . . . .
X-1
,......_
viii
Introduction
The
IBM "
Quietwriter
"
Ill
Printer
produces
letter-quality
printing
at
burst
speeds of 100
to
171
characters
per
second (cps), and
draft
mode
printing
at
burst
speeds
of 160
to
274 cps.
The
speed
depends
on
the
pitch
and
print
mode
selected
.
Basic Features
• Four
embedded
fonts
• Emphasize,
doublestrike
,
superscript
,
subscript
, and
doub
le
-w
ide
printing
.....-.
•
Three
print
modes
,
each
with
a
different
ribbon
usage
rate
,--,_
,-..
•
Graphics
printing
(charts
and
pictures) using
all-points-
addressable
(APA)
printing
technology
•
Up
to a 335
mm
(13.2 in)
writing
line
• Five font
pitches
supported
(10,
12
, 15, 17.1 and
proport
i
onal
space)
Options
•
Four
pluggable
fonts
with
software
or
operator
switching
.
•
Continuous
forms
paper
handling
(with
forward
and
backward
paper
movement
• Cut-sheet
feeders
(1-drawer
feeder
and
2-drawer
feeder
with
envelope
option)
• Down
loadable
fonts
Introduction 1-1

For Assistance
1-2
If you have pr
oblems
with the
printer
, refer
to
"Problem Determi-
nation Procedures" on page
6-1
for
assistance. If you need
addi-
tional help
with
setup
or
operation of
your
pr
inter, call
your
point
of
pur
chase. You
will
need a spare printhead and ribbon to diagnose
some
pr
oblems.
The
following
information should be recorded and retained:
IBM Product Name
IBM Model No.
IBM Serial No.
The product name
is
located on the logo plate on the top of the
prin
ter
cov
er
. The model
number
and
serial
number
are
located inside the
p
rinter
on the bottom cov
er
as shown
below
.
Model
Seri
al
N
um
b
er
Number
,......
,--,.

,.......
--,
Safety Guidelines
• Keep
hair
and personal articles out of
the
printing and ribbon
area
when the
printer
is
on
to
prevent getting them caught in the
printer.
Be
sure
to
comply
with
this
warning and ask others
to
do
so.
• The IBM "
Quietwriter"
Ill
Printer
incorporates Class 1 con-
struction
as
defined by the International Electrotechnical Com-
mission Publication 380, "Safety of
Electrically
Energized Office
Machines," and
other
national standards.
Class 1 construction provides protection against
electric
shock
by
protectively
grounding
the
acce
ssible
metal parts of the
machine
.
The
IBM
"Quietwriter
"
Ill
Prin
t
er
is
equipped
with a grounding
type (3-wire)
electrical
cord
because
protective
grounding
is
nec-
essary
.
• For Continued Protection
Against
Electrical Shock:
1. Connect
only
to
a
proper
ly grounded electrical outlet of the
proper
vo
ltage. The
vo
ltage range yo
ur
printer
will
accept
appears on a label on the bottom of
the
printer.
2. Refer
servicing
to
trai
ned
pro
fessional
service
personnel.
3. When servicing, use on
ly
identical replacement parts.
Introduction
1-3

1-4
-

,.......
,--.
Getting Started
Refer
to the
illustration
below
to
locate
the
features
on
your
printer.
Power
Switch
0
Printhead
Printer
Control
Buttons
Paper
Re
le
ase
Lever
Pluggable
Font
Holder
Paper Bail
Lever
Printer
Control
Lights
Getting Started
2-1

General Functions
Installing the Ribbon
2-2
1.
Open
the
printer
cover
.
2. Push
the
ribbon
carrier
to
the
center
of the
printer.
3. Push the ribbon
release
lever
away
from
you to
the
open
position
.
4. Locate
the
ribbon in
the
accessory box that
came
with
your
printer.
5.
Turn
the
ribbon
take-up
knob
in the
direction
of
the
arrow
to
take
up
any
loose
ribbon.
Take-up
Knob
r-,
-

,--
,-.,
,--
6.
Place
the
ribbon
cartridge
on
the
carrier.
7.
Make
sure
the
ribbon
is
threaded
between
the
posts and
is
behind
the
printhead
as
shown
below.
Getting
Started
2-3

2-4
8. Press down on the ribbon cartridge
to
make sure
it
is
securely
seated.
9.
Pull
the
ribbon release
lever
toward you to the closed position.
Then check
to
be sure thatthe
lever
is
fully
closed as shown
below.
Ribbon
Release
Lever
(Closed
P
ositio
n)
10. Close the
printer
cove
r.
Pr
ess
Dow
n
Here

,--.
Installing the Top Cover
1.
Locate the
clear
plastic
cover
that came
in
the
accessory box
with
your
printer.
2. Lift the top
cover
on
the
printer.
Clear
Plastic
Cover
3. Snap the
clear
plastic
cover
onto the
printer
top cover as shown.
Top
Cover
4. Close the
printer
cover. Press down
firmly
on the
cover
to make
sure
it
is
completely
closed.
Getting Started
2-5

Installing the
·nte,
powe,
co,d. ·t h Is towa,d the front a
Power
Co
rd t the
Locate the pn .
ter
Power sw, c
~: Make su,e
the
~•~:sUion
(0
). . o the
back
of
the
p,lnte,.
printer
rn
the o
nd
of the cord
rnt
h wall outlet.
mall
ere
d
·,nto
t e
Plug the s d
of
the cor
3. Plug the
larger
en
4.
11111111111111111111111111111111
1
11111111111111
1
11111111111111
1
111111111111
1
2-6
P
ow
er
Switch
Off

----
,,......
,.......,_
----
Turning
on
the Printer
Push
the
Power
switch
toward
the
on (I)
position
to
turn
on
your
printer.
Power
Switch
'//////Ill/II
IIIII
I\\
I\\\\\\\\\\\\\\\\\\\
When you turn on
the
printer
Power
switch
, all
of
the
lights
come
on.
After
a
few
moments
,
all
the
lights
go
off
except
Ready and
one
of
the
print
mode
lights
(Draft,
Quality
,
Enhanced).
If
the
Ready
light
did
not
come
on,
check
to
make
sure
the
cover
is
completely
closed. Then
press Start/Stop
to
turn
on
the
Ready light.
If
any
other
lights
stay
on, and
you
have
not
changed
the
switch
set-
tings, you
may
have
a
printer
problem.
See "
Problem
Determinati
on
Procedures"
on
page 6-1.
Getting
Started
2-7

Inserting Single Sheets of Paper
2-8
1. Make sure the
printer
Power switch
is
on
.
2.
Make sure
the
paper release
lever
is all the
way
back.
3. Insert
the
paper so that the left edge aligns with
the
lines on the
back cover.
Note: There are
five
recessed
lines
in the face of the back cover.
The center
line
shows where the left edge of
the
first
character
will print. Insert the paper to the left of
the
center
line
.
Li
ne
s
\\\\
\\\\\\\\\\\\
Paper
Relea
se
Lev
er
Note: The paper bail
lever
has three positions as shown below.
\\\\
\\\
\\\\\\\\\
Paper Bail Lever
Closed Position
Open Position
Load Pos
iti
on
Table of contents
Other IBM Typewriter manuals

IBM
IBM Wheelwriter 10 - IBM Wheelwriter 10 Professional... Manual

IBM
IBM B-1 User manual

IBM
IBM C-1 User manual

IBM
IBM Wheelwriter 5 Manual

IBM
IBM Selectric Personal Typewriter User manual

IBM
IBM Selectric User manual

IBM
IBM Selectric User manual

IBM
IBM Selectric User manual

IBM
IBM 6747 Manual

IBM
IBM Selectric II User manual

IBM
IBM 6 - Lexmark Wheelwriter 6 Professional... User manual

IBM
IBM Correcting Selectric III User manual

IBM
IBM Correcting Selectric User manual

IBM
IBM Selectric User manual

IBM
IBM Selectric User manual

IBM
IBM Selectric II User manual

IBM
IBM Selectric User manual

IBM
IBM 01 Operating manual

IBM
IBM Executive User manual

IBM
IBM B-1 Guide