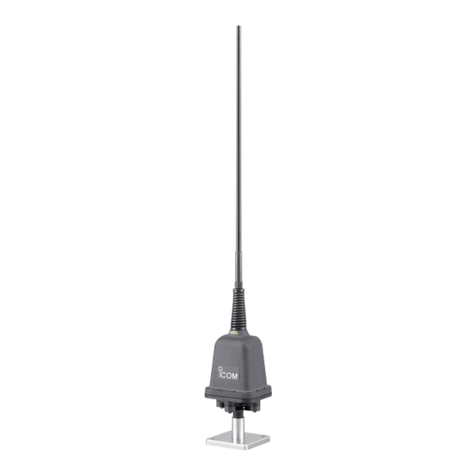
AH-109PB
INSTRUCTIONS
10 GHz PARABOLA ANTENNA
Thank you for choosing this Icom product.
READ ALL INSTRUCTIONS carefully and completely
before using this product.
–1 –
1-1-32 Kamiminami, Hirano-ku, Osaka 547-0003, Japan A7728X-2EX Printed in Japan
© 2023 Icom Inc.Jan. 2023
–4 –
Important
SAVE THESE INSTRUCTIONS— These instructions
contain important safety and installation instructions for the
AH-109PB.
Explicit denitions
WORD DEFINITION
RWARNING! Personal injury, re hazard or electric
shock may occur.
CAUTION Equipment damage may occur.
NOTE If disregarded, inconvenience only. No risk
of personal injury, re or electric shock.
Icom is not responsible for the destruction, damage to, or
performance of any Icom or non-Icom equipment, if the
malfunction is because of:
• Force majeure, including, but not limited to, res,
earthquakes, storms, oods, lightning, other natural
disasters, disturbances, riots, war, or radioactive
contamination.
• The use of Icom antennas with any equipment that is
not manufactured or approved by Icom.
Disposal
The crossed-out wheeled-bin symbol on your
product, literature, or packaging reminds you
that in the European Union, all electrical and
electronic products, batteries, and accumulators
(rechargeable batteries) must be taken to
designated collection locations at the end of their working
life. Do not dispose of these products as unsorted municipal
waste. Dispose of them according to the laws in your area.
About CE
Versions of the AH-109PB which have the
“CE” symbol on the product, comply with the
essential requirements of the 2014/30/EU
directive for Electromagnetic Compatibility.
Below statement is for UKCA purpose only
United Kingdom Authorised Importer: Icom (UK) Ltd.
Address: Blacksole House, Altira Park, Herne Bay, Kent,
CT6 6GZ, U.K.
Precautions
BE CAREFUL! When you attach the antenna, wear gloves
to avoid cutting your hand on the sharp edges of the
antenna.
Icom is not responsible for any building breakage, any
damage resulting from a drop of the mounting bracket from
a high place or unstable site, or any personal injury or any
accident in any other case. Be sure to consult an expert
engineer for installation help.
RWARNING HIGH RF VOLTAGE! NEVER touch an
antenna or antenna connector while transmitting. This could
cause an electrical shock or burn.
RWARNING HIGH RF VOLTAGE! NEVER put the antenna
in any place that person easily touch the antenna while
transmitting. This could cause an electrical shock or burn.
RWARNING! NEVER disassemble, modify or repair the
antenna. This may result in an electrical shock, cause a re
or damage the antenna.
RWARNING! NEVER touch the antenna with wet hands.
This may result in an electrical shock or damage the
antenna.
CAUTION: DO NOT put the antenna in any unstable place,
such as on a slanted surface or a place that vibrates. This
may cause an injury and/or damage the antenna.
CAUTION: DO NOT use the antenna in strong magnetic
elds or in an area with high static electricity. This could
damage the antenna.
CAUTION: DO NOT use harsh solvents such as benzine
or alcohol to clean the antenna, as they can damage the
antenna’s surfaces. If the antenna becomes dusty or dirty,
wipe it clean with a dry, soft cloth.
DO NOT place or leave the antenna in excessively dusty
environments.
BE SURE to check your local regulations or laws to select
the appropriate operating frequency.
Attaching the AH-109PB and CX-10G to a pole
Torque: 5 N•m
Icom and the Icom logo are registered trademarks of Icom
Incorporated (Japan) in Japan, the United States, the United
Kingdom, Germany, France, Spain, Russia, Australia, New Zealand,
and/or other countries.
CX-10G
CX-10G
Supplied semi-rigid cable
Pole
Pole clamp
Nut
Loosen when adjusting elevation
Nut
Bracket
comes with the CX-10G
Attach the clamp to the AH-109PB’s
bracket using 2 nuts on each bolt.
1
Nut
Nut
Nut
Flat washer
Spring washer
Flat washer
Spring washer
Flat washer
Spring washer
Bolt (25 mm)
Bolt (130 mm)
Assembled screw
[ACC] socket
To [10 GHz ANT] connector
32 ~ 60.5 mm
(1.3 ~ 2.4 in) Leave a space of
1 cm (0.4 in).
Leave a space of 1 cm (0.4 in).
Top view
AH-109PB’s bracket
Attach the AH-109PB to
a pole.
3
Attach the CX-10G’s
bracket to the AH-109PB.
2
Attach the CX-10G to the bracket, and then tighten
the assembled screws.
4Connect the AH-109PB and CX-10G
with the supplied semi-rigid cable.
5
Loosen the nuts to adjust the angle of the AH-109PB.
After adjusting, tighten the nuts again.
6
TIP: After connecting, covering the connectors with a
rubber vulcanizing tape prevents water from seeping into
the connection.
Rubber vulcanizing tape
(User supplied)
NOTE: Attach the CX-10G so that the
[ACC] socket is on the left as you face
it. The supplied semi-rigid cable may not
reach if you attach the CX-10G to the
bracket back to front.
Torque: 0.9 N•m
CX-10G
Nut
Loosen when adjusting
azimuth
Supplied semi-rigid cable
NOTE: When adjusting azimuth, be careful not to loosen
the nuts too much causing the antenna to fall.
Bolt (130 mm)
Antenna
Bracket
Pole clamp
Adjust elevation
and azimuth
LYou cannot separate the
antenna and bracket.


