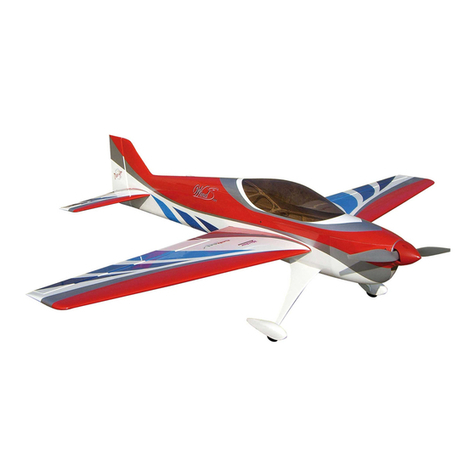
ideecon 3736 User manual

Bauanleitung / Instruction Manual
Ein Qualitätsprodukt aus dem Hause
Power LED Set mit Tipptanks
Dieses Set wurde speziell für unsere Modellserie Projeti entwickelt und mit einem
Power LED Set aus dem Hause Pichler versehen. Die Power LEDs müssen in die
Tipptanks eingebaut werden. Prüfen Sie vor dem Einbau die korrekte Funktion der
LEDs. Für den Anschluss des LED Sets sind elektronische Kenntnisse notwendig.
Die Firma ideecon stellt mit dieser ausführlichen Montage-Anleitung eine in der Praxis
erprobte Vorgehensweise dar. Für durch fehlerhafte Montage verursachte Defekte,
kann keine Haftung übernommen werden.
WICHTIG: Das LED Set mit TippTanks darf nur im Rahmen der gesetzlich zulässigen
Bestimmungen eingesetzt werden. Deshalb darf es grundsätzlich für Nachtüge
NICHT eingesetzt werden! Das Fliegen in der anbrechenden Dämmerung ist jedoch
für erfahrene Modellug-Piloten möglich und macht viel Spaß. Die Power LEDs sind
jedoch auch am Tage gut sichtbar und sehr effektvoll. ACHTUNG: Bitte beachten Sie,
dass die TippTanks hinter dem Schwerpunkt liegen und deshalb das Modell nach der
Montage der Power LEDs erneut ausgewogen werden muss! Um den Schwerpunkt
ggf. ohne Trimmgewicht erreichen zu können, muss der Schäumling an den Seiten-
wänden Richtung Rumpfspitze - je nach Akkugröße - individuell ausgeschnitten und
erweitert werden, damit der Antriebsakku Richtung Rumpfspitze verschoben werden
kann. Bitte beachten Sie, dass dadurch die Festigkeit des Rumpf geschwächt werden
kann. Wir empfehlen deshalb, hier vorsichtig ans Werk zu gehen und ggf. mit zusätz-
lichen Trimmgewichte das Modell in die Schwerpunktlage zu bringen. Die TippTanks
verändern das Flugverhalten positiv, da die Strömung im Langsamug später abreißt.
Wir empfehlen beim Erstug mit den TippTanks auf Sicherheitshöhe zu iegen und
die veränderten Flugeigenschaften, speziell im Langsamug, zu testen.
Wichtiger Hinweis:
Bitte bewahren Sie diese Dokumentation für Ersatzteilbestellungen auf.
Artikel Nr. 3736/3737
Lieferumfang / Content
Power LED Set with Tipptanks
This set was developed especially for our model series Projeti and provided with a
power LED set from Pichler. The power LEDs must be installed in the tipptanks. Check
the correct function of the LEDs before installation. For the connection of the LED
set electronic knowledge is necessary. With this detailed instruction manual you will
nd a proven procedure in practice for installation. For defects caused by incorrect
assembly, no liability can be accepted.
IMPORTANT: The LED set with tipptanks may only be used within the scope of the
legally permissible regulations. Therefore, it may NOT be used for night ights! Howe-
ver, ying in dawn is possible for experienced model airplane pilots and is great fun.
However, the power LEDs are also clearly visible during the day and very effective.
ATTENTION: Please note that the tipptanks are located behind the center of gravity
and therefore the model has to be rebalanced after mounting the Power LEDs! In order
to be able to achieve the center of gravity, if necessary, without trim weight, the foam
casing on the side walls in the direction of the fuselage nose must be individually cut
out and extended, depending on the size of the battery, so that the drive battery can
be moved to the front of the fuselage nose. Please note that this may weaken the
strength of the fuselage. We therefore recommend that you act carefully. If necessary,
bring the model into the center of gravity position with additional trim weights. The
tipptanks change the ight behavior positively. During the rst ight with the tipptanks
we recommend ying to safety altitude and testing the changed ight characteristics,
especially in slow ight.

Seite 2 Artikel Nr. / Item-No. 3736/3731
1. Auf den Stegen der Tipptanks passend Sekun-
denkleber auftragen. / Put cyanoacrylat on the
rips of the tipptanks accordingly.
2. Prolaufnahme des Tipptanks mit Aktivator
besprühen. / Spray prole groove of tipptank with
activator.
3. Prolstück und Tipptank verkleben. / Glue the
prole part to the tipptank.
4. Erforderliches Zubehör und Werkzeug zur
Fertigstellung. / Required tools and accessories
for completion.
5. Verlängerunskabel halbieren und die Kabelfar-
ben wegen der Zuordung markieren, Schrumpf-
schlauch aufschieben und verlöten. / Cut
extension cables in half and mark cable colours
rst due to assignment, put the shrinktube in
place and solder.
6. Lötstellen mit den Schrumpfschläuchen isolie-
ren. / Isolate the joints with shrink tubes.
7. Markierung der Kabelenden mit Stift und
unterschiedlicher Adernlänge. / Mark the cables
with a pen and different wire lengths.
8. Loch mit ø3,0 mm für Kabeldurchführung
bohren. / Drill ø3,0 mm hole for the cable.
9. Kabel durchführen und LED laut Abbildung
aufsetzen . / Pass through the cables and install
the LED as shown.
10. LED an einer Tischkante vorsichtig eindrü-
cken. / Carefully press in the LED at the edge of
a table.
11. Zeigt markierte Kabelzuordnung zur Elektro-
nik. Tipp : Jede LED-Leuchte separat verlängern
und an Elektronik anlöten.. / Shows marked
cable assignment to electronics. Tip: Extend
each LED light separately and solder it to the
electronics.
12. Jede Seite separat abtrennen und an die
Elektronik anlöten. / Cut each side separately
and solder to electronics.

Seite 3
Artikel Nr. / Item-No. 3736/3737
13. Tipptank aufschieben, Kabel ausrichten und
Kabeldurchführung markieren. / Install tipptank,
align the cable and mark the cable slot.
14. Mit einer Feile vorsichtig den Kabelkanal
herstellen. / Create the cable slot with a le
carefully.
15. Kabeldurchführung prüfen. / Check cable
slot.
16. Kabelkanal in den Schäumling vorsichtig
einschneiden. / Carefully cut the cable slot into
the foam wing.
17. Sekundenkleber auf dem Tipptank auftra-
gen, wie dargestellt. / Apply cyanoacrylat to the
tipptank, as shown.
18. Tipptanks ohne Aktivator Spray verkleben.
/ Glue tipptanks without activator spray to the
foam wing.
19. Kabel in den Schlitz eindrücken, dabei das
Kabel nicht beschätigen. / Push the cable into
the slot without damaging the cable.
20. Kabelkanal mit Tape oder Folienresten
abkleben. / Cover the cable slot with tape or foil
residues.
21. Bei einem neuen Modell erst jetzt den De-
korbogen aufbringen. / In case of a new model,
apply the decals now at this stage.
22. Schrumpfschläuche aufschieben, Kabel
verlöten und verschrumpfen. / Install the shrink-
tubes, solder the cables and shrink the joints.
23. Balancer-Stecker der Elektonik seitlich aufschneiden,
damit er auf mehrpolige Balancer-Buchsen passt.WICH-
TIG: Polarität beachten (Ader schwarz zu schwarz). / Cut
the balancer plug of the electronics laterally so that it can
be plugged into a multi-pin balancer socket. IMPORTANT:
Observe polarity (wire black to black).

Artikel Nr. 3736/3737
09/2018
Copyright by Ideecon • D-70736 Fellbach
Technische Änderungen sind ohne vorherige Ankündigungen möglich! Jeder Nachdruck,
auch auszugsweise, bedarf unserer ausdrücklichen, schriftlichen Genehmigung.
Irrtum & Druckfehler vorbehalten.
ideecon • Klaus Conzelmann • Gotthilf-Bayh-Str. 36 • D-70736 Fellbach • Germany
This manual suits for next models
1
Popular Toy manuals by other brands

Eduard
Eduard P-61A rear interior S.A. quick start guide

Eduard
Eduard Su-17/22UM3K airbrakes manual
BLOTZ
BLOTZ B06-CS-100 manual

Canon
Canon Paper Craft Snowy owl (Female) Assembly instructions

Maxford USA
Maxford USA Gee Bee Model Y Senior Sportster Instruction

Eduard
Eduard SH-3D Sea King exterior quick start guide

Eduard
Eduard J-35 Draken interior quick start guide

marklin
marklin 72760 manual
GRAUPNER
GRAUPNER HMS HOOD operating instructions

Global Services
Global Services Extreme-Flyers X350 Series Quick-start and flying guide
Lancair
Lancair Legacy Assembly manual
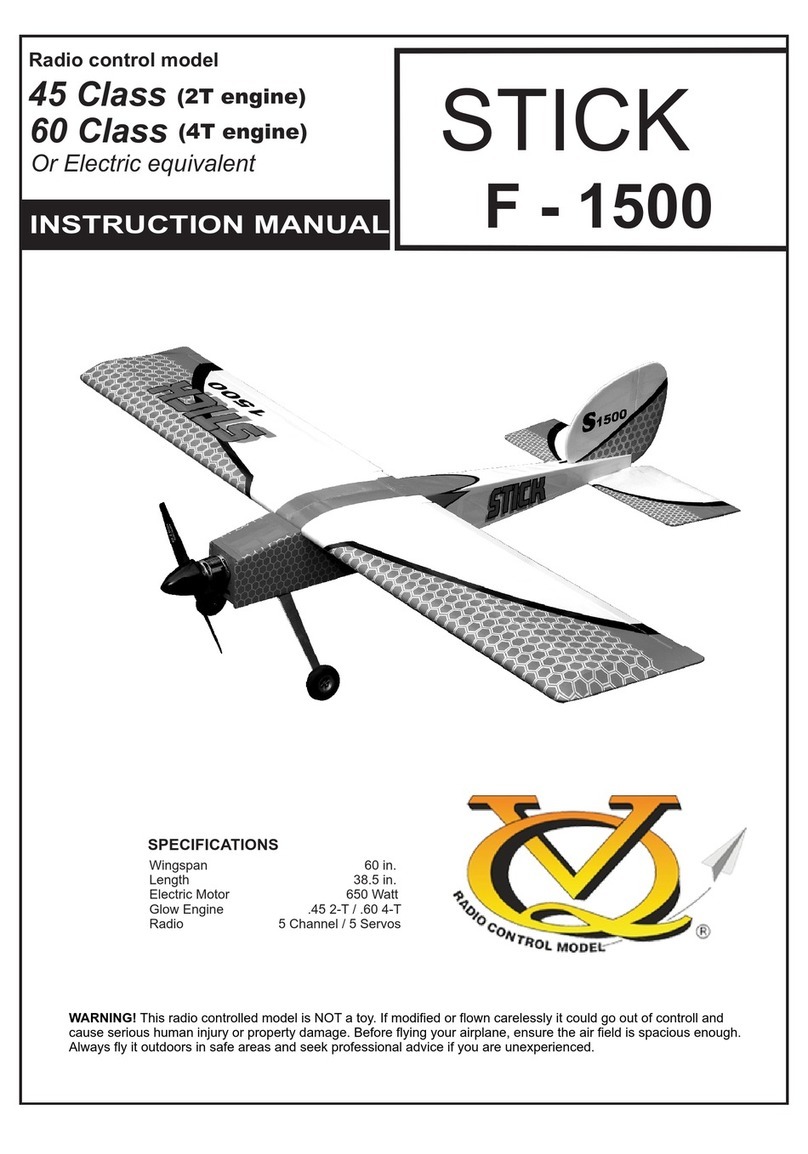
Radio control model
Radio control model F-1500 instruction manual
