REVIEWING AND RESETTING THE ALARM
Press and release the Alarm Button at any time to review the current
alarm settings. To toggle the alarm on or off, press the Alarm Button as
needed. When the alarm icon is displayed, the alarm is armed/on.
Press the Power Button or Alarm Button when the alarm is sounding
to reset it to come on again at the same time the next day. Press the
Alarm Button twice to turn off/disarm the alarm. The alarm icon will
disappear.
CHARGING YOUR iPHONE OR iPOD
Gently dock your iPhone or iPod into the flexible Lightning dock located
on the top of the unit.
While your iPhone/iPod is docked in the unit and the unit is connected
to AC power, it recharges (until fully charged). The unit will not
overcharge your iPhone/iPod. Note that non-docking iPod models will
NOT charge.
Note: Please make sure your iPhone/iPod is properly docked into the unit.
Failure to do so may damage your iPhone/iPod.
LISTENING TO YOUR iPHONE/iPOD
While the dock accommodates most cases, you may need to remove
your case for proper docking.
1. Dock your already playing iPhone/iPod. The unit will automatically
turn on and you will hear the music playing from your iPhone/iPod.
The iPhone/iPod Icon will appear at the right side of the display,
indicating iPhone/iPod playing mode.
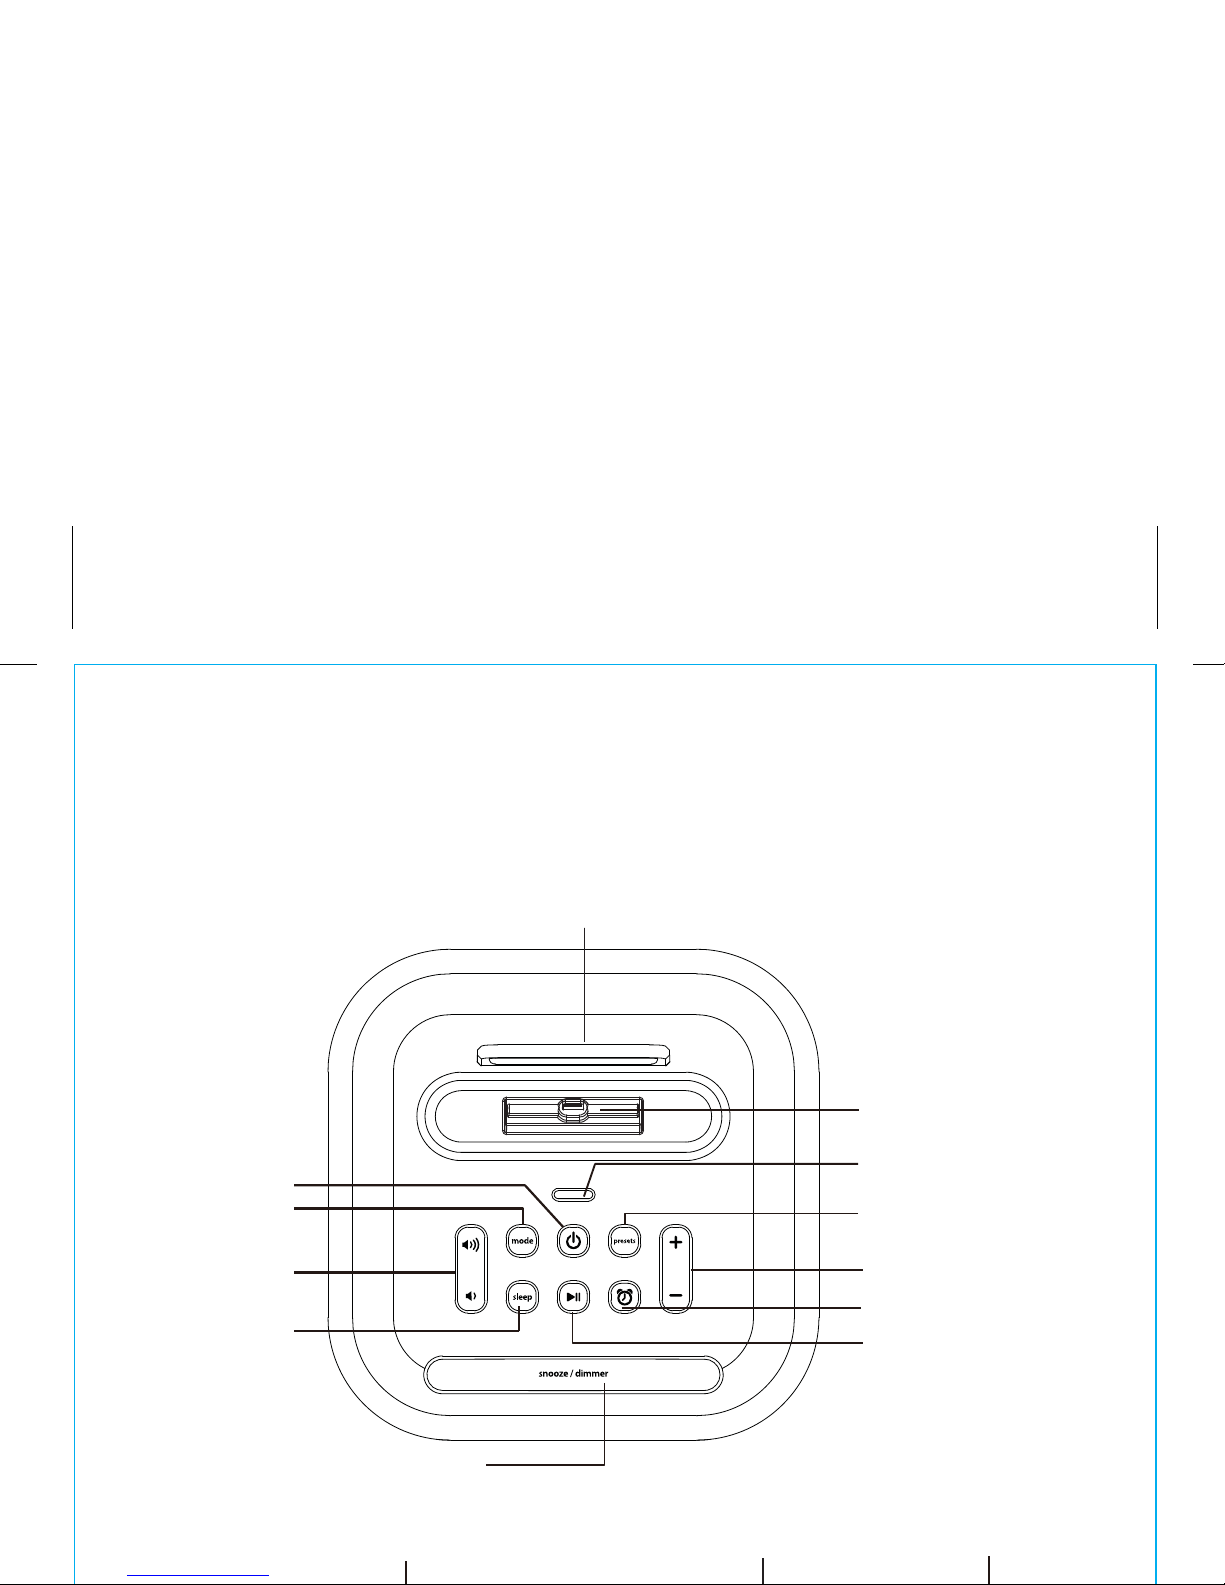
2. Press the or Buttons on the unit to adjust the system volume.
Note: If the volume is too low on the iPhone/iPod, the unit may not detect
that the iPhone/iPod is in play mode. Press the Button to play it. Press
again as needed to pause and resume play.
3 Press the +or –Buttons to go to the next or previous track (hold to scan
backwards or forwards within a track).
4. Press the Power Button to turn off the unit. You can also turn the
unit off by undocking a playing device.
NOTE: Press the Mode Button to cycle from iPod (Lightning dock) to FM
radio to AUX modes.
7
6
SETTING AND USING THE ALARM
SETTING THE ALARM
This unit lets you wake to your docked iPhone, iPod (iPod), FM radio or
to the built-in buzzer alarm. The alarm will sound for 60 minutes or until
reset/turned off.
1. Press and hold the Alarm Button until the alarm time display flashes
and one beep sounds.
2. Press the +or –Buttons to adjust the display to the desired alarm time (hold
for rapid adjustment). Remember to set the correct AM or PM alarm time.
3. Press the Alarm Button to confirm the alarm time. The WAKE-TO
indicator will flash on the display. Press the +or –Buttons to toggle
among wake to Lightning dock (iPod), FM radio or buzzer, then press
the Alarm Button to access volume setting for the selected alarm
source.
Wake to iPod: If wake to dock (iPod) is selected, press the +or –
Buttons to set the Lightning dock volume (can be set
from 5- 40). The alarm will wake you to the last track
played on your docked iPhone or iPod.
Wake to radio: If wake to FM is selected, press the +or –Buttons to
select a radio station to wake to, then confirm your
selection by pressing the Alarm Button. Press the +or
–Buttons to set the FM radio alarm volume (can be set
from 5- 40).
Wake to Buzzer: If wake to Buzzer is selected, press the +or –Buttons to
choose HI or LO buzzer alarm volume.
4. Press the Alarm Button to exit and confirm alarm settings. An alarm
icon will appear on the display, indicating that the alarm is set and armed.