manuals.online logo
Brands
  1. Home
  2. •
  3. Brands
  4. •
  5. iHome
  6. •
  7. Vacuum Cleaner
  8. •
  9. iHome iHRV4 User manual

iHome iHRV4 User manual

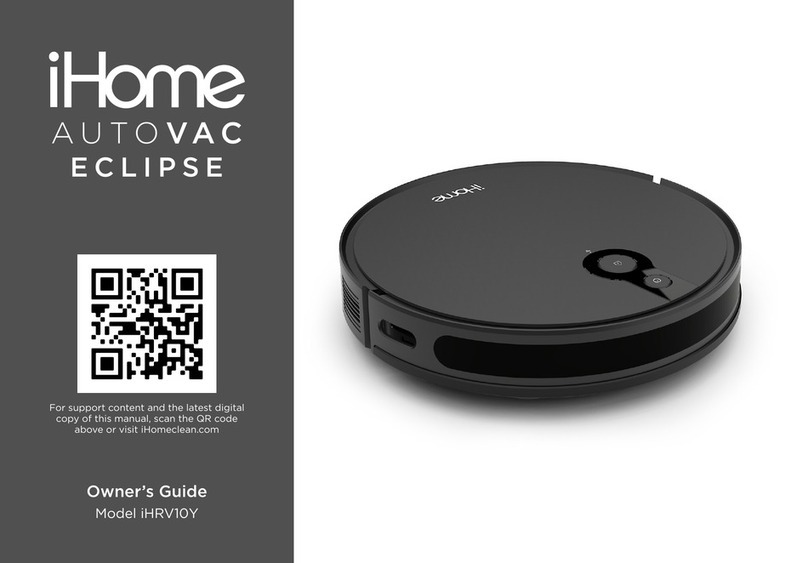
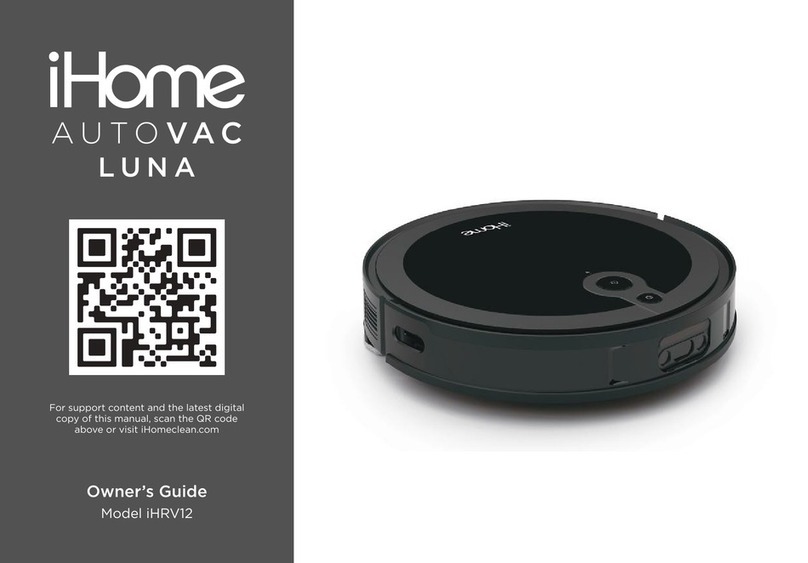
Owner’s Guide
Model iHRV4
CONTENTS
Safety Instructions.................................................1
Product Overview.............................................2-3
Setting Up................................................................4
How to Use........................................................5-10
Maintenance......................................................11-13
Troubleshooting...................................................14
FCC Info...................................................................15
Questions? Contact Customer Service
Web/Email: iHomeclean.com
Phone: 877-370-4580
Check out our helpful setup videos
For support content and the latest digital version of this manual scan
the QR code below or visit ihomeclean.com
SAFETY INSTRUCTIONS 1
Before using this product, please read the following safety instructions and follow all safety precautions. Any operation inconsistent
with this instruction manual may cause damage to this product.
• Only authorized technicians can disassemble this product. Users are not recommended to disassemble this product by themselves. Doing
so will void warranty.
• Only use the included power adapter. Third part adapters may damage the iHome Autovac.
• Do not touch wires, sockets or power adapters when your hands are wet.
• Do not place this product near cigarette butts, lighters and other materials with smoldering fire
• Please clean Dustbin and brushes regularly.
• Do not place any object, pets or people on top of the iHome Autovac.
• This product is an indoor household product. Do not use outdoors.
• Do not use this product in wet environment (i.e, bathroom)
• Before using this product, please clear the floor of all objects other than furniture as some small objects may obstruct, get caught in, or
damage the iHome Autovac.
• Please use and store iHome Autovac in room temperature environments only.
• Do not use products in environments with open flames or fragile objects.
• Do not allow human hair, clothes, fingers and other parts to approach the opening and operate parts of the product.
• Do not allow the iHome Autovac to pick up objects such as stones and waste paper that may clog product.
• Do not allow the iHome Autovac to pick up flammable substances such as oil, printer toner and photocopier toner.
• Do not allow the iHome Autovac to pick up any burning articles, such as cigarettes, matches, ashes and other articles that may cause fire.
• Do not place objects near the suction port. Do not use the product when the suction port is blocked. Clean up the garbage dust, wool, hair,
etc to ensure smooth air circulation at the suction port.
• Use the power cord carefully to avoid damage. Do not use the power cord to drag or pull the product and the charging base. Do not use
the power cord as a handle.
IN THE BOX 2
1 iHome Autovac Juno 1
2 Charging Base 1
3 Power Adapter 1
4 Dustbin 1
5 Brush Cleaning Tool 1
6 Remote Control 1
7 Boundary Strip 1
8 User Manual 1
9 HEPA Filter 2
10 Side Brush (set of 2) 2
No. Description Quantity 1 2 3 4
5 6 7 8
9 10
PRODUCT OVERVIEW 3
HEPA Filter
Primary Filter
Filter Housing Cover
Main Dustbin Cover
Power Indicator
Charging Port
Charging Contacts
Charging Contacts
Omnidirectional
Wheel
Li-ion battery
Left Wheel
Main Brush
Dustbin
Right Wheel
Side Brush
Cliff Detection
Dustbin Release
Button
Infrared/Bump
Sensor
Home Button
Power Button
Wi-Fi Indicator
REAR
DUSTBIN
CHARGING BASE
BOTTOM
SETTING UP THE CHARGING BASE
SETTING UP THE AUTOVAC JUNO
4
1: Choose a placement near a power outlet and with enough free space in front and on
sides (see diagram to the right)
2: Plug the power adapter into the right side of your charging base and the other end into
a functioning wall outlet.
NOTE: Clearance around the charging base is necessary to prevent obstructions when the
Juno returns to charge. Avoid using a power source that may inadvertently be switched
off (e.g. power strip, outlet controlled by a light switch, GFCI)
1: Position the Juno on the floor in front of your charging base.
2: Press the touch-sensitive power icon until it turns blue.
3: Now press the Home icon . The Juno will navigate to the charging base
and beep when properly docked. The Home icon will flash blue while
charging and turn solid blue when finished.
NOTE: Allow your Juno to fully charge before first use . The green light at the top
of the charging base will always flash green when connected to wall power. This
is normal behavior.
The Home icon on your Autovac Juno will flash BLUE while charging and will
turn solid BLUE when completely charged.
GETTING STARTED 5
Understanding your iHome Autovac Juno
The iHome Autovac Juno is designed to automatically and
intelligently clean your home. Multiple sensors are used to avoid
obstructions and cliffs. The Autovac will continue to clean until it
has determined that the addressable floor area has been covered.
Once cleaning is finished or the battery is low, the Autovac Juno
will automatically return to the charging base.
NOTE: Connecting Juno to Wi-Fi is not required but highly
recommended. Using the iHome Clean App, you can follow the
steps below to connect. The app will let you manage Juno from
anywhere, set cleaning schedules, view floor maps, cleaning
history and more! Wi-Fi connection also allows you to link Juno to
Alexa or Google Assistant to control Autovac by voice.
1: Download the iHome Clean App
Search “iHome Clean” in the App Store or use the QR code below:
1: Make sure your mobile device is connected to Wi-Fi
• Make sure that the Wi-Fi network is not 5G (the app only supports 2.4G network)
• The name & password of the Wi-Fi network cannot contain any special characters
iHOME CLEAN APP - WI-FI CONNECTION 6
5: Go to Wi-Fi settings on your device and select “Autovac Juno”
6: Re-open the iHome Clean App & wait for the connection to complete
2: Open the iHome Clean App, select “Add device” and select Juno
4: Select your 2.4G Wi-Fi network and enter the password
3: Press & hold Home button for 5 seconds to enter network config
mode until the Wi-Fi indicator flashes.
NOTE: Ensure that you have a strong
Wi-Fi signal in the location of your
setup/charging base.
USING YOUR AUTOVAC JUNO 7
Before using this product, please clear the floor of all objects other than furniture as some small objects may obstruct, get caught
in, or damage the iHome Autovac Juno. Your Autovac should be docked to the base and FULLY CHARGED before beginning a
cleaning cycle. This will ensure optimal run time.
Cleaning and Mapping - The Juno is designed with HomeMap navigational sensors to clean without the need to enter or save a map
of your home. Unlike less capable robot vacuums, your iHome Autovac Juno will vacuum and mop in a "U" shape cleaning pattern.
It will map out your home during every use, covering the entire square footage of the area. Simply initiate one of the cleaning
modes (described below) on the remote control, in the iHome Clean app, or simply tap the Power Icon on the Juno to start an
Auto-clean cycle. It’s that easy!
Returning to Base - The iHome Autovac Juno will detect the infrared signal emitted by the charging base to find its way back.
Please note that the infrared signal may be affected by distance, walls, or other obstructions. It may take several minutes for the
Juno to find its way back to the charging base. Small spaces, or spaces with lots of furniture will cause the Autovac to bounce and
redirect more frequently. The "U" type pattern will resume when it reaches open space. A map of the path taken by your Autovac is
available to view in the iHome Clean App.
USING YOUR AUTOVAC JUNO 8
Cleaning Modes
Auto Clean - The Juno will automatically clean your floor until it has covered the entire surface. Once it has cleaned the entire
surface it will automatically return back to the charging base.
Edge Clean - The Juno will find the edges of your room and focus on cleaning those edges throughout its cleaning cycle.
Spot Clean - The Juno will focus on a specific area and clean thoroughly. First, use the manual navigation buttons on the remote
control (or in the app) to guide the Juno to the desired area. Then, choose Spot Clean mode.
Single Room Cleaning - The Juno will focus specifically on cleaning one room by avoiding any open door ways.
Powermop - recommended after dry dust/debris is vacuumed manually or by your Autovac Juno. Attach the water tank as
described later in this manual. Choose Powermop in the iHome Clean App or the included remote and the Juno will automatically
mop the surface and return to the recharge base once complete. NOTE: During Powermop mode the Juno maintains a gentle
suction for dry debris into a separate compartment in the mop attachment.
Manual Control - Using the iHome Clean App or the included remote, you can manually control where the vacuum navigates.
USING THE REMOTE CONTROL 9
A remote control is included for your convenience.
It is recommended to point the remote to the
front of the Juno for best results. The remote
control range is 10-20 feet line of sight.
10 - 20 FT
A roll of magnetic strip is included with your Autovac. Cut
the strip to size and place it near or below any areas that you
want the Autovac to avoid (eg below very thick carpets, or
clusters of cables that may become stuck in the Autovac).
The Juno will know to avoid the area when it senses the
magnetic field.
USING THE BOUNDARY STRIP
Recharge
On/Off
Room Cleaning
Spot Cleaning
Pause/Start
Auto Cleaning
Mopping
Wi-Fi Settings
Direction Control
Edge Cleaning
Power Setting
USING THE WET MOP ATTACHMENT 10
Add Water Install Mopping Pad Install Water Tank Start Mopping
NOTE: The Powermop wet mop attachment is sold separately.
The Powermop function is recommended for an extra layer of cleaning after dry dust/debris is vacuumed manually or by your Autovac
Juno. Follow the steps below and refer to the diagrams below.
1. Add water to the Water Tank via the fill port on the top of the tank to the desired level marker. NOTE: Some droplets may seep through
the six blue water dispensers. This is normal. We do not recommend using liquid cleaning solutions as they may clog the water dispensers.
2. Install a Mop Pad on the bottom of the Water Tank.
3. Remove the Dustbin from the Autovac Juno & set aside for later use.
4. Slide the Water Tank into the Autovac Juno.
5. Select Powermop in the iHome Clean App or using the remote control and the Juno will automatically mop the surface and return to
the charging base once complete.
NOTE: You can adjust the water flow (low/medium/high) using the iHome Clean App. Do not mop on carpets. Avoid area rugs before
using this function (make use of boundary strips). The water tank will dispense water DIRECTLY into the mop pad.
After mopping is complete, remove the water tank & empty any excess water from the reservoir. Set tank aside to dry. Wash mop pad
and allow to air dry.
CARE AND MAINTENANCE 11
Your Juno is designed to be used regularly. As with most floor
care devices, regular use may cause build-up around brushes, in
debris compartments and near filters. We recommend performing
regular maintenance, as outlined in the following pages, to keep
your iHome Autovac Juno running at optimal performance.
Main Brush Maintenance
Main roller and/or side brush errors can occur when something is
caught or tangled within the brushes. .
1. Press the two release buttons to remove the Main Brush Cover.
2. Remove the Main Brush (Roller) out and clean it with the
maintenance tool provided. Make sure to clear the edges near the
rotating spindles.
3. Clean the cavity of any debris.
4. Place Main Brush back, align the cover and snap it closed.
Side Brush Maintenance
1. Side brushes are pressure-fit. To remove, grab at least 2 out of 3
of the brush “arms” and lift up until dislodged. (note: pull from the
plastic portion, not the bristles)
2: Clean and replace.
After cleaning and reinstalling the brushes, place the iHome
Autovac Juno on the floor and tap the Power icon to resume
cleaning, or the Home icon to return to base.
Main Brush Cover
Main Brush
Main Body
Main Brush Once a month Once a year
Once a month Once a year
Every 2 weeks Every 3 months
Every 2 weeks Twice a year
Side Brushes
HEPA Filter
Main Filter
PART CARE FREQUENCY REPLACEMENT FREQUENCY
MAINTENANCE SCHEDULE
MAINTAINING THE DUSTBIN 12
4: Open the filter cover.
5: Remove the HEPA filter and the
primary filter. It is NOT recommended to
wash the HEPA filter with water. Tap
gently to remove dust.
Empty your Dustbin and clean your filters regularly to ensure optimal suction power. NEVER attempt to operate the Autovac unless BOTH
filters are in place as that will reduce cleaning efficiency and may damage the fan assembly.
1: Remove the dustbin from the Autovac
by pressing the dustbin release button.
2: Open the dustbin side cover. 3: Empty dust & debris by gently tapping.
6: Rinse the primary filter screen on both
sides with water. Take care not to puncture
the screen.
(Continued on
next page)
MAINTAINING THE DUSTBIN 13
CLEANING THE SENSORS & CHARGING PINS
NOTE: Please ensure the filter assembly
is completely dry before installing
Clean dust bin with a dry cloth. re-install both filters by nesting the HEPA filter into the primary filter and placing the entire assembly into the filter
compartment with the HEPA filter facing up. NOTE: push the metal arm toward the wall of the compartment in order for the filter assembly to fit.
NOTE: The interior of the charging port, the
sensor and the plate all contain sensitive
electronic components, please use a dry
cloth when cleaning. Do not use wet cloth.
Charging Base: Wipe the charging
contacts and charging port regularly to
prevent dust and dirt build up.
Cliff Detection Sensors: Wipe the three
cliff detection sensors on the bottom
of the Autovac.
Charging Contacts Cliff Detection Sensors
AUTOVAC JUNO TROUBLESHOOT 14
PROBLEM SOLUTION
Unable to power on • Please charge before use. This is commonly caused due to low battery. Visit the FAQ page and
view the “Power” category at www.ihomeclean.com.
Power Button Flashing RED • There is a SYSTEM ERROR; power button flashing RED. Visit the FAQ page and view the
“POWER” category at www.ihomeclean.com.
Unable to Start Cleaning • Please charge before use. This is commonly caused due to low battery.
• There is a SYSTEM ERROR; power button flashing RED. Visit the FAQ page and view the
“Power” category at www.ihomeclean.com.
Not Returning to Charging Base • The Juno needs to start its cleaning cycle from the charging base to find its way back.
If you start the Juno from a different point or to “Spot Clean,” manually dock it to
recharge when done.
Unable to Connect to Wi-Fi • Make sure the network is 2.4GHz and not 5.0GHz. Visit the FAQ page and view the
“NETWORK & APP SETUP” category at www.ihomeclean.com.
• Wi-Fi signal is weak. Move Juno closer to your router.
Unable to Charge after Docking • Make sure the charging base is plugged into an active outlet and flashing green.
• Make sure there is no obstruction or heavy dust on both the Juno metal plates and base
charging contacts.
• Home/Charging icon will flash BLUE when actively charging and turn solid BLUE when fully charged
Abnormal Behavior • Reboot: Power Off the Juno by pressing and holding the Power button for 5 to 7
seconds until the light turns off. Press the Power button for 5 to 7 seconds to turn back on.
• Wipe the plastic sensor strip that goes across the front of the Juno with a cloth.
18FCC STATEMENT 15
1: This device complies with Part 15 of the FCC Rules. Operation is subject to the following two conditions: (1) This device may
not cause harmful interference, and (2) This device must accept any interference received, including interference that may
cause undesired operation.
2: Changes or modifications not expressly approved by the party responsible for compliance could void the user's authority to
operate the equipment.
NOTE: This equipment has been tested and found to comply with the limits for a Class B digital device, pursuant to Part 15 of
the FCC Rules. These limits are designed to provide reasonable protection against harmful interference in a residential
installation.
This equipment generates uses and can radiate radio frequency energy and, if not installed and used in accordance with the
instructions, may cause harmful interference to radio communications. However, there is no guarantee that interference will not
occur in a particular installation. If this equipment does cause harmful interference to radio or television reception, which can be
determined by turning the equipment off and on, the user is encouraged to try to correct the interference by one or more of the
following measures: Reorient or relocate the receiving antenna. Increase the separation between the equipment and receiver.
Connect the equipment into an outlet on a circuit different from that to which the receiver is connected. Consult the dealer or
an experienced radio/TV technician for help.
FCC Radiation Exposure Statement
This equipment complies with FCC radiation exposure limits set forth for an uncontrolled environment.
This equipment should be installed and operated with minimum distance 20cm between the radiator & your body.

Other iHome Vacuum Cleaner manuals

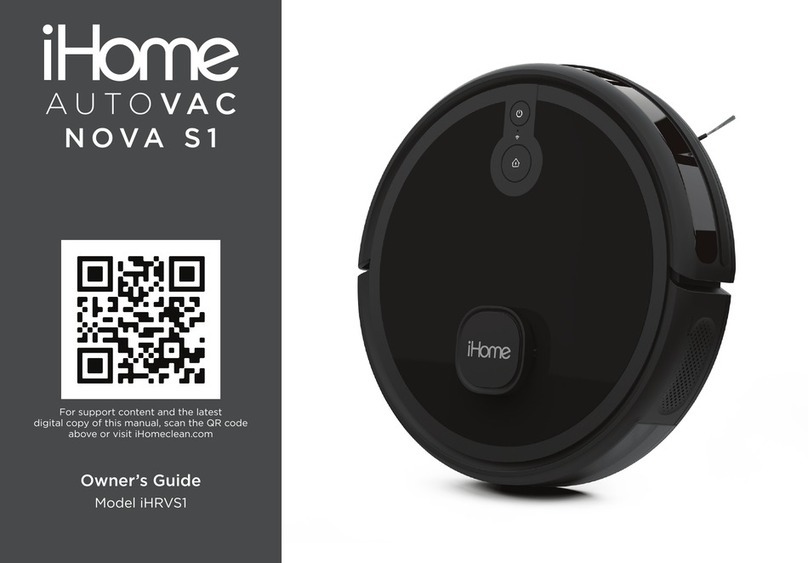
iHome AUTOVAC Eclipse Series User manual

iHome

iHome AUTOVAC Eclipse Series User manual

iHome iHRV7 User manual

iHome

iHome iHRV7 User manual

iHome AutoVac Eclipse iHRV2 User manual

iHome

iHome AutoVac Eclipse iHRV2 User manual

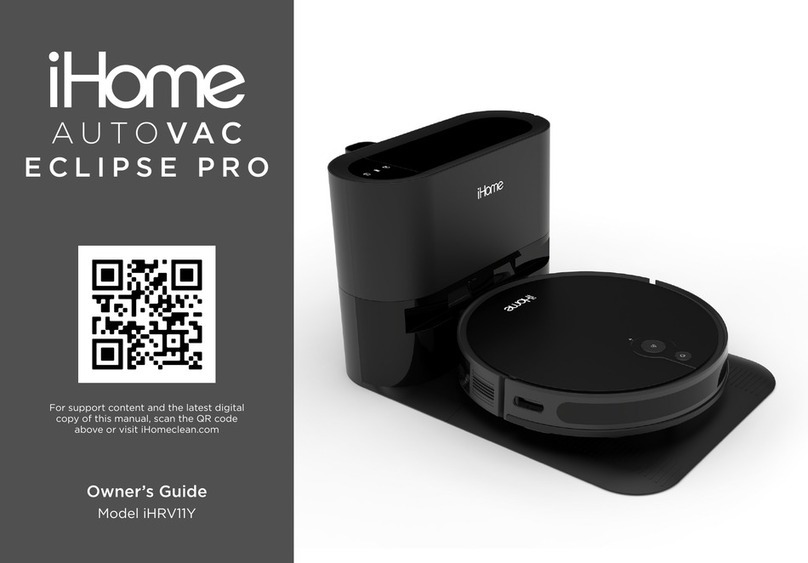
iHome AUTO VAC ECLIPSE PRO User manual

iHome

iHome AUTO VAC ECLIPSE PRO User manual

iHome VAC SV1 User manual

iHome

iHome VAC SV1 User manual

iHome AUTOVAC LUNA User manual

iHome

iHome AUTOVAC LUNA User manual

iHome AutoVac Luna Pro User manual

iHome

iHome AutoVac Luna Pro User manual

iHome AUTO VAC ECLIPSE User manual

iHome

iHome AUTO VAC ECLIPSE User manual

iHome NOVA S1 User manual

iHome

iHome NOVA S1 User manual

iHome AUTOVAC ORBITA PRO User manual

iHome

iHome AUTOVAC ORBITA PRO User manual

iHome Nova iHRV6 User manual

iHome

iHome Nova iHRV6 User manual

iHome AUTO VAC NOVA PRO iHRV14 User manual

iHome

iHome AUTO VAC NOVA PRO iHRV14 User manual

iHome WETVAC WV5 User manual

iHome

iHome WETVAC WV5 User manual

iHome AUTOVAC NOVA Instruction manual

iHome

iHome AUTOVAC NOVA Instruction manual

iHome AUTO VAC ECLIPSE PRO iHRV11 User manual

iHome

iHome AUTO VAC ECLIPSE PRO iHRV11 User manual

iHome AUTOVAC ECLIPSE iHRV10 User manual

iHome

iHome AUTOVAC ECLIPSE iHRV10 User manual

iHome AUTO VAC JUNO iHRV9 User manual

iHome

iHome AUTO VAC JUNO iHRV9 User manual

Popular Vacuum Cleaner manuals by other brands

iRobot Roomba owner's manual

iRobot

iRobot Roomba owner's manual

Philips FC9262 user manual

Philips

Philips FC9262 user manual

Taski aquamat 10.1 Instructions of use

Taski

Taski aquamat 10.1 Instructions of use

Clarke 579 Carpetmaster Operator's manual

Clarke

Clarke 579 Carpetmaster Operator's manual

Velleman PEREL WDC1220 user manual

Velleman

Velleman PEREL WDC1220 user manual

Heinner HVC-VBK750S manual

Heinner

Heinner HVC-VBK750S manual

AL-KO Robolinho 100 manual

AL-KO

AL-KO Robolinho 100 manual

POLTI lecoaspira vaporetto FAV 20 instruction manual

POLTI

POLTI lecoaspira vaporetto FAV 20 instruction manual

Kärcher SC 4.100 CB manual

Kärcher

Kärcher SC 4.100 CB manual

Oreck Professional Series Gold user guide

Oreck

Oreck Professional Series Gold user guide

cecotec CONGA ROCKSTAR L16SFSS10E instruction manual

cecotec

cecotec CONGA ROCKSTAR L16SFSS10E instruction manual

Kenmore PowerMate Nozzle Use & care guide

Kenmore

Kenmore PowerMate Nozzle Use & care guide

Sebo EVOLUTION 370 instruction manual

Sebo

Sebo EVOLUTION 370 instruction manual

Bissell LITTLE GREEN 3682 user guide

Bissell

Bissell LITTLE GREEN 3682 user guide

Hoover 5010 HERITAGE Instructions for use

Hoover

Hoover 5010 HERITAGE Instructions for use

AmazonBasics B0716T5FW2 manual

AmazonBasics

AmazonBasics B0716T5FW2 manual

Singer VC-17702310-WB instruction manual

Singer

Singer VC-17702310-WB instruction manual

Termozeta POCKET 8000 MULTICYCLONE instruction manual

Termozeta

Termozeta POCKET 8000 MULTICYCLONE instruction manual

manuals.online logo
manuals.online logoBrands
  • About & Mission
  • Contact us
  • Privacy Policy
  • Terms and Conditions

Copyright 2025 Manuals.Online. All Rights Reserved.