Before using this product, please read the following safety instructions and follow all safety precautions. Any operation
inconsistent with this instruction manual may cause damage to this product.
Warnings:
• Do not use products in environments with open flames or fragile objects.
• Do not allow human hair, clothes, fingers and other parts to approach the opening and operate parts of the product.
• Do not allow the Halo to pick up objects such as stones and waste paper that may clog product.
• Do not allow the Halo to pick up flammable substances such as oil, printer toner and photocopier toner.
• Do not allow the Halo to pick up any burning articles, such as cigarettes, matches, ashes and other articles that may cause fire.
• Do not place objects near the suction port. Do not use the product when the suction port is blocked. Clean up the
garbage dust, wool, hair, etc to ensure smooth air circulation at the suction port.
• Use the power cord carefully to avoid damage. Do not use the power cord to drag or pull the product and the charging
base. Do not use the power cord as a handle.
• Only authorized technicians can disassemble this product. Users are not recommended to disassemble this product by
themselves. Doing so will void warranty.
• Only use the included power adapter. Third part adapters may damage the Halo .
• Do not touch wires, sockets or power adapters when your hands are wet.
• Do not place this product near cigarette butts, lighters and other materials with smoldering fire
• Please clean Dustbin and brushes regularly.
• Do not place any object, pets or people on top of the Halo.
• This product is an indoor household product. Do not use outdoors.
• Do not use this product in wet environment i.e, bathroom
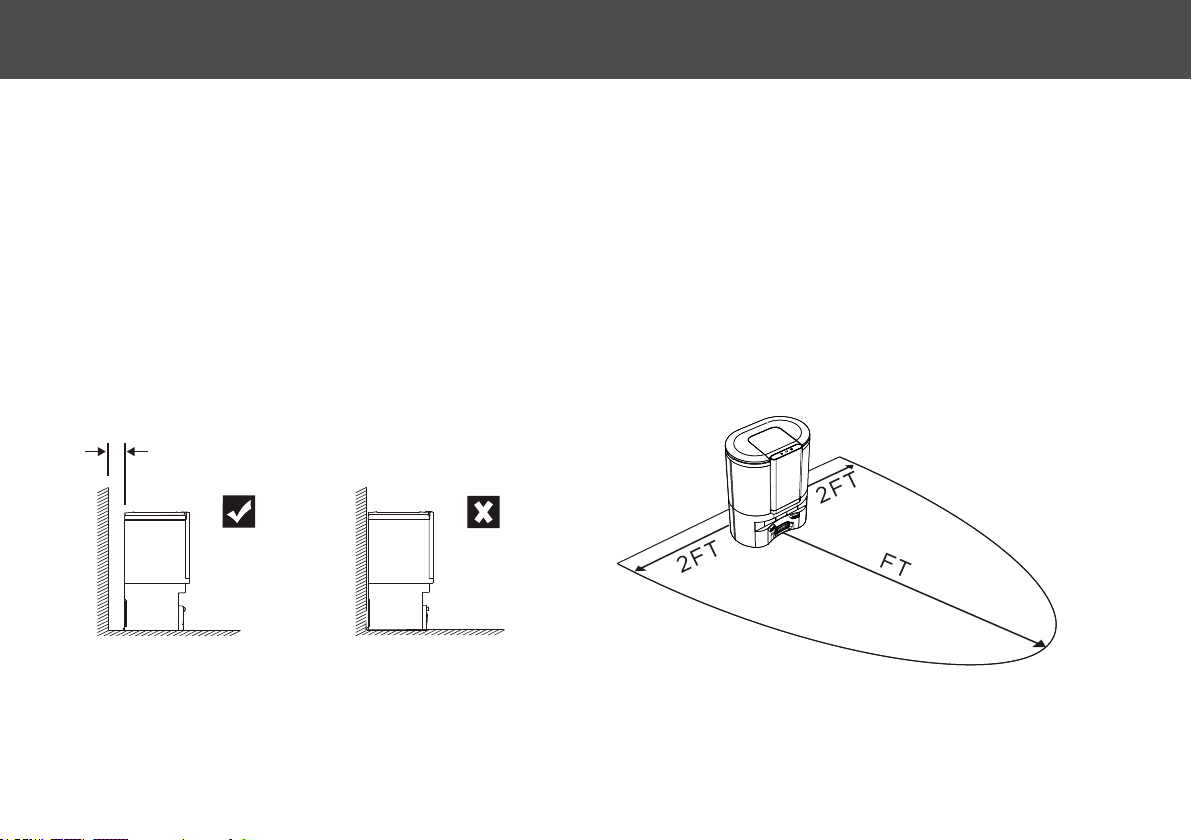
• Before using this product, please clear the floor of all objects other than furniture as some small objects may obstruct,
get caught in, or damage the Halo.
• Please use and store Halo in room temperature environments only.
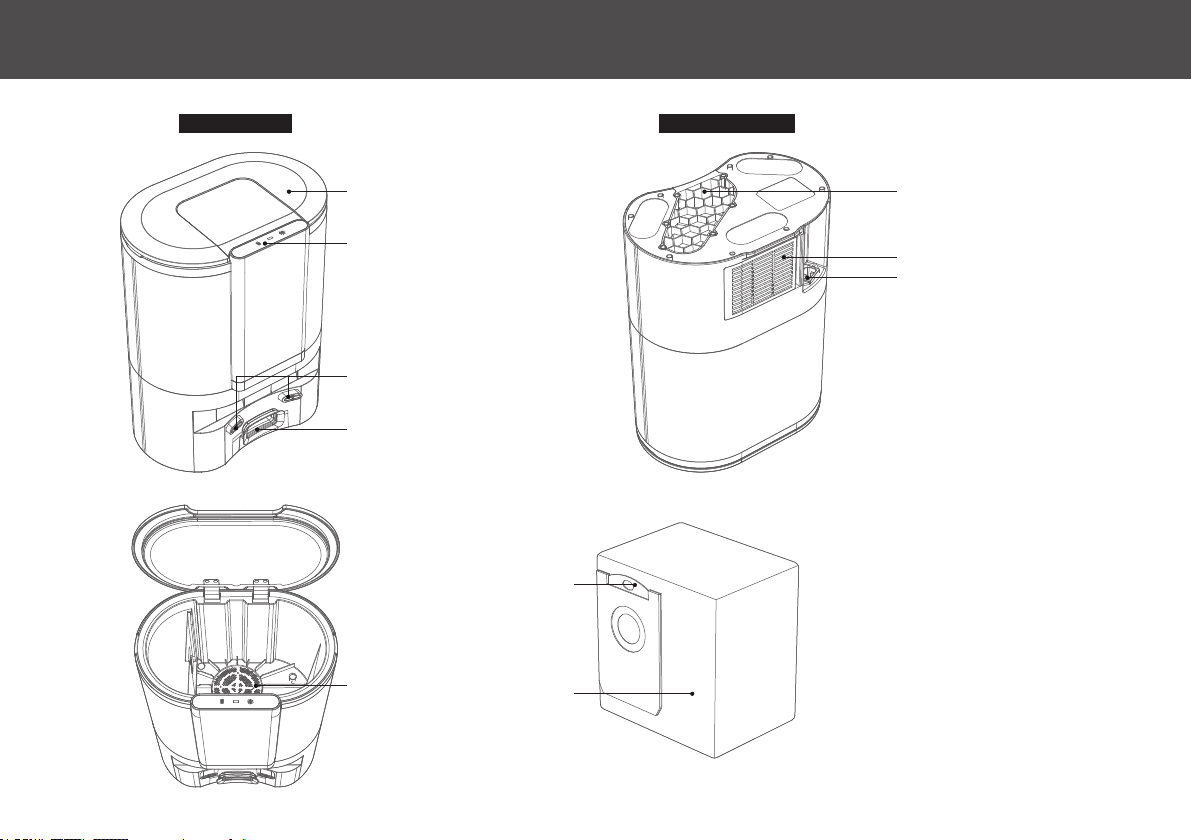
AUTO EMPTY BASE LED INDICATORS 7
Status Indicator
•Solid green light: Collecting dust
• Flashing red light: Fan overheating/fan error/cover not closed
Power Indicator
• Flashing green light: Charging
• Solid green light: Fully charged/standby
Dust Bag Indicator
• Solid green light: Dust bag is full/dust duct is blocked
• Flashing red light: Dust bag is not installed/dust bag is not installed correctly