i
HDK-65C 1501 VER1 (U)
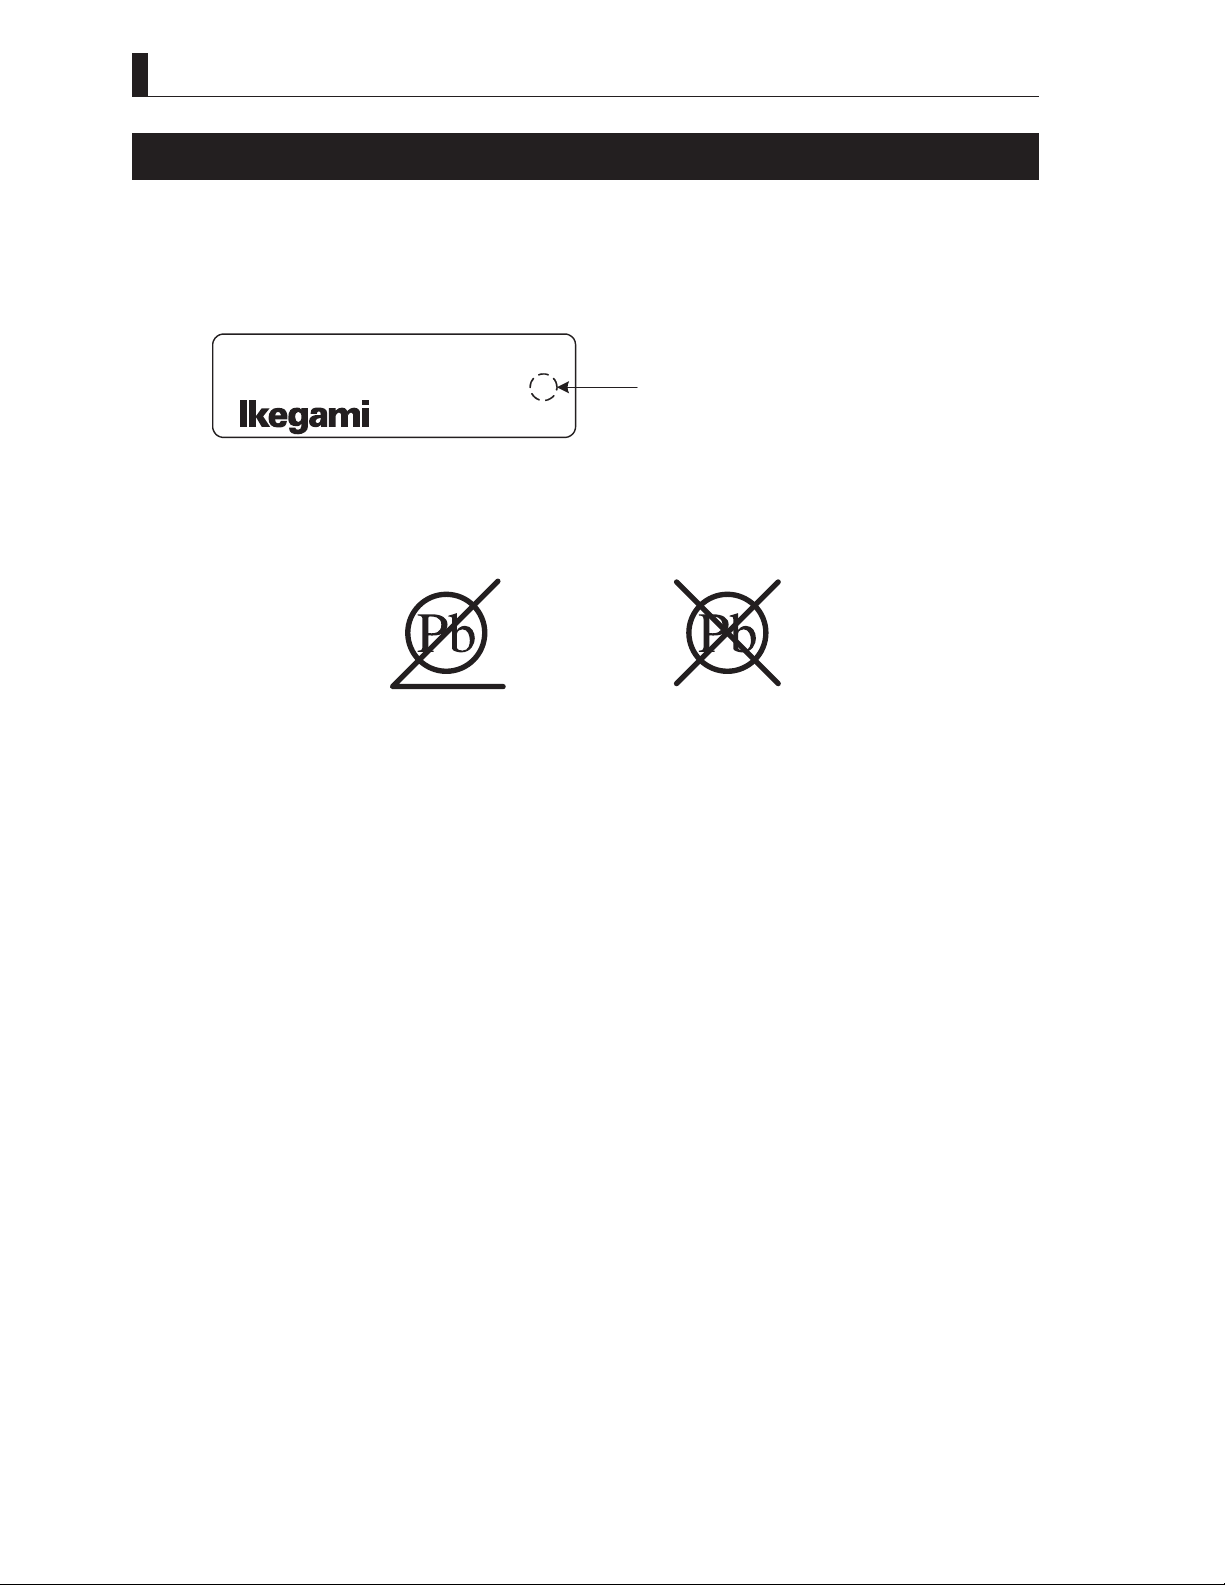
PRODUCTS CONFORMING TO RoHS DIRECTIVE
PRODUCTS CONFORMING TO RoHS DIRECTIVE
Following products described in this manual are products conforming to RoHS directive.
·HDK-65C ColorCamera
· VF421HD, VF13XHD, VFL912HD, VFL200HD Viewfinder
·CCU-970 CameraControlUnit
·OCP-200 OperationControlPanel
·MCP-200 MaintenanceControlPanel
·CPH-200 ControlPanelHub
·BSH-200 BaseStationHub
Products conforming to RoHS directive include products that do not contain specified hazardous substances such as lead, mercury,
cadmium, hexavalent chromium, polybrominated biphenyl (PBB) and polybrominated diphenyl ether (PBDE) in electrical and
electronic equipment excluding following exemption applications based on the EU directive (Directive2002/95/EC).
* About RoHS Directive
The RoHS directive stands for "the Restriction of the Use of Certain Hazardous Substances in Electrical and Electronic Equipment"
and is one of environmental directives in Europe. This directive restricts the use of specified hazardous substances in electrical and
electronic equipment.
●Applications exempted from RoHS directive compliance
Followings applications are permitted as exemptions from RoHS directive compliance.
1. Mercury in compact fluorescent lamps not exceeding 5mg per lamp
2. Mercury in straight fluorescent lamps for general purposes not exceeding:
- halophosphate 10mg
- triphosphate with a normal lifetime 5mg
- triphosphate with a long lifetime 8mg
3. Mercury in straight fluorescent lamps for special purposes
4. Mercury in other lamps not specifically mentioned in this Annex
5. Lead in the glass of cathode ray tubes, electronic components and fluorescent tubes
6. Lead as an alloying element in steel containing up to 0.35% lead by weight, aluminum containing up to 0.4% lead by weight and
as a copper alloy containing up to 4% lead by weight
7. Lead in following items
- Lead in high melting temperature type solders (i.e. tin-lead solder alloys containing more than 85% lead)
- Lead in solders for servers, storage and storage array systems
- Lead in solders for network infrastructure equipment for switching, signaling, transmission as well as network management
for telecommunication
- Lead in electronic ceramic parts (e.g. piezoelectronic devices)
8. Cadmium plating except for applications banned under Directive 91/338/EEC amending Directive 76/769/EEC relating to
restrictions on the marketing and use of certain dangerous substances and preparations
9. Hexavalent chromium as an anti-corrosion of the carbon steel cooling system in absorption refrigerators
10.Lead used in compliant pin connector systems
11. Lead as a coating material for the thermal conduction module C-ring
12.Lead and cadmium in optical and filter glass
13.Lead in solders consisting of more than two elements for the connection between the pins and the package of microprocessors
with a lead content of more than 80% and less than 85% by weight
14.Lead in solders to complete a viable electrical connection between semiconductor die and carrier within integrated circuit Flip
Chip packages
15.Decabrominated diphenyl ether (Deca-BDE) in polymeric applications