This document and its contents are proprietary to Illumina, Inc. and its affiliates ("Illumina"), and are intended solely for
the contractual use of its customer in connection with the use of the product(s) described herein and for no other
purpose. This document and its contents shall not be used or distributed for any other purpose and/or otherwise
communicated, disclosed, or reproduced in any way whatsoever without the prior written consent of Illumina. Illumina
does not convey any license under its patent, trademark, copyright, or common-law rights nor similar rights of any third
parties by this document.
The instructions in this document must be strictly and explicitly followed by qualified and properly trained personnel in
order to ensure the proper and safe use of the product(s) described herein. All of the contents of this document must be
fully read and understood prior to using such product(s).
FAILURE TO COMPLETELY READ AND EXPLICITLY FOLLOW ALL OF THE INSTRUCTIONS CONTAINED HEREIN MAY
RESULT IN DAMAGE TO THE PRODUCT(S), INJURY TO PERSONS, INCLUDING TO USERS OR OTHERS, AND DAMAGE
TO OTHER PROPERTY, AND WILL VOID ANY WARRANTY APPLICABLE TO THE PRODUCT(S).
ILLUMINA DOES NOT ASSUME ANY LIABILITY ARISING OUT OF THE IMPROPER USE OF THE PRODUCT(S)
DESCRIBED HEREIN (INCLUDING PARTS THEREOF OR SOFTWARE).
© 2019 Illumina, Inc. All rights reserved.
All trademarks are the property of Illumina, Inc. or their respective owners. For specific trademark information, see
www.illumina.com/company/legal.html.
Document # 1000000075000 v01
For Research Use Only. Not for use in diagnostic procedures.
ii
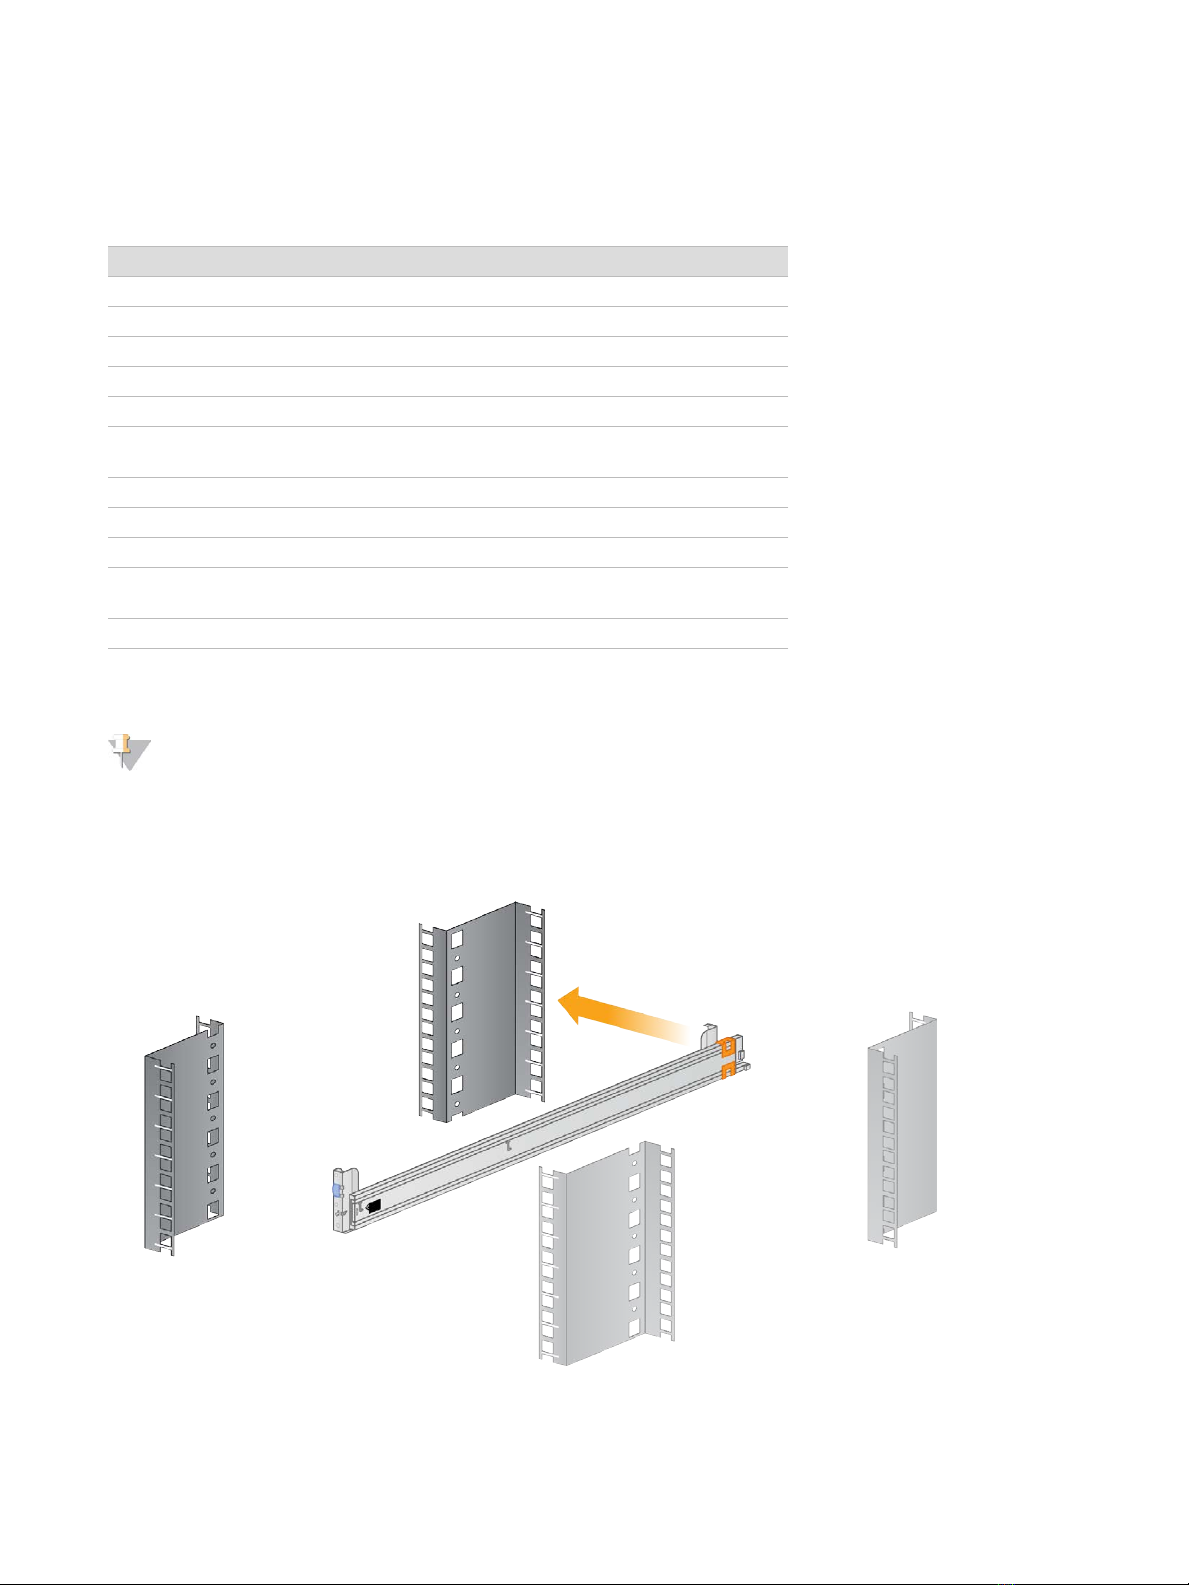
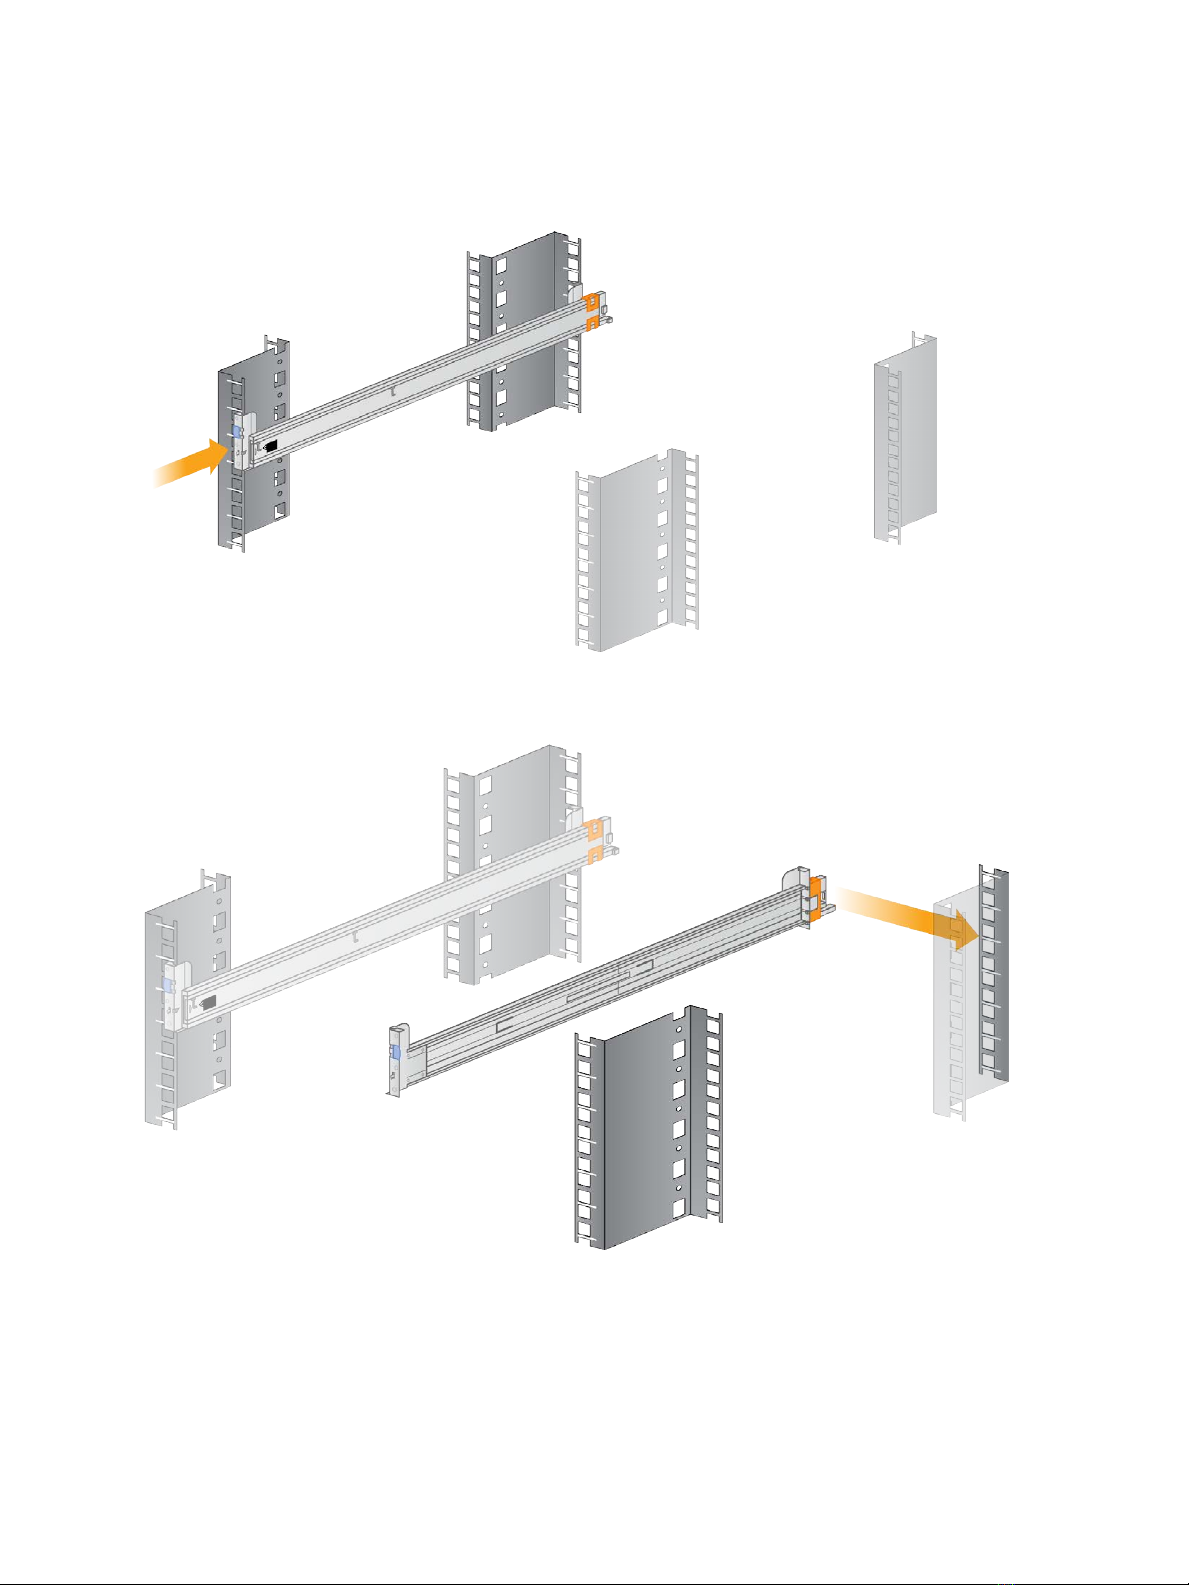
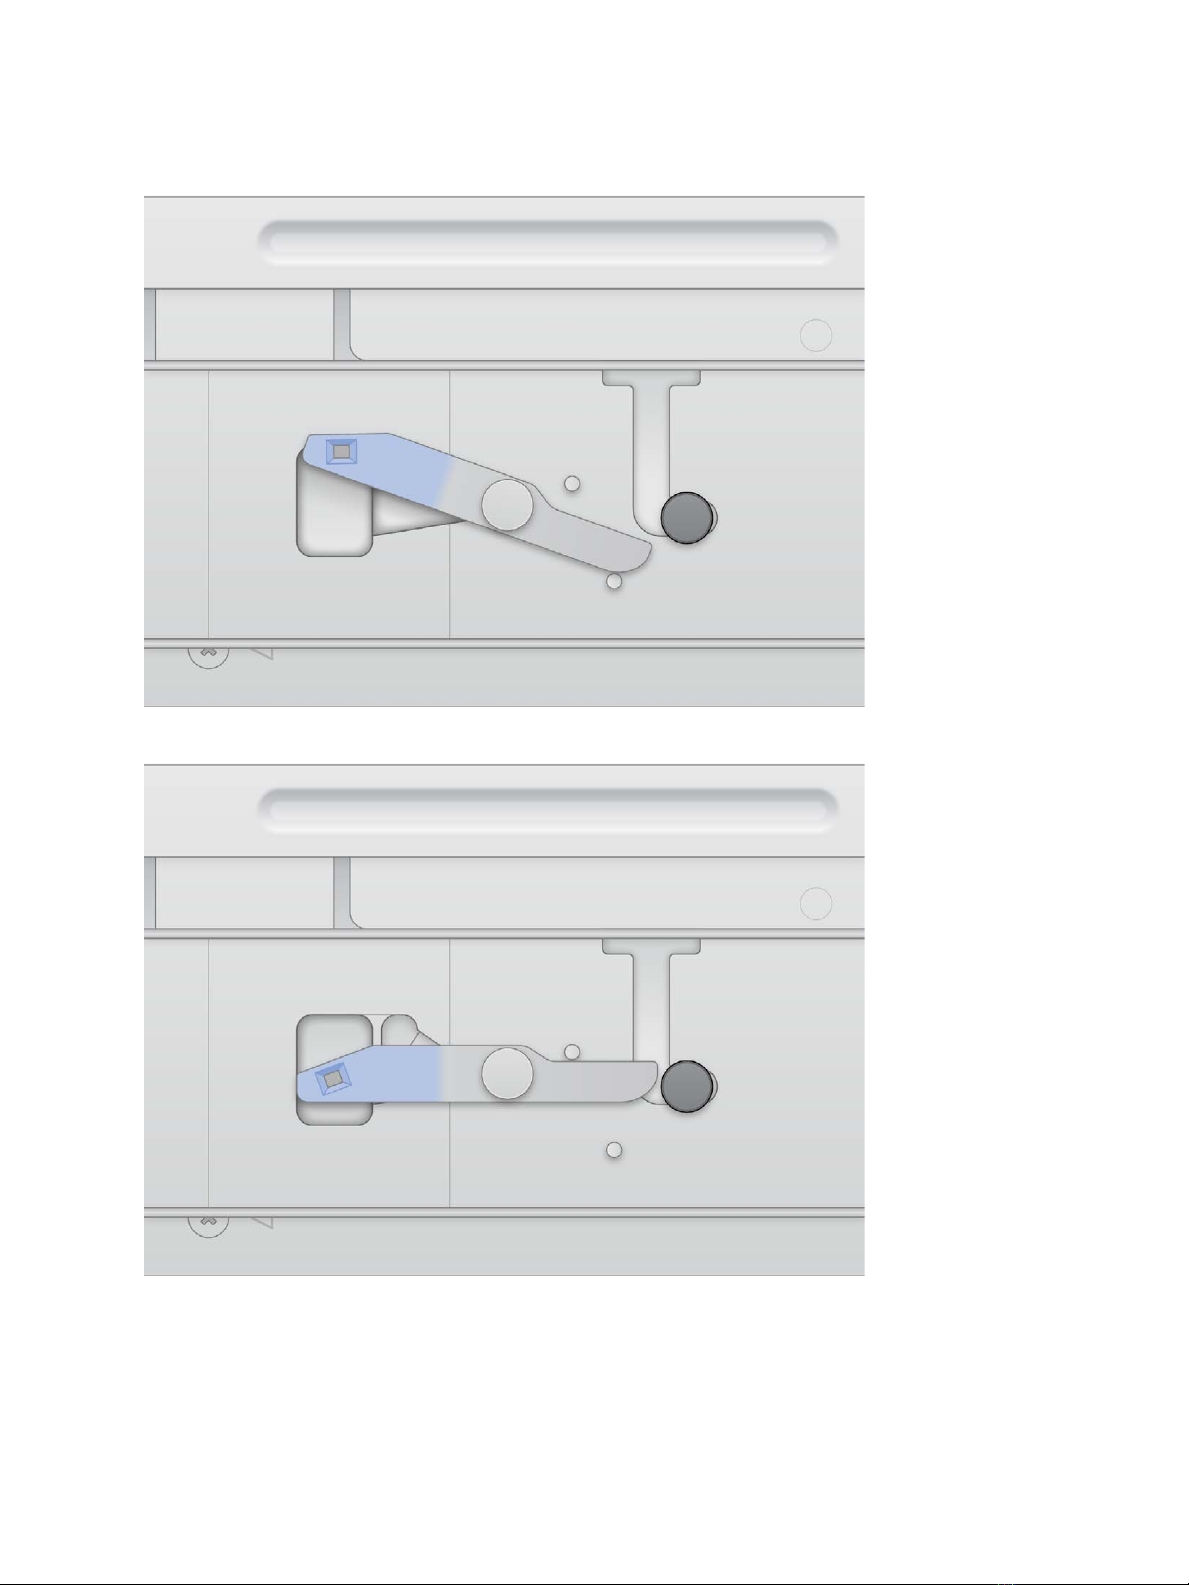
Illumina DRAGEN Server Installation Guide