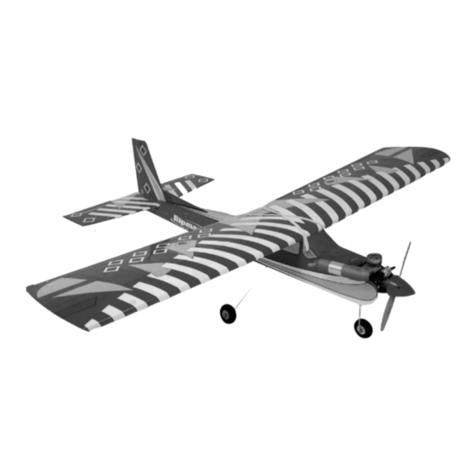
Fuselage
1. Parts List
Check that you have the parts and put a tick in the column by each part.
Plasticine
Card
Description Number Check
Fuselage 1
Card for wing, tail, fin and assembly jig 1
Plasticine balance weight 1
2. Colour and Cut Out
Colour and cut out the wings, tail
and fin and write your name on the
wing. It is advisable to colour in
before cutting out. Also make sure
the cross hatching area of tail and fin
are not coloured as this makes
gluing difficult.
3. Form and glue the Wing
With the back of a pair of scissors and
ruler, score the wing before you fold
down the leading edge and glue it to
the underside to form an aerofoil sec-
tion. Paper clips are good for holding
the wing whilst it dries. DO NOT press
hard on the leading edge of the wing
when gluing as this should form part of
the aerofoil profile.
4. Assembly Jig
Cut out, score ad fold the assembly jig as
shown. Glue the jig and use the paper clips to
hold it together whilst it dries.
6. Fuselage and
Wing Position
From the front edge of the fuse-
lage (rounded end) measure
30mm with pencil or felt tip—
then measure 45mm from that
point and make a second mark.
The wing position will be be-
tween the two marks.
30mm
45mm
5. Fin and Tail
Apply glue to the criss-cross
pattern and stick the fin to the
fuselage so that the launching
hook is on the opposite side.
Do the same for the tail and
ensure it is square to the fin.

