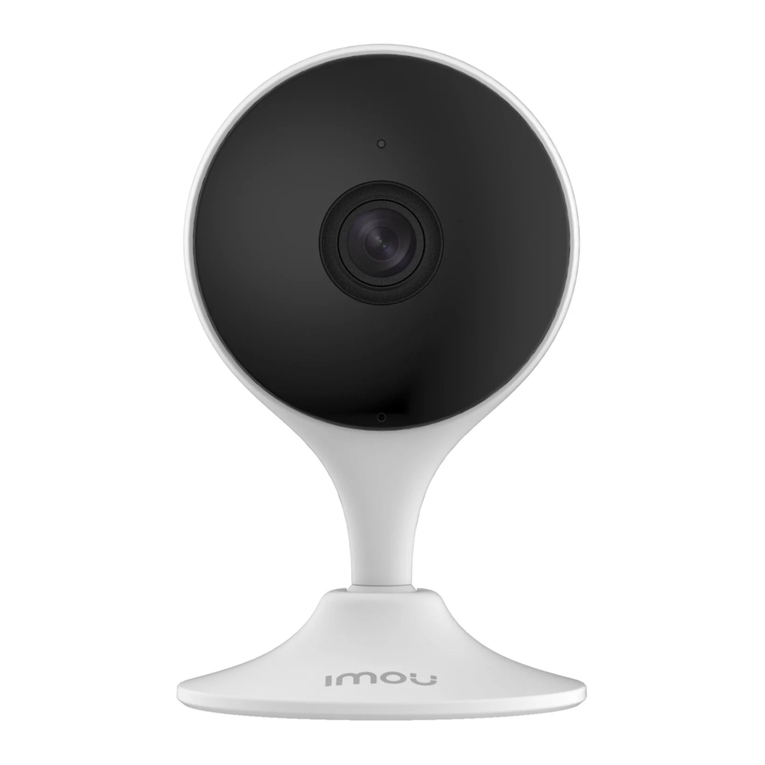
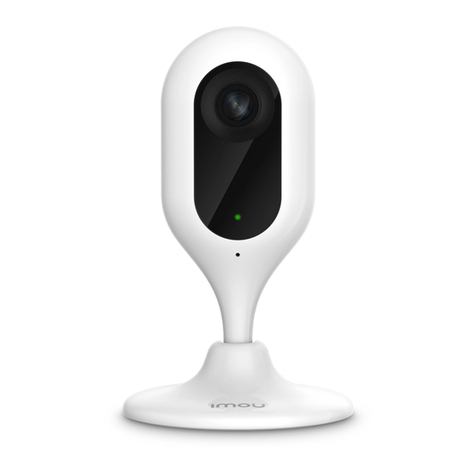
IMOU F Series User manual

Quick Start Guide
Version 1.0.0

1
Contents
Quick Start Guide (EN) ............................................................................................................................ 2
Īsa pamācība (LV) ............................................................................................................................. 10
Краткое руководство пользователя (RU) ............................................................................. 18

2
Quick Start Guide (EN)
Packing List1
Note:
The quantity of the camera and other accessories might vary with different models, and
the actual product shall prevail.
Camera×1
Battery×1
Power Cable×1
Bracket×1
Base Station×1
Network Cable×1
Power Adapter×1
QSG×1
Positioning Map×1
Screw Package×1

3
Camera Introduction2
Note:
- Press the SYNC button to pair with the base station.
- Press and hold the SYNC button for 8s to reset the camera.
The pattern of the LED indicator is included in the following table.
LED Indicator Status
Device status
Off
Sleeping mode
Run out of battery
Green light on
Alarm is triggered
Instructed to wake
Green light flashing
Reconnecting Wi-Fi
Green light quick flashing
Waiting for pairing with the base station
Green light stay on for 10s, then off
Pairing succeeded
Red light stay on for 10s, then off
Pairing timeout
Red light stay on for 1s, then off
Reset completed
LED Indicator
Lens
Built-in Mic
PIR Detector
Photosensor
Power Port
SYNC Button
Built-in Speaker

4
Installing Battery3

5
Base station Introduction4
The pattern of the power indicator is included in the following table.
Power Indicator Status
Device status
Off
Not powered up
Blue light stay on
Powered up properly
System Indicator
SYNC Button
Power Indicator
Built-in Speaker
Ethernet Port
Reset Button
Power Port
USB Port

6
Note:
- Press the SYNC button to pair with the base station.
- Press and hold the Reset button for 5s to reset the base station.
- You can connect USB drive to the USB port to record video.
Caution:The base station might format the USB drive, be sure to backup your data.
The pattern of the system indicator is included in the following table.
System Indicator Status
Device status
Off
Not powered up
Operating properly
Blue light flashing
Booting up
Yellow light flashing
Waiting for network connection
White light flashing
Waiting for pairing with cameras
White light stay on for 10 s, then off
Pairing succeeded
Red light stay on for 10 s, then off
Pairing failed
White light stay on for 1 s, then off
Reset completed
White light quick flashing
Firmware updating
Adding Base station5
Step 1 Power up the base station, and then connect the Ethernet port to your router with
the network cable.
Step 2 The system indicator stays on with white light for 10 s, and then off, which means
the base station is connected to the network.
Step 3 Scan the following QR code or serach “Imou” in Google Play or App Store to
download and install the Imou App.
Step 4 Run Imou App, and then register an account for first use.
Step 5 Do the following operations to finish adding base station.

7
Pairing Camera6
Step 1 On the base station: Press the SYNC button, and then the indicator on the base
station flashes with white light.
Step 2 On the camera: Press the SYNC button, and then the indicator on the camera
flashes with green light.
Step 3 The pairing starts, and the indicators flash as described below:
The system indicator on the base station stays on with white light for 10s, and then off.
The indicator on the camera stays on with green light for 10s, and then off.
The pairing succeeded then.
Add Device
Device
Scan
Setup
Admin Password
OK
Next
Setup
Add Successfully

8
Note:
- You can pair six cameras at most with one base station, and pair one camera at a time.
- Keep the distance of the base station and the camera within 30 cm (12 inches) during
pairing.
Installing Camera7
Note:
Make sure the mounting surface is strong enough to hold at least three times of the device
weight.
Bracket
Self-tapping Screw
Bracket
Expansion Bolt
Mounting Surface

9
Step 1 Drill screw holes on the mounting surface as the positioning map shows, and then
put in the expansion bolts.
Step 2 Open the bracket, and then attach the bottom of the bracket to the mounting
surface with the self-tapping screws.
Step 3 Attach the other half of the bracket to the camera, then adjust the lens to the ideal
angle, and then fix the bracket.
Safety Instructions
- Do not short circuit the battery with other metal.
- Do not heat the battery or throw it into fire.
- Do not take apart the battery or press it to make it deformed.
- Keep the battery away from children.
- It is recommended to use the original battery.
- Do not use the battery at temperature above 60℃/140℉.
- The battery cannot be charged at temperature below 0℃/32℉.
- Recycle the waste battery as local regulations instructed.
About the Guide
- This quick start guide is for reference only. Minor difference might be found in user
interface.
- All the design and software here are subject to change without prior written notice.
- All trademarks and registered trademarks mentioned are the properties of their
respective owners.
- Please visit our website or contact your local service engineer for more information.
- If there is any uncertainty or controversy, please refer to our final explanation.

10
Īsa pamācība (LV)
Iepakojuma saraksts1
Kamera × 1
Akumulators × 1
Barošanas kabelis x 1
Kronšteins x 1
Bāzes stacija x 1
Tīkla kabelis x 1
Strāvas adapteris x 1
Īsa pamācība x 1
Novietojuma karte x 1
Skrūvju paka x 1
Piezīme:
Dažādiem modeļiem kameras un citu piederumu skaits var atšķirties, un faktiskais
produkts ir dominējošais.

11
Kameras iepazīšana2
Piezīme:
- Nospiediet sinhronizācijas pogu, lai veiktu savienojumu pārī ar bāzes staciju.
- Nospiediet un 8 sekundes turiet sinhronizācijas pogu, lai atiestatītu kameru.
LED indikatoru shēma ir norādīta tabulā zemāk.
LED indikatora statuss
Ierīces stāvoklis
Izslēgts
Miega režīms
Akumulators tukšs
Deg zaļa gaisma
Trauksme aktivizēta
Pamodināts
Mirgo zaļa gaisma
Wi-Fi atkārtota savienošana
Zaļā gaisma ātri mirgo
Gaida savienošanu pārī ar bāzes staciju
Zaļā gaisma deg 10 sekundes, pēc
tam nodziest
Savienošana pārī sekmīga
Sarkanā gaisma deg 10 sekundes,
pēc tam nodziest
Savienošanas pārī noildze
Sarkanā gaisma deg 1 sekundi, pēc
tam nodziest
Atiestate pabeigta
LED indikators
Lēca
Iebūvēts mikrofons
PIR detektors
Fotodevējs
Strāvas ports
Sinhronizācijas poga
Iebūvēts skaļrunis

12
Akumulatora ievietošana3

13
Bāzes stacijas iepazīšana4
Barošanas indikatora rādījumi ir aprakstīti zemāk tabulā.
Barošanas indikatora stāvoklis
Ierīces stāvoklis
Izslēgt
Nav ieslēgts
Deg zilā gaisma
Ieslēgts
Sistēmas
indikators
Sinhronizācijas
poga
Barošanas
indikators
Iebūvēts
skaļrunis
Ethernet ports
Atiestates poga
Strāvas ports
USB ports

14
Piezīme:
- Nospiediet sinhronizācijas pogu, lai veiktu savienojumu pārī ar bāzes staciju.
- Nospiediet un 5 sekundes turiet atiestates (Reset) pogu, lai atiestatītu bāzes staciju.
- Jūs varat savienot USB disku ar USB portu, lai ierakstītu video.
Uzmanību! Bāzes stacija var veikt USB diska formatēšanu, tāpēc veiciet datu dublēšanu.
Sistēmas indikatora rādījumi ir aprakstīti zemāk tabulā.
Sistēmas indikatora stāvoklis
Ierīces stāvoklis
Izslēgt
Nav ieslēgts
Pareiza darbība
Zilā gaisma mirgo
Sāknēšana
Dzeltenā gaisma mirgo
Gaida tīkla savienošanu
Baltā gaisma mirgo
Gaida savienošanu pārī ar kamerām
Baltā gaisma deg 10 sekundes, pēc tam nodziest
Savienošana pārī sekmīga
Sarkanā gaisma deg 10 sekundes, pēc tam nodziest
Neizdevās savienot pārī
Baltā gaisma deg 1 sekundi, pēc tam nodziest
Atiestate pabeigta
Baltā gaisma ātri mirgo
Programmaparatūras atjaunināšana
Bāzes stacijas pievienošana5
1. solis Ieslēdziet bāzes staciju un savienojiet tīkla Ethernet portu ar maršrutētāju, izmantojot tīkla
kabeli.
2. solis Sistēmas indikators 10 sekundes deg baltā krāsā, pēc tam nodziest, norādot uz bāzes
stacijas savienojumu ar tīklu.
3. solis Noskenējiet QR kodu vai arī Google Play vai App Store meklējiet “Imou”, lai lejupielādētu
un instalētu Imou lietotni.
4. solis Palaidiet Imou lietotni un reģistrējiet kontu pirmajā lietošanas reizē.
5. solis Izpildiet turpmākās darbības, lai pabeigtu bāzes stacijas pievienošanu.

15
Kameras savienošana pārī6
1. solis Uz bāzes stacijas: Nospiediet sinhronizācijas pogu, indikators uz bāzes
stacijas mirgos baltā krāsā.
2. solis Uz kameras: Nospiediet sinhronizācijas pogu, indikators uz kameras mirgos
zaļā krāsā.
3. solis Sākas savienošana pārī, un indikatori mirgo, kā aprakstīts zemāk:
Sistēmas indikators uz bāzes stacijas 10 sekundes deg baltā krāsā, pēc tam
nodziest.
Indikators uz kameras 10 sekundes deg zaļā krāsā, pēc tam nodziest.
Savienošana pārī sekmīgi pabeigta.
Pievienot ierīci
Ierīce
Meklēšana
Iestatīšana
Administratora
parole
Labi
Tālāk
Iestatīšana
Pievienots sekmīgi

16
Piezīme:
- Jūs varat savienot pārī vienu bāzes staciju ar līdz pat sešām kamerām,
vienlaicīgi izveidojot savienojumu pārī ar vienu kameru.
- Veiciet savienošanu pārī, ievērojiet 30 cm attālumu starp bāzes staciju un
kameru.
Kameras uzstādīšana7
Piezīme:
Pārliecinieties, ka montāžas virsma ir pietiekami spēcīga, lai noturētu svaru, kas
vismaz trīs reizes pārsniedz ierīces svaru.
Kronšteins
Pašurbjošā skrūve
Kronšteins
Paplašināšanas
skrūve
Montāžas virsma

17
1. solis Montāžas virsmā izurbiet skrūvju caurumus, kā norādīts novietojuma kartē,
un ievietojiet paplašināšanas skrūves.
2. solis Atveriet kronšteinu un piestipriniet kronšteina apakšdaļu pie montāžas
virsmas, izmantojot pašurbjošās skrūves.
3. solis Piestipriniet kronšteina otru pusi pie kameras, pēc tam noregulējiet
objektīvu vēlamajā leņķī un nofiksējiet kronšteinu.
Drošības instrukcijas
- Neradiet akumulatora īssavienojumu, izmantojot citu metālu.
- Nekarsējiet akumulatoru un nemetiet to ugunī.
- Neizjauciet akumulatoru un nesaspiediet to, lai nedeformētu.
- Glabājiet akumulatoru bērniem nepieejamā vietā.
- Ieteicams izmantot oriģinālo akumulatoru.
- Nelietojiet akumulatoru temperatūrā virs +60°C/140°F.
- Akumulatoru nedrīkst uzlādēt temperatūrā zem 0°C/32°F.
- Nododiet akumulatoru pārstrādei saskaņā ar vietējiem likumiem.
Par pamācību
- Šī īsā pamācība ir tikai uzziņai. Lietotāja saskarne var nedaudz atšķirties.
- Visi šeit norādītie dizaini un programmatūra var tikt mainīti bez iepriekšēja
rakstiska brīdinājuma.
- Visas minētās tirdzniecības zīmes un reģistrētās tirdzniecības zīmes pieder to
attiecīgajiem īpašniekiem.
- Lūdzu, apmeklējiet mūsu vietni vai sazinieties ar savu vietējo servisa inženieri,
lai uzzinātu vairāk.
- Ja ir kādas neskaidrības vai pretrunas, lūdzu, skatiet mūsu galīgo izskaidrojumu.

18
Краткое руководство пользователя (RU)
Комплектация1
Камера, 1 шт.
Батарея, 1 шт.
Кабель питания, 1 шт.
Основание, 1 шт.
Базовая станция, 1 шт.
Сетевой кабель, 1 шт.
Адаптер электропитания,
1шт.
КРАТКОЕ
РУКОВОДСТВО, 1 шт.
Шаблон монтажного
положения, 1 шт.
Комплект шурупов, 1 шт.
Примечание:
Количество камер и других принадлежностей зависит от модели. Учитывайте
особенности конкретного устройства.

19
Общие сведения о камере2
Примечание:
- Нажмите кнопку синхронизации (SYNC) для сопряжения с базовой станцией.
- Чтобы сбросить настройки камеры, нажмите кнопку синхронизации (SYNC)
и удерживайте ее 8 сек.
В следующей таблице приведены сведения о состояниях светового индикатора.
Статус светодиодного индикатора
Статус устройства
Выкл.
Спящий режим
Батарея разряжена
Световой индикатор горит зеленым
Сработала сигнализация
Рабочий режим
Световой индикатор мигает зеленым
Повторное подключение к сети Wi-Fi
Быстро мигает зеленым цветом
Ожидается сопряжение с базовой
станцией
Светится зеленым цветом 10 сек., а
затем выключается
Сопряжение выполнено
Светится красным цветом 10 сек., а
затем выключается
Превышено время ожидания
сопряжения
Светится красным цветом 1 сек., а
затем выключается
Сброс настроек выполнен
Светодиодный
индикатор
Объектив
Встроенный
микрофон
Пассивный
ИК-датчик
Матрица
Порт питания
Кнопка
синхронизации
Встроенный
динамик
Other manuals for F Series
9
Table of contents
Languages:
Other IMOU IP Camera manuals
