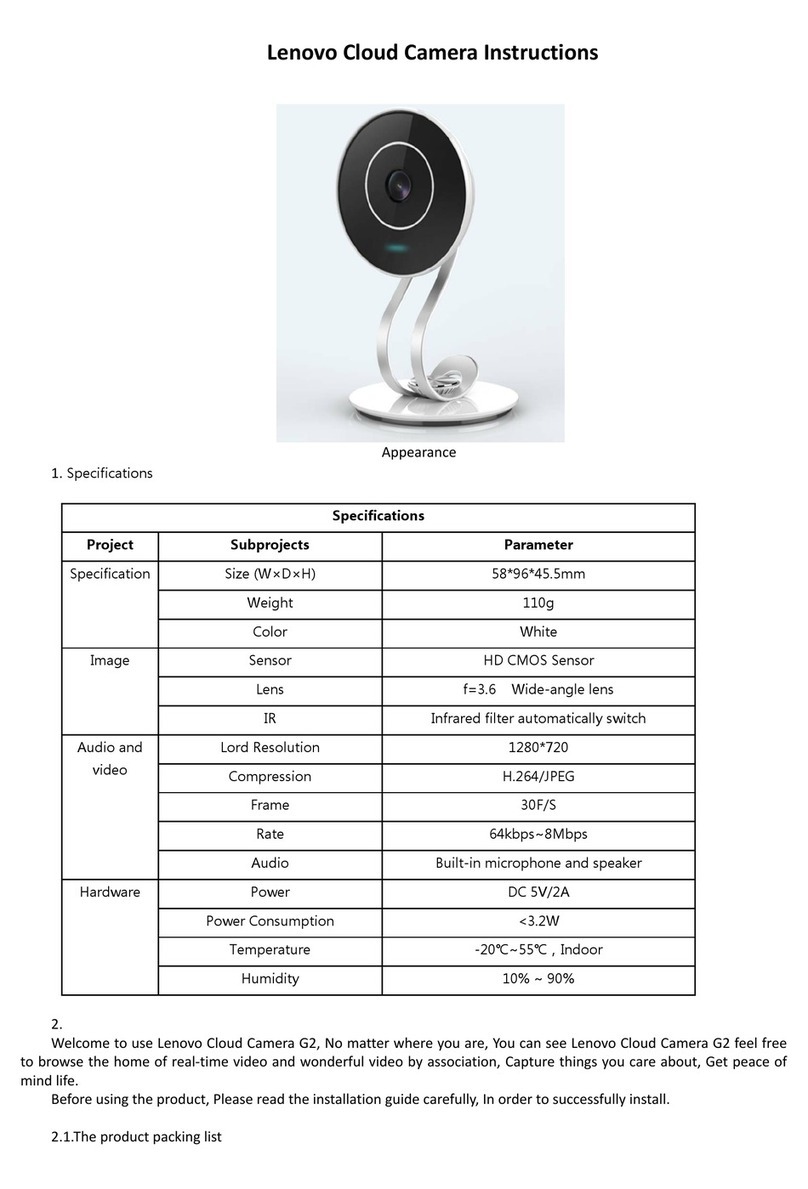
IMOU F Series User manual

1
Quick Start Guide
Version 1.0.2

Contents
Quick Start Guide......................................................................................................1
Packing List........................................................................................................11
Camera Introduction...........................................................................................22
Installing Battery.................................................................................................33
Base station Introduction....................................................................................44
Adding Base station............................................................................................55
Pairing Camera ..................................................................................................66
Installing Camera ...............................................................................................77
Kurzanleitung............................................................................................................9
Lieferumfang ......................................................................................................91
Bedienelemente und Funktionen Kamera.........................................................102
Akku einsetzen .................................................................................................113
Bedienelemente und Funktionen Basisstation..................................................124
Basisstation hinzufügen....................................................................................145
Kamera koppeln ...............................................................................................156
Kamerainstallieren............................................................................................157
Guía de inicio rápido...............................................................................................18
Contenido.........................................................................................................181
Presentación de la cámara...............................................................................192

Instalar la batería..............................................................................................203
Presentación de la estación base:....................................................................214
Agregar la estación base ..................................................................................235
Emparejamiento de la cámara..........................................................................246
Instalación de la cámara...................................................................................247
Guide de démarrage rapide ....................................................................................27
Contenu de l’emballage....................................................................................271
Présentation de la caméra................................................................................282
Installation de la batterie...................................................................................293
Présentation de la station de base ...................................................................304
Ajout de la station de base ...............................................................................315
Couplage de la caméra ....................................................................................326
Installation de la caméra...................................................................................337
Snelstarthandleiding ...............................................................................................36
Paklijst..............................................................................................................361
Inleiding camera...............................................................................................372
Batterij installeren.............................................................................................383
Inleiding basisstation ........................................................................................394
Basisstation toevoegen ....................................................................................405
Camera koppelen.............................................................................................416

Het installeren van de camera..........................................................................427
Guida introduttiva....................................................................................................45
Contenuto della confezione ..............................................................................451
Introduzione alla telecamera.............................................................................462
Installazione della batteria ................................................................................473
Introduzione alla stazione di base ....................................................................484
Aggiunta della stazione di base ........................................................................495
Associazione della telecamera .........................................................................506
Installazione della telecamera ..........................................................................517
Guia de Início Rápido .............................................................................................54
Lista da embalagem .........................................................................................541
Introdução à câmara ........................................................................................552
Instalar a Bateria ..............................................................................................563
Introdução à estação interior ............................................................................574
Adicionar a estação interior ..............................................................................585
Emparelhar a câmara.......................................................................................596
Instalar a câmara..............................................................................................607

1
Quick Start Guide
Packing List1
Camera *1 Battery*1 Power Cable *1 Bracket *1
Base Station*1 Network Cable *1 Power Adapter *1
QSG*1 Positioning Map *1 Screw Package *1
Note:
The quantity of the camera and other accessories might vary with different models,
and the actual product shall prevail.

2
Camera Introduction2
Figure 2-1
Note:
- Press the SYNC button to pair with the base station.
- Press and hold the SYNC button for 8 s to reset the camera.
The pattern of the LED indicator is included in the following table.
LED Indicator Status
Device status
Off
Sleeping mode
Run out of battery
Green light on
Alarm is triggered
Instructed to wake
Green light flashing
Reconnecting Wi-Fi
Green light quick flashing
Waiting for pairing with the base station
Green light stay on for 10 s, then off
Pairing succeeded
Red light stay on for 10 s, then off
Pairing timeout
Red light stay on for 1 s, then off
Reset completed
Table 2-1

3
Installing Battery3
Figure 3-1
Figure 3-2

4
Base station Introduction4
The pattern of the power indicator is included in the following table.
Power Indicator Status
Device status
Off
Not powered up
Blue light stay on
Powered up properly

5
Note:
- Press the SYNC button to pair with the base station.
- Press and hold the Reset button for 5 s to reset the base station.
- You can connect USB drive to the USB port to record video.
Caution:The base station might format the USB drive, be sure to backup your data.
The pattern of the system indicator is included in the following table.
System Indicator Status
Device status
Off
Not powered up
Operating properly
Blue light flashing
Booting up
Yellow light flashing
Waiting for network connection
White light flashing
Waiting for pairing with cameras
White light stay on for 10 s, then off
Pairing succeeded
Red light stay on for 10 s, then off
Pairing failed
White light stay on for 1 s, then off
Reset completed
White light quick flashing
Firmware updating
Adding Base station5
Step 1 Power up the base station, and then connect the Ethernet port to your
router with the network cable.
Step 2 The system indicator stays on with white light for 10 s, and then off, which
means the base station is connected to the network.
Step 3 Scan the following QR code or serach “Imou” in Google Play or App Store
to download and install the Imou App.

6
Step 4 Run Imou App, and then register an account for first use.
Step 5 Do the following operations to finish adding base station.
Figure 5-1
Pairing Camera6
Step 1 On the base station: Press the SYNC button, and then the indicator on the
base station flashes with white light.
Step 2 On the camera: Press the SYNC button, and then the indicator on the
camera flashes with green light.
Step 3 The pairing starts, and the indicators flash as described below:
The system indicator on the base station stays on with white light for 10 s, and
then off.
The indicator on the camera stays on with green light for 10 s, and then off.
The pairing succeeded then.
Figure 6-1

7
Note:
- You can pair six cameras at most with one base station, and pair one camera at
a time.
- Keep the distance of the base station and the camera within 30 cm (12 inches)
during pairing.
Installing Camera7
Note:
Make sure the mounting surface is strong enough to hold at least
three times of the device weight.
Figure 7-1
Step 1 Drill screw holes on the mounting surface as the positioning map shows,
and then put in the expansion bolts.
Step 2 Open the bracket, and then attach the bottom of the bracket to the mounting
surface with the self-tapping screws.
Step 3 Attach the other half of the bracket to the camera, then adjust the lens to the
ideal angle, and then fix the bracket.

8
Safety Instructions
- Do not short circuit the battery with other metal.
- Do not heat the battery or throw it into fire.
- Do not take apart the battery or press it to make it deformed.
- Keep the battery away from children.
- It is recommended to use the original battery.
- Do not use the battery at temperature above 60℃/140℉.
- The battery cannot be charged at temperature below 0℃/32℉.
- Recycle the waste battery as local regulations instructed.
About the Guide
- This quick start guide is for reference only. Minor difference might be found in
user interface.
- All the design and software here are subject to change without prior written
notice.
- All trademarks and registered trademarks mentioned are the properties of their
respective owners.
- Please visit our website or contact your local service engineer for more
information.
- If there is any uncertainty or controversy, please refer to our final explanation.

9
Kurzanleitung
Lieferumfang1
1 x Kamera
1 x Akku
1 x Stromkabel
1 x Halterung
1 x Basisstation
1 x Netzwerkkabel
1 x Netzteil
1 x Kurzanleitung
1 x Montageschablone
1 x Schraubenbeutel
Hinweis:
Die Anzahl der Kameras und des sonstigen Zubehörs kann je nach Modell
variieren, das tatsächliche Produkt ist maßgebend.

10
Bedienelemente und Funktionen Kamera2
Abbildung 2-1
Hinweis:
- Drücken Sie die Synchronisationstaste SYNC, um eine Verbindung mit der
Basisstation aufzubauen.
- Halten Sie die SYNC-Taste für 8 Sekunden gedrückt, um die Kamera
zurückzusetzen.
Der LED-Status ist in der nachstehenden Tabelle dargestellt.
LED-Anzeigestatus
Gerätestatus
Aus
Standby-Modus
Akku niedrig
Grüne LED leuchtet
Alarm ist ausgelöst
Standby-Modus wird verlassen
Grüne LED blinkt
Erneute Verbindung mit WLAN
Grüne LED blinkt schnell
Warten auf Kopplung mit Basisstation
Grüne LED leuchtet 10 Sekunden und
erlischt dann
Kopplung erfolgreich
Rote LED leuchtet 10 Sekunden und
erlischt dann
Zeitüberschreitung bei Kopplung
Rote LED leuchtet 1 Sekunden und erlischt
dann
Zurücksetzen beendet
Tabelle 2-1
Objektiv
LED Anzeige
Integriertes Mikrofon
PIR-
Bewegungsmelder
Fotosensor
Stromanschluss
Synchronisationstaste
Integrierter Lautsprecher

11
Akku einsetzen3
Abbildung 3-1
Abbildung 3-2

12
Bedienelemente und Funktionen Basisstation4
Der Status der Betriebsanzeige ist in der nachfolgenden Tabelle dargestellt.
Netzanzeige Status
Gerätestatus
Aus
Nicht eingeschaltet
Blaue Anzeige leuchtet
Korrekt eingeschaltet
Betriebsanzeige
Synchronisationstaste
Systemanzeige
Integrierter
Lautsprecher
Ethernet-Port
USB-Port
Stromanschluss
Rücksetztaste

13
Hinweis:
- Drücken Sie die Synchronisationstaste SYNC, um eine Verbindung mit der
Basisstation aufzubauen.
- Halten Sie die Reset-Taste für 5 Sekunden gedrückt, um die Basisstation
zurückzusetzen.
- Sie können einen USB-Speicher am USB-Port anschließen, um Videos
aufzunehmen.
Vorsicht:
Die Basisstation kann den USB-Speicher formatieren. Sichern Sie auf jeden Fall
Ihre Daten.
Der Status der Systemanzeige ist in der nachfolgenden Tabelle dargestellt.
Systemanzeige Status
Gerätestatus
Aus
Nicht eingeschaltet
Ordnungsgemäßer Betrieb
Blaue LED blinkt
Hochfahren
Gelbe LED blinkt
Warten auf Netzwerkverbindung
Weiße LED blinkt
Warten auf Kopplung mit Kameras
Weiße LED leuchtet 10 Sekunden
und erlischt dann
Kopplung erfolgreich
Rote LED leuchtet 10 Sekunden und
erlischt dann
Kopplung fehlgeschlagen
Weiße LED leuchtet 1 Sekunden und
erlischt dann
Zurücksetzen beendet
Weiße LED blinkt schnell
Firmware-Update

14
Basisstation hinzufügen5
Schritt 1: Schalten Sie die Basisstation ein und verbinden Sie dann den Ethernet-
Port über das Netzwerkkabel mit Ihrem Router.
Schritt 2: Die Systemanzeige leuchtet für 10 Sekunden weiß und erlischt dann
wieder. Die Basisstation ist mit dem Netzwerk verbunden.
Schritt 3: Scannen Sie den nachfolgenden QR-Code oder suchen Sie „Imou“ in
Google Play oder im App Store, um die Imou-App herunterzuladen und zu
installieren.
Schritt 4: Starten Sie die Imou-App und erstellen Sie ein Konto für die erstmalige
Nutzung.
Schritt 5: Folgen Sie den nachfolgenden Schritten, um das Hinzufügen der
Basisstation abzuschließen.
Abbildung 5-1

15
Kamera koppeln6
Schritt 1: Auf der Basisstation: Drücken Sie die SYNC-Taste, die Anzeige auf der
Basisstation blinkt weiß.
Schritt 2: Auf der Kamera: Drücken Sie die SYNC-Taste, die Anzeige auf der
Kamera blinkt grün.
Schritt 3: Die Kopplung beginnt und die LEDs blinken wie nachfolgend
beschrieben:
Die Systemanzeige auf der Basisstation leuchtet für 10 Sekunden weiß und
erlischt dann wieder.
Die Anzeige auf der Kamera leuchtet für 10 Sekunden grün und erlischt dann
wieder. Die Kopplung wird erfolgreich.
Abbildung 6-1
Hinweis:
- Sie können maximal sechs Kameras, jeweils einzeln nacheinander, mit einer
Basisstation koppeln.
- Halten Sie während der Kopplung einen Abstand zwischen Basisstation und
Kamera von maximal 30 cm ein.
Kamerainstallieren7
Hinweis: Vergewissern Sie sich, dass die Montagefläche stark genug ist, um
mindestens das Dreifache des Gerätegewichts zu halten..

16
Abbildung 7-1
Schritt 1: Bohren Sie Löcher in die Montagefläche, wie auf der Montageschablone
dargestellt, und setzen Sie die Dübel ein.
Schritt 2: Öffnen Sie die Halterung und schrauben Sie den Boden der Halterung an
der Montagefläche an.
Schritt 3: Befestigen Sie die andere Hälfte der Halterung an der Kamera, richten
Sie das Objektiv auf den idealen Winkel aus und befestigen Sie die
Halterung.
Halterung
Selbstschneidende
Schraube
Halterung
Montagefläche
Dübel
Other manuals for F Series
9
Table of contents
Languages:
Other IMOU IP Camera manuals
