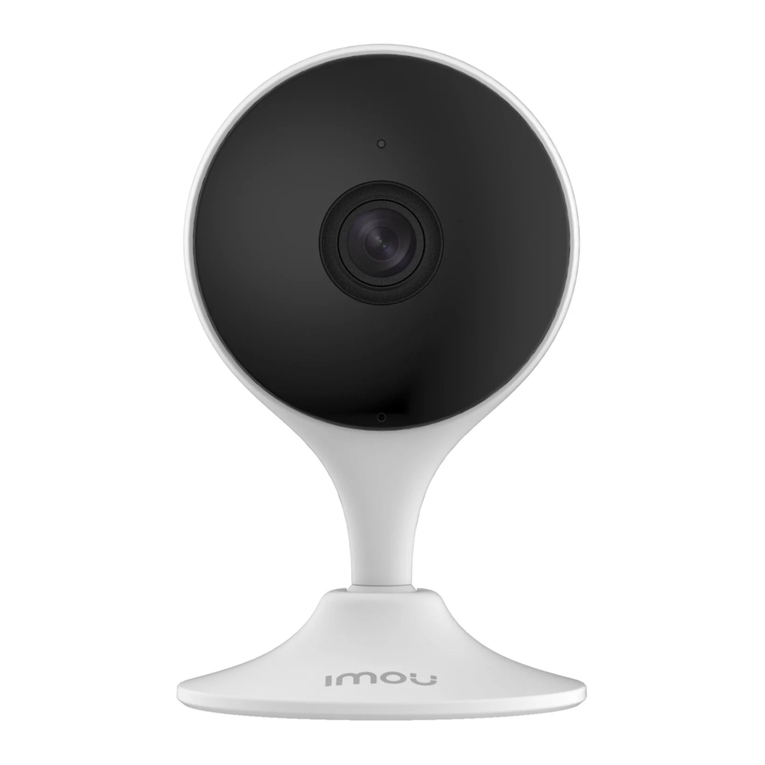
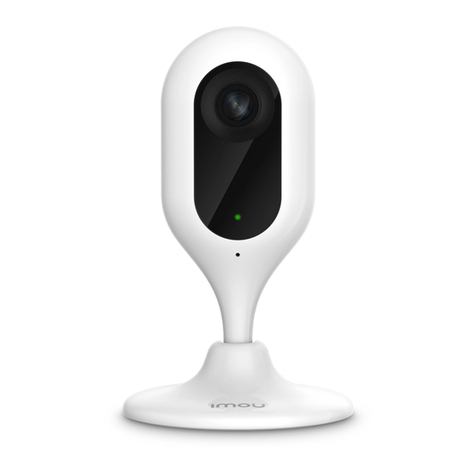
IMOU F Series User manual

Quick Start Guide
Version 1.0.0

Contents
Quick Start Guide _____________________________________________________________ 1
Packing List______________________________________________________________ 11
ProductAppearance _______________________________________________________ 12
Operationby Imou App _____________________________________________________ 33
Device Installation _________________________________________________________ 44
Kurzanleitung ________________________________________________________________ 6
Lieferumfang _____________________________________________________________ 61
Überblick ________________________________________________________________ 62
Bedienung über Imou-App___________________________________________________ 83
Installation des Geräts______________________________________________________ 94
Guía de inicio rápido__________________________________________________________ 11
Contenido ______________________________________________________________ 111
Apariencia del producto____________________________________________________ 112
Funcionamiento usando la aplicación Imou_____________________________________ 133
Instalacióndel dispositivo __________________________________________________ 134
Guide de démarrage rapide ____________________________________________________ 16
Contenude l’emballage____________________________________________________ 161

Différentes faces du produit_________________________________________________ 162
Fonctionnement avec l’application Imou _______________________________________ 183
Installationde l’appareil____________________________________________________ 194
Snelstartgids________________________________________________________________ 21
Paklijst_________________________________________________________________ 211
Kenmerken van het product_________________________________________________ 212
Bediening via de ImouApp _________________________________________________ 233
4 Installatie van hetapparaat _________________________________________________ 24
Guida introduttiva ____________________________________________________________ 26
Contenuto della confezione _________________________________________________ 261
Come si presenta il prodotto ________________________________________________ 262
Funzionamento tramite app Imou ____________________________________________ 283
Installazione dispositivo____________________________________________________ 294
Guia de Início Rápido _________________________________________________________ 31
Lista da embalagem ______________________________________________________ 311
Aspeto do produto ________________________________________________________ 312
Operação pela Aplicação Imou ______________________________________________ 333
Instalação do dispositivo ___________________________________________________ 344

2
Pleasereferto Figure2-2 and Figure 2-3 foreachcomponent.
Figure 2-2 Figure 2-3
Note:Toreset,long pressfor10 seconds tillthe light is off,to enable WPS,just
pressthe button.
PleaserefertoTable 2-1 formoredetails about status of indicator light.
Indicator light status Device status
Redlight stably on Booting
Green light slow flashing
Bootingcompleted,await Wi-Ficonfig,enter
smart config status;
Green light quick flashing
WPSconnecting(The deviceis trying to
connectto Wi-Fivia WPS).
Greenlight stably on
Wi-Ficonnectionsucceeded,operate
normally.
Redand greenlights flash
alternately
Deviceupgrade
Redlight slowflashing Network disconnection
Red light quick flashing Devicefail to bootup; SD card doesnot work
Table 2-1

3
Operation by Imou App3
Step1Poweronyour camerawith poweradapter.
Step2Connectyour smartphone to your Wi-Finetwork, scan “Imou”QRon the
packing box,downloadand install ImouApp.
Step3Run ImouApp,and registeraccountforfirst use.
Step4Followthe stepsbelowto add your camera(Figure 3-1).
Figure 3-1
Note
- If you have morecameras,please followstep4 toadd themone by one.
- If you want to change the Wi-Fisignal, pleaseresetthe camerato factorydefault
and repeatstep 4 to add the camera.

4
Device Installation4
Note
Pleasemake sure the mounting surface can sustain at least 3Xweight ofthe
camera and the bracket.
Step 1 Dig holes on the installation surface(wall or ceiling).
Step2Openaccessoriesbag,take out expansionbolt and insert it into the hole
you just dug.
Step3Openaccessoriesbag,take out self-tapping screws.Tightenthe screwsto
fix the device on the installation surface(wall or ceiling).
Step4Connectexternal wiring ofthe device properly.

5
Step1Use screwdriverto loosenadjusting screw.
Step2Adjust the device in all
possibledirections,and setits
monitoringdirectionaccording
to the requirements.
Step3Use screwdriverto tighten the
adjusting screwsfirmly.
Disclaimer
-This quick start guide is forreferenceonly. Minor differencemightbe found in
user interface.
-All the designsand softwarehereare subjectto change without prior written
notice.
-All trademarks and registeredtrademarks mentionedare the propertiesoftheir
respectiveowners.
-Pleasevisit our websiteor contact your local serviceengineerformore
information.
-If there is any uncertainty or controversy,pleasereferto our final explanation.

7
SieheAbbildung2-2 und Abbildung2-3 für die jeweiligenKomponenten.
Abbildung2-2 Abbildung2-3
Hinweis:Zum Zurücksetzen halten Sie die WPS/Rücksetztastefür 10 Sekunden
gedrückt,bis dieAnzeige erlischt.Um WPSzu aktivieren, drückenSie die Taste
einmal kurz.Nähere Informationen zum Status der LED finden Sie unter Tabelle 2-1.
Anzeigestatus
Gerätestatus
Rote LEDleuchtet
Gerät fährt hoch
Grüne LED blinkt langsam
Hochfahren beendet,WLAN-Konfigurationläuft,
letzte Konfigurationwird aufgerufen;
Grüne LED blinkt schnell
WPS-Verbindung(das Gerät versucht, eine
WLAN-VerbindungüberWPSherzustellen).
Grüne LED leuchtet
WLANerfolgreichverbunden,Betrieb normal.
Rote und grüne LED
blinken abwechselnd
Geräteaktualisierung
Rote LEDblinkt langsam
Keine Verbindung zum Netzwerk
Rote LEDblinkt schnell
Gerät startet nicht, Fehlermit der SD-Karte
Tabelle 2-1
Untere Abdeckung
Antenne
Mikrofon
LED-Anzeige
SD
-
Kartenschlitz
WPS/Rücksetztaste

8
Bedienung über Imou-App3
Schritt 1 VerbindenSie Ihre Kameramit demmitgeliefertenNetzteil
Schritt 2 VerbindenSie Ihr Smartphone mit IhremWLAN-Netzwerk, scannen Sie
den“Imou„QR-Code aufderVerpackung,laden Sie die Imou-Appherunter
und installieren Sie sie.
Schritt 3 Starten Sie die Imou-Appund registrierenSie sich
Schritt 4 Führen Sie die folgendenSchritte aus, um Ihre Kamera hinzuzufügen
(Abbildung3-1).
Abbildung 3-1
Hinweis
- WennSie mehrere Kamerashaben, folgenSie Schritt 4, um sie nacheinander
hinzuzufügen.

9
- WennSie das WLANändern möchten,setzenSie die Kamera auf die
Werkseinstellungenzurück und wiederholen Sie Schritt 4, um die Kamera
hinzuzufügen.
Installation des Geräts4
Hinweis
VergewissernSiesich, dass die Montagefläche mindestensdas 3-fache Gewicht
der Kamera und der Halterung tragen kann.
Schritt 1 BohrenSieLöchergemäßderMontageschablone(Wand oderDecke).
Schritt 2 SetzenSiedie Dübelein.
Schritt 3 Schrauben Sie das Gerät mit den Schrauben an (Wand oder Decke).
Schritt 4 SchließenSie die externe Verkabelung desGeräts ordnungsgemäßan.
Gerät Schneidschraube Dübel

10
Schritt 1 Mit demSchraubendreherlösenSie dieEinstellschrauben.
Schritt 2 Richten Sie das Gerät aus.
Schritt 3 Ziehen Sie die Einstellschrauben festan.
Haftungsausschluss
-DieseKurzanleitung dient nur als Referenz.Die Benutzeroberfläche kann
geringfügigabweichen.
-ÄnderungdesDesignsund der Software vorbehalten.
-Allehier erwähnten Marken odereingetragenenMarken sind Eigentumihres
jeweiligenBesitzers.
-Für weitere InformationenbesuchenSie bitte unsere Websiteoderwenden Sie
sich an Ihren örtlichen Kundendiensttechniker.BeiUnklarheiten oder
Widersprüchenkonsultieren Sieunsereendgültige Erläuterung.
Einstellschraube

12
Consulte la Figura 2-2 y la Figura 2-3 para conocercadacomponente.
Figura 2-2 Figura 2-3
Nota: Para reiniciar, mantenga pulsado durante 10 segundos hasta que se
apague la luz. Para habilitar el WPS,solo pulsar el botón.Consulte la Tabla 2-1
para conocermás detallessobreel estadode la luz indicadora.
Estadode la luz indicadora
Estadodeldispositivo
Luz roja estableencendida
Arranque
Luz verde parpadeante lenta
Arranque finalizado, esperando configuraciónwifi.
Entrando en el estadode configuracióninteligente.
Luz verde parpadeante rápida
ConexiónWPS(el dispositivoestátratando de
conectarse al Wi-Fia través delWPS).
Luz verde estable encendida
ConexiónWi-Fi correcta, funcionamiento normal.
Luz roja y luz verde
parpadeantes alternativamente
Actualización del dispositivo
Luz roja parpadeante lenta
Desconexióndered
Luz roja parpadeante rápida
Erro del dispositivoal arrancar; la tarjeta SD no
funciona
Tabla 2-1
Cubierta inferior
Antena
Micrófono
Indicador
LED
Ranura de la
tarjeta SD
Reiniciar/WPS

13
Funcionamiento usando la aplicación Imou3
Paso 1 Encienda la cámara con el adaptador eléctrico.
Paso 2 Conectesusmartphonea laredWi-Fi,escaneeel códigoQRde“Imou”
que se encuentra en la caja, descargue la aplicación Imoue instálela.
Paso 3 Ejecute la aplicación Imouy registre una cuenta para empezar a usarla.
Paso 4 Siga los pasos siguientes para agregar su cámara (Figura 3-1).
Figura 3-1
Nota
- Si tiene más cámaras, repita el paso 4 para agregarlas una a una.
- Si deseacambiar la señal Wi-Fi, reinicie la cámara a la configuraciónde fábrica
y repita el paso 4 para agregar la cámara.
Instalación del dispositivo4
Nota

14
Compruebequela superficiedemontaje puedaaguantar 3vecesel pesodel
soporte y la cámara juntos.
Paso 1 Taladre los agujeros sobrela superficiedeinstalación (techo o pared).
Paso 2 Abra la bolsade accesorios,saqueel pernodeexpansióne introdúzcalo
enel agujero que acaba dehacer.
Paso 3 Saque los tornillos autorroscantes de la bolsade accesorios.Aprietelos
tornillos para fijar el dispositivosobrela superficiedeinstalación (techoo
pared).
Paso 4 Conectecorrectamenteelcableadoexternodeldispositivo.
Paso 1 Use el destornilladorpara aflojar los tornillos de ajuste.
Dispositivo
Tornillo autorroscante
Perno de expansión

15
Paso 2 Ajuste eldispositivoen todas las direccionesposiblesdeacuerdo conla
situación del área de vigilancia.
Paso 3 Use el destornilladorpara apretar los tornillos de ajuste con firmeza.
Descargo de responsabilidad
-Esta guíade inicio rápido es solouna referencia.Es posibleque existan
pequeñasdiferenciasen elinterfaz de usuario.
-Todoslosdiseñosy el software aquí incluidos están sujetosa cambiossin aviso
previo porescrito.
-Todaslas marcas comercialesy marcas registradas mencionadas son
propiedaddesus respectivospropietarios.
-Visite nuestra página web o contacte connuestros técnicosdelservicio local
para más información.
-Si hubiera incertidumbres o controversias,consulte nuestra explicación final.
Tornillo de ajuste

16
Guide de démarrage rapide
Contenu de l’emballage1
Appareil× 1 Guidededémarragerapide × 1 Adaptateur d’alimentation × 1
Jeude vis × 1 Connecteur étanche × 1 Patron d’installation × 1
Différentes faces du produit2
Veuillez vous référerà la Figure 2-1 pour ladescriptiondesconnecteursde
l’appareil.
Figure 2-1
Prise d’alimentation
Priseréseau

17
Vous pouvezvous référeraux Figure 2-2 etFigure2-3 pourchaque composant.
Figure 2-2 Figure 2-3
Remarque:Pourréinitialiser l’appareil, appuyez pendant10 secondesjusqu’à ce
que le voyant s’éteigne.Pour activer la fonctionWPS,appuyez un court instant.
Vous pouvez référer au Tableau 2-1 pour plus d’informations sur l’état de
l’équipementenfonctiondesonvoyant.
État du voyant
État de l’appareil
Voyant rouge fixe
Amorçage
Clignotementvert lent
Find’amorçage,enattente de la configuration
Wi-Fi, début de la configuration automatique ;
Clignotementvert rapide
ConnexionWPS(l’appareil tente deseconnecter
au Wi-Fi via la fonctionWPS).
Voyant vert fixe
Connexion Wi-Fi établie, fonctionnementnormal.
Clignotementrouge et vert
alterné
Mise àniveau de l’appareil
Clignotementrouge lent
Déconnexiondu réseau
Clignotementrouge rapide
Échecdu démarrage ; carte SD non fonctionnelle
Tableau 2-1
Couvercle inférieur
Antenne
Microphone
Indicateur
lumineux
Emplacement
de carte SD
Réinitialiser/WPS
Other manuals for F Series
9
Table of contents
Languages:
Other IMOU IP Camera manuals


