imovr Lander User manual

INSTALLATION MANUAL
Adjustable - Height Desk System

2
BEFORE YOU BEGIN
DESK ASSEMBLY PARTS
Place Tabletop upside-down on a soft surface.
Congratulations on the purchase
of your new Lander Desk! Enjoy
the health and productivity
benets that come from using an
active workstation. The Lander’s
technological advancements allow it
to arrive 98% pre-assembled so you
can get standing in minutes—no tools
required.
STEP 1
BLANKET OR OTHER SOFT SURFACE
TABLE TOP
LOCK CLAMP
LEG
CONTROLLER
POWER SUPPLY LEG MOTOR CABLES
FOOT
LEVELING PAD
NO TOOLS REQUIRED!
Note: Lander w/ SteadyType
includes SteadyType
keyboard tray items.
LANDER DESK LANDER DESK
with SteadyType
CROSSBAR
(Only comes with 59”tabletop and larger.)

3
STEP 2
ASSEMBLY INSTRUCTIONS
PLACE LEG INTO BASE
STEP 3
ATTACH LEG MOTOR CABLES TO LEG

4
PLACE CLAMP ON LEG AND PRESS DOWN
STEP 4
STEP 5
PLACE LOCK IN CLAMP
Firmly press the Lock into place using your foot. When you hear a clicking sound, the Lock is secured.
Step Down

5
FLIP DESK
Two people for this step.
STEP 6
REPEAT STEPS 35 FOR OTHER LEG.
STEP 7
Note: When ipping the desk,
do not roll it onto the edge with
the controller.
DONE
WITH ASSEMBLY

PROGRAMMING YOUR CONTROLLER
Your Lander’s advanced LED controller is designed to help you
seamlessly transition to a healthy and active work day. Set your height
favorites, get subtle reminders to stand, and quickly become a pro at
using your active workstation.
Download the mobile app!
For easy programming, advanced
controller options, and instructions,
visit: imovr.com/lander-app
6
SET YOUR FAVORITE HEIGHTS
Your Lander Desk can store up to 4 of your
favorite height positions. It makes getting to
your next position fast and easy.
Here’s how you can set your height favorites:
1. Raise or lower your desk to the height
you want to save.
2. Tap the “Star” button repeatedly until the
display shows the position you want to
save (1, 2, 3, or 4).
Note: Make sure not to tilt the controller.
3. Immediately press and hold the “Star”
button for several seconds. (Note: You
must do this while the position number
is still ashing.)
4. After the controller nishes blinking, your
height favorite is saved.
To erase all your height favorites, press and hold
the “Star” button for 8 seconds.
RAISE OR LOWER YOUR DESK TO YOUR
HEIGHT FAVORITES
To raise or lower your desk to your nearest height favorite:
1. Tilt and hold the controller in the direction you want to move.
2. When the desk stops, your height favorite is reached.
To raise or lower your desk beyond a height
favorite, continue to tilt the controller until the
desk moves again.
Tip: Enable “automatic drive”!
Reach a height favorite in just two taps of
your controller. Download the mobile app
and activate
‘automatic
drive’ from the
Settings tab.
your controller. Download the mobile app

7
SET YOUR REMINDERS TO STAND
Jumpstart your active workday routine with the Lander’s
standing reminders. Your default reminder is set for 90
minutes of sitting. When the color of your controller changes
from green to orange, it’s time to stand!
To change your reminder time (or turn it o), do the following:
1. Tap the “Bell” button until the display shows your
preferred time (90 min, 60 min, 30 min, or O ).
Note: Make sure not to tilt the controller.
2. Your reminder is set.
The reminder interval automatically restarts each time you
adjust your desk to a sitting position.
Important: The controller does not remind you to sit, as you
should do this whenever you feel your body needs to rest.
MORE CONTROLLER OPTIONS
Initialization:
1. Lower desk to its lowest limit. Release paddle. Hold paddle
down for 5 seconds. Release.
Factory Reset:
1. Press and hold the “Star” and “Bell” buttons together for
8 seconds.
2. When the controller ashes red 3 times, the factory reset
is complete.
Height Calibration:
1. Press and hold the “Bell” and “Bluetooth” buttons together
for 5 seconds. The height in the display will begin to blink.
2. Tilt the controller up or down until the display shows the
correct height measurement. (The desk will not move,
only the display will change.)
3. Press any button to conrm your choice.
Tip: To set your own custom reminder
intervals, download the mobile app for
iOS or Android.
www.imovr.com/lander-app
Switch to Metric (cm):
1. Press and hold the “Star” and “Bluetooth” buttons together for
5 seconds. The current measurement unit blinks.
2. Tilt the controller once to change units.
3. Press any button to conrm your choice.
Note: Make sure not to inadvertently tilt the
controller during these steps.

STEADYTYPE USER GUIDE
TILT ADJUSTMENT
For strain-free typing, it’s essential to keep your arms and
wrists in ergonomically neutral positions. Tilting your
keyboard tray accomplishes this ergonomic positioning,
and reduces your risk of developing repetitive strain injuries
like carpal tunnel.
STEP 1
Tip: The ideal tension level blends rmness and exibility.
Tighten the rubberized knob until the platform tilts with
two hands, but remains rm using one hand. Now there’s
no need to the loosen knob tension each time you move
between sitting and standing – a faster transition!
8
SteadyType™ is iMovR’s patented technology for healthy and comfortable typing
at active workstations. By creating a natural posture for your arms and wrists, the
SteadyType tray minimizes strain while typing—whether you’re sitting, standing, or
walking. Follow these steps to ne-tune your SteadyType’s positioning according to
your unique body dimensions and keyboard size.
We recommend starting at 20º and working up to 40º.
Treadmill desk users should use steeper angles to better
reduce pressure on the wrists from walking.
To tilt your tray, loosen the knob under the tray and tilt the
platform to your desired angle. Then re-tighten the knob.

KEYBOARD PLACEMENT
Finding the proper depth for your keyboard keeps you from
over-extending your arms while you type or from leaning
towards your monitor(s). The adjustable rubber bumpers
slide forwards and backwards to position your keyboard at
the ergonomically-correct depth.
Loosen the rubber bumpers by holding the nut underneath
and twisting the rubber top counterclockwise. Re-tighten in
the most comfortable position.
We recommend nding a keyboard depth that allows you
to keep your elbows resting comfortably at your sides while
you type.
TRAY HEIGHT ADJUSTMENT
Pinpointing the proper height for your tray could
improve your typing comfort and eciency.
Depending on your body type and dimensions,
some users prefer to raise their SteadyType™
platform one level.
To raise your tray, remove the 2 screws from the
mounting bar, reposition the tray, and re-insert the
screws through the upper set of holes.
This will set the tray near-parallel with the desk
surface. While most users prefer the lower position,
it could be worth experimenting to nd your ideal
positioning.
9
STEP 3
STEP 2

TROUBLESHOOTING
FINAL TOUCHES
Symptom Handling
Legs only move down and don’t move up. Initialize your desk (see instructions on p. 7 ‘More Controller Options’).
Please contact your supplier.
E41-E52 displays on controller. Overload. Lower the weight load on the tabletop.
E01 displays on controller. Initialization.
Bluetooth app will not connect.
Re-download app.
Restart mobile device.
Ensure Bluetooth button on controller is activated.
One leg moves while the other does not.
Check the drive cable connection.
Check to see if legs are perpendicular (at 90 degrees) to the desktop and the
oor. If the legs are splayed inward or outward, the motor will not operate at an
optimum level.
Please contact your supplier.
The legs rise slowly.
Check to see if legs are perpendicular (at 90 degrees) to the desktop and the
oor. If the legs are splayed inward or outward, the motor will not operate at an
optimum level.
Check that the weight load on the tabletop is not excessive.
E53-E64 displays on controller. Collision. Make sure to remove obstacles from desk lifting path.
Table slides down on its own. Check that the weight load on the tabletop is not excessive.
Please contact your supplier.
10
After connecting all the cables and testing
that the desk is working properly, you may
want to invest in a cable management kit.
This is a smart way to tidy up all the loose
or draped cables. iMovR.com oers a basic
kit and an advanced kit.
Both are available at:
www.imovr.com/cable-management-video

CLEANING THE BASE
Clean the base frame by wiping it down with a microber
cloth moistened with a standard household cleaning
solution. Never use solvents or abrasive or corrosive
compounds on the frame. The base should be cleaned
at regular intervals to remove dust and dirt. Inspect for
mechanical damage; worn or broken parts should be
replaced.
CLEANING THE DESKTOP
All iMovR desktops are manufactured with a“3D lamination”
process that results in an extremely durable surface, similar
to what’s often used in hospital environments. As such,
it can stand up to most cleaning solutions without risk of
discoloration or degradation. Anti-bacterial solutions may
be used. Always test new cleaning solutions on a less-seen
surface before rst using on the entire desktop.
EXTENDED NONUSE
Unplug the power cord if you do not intend to use the desk
for a long period of time.
PREVENTATIVE MAINTENANCE, CLEANING,
WARNINGS AND GOOD-SENSE TIPS
SPECIFICATIONS
11
WARNING
The components used are quite
heavy and care should be exercised
when lifting and moving the base
and desk both during assembly
and during use.
Rated Lifting Capacity: 360 lbs.
Height Range: 24.5” - 50.5” including top, leveling feet fully closed, additional 0.5”
height adjustment with levelling feet opened
Average Travel Speed: 1.6” per second
Controller Type: Bluetooth-enabled LCD Touch Paddle
Special Features: Anti-Collision Technology
Tabletop Lamination: Ergo-contoured 3D Lamination
Tabletop Thickness: 1.125”
Available Sizes
Depth: 30”
Width: 41”, 47”, 53”, 59”, 65”, 71”, 77”, 83”
[65”-83” frames include a crossbar for extra support]
Available Colors:
Woodgrains
Light Maple
Almond Cherry
Hayward Cherry
Clove Mahogany
Urban Walnut
Shaker Cherry
Solids
Designer White (frosty)
Warm White (beige)
Putty
Shark Gray
Black

WARRANTY
IMovR Contact Information:
Phone: (888) 208-6770 or (425) 999-3550
Fax: (425) 999-3550
E-mail: customercar[email protected]
Live Chat: www.iMovR.com
Hours: See iMovR.com/hours
VERSION 04.20.18 IMOVR LANDER INSTALLATION MANUAL LD-REX-MANUAL
iMovR warranty coverage includes a lifetime warranty on the steel frame, 10 years on the motors and electronics, and 5 years on the desktop.
THIS WARRANTY only covers defects as specied herein and does not include defects or damages attributable to improper installation, misuse or normal
surface weathering, or defects or damages caused by accidents or re or other casualty or Acts of God, or any other causes, or occurrences beyond the
manufacturer’s control. The exclusive remedial action provided for the customer hereunder shall be repair, restoration or replacement of the components
as are found to be defective.
TABLE TOP: The replacement of new materials for those as may result in a color variance in comparison to the originally installed laminates due to slight
color or texture changes by laminate manufacturers and is not indicative of a defect. IMovR reserves the right to substitute such laminates as are then
being manufactured and is only obligated to match color and quality with such products as its manufacturing at the time of replacement.
ELECTRIC BASE FRAME: New base frames may have paint defects or scratches on components that are hidden beneath the surface of the desk, which are
normal. Painted components that are normally visible to sitting or standing users after installation of the table top, that arrive in damaged condition, will
be replaced under this warranty if iMovR is notied before the component is installed.
THIS WARRANTY is limited to repair, restoration and/or replacement by iMovR of any defective unit provided the manufacturer: (a) receives a written, faxed
or e-mailed notice of claim under this warranty, including suciently high resolution photographs that clearly show the nature of the damage, and (b)
within 30 days after notice of claim, is in receipt of the defective unit at its place of business, unless this requirement is waived by iMovR. The manufacturer
will arrange for retrieval of the defective product via its carrier-of-choice. In some cases the manufacturer may elect not to retrieve the defective
component, and may opt to send a replacement product based only on photographic evidence of warrantied defects. If upon receipt and inspection of
the returned component it is determined that the damage was not due to a manufacturing aw but rather one of the exempted reasons stated above, the
costs of shipping the units to and from the manufacturer, plus the cost of the replacement component, shall be charged back to the customer.
LIMITATION OF LIABILITY: IT IS UNDERSTOOD AND AGREED THAT MANUFACTURER’S LIABILITY, WHETHER IN CONTRACT, IN TORT UNDER ANY WARRANTY,
IN NEGLIGENCE OR OTHERWISE, SHALL NOT EXCEED THE RETURN OF THE AMOUNT OF PURCHASE PRICE FOR THE DEFECTIVE ITEM PAID BY PURCHASER
AND UNDER NO CIRCUMSTANCES SHALL SELLER BE LIABLE FOR SPECIAL, INDIRECT OR CONSEQUENTIAL DAMAGES. NO ACTION, REGARDLESS OF FORM,
ARISING OUT OF THE TRANSACTIONS UNDER THIS AGREEMENT MAY BE BROUGHT BY THE PURCHASER MORE THAN ONE YEAR AFTER THE CAUSE OF THE
ACTION HAS ACCRUED.
SOME STATES DO NOT ALLOW LIMITATIONS ON HOW LONG AN IMPLIED WARRANTY LASTS, AND SOME STATES DO NOT ALLOW THE EXCLUSION OR
LIMITATION OF INCIDENTAL OR CONSEQUENTIAL DAMAGES, SO THE ABOVE LIMITATIONS OR EXCLUSIONS HEREIN MAY NOT APPLY TO YOU. THIS
WARRANTY GIVES YOU SPECIFIC LEGAL RIGHTS, AND YOU MAY ALSO HAVE OTHER RIGHTS, WHICH VARY, FROM STATE TO STATE. THIS WARRANTY APPLIES
ONLY IN THE U.S. AND CANADA. WARRANTIES OUTSIDE OF THE UNITED STATES MAY VARY. PLEASE CONTACT YOUR LOCAL DEALER FOR DETAILS.
TO OBTAIN warranty repair please contact the iMovR Customer Care Department with the contact information provided below.
Table of contents
Other imovr Indoor Furnishing manuals
imovr
imovr Omega Olympus User manual

imovr
imovr ZipDesk User manual
imovr
imovr Cascade Standing Desk User manual
imovr
imovr Cadence User manual

imovr
imovr FLY DECK User manual
imovr
imovr OMEGA DENALI User manual

imovr
imovr Lander Lite User manual
imovr
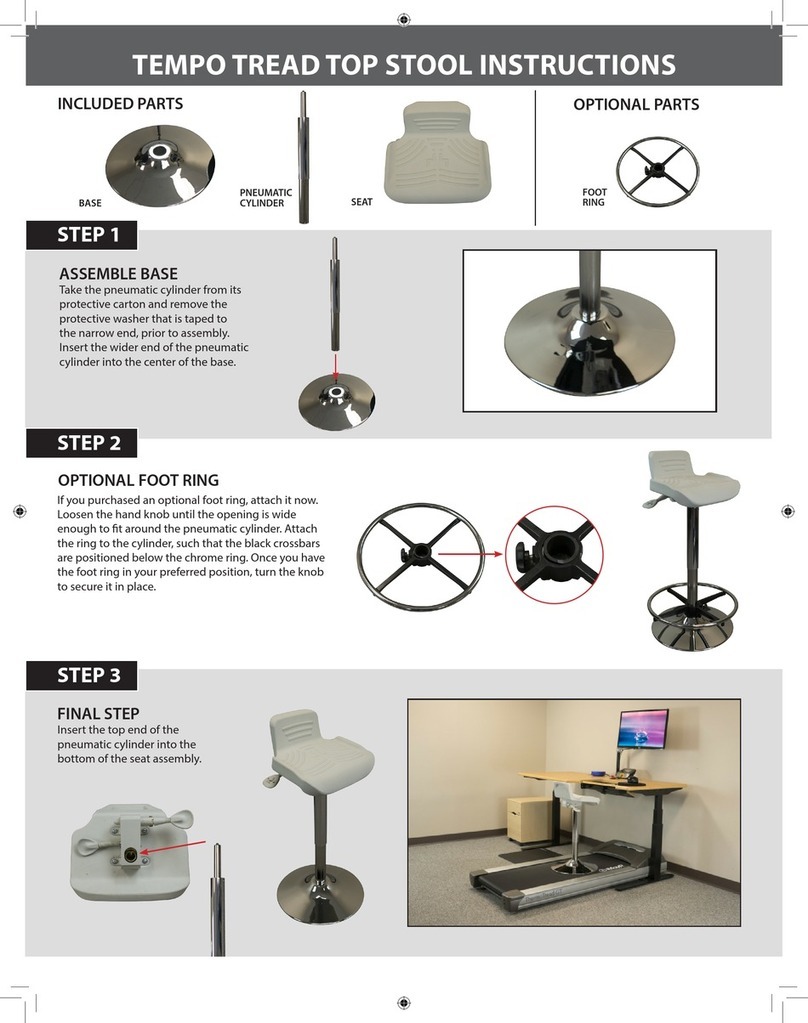
imovr TEMPO TREAD TOP STOOL User manual
imovr
imovr ThermoDesk ELLURE Base User manual
imovr
imovr Omega EVEREST User manual
Popular Indoor Furnishing manuals by other brands

Regency
Regency LWMS3015 Assembly instructions

Furniture of America
Furniture of America CM7751C Assembly instructions

Safavieh Furniture
Safavieh Furniture Estella CNS5731 manual

PLACES OF STYLE
PLACES OF STYLE Ovalfuss Assembly instruction

Trasman
Trasman 1138 Bo1 Assembly manual

Costway
Costway JV10856 manual


