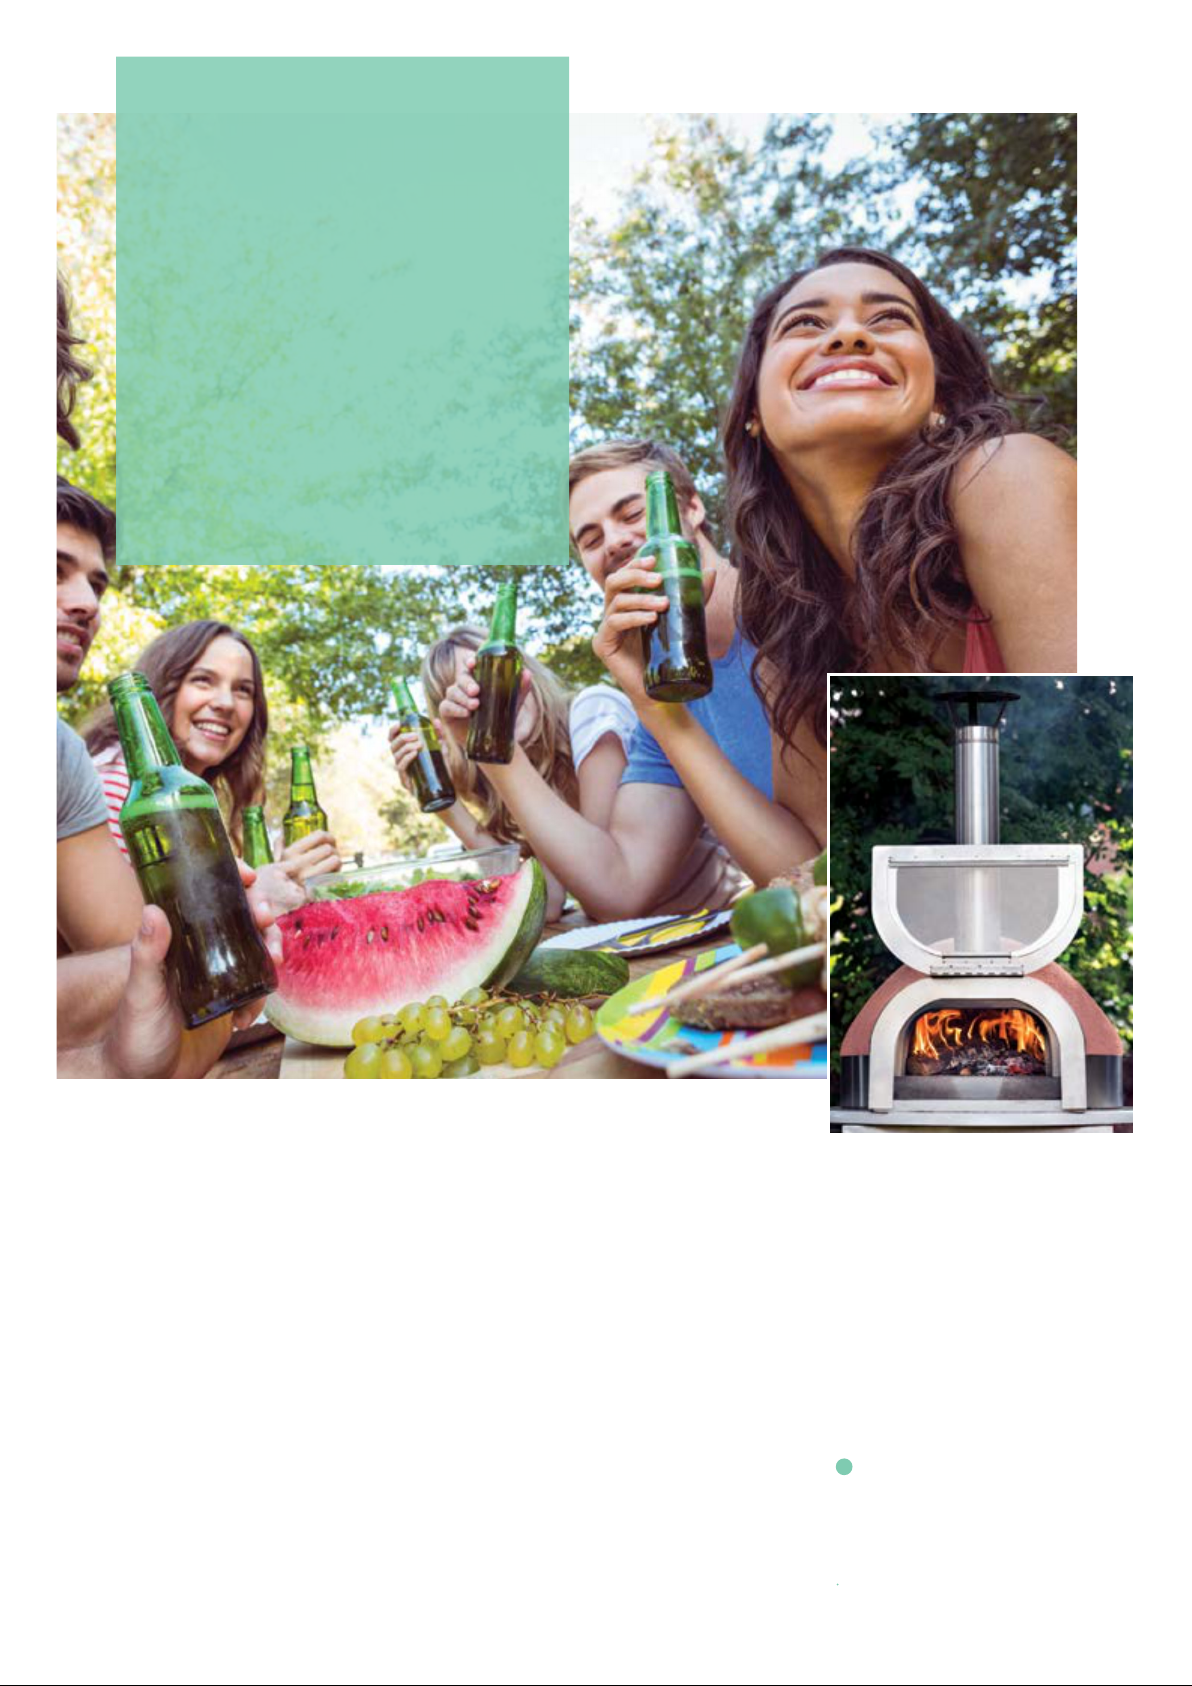
IMS Piccolo Operating instructions

Please read carefullyBEFOREinstalling. Retain for future reference.
Installation Guide & Operating
Instructions
MODELS:
Piccolo
Medio
Supremo
Kit form
OVEN
RANGE

General Precautions
Check that all components are present (see parts list on page 11). If there areany missing or
damaged parts do not start installation, contact the supplier to arrange replacement. Similarly if the
colour marked on the labels for theprimer and finesand do not match the ordered colour contact
the supplier toarrangereplacement.
Carefully read this booklet BEFOREinstalling the oven
2
Some components are heavy - get assistance from someone
of similar height / build for lifting, carrying and setting in place.
Component weights are listed in theparts list on page 11.
Wear abrasion/cut resistant leather gloves when handling formed
dome sections, metal work, mesh and chicken wire.
Some materials e.g. cement render, primer and ne sand
nish present a chemical hazard during use:
Keep out of reach of children and pets
Keep children and pets away from the work area
Causes skin irritation, serious eye damage and may cause an
allergic reaction
Wear impermeable gloves e.g. Nitrile rubber when working with wet
materials
Wear eye protection when mixing and working wet materials
Thoroughly wash hands after handling materials, especially before
eating or drinking
During use the oven will become hot and can remain so for a
significant time after the fire has died out.
Care should be taken when approaching or using the oven to
protect exposed hands and arms.
The use of correct cooking and cleaning tools is strongly
recommended.

3
Installation Considerations
•Smoke may not be emitted from achimney unless it is from an authorised fuel or the appliance is exempt
- Wood is not an authorised fuel
- The IMSOutdoor Oven is not an exempt appliance
•Free standing Outdoor Ovens, like barbecues, are excluded from this legislation but to satisfy the exclusion:
- the installation must be outdoors
- its chimney must not pass through a building (including an out-house or summer house)
•Could smoke from the oven cause nuisance:
- toneighbours?
- by drifting across a public highway posing a danger to traffic?
•Is the location sheltered from strong winds?
•Is the location away from any combustible materials such as wooden fences, garden sheds, shrubs and bushes?
•Is the location away from residential property to prevent smoke entering through open windows or doors?
•Is the location away from main thoroughfares where children, elderlyor infirmregularlypass?
TheCleanAir Act allowed the establishment of Smoke Control Zones by local authorities.

4
Installing the oven
NOTE: Separate use instructions are supplied on the packaging or available as aseparate instruction sheet for render,
primer and ne sand nish and should be read in conjunction with this guide.
•Ensure surface to build on is flat and clean and free of debris
•Any structure should be safe and capable of supporting the weight of
the oven before continuing
Piccolo 80 kg
Medio 165 kg
Supremo 290 kg
•Ensure structure is fixed and stable
•Ensure height of structure is high enough to enable easy access and
good visibility to cooking area
Step 1
•With suitable assistance place the insulated hearth on the surface of
the structure
•No cement or adhesiveis required
Piccolo 1 piece
Medio 1 piece
Supremo 2 piece set
Step 2
Piccoloshown
•With suitable assistance place thedense hearth on top of the
insulated hearth
•For Medio &Supremo, the join in thehearth sections should be
sealed (maximum 2mm joint) using the UltraWrightset Super.
Piccolo 1 piece
Medio 2 piece set
Supremo 3 piece set
Piccoloshown
Step 3
Piccoloshown
•With suitable assistance where required arrange the dome piece(s)
on top of thehearth
•These should becemented in place (maximum2mm joint) using
UltraWrightset Super. For Medio & Supremo the join between the
dome sections should alsobesealed using UltraWrightset Super.
Piccolo 1 piece
Medio 3 piece set
Supremo 4 piece set

5
•Install the doorway
•This should bejointed (maximum2mmjoint) with
UltraWrightset Super
•Ensure door is internally aligned
Step 4
Piccoloshown
PiccoloshownPiccoloshown
Piccoloshown
Step 5 •Install the foiled insulation on top of the dome &doorway
Piccolo 1 piece
Medio 2 piece set
Supremo 4 piece set
NOTE: Insulation is based upon amorphous silica which can cause
hands to feel dry. Wash thoroughly after handling
Piccoloshown
Step 6 •Tape the foiled insulation together using the supplied foil tape.
Medio and Supremo.
Piccolo delivered as one piece.

6www.ims-insulation.co.uk
•Applythe chicken wire over the top of the foil insulation forming it to
follow the shape of the dome and entrance. This is required to allow
the first render coat tohold on to the dome otherwise the material
can slip from thefoil making render application difficult.
•Laythe chicken wire over thedome and cut a holeat thefront to
allowthe fluetobe fitted
•Pull the chicken wire down around the dome cutting a V-shaped
notch up the back to the top of the dome
•Twist the cut ends together along each sideof thecut to holdthe
shape of thechicken wire for later render application
Step 7
•Lay the metalwork over the top of the Dome &Doorway
•Leave any plastic coating in place until the application of render,
primer and sand has been completed as this will make cleaning the
construction easier
•Trim excess chicken wire from around the base of the metal work
Step 8
Piccoloshown
Step 9
Piccoloshown
•Insert Stainless Steel Flue into opening.
Theseamof theflueshould face the back of theoven.
Piccoloshown

7
Render a base coat over the foil insulation/chicken wire
Equipment: •Mixing vessel/bucket
•Electric paddlemixer (slowspeed)
•Stainless Steel smoothing trowel, spatula,
notched trowel
Method: •Application temperature 5˚C- 30˚C
•Donot applyif frosty/raining or frost/rain areanticipated
•Mix 5.1 litres of water per 30kg bag
•Thoroughly mixthe product until it is an even
consistency
•Rest mix for five minutes before applying
•Using the notched trowel applya layer of render
•Ensure the render is pushed down between the metal
work/foil insulation and that there are no air pockets
under the chicken wire
Cleaning: •Tools & hands should be washed with water before the
product dries
Consult: •Parex Maite data sheet for further detailed supplier
information
Step 10
Piccoloshown
•Applythe supplied green mesh pushing it in to therender.
Mesh may be cut intosmaller pieces for ease of application.
Consult: •Parex 355 AVUdata sheet for further detailed supplier
information
Piccolo 1 m2
Medio 2 m2
Supremo 5 m2
Step 11
Piccoloshown

8
•Render a top coat over thegreen mesh. Use theremaining render
from Step 10 (render may need remixing if left to sit between
Step 10 and Step 12).
Equipment: •Mixing vessel/bucket
•Electric paddlemixer (slowspeed)
•Stainless Steel smoothing trowel, spatula,
notched trowel
Method: •Application temperature 5˚C- 30˚C
•Donot applyif frosty/raining or frost/rain areanticipated
•Mix 5.1 litres of water per 30kg bag
•Thoroughly mixthe product until it is an even
consistency
•Rest mix for five minutes before applying
•Using the notched trowel applya layer of render
•Allowthe render tothoroughlydryfor 24 hours
minimumbefore further application
Cleaning: •Tools & hands should be washed with water before the
product dries
Consult: •Parex Maite data sheet for further detailed supplier
information
Step 12
Piccoloshown
•Check the colour marked on the primer label matches the colour
listed on the finesand finish and is as ordered.
•Prepare the DPRprimer and cover the render in an even coating
Equipment: •Woollen roller or brush
Method: •Application temperature 5˚C- 30˚C
•Donot apply if frosty/raining or frost/rain are anticipated
•Thoroughly mixthe product until it is an even
consistency
•Avoid creating air bubbles or foam
•DPRprimer must becompletely drybefore any finish is
applied
•Allowthe DPRprimer tothoroughlydryfor 2 to 12
hours, depending upon ambient temperature and
humidity
Cleaning: •Tools & hands should be washed with water before the
product dries
Consult: •Parex DPRPrimer datasheet for further detailed
supplier information
Step 13

9
•Check the colour marked on the fine sand finish label matches the
colour listed on the primer and is as ordered.
•Applyfine sand finish coat
Equipment: •Stainless Steel float
•Smooth plastic float
Method: •Application temperature 5˚C- 30˚C
•Donot applyif frosty/raining or frost/rain are anticipated
•Thoroughly mixthe product until it is an even
consistency
•Avoid creating air bubbles or foam
•Apply the coat in an even thickness
•Finish off with smooth plastic trowel. Dryclean the
trowel during texturing
•Protect from rain during and immediately after
application
Cleaning: •Tools & hands should be washed with water before the
product dries
Consult: •Parex Fine Sand datasheet for further detailed supplier
information
Step 14
Piccoloshown
•Allow oven to fullydryout for 24 hours under normal conditions
•In low temperatures or periods of high humidity drying time will be
longer
Step 16
Piccoloshown
•Before first use remove any plastic coating from the metal work.
•Any splashes of render, primer or fine sand finish can be removed
with a plastic scouring pad and warm water
Step 17
•Cure theoven before first use
Step 18
•With the oven door lifted, loosen and remove the mounting screw
•With thelongest edge uppermost slideglass platebetween therails
•Ensure equal spacing all round
•Re-insert the screw and tighten
Step 15

Using your oven
Using the Oven
•Anywood tobeused must beclean, free of paint, glue or
chemicals (such as preservatives and stains) as these may
release harmful combustion products that may taint any food
being prepared
•Green, sappywood or seasoned wood with moisture content
greater than 20%will cause excessive smoke
•Ideally you should only use dryseasoned wood as this gives a
cleaner burn and more even temperature
•Tostart thefire use asoft wood
•Kindling should be cut into lengths approximately 200 - 300mm
and be no thicker than a small finger
•Crumpled paper should be used tostart the fire rather than any
fluid or lighter block
•It is easier toset the fire on the paddle, then onceestablished
insert the burning material in tothe oven
•As the kindling burns away add hard wood 200 - 300mmlength
and no more than 15mm in diameter
•During firing the oven door should be left partially open
10
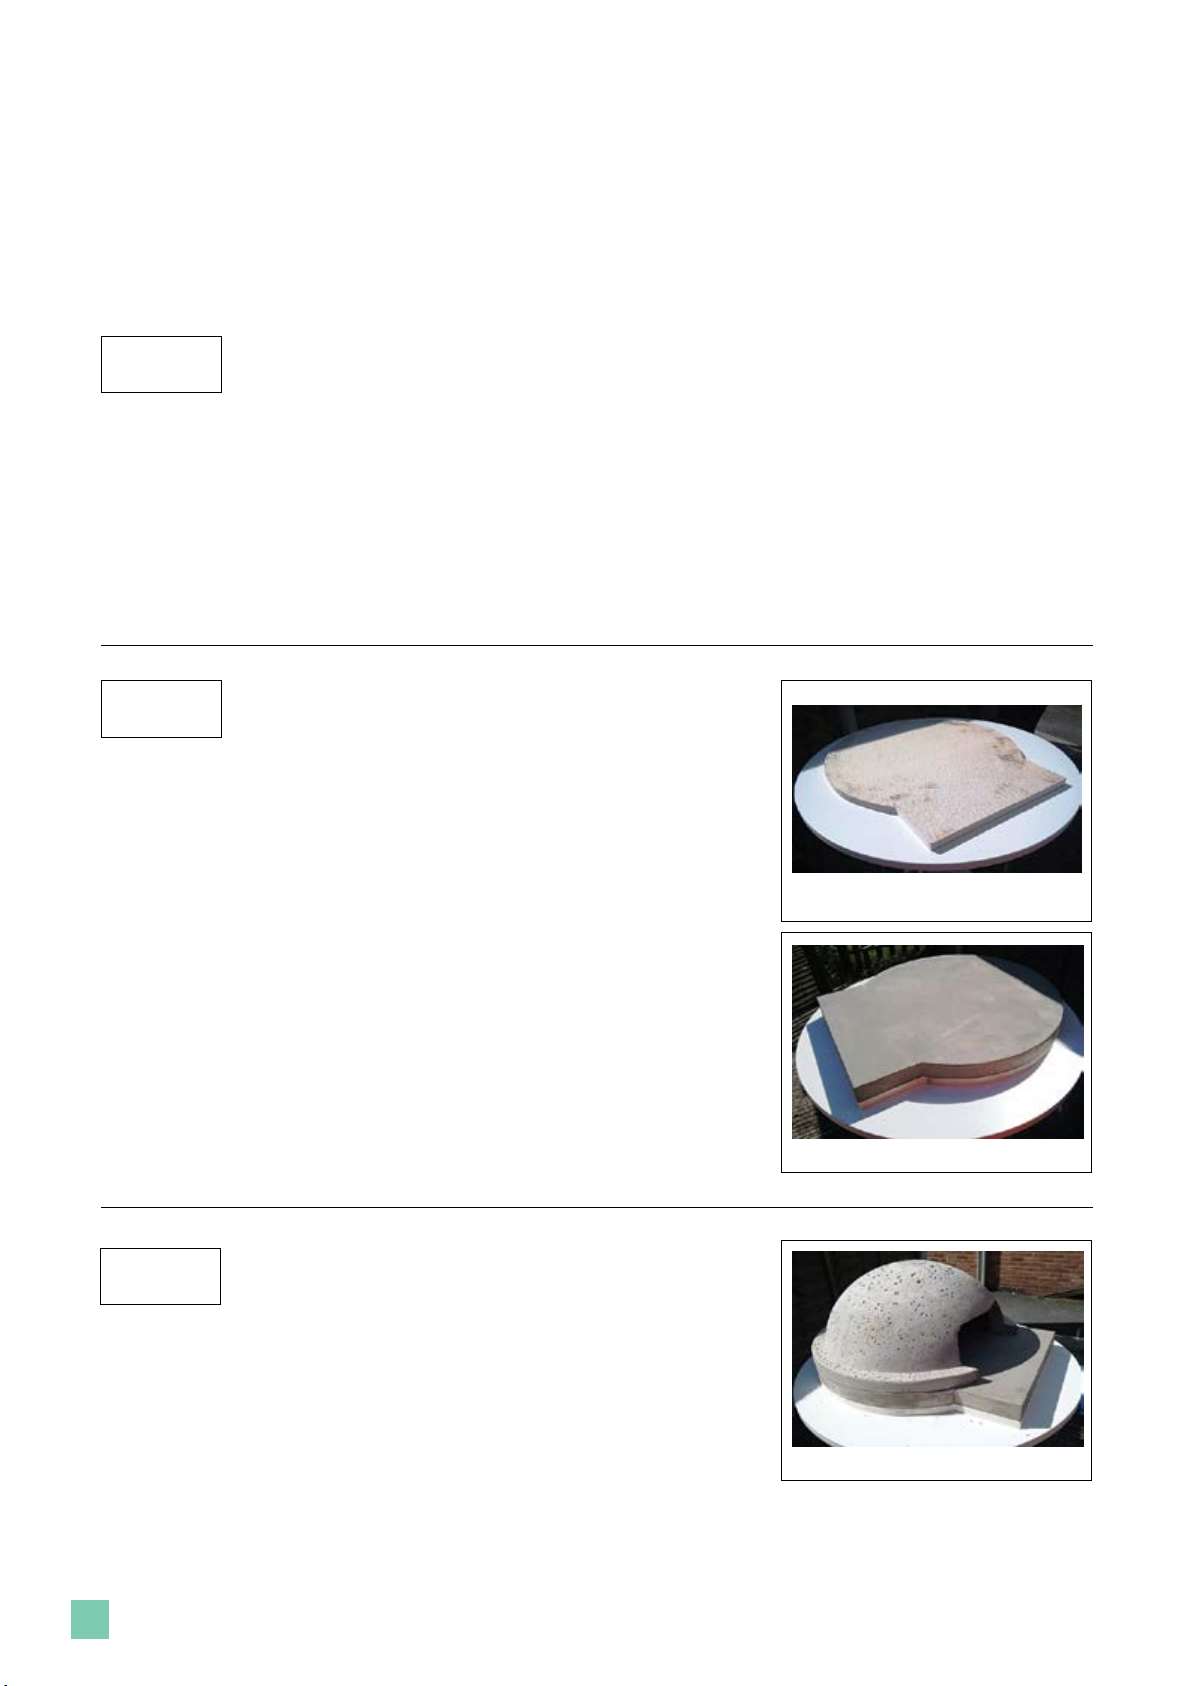
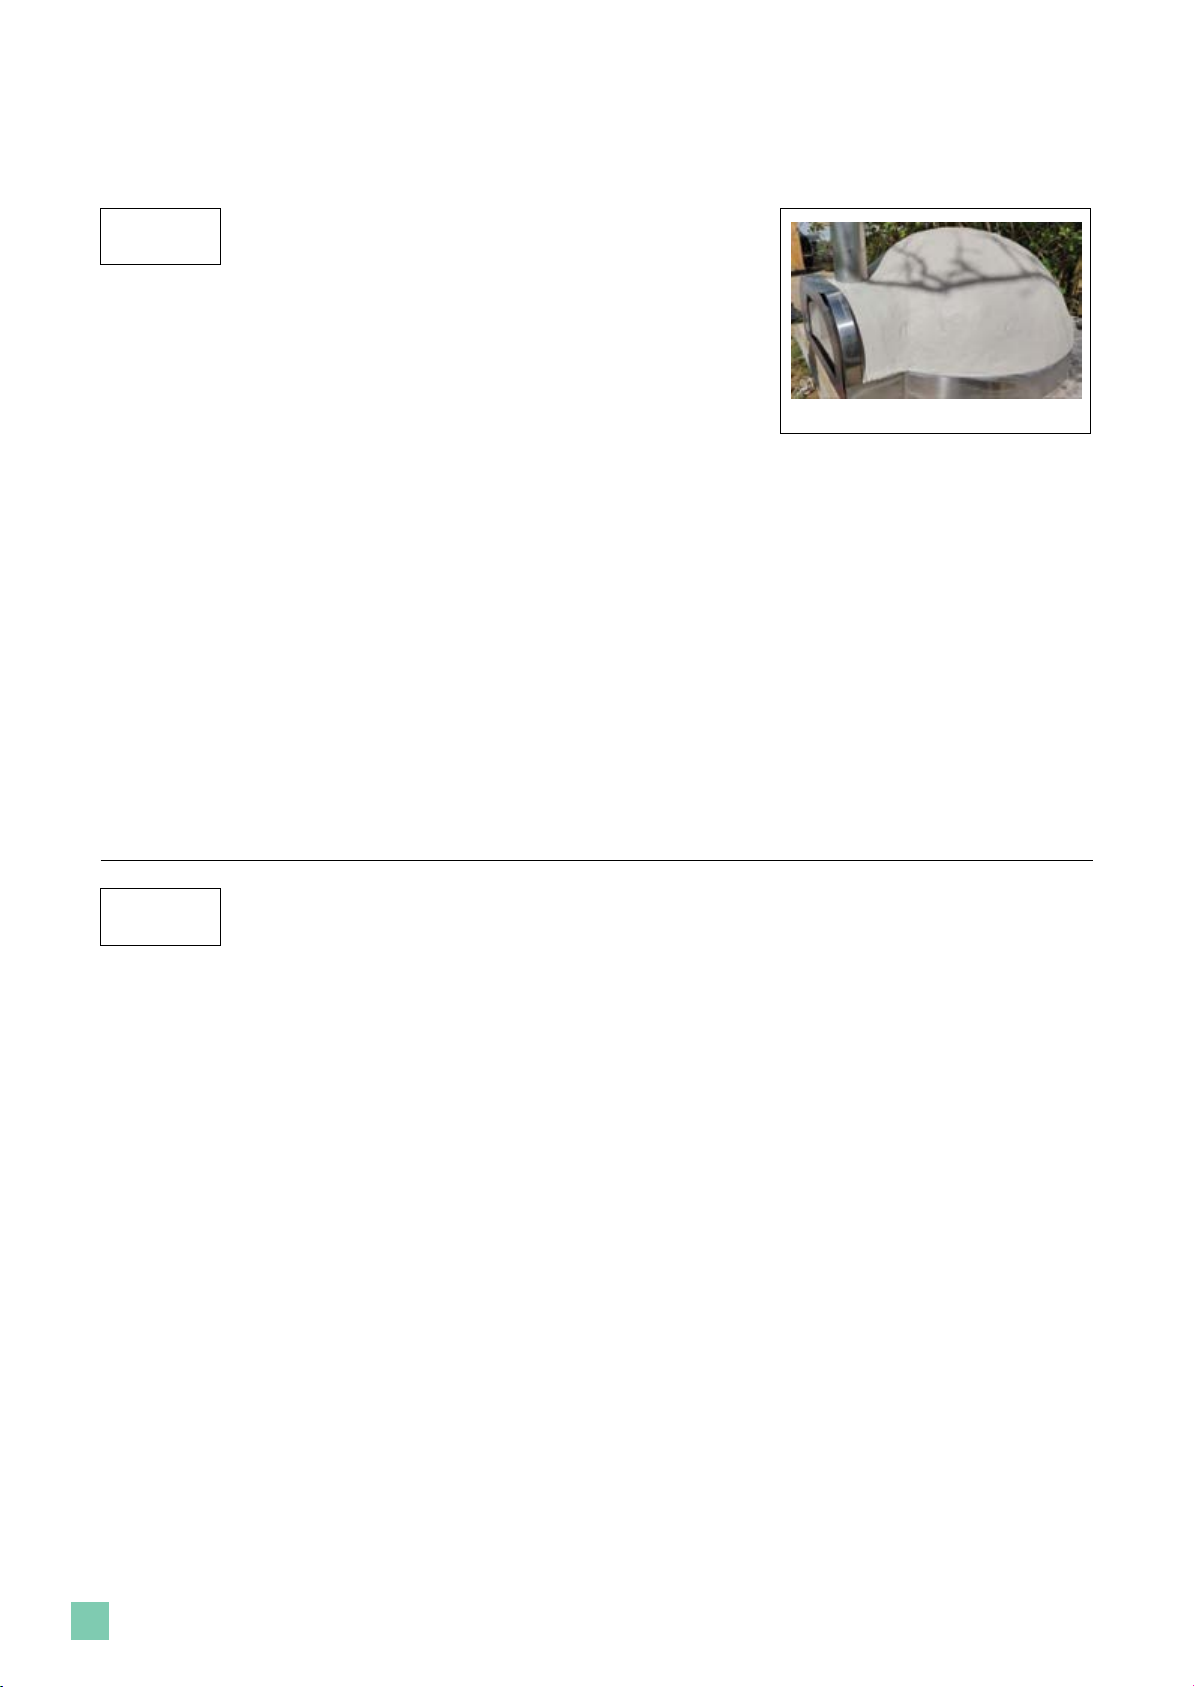
Curing the Outdoor Oven
•Curing your oven is acrucial step immediatelyafter finishing construction and before using it for the first time
•If your oven is rapidly heated to a high temperature it can result in cracks or fissures affecting performance
•Curing theoven involves lighting a series of fires which are gradually increased in size (and temperature) over a period of time
•It is important during the curing process that the oven remains heated, thefire does not die out and theoven become cold
Checking the temperature of the Oven for cooking
•Carefully throw ahandful of flour across the centre of the oven
floor - if the flour bursts into flames or blackens within 10
seconds the floor is too hot and will burn the pizza base
•You can lower the oven temperature by removing embers using
the shovel or leaving the door open
•If the flour browns in 10 seconds the oven is ready for use
Caring for your Oven
•Ensure water does not get on tothe cooking base
•When not in use place acap on the flueand close the door
•When cool cover the oven toprevent water penetrating the shell
which could freeze and crack the covering
•The high temperature achieved during firing acts as self-cleaning
mechanismburning away spilled food, grease, any bacteria or
bugs
•When cool sweep out any ash or embers with a natural bristle
brush or wire brush
•Do not put hot ashes or embers in to plastic bins or metal bins
with combustibleitems such as clothing or paper
•As your fire increases in heat add more hardwood
NOTE: during wet weather or low ambient temperatures during
autumn/winter fire building should be undertaken more slowly
over 30 minutes to avoid rapid heat rise that may result in
fractures
•It is perfectly normal for the inside of the oven to turn black as it
is fired, dueto deposits from smoke and resin in the wood
•It is recommended to use athermocouple or temperature gun to
monitor the oven temperature
•When the oven has reached @350 - 400˚Cspread the embers
evenly over the oven floor to store as much heat as possible into
the cooking base
•Move the fire to oneside and sweep any remaining embers to the
sidewith a natural fibre brush
•During long periods of cooking top up with more wood moving
the embers around to maintain an even temperature within the
oven

11
Parts List
Oven size Piccolo - Small Medio - Medium Supremo - Large
Part Description Quantity Part No kg Quantity Part No kg Quantity Part No kg
Insulated Hearth
1 10864 5 1 10865 10 2 pc set 10866 17
DenseHearth
1 10867 20 2 pc set 10868 44 3 pc set 10869 78
Dome
1 10870 25 - - - - - -
Rear Left 1/3
- - - 1 10872 25 - - -
Rear Right 1/3
- - - 1 10873 25 - - -
Front 1/3
- - - 1 10874 25 ---
Front Left 1/4
- - - - - - 1 10876 30
Rear Left 1/4
- - - - - - 1 10877 30
Rear Right 1/4
- - - - - - 1 10878 30
Front Right 1/4
- - - - - - 1 10879 30
Doorway
1 10871 10 1 10875 18 1 10880 25
Foil Insulation Dome
1 10881 0.5 3 10882 1 5 10883 3
Foil Insulation Entryway
1 10884 0.2 1 10885 0.5 1 10886 1.5
Foil jointing tape
1 10887 0.1 1 10887 0.1 1 10887 0.1
Galvanized Chicken Wire
1 m
2- - 2 m
2- - 5 m
2- -
IMSMesh
1 m
210888 0.1 2 m
210888 0.1 5 m
210888 0.25
UltraWrightset Super 300 ml
11187
0.5 300 ml
11187
0.5 300 ml
11187
0.5
DPRPrimer*
0.5 ltr 10889 1 1 ltr 10889 2 2 ltr 10889 4
DPRFine Sand Finish*
1 ltr 10890 2 3 ltr 10890 6 5 ltr 10890 10
Maite Monocomposant render
1 bag 10891 30 1 bag 10891 30 2 bag 10891 30
Stainless Steel Assembly
1 10892 2 1 10893 5 1 10894 10
Heat Resistant glass panel
1 10895 0.1 1 10896 0.15 1 10897 0.15
Optional items not included with oven kit
Short handlepaddle Option - - Option - - Option - -
Long handle paddle Option - - Option - - Option - -
TemperatureGun Option 10901 - Option 10901 - Option 10901 -
* Available colours: Limestone, SlateGrey, Tundra, SpiceTan, SpicySunset, Cashmere (primer and fine sand supplied as thesamecolour)
For Items listed at more than or equal to 10kg caution is advised when handling. Obtain suitable assistance.

IMPORTANT: Directions for installation andusearegivenfor guidanceonlyandare
not intended to form part of any contract. Goods supplied by the company are
made to approved standards from the highest quality raw materials but no
warranty or guarantee is given as to their suitability for any particular purpose or
application, and no liability is accepted for any loss or damage arising directly or
indirectly from the use of the Company’s products irrespective of any information
given to us as tointended use of such products.
Other manuals for Piccolo
1
This manual suits for next models
2
Table of contents