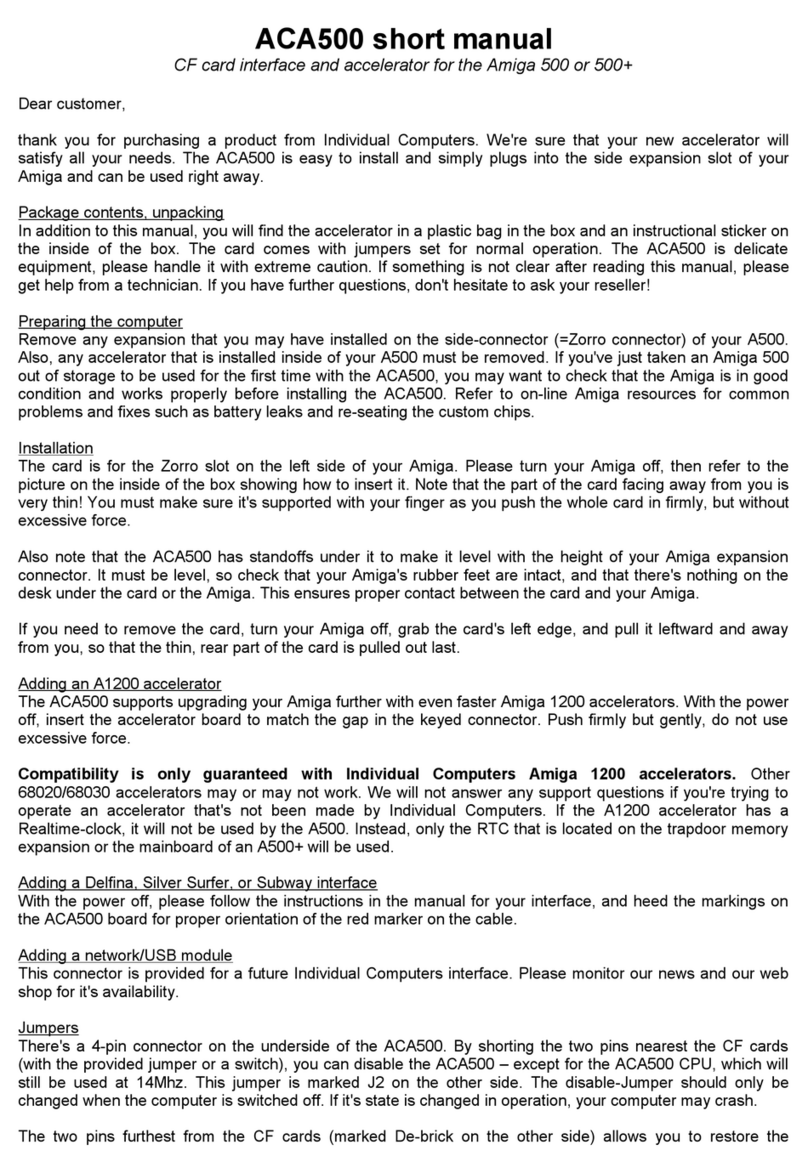
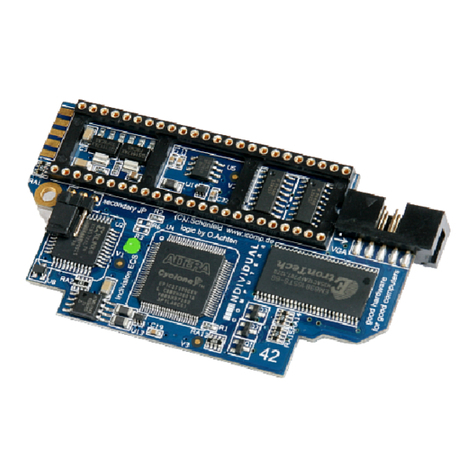
Individual Computers Indivision AGA MK2 4000D/CD32 User manual

Indivision AGA MK2 4000D / CD32 installation
Dear customer,
thank you for purchasing a product from Individual Computers. We're sure that your new
flickerfixer will satisfy all your needs. However, we would like to emphasi e that installing
the product in an Amiga 4000D or CD32 is not easy, and it requires some skills. Please
make sure that you have enough light at your desk!
Installing the flickerfixer should only be done by experienced persons. If you have never
opened your Amiga 4000D or CD32, you should get help from a technician.
Installation in an A4000 desktop:
Open the computer and remove all Zorro cards to get access to the mainboard. The board
of your A4000D is now lying in front of you like this:
The picture above marks the Lisa chip, which is responsible for the video output of the
Amiga. The socket of Indivision AGA MK2 is placed over top of this chip. The connector for
the cable of Indivision AGA MK2 must face to the mouseports.
The computer must be placed on a stable, level surface. First, place the socket over the
Lisa chip, but do not push yet! Double-check that all pins line up properly. If the socket
should be tilted in any way, it might be destroyed by the pressure that must be applied.
The socket is in place if the board is level on the Lisa chip, but cannot be rotated any
more.
Your final step is to push the socket on the Lisa chip. You might need to push very hard,
but do not use any tools for this step! It is possible to apply the required pressure with
your thumbs.

You should feel the socket clicking on the chip. Now you can plug in the cable to the
connector of Indivision AGA MK2, and mount the DVI-adapter on the back of your
computer, for example to a metal bracket (not included).
We recommend using the included grounding cable. If you connect the cable as shown in
the picture, please make sure that the washer has direct contact with the flickerfixer board.
Also, please make sure that the cable does not cause a short with nearby components.
Now you can put any Zorro cards back into the slots. For better ventilation, it's a good idea
to have a short board in the lower slot.
Installation in a CD32:
Open the CD32 and remove the two cable connections between the upper and the lower
half of the unit. Please pay special attention to the flat cable to the CD unit, don't just pull it
out of the connector, but loosen the connector first! The upper half of the white connector
where the cable is inserted must be pulled up, then the cable can be removed by using
minimal force. The following picture marks the Lisa chip, which is responsible for the video
output of the Amiga. The socket of Indivision AGA is placed over top of this chip. The
connector of Indivision AGA MK2 must face to the front of the unit, as shown in the picture.
The RF shield must be bent away in order to fit the cable, and the standoff must be moved
to a different location.
The CD32 must be placed on a stable, level surface. First, place the socket over the Lisa
chip, but do not push yet! Double-check that all pins line up properly. If the socket should
be tilted in any way, it might be destroyed by the pressure that must be applied. The
socket is in place if the board is level on the Lisa chip, but cannot be rotated any more.
Your final step is to push the socket on the Lisa chip. You might need to push very hard,
but do not use any tools for this step! It is possible to apply the required pressure with
your thumbs.

Before you can mount Indivision AGA MK2 in a CD32, you need to move the standoff to
the other location, otherwise it will conflict with the Alice-chip. We recommend to also
connect the grounding cable the way shown in the picture. Please make sure that the
washer has direct contact with the flickerfixer board, and not to cause a short with nearby
components!
You do not need a driver to operate Indivision AGA, therefore we haven't included a disk. For
adjustments, general configuration and possible flash-updates, we'll be providing programs
and documentation on our website www.icomp.de under „support“ starting may/june 2012.

Indivision AGA is configured at the factory to output a PAL screen at about 63H refresh
rate, and NTSC screens at about 76H refresh rate. These rates are within the range of
modern VGA monitors and flatscreens, so the output of an Amiga can be displayed on a
normal monitor without any adjustments. There may be monitors – especially DVI monitors
– that can't handle these frequencies, as they are slightly non-standard. In this case, we're
asking you to use a DVI->VGA adapter and use an analogue VGA monitor until we can
provide the config-tool that lets you make the required adjustments to generate exact
frequencies and screen si es that your DVI monitor requires.
You can set almost any screenmode on the Workbench of your Amiga. The only
exceptions are A2024 screenmodes which currently cannot be displayed on Indivision
AGA MK2. Of course there are some modes of questionable usefulness (for example
„Super72“ at 800 by 150 pixels), but if you like resolutions like this, Indivision AGA does
not limit you in any way. Without the config-tool, you may only get a picture on a very good
multisync-monitor for all screenmodes.
When operated on a flat screen, it might be helpful when the Amiga does not display the
overscan-area in the background colour, but in black. The tool „BorderBlank“ is suitable for
this, you can find it on Aminet under util/boot/BBlank.lha .
In addition to the standard screenmodes, Indivision AGA supports the HighGFX driver at
1024x768 pixels which can be found on Aminet in the directory util/wb .
The brown socket of Indivision is mechanically altered in order to have a better fit on the
Lisa chip. Traces of machining are clearly visible, and do not affect proper function in any
way. Resistors R23 and R24 are intentionally not assembled.
You will surely operate your workbench at a higher resolution than you did before you
installed Indivision AGA MK2. Please be aware that this is pushing the chipset to it's limits,
and it may reveal a weakness of the chipset in some cases. On some mainboards, you
may see pixels flickering after a warmup phase of 30-60 minutes. This is not caused by
Indivision AGA MK2, but it also happens without the flickerfixer and it's visible on a 15kH
monitor. You may not have observed it before, because your old monitor can't display
these modes properly.
Should you observe this behaviour, there are simple ways to fix this issue. Most of the
times, a small chip-cooler on the Alice-chip of your computer solves the issue. In rare
cases, you may need to do soldering on your mainboard. Please ask a technician or your
reseller for closer information on this.
© 2012 individual Computers Jens Schönfeld GmbH. For use in private environments. Not designed,
authori ed or warranted for use in life support systems or other critical operations.
Names and other trademarks referred to within this manual are property of their respective trademark
holders. We're not affiliated with any of the mentioned trademark holders.
Individual Computers Jens Schönfeld GmbH
Im Zemmer 6
52152 Woffelsbach
Germany Good hardware for ood computers.
Table of contents
Other Individual Computers Computer Hardware manuals
Popular Computer Hardware manuals by other brands

Moxa Technologies
Moxa Technologies ThinkCore DA-660-16-LX Quick installation guide

Cromemco
Cromemco 32K Bytesaver instruction manual

BE QUIET!
BE QUIET! DARK ROCK 2 manual

Manhattan
Manhattan 158169 Brochure & specs

Infineon
Infineon TRAVEO T2G Getting started

ICS ELECTRONICS
ICS ELECTRONICS 03DVR Series quick start guide