manuals.online logo
Brands
  1. Home
  2. •
  3. Brands
  4. •
  5. INDUSTRIAL
  6. •
  7. Indoor Furnishing
  8. •
  9. INDUSTRIAL Werkbank WB177 User manual

INDUSTRIAL Werkbank WB177 User manual

Assembly instructions
INDUSTRIAL Werkbank WB177
INVERKEHRBRINGER
Manufactured for HORNBACH Baumarkt AG
Hornbachstraße 11, 76879 Bornheim/Germany
www.hornbach.com
Amount
Part
number
Name / B1.0 B2.0 B3.0 B4.0 B5.0 B6.0 B7.0 B8.0 B9.0
1 Side panel 2 2 2 2 2 2 2 2 2
2 Bottom and
top pannel
1 1 1 1 1 1 1 1 1
3 Back panel 1 1 1 1 1 1 1 1 1
4 Wood plate 1 1 1 1 1 1 1 1 1
5 Screws 5 5 5 5 5 4 5 5 5
6 Shelf 1 1 1 1 1 1 2 2 2
7 Door 3 3 3 2 2 2 2 2 2
8 Drawer 3 6 5 6 8 10 6 8 10
9Lock 2 2 2 1 1 2 2 2 2
10 Latch 2 2 2 1 1 1 2 2 2
11 Connector 35 35 35 43 43 43 42 42 42
12 Adjustable
foot
4 4 4 4 4 4 4 4 4
13 Nut 4 4 4 4 4 4 4 4 4
14 Washer 4 4 4 4 4 4 4 4 4
15 Hinges 6 6 6 4 4 4 4 4 4
16 Locking
strip small
2 2 2 2 2 2 2 2 2
17 Locking
strip big
2 2 2 2 2 2 2 2 2
18 Magnet 6 6 6 4 4 4 4 4 4
20 Drawer tin
small
6 6 6 6 6 6 6 6 6
21 Drawer tin
big
0 0 0 2 2 2 2 2 2
22 Angle 4 4 4 4 4 4 4 4 4
23 Release key 1 1 1 1 1 1 1 1 1
First push the connector through
the angle. Facing the front side
push the connector with the
angle through the hole
BEFORE the latch plate can be mounted, the lock has to be
mounted into the latch plate with the correct latch. Loosen
the screw and the nut. Insert the lock and fasten it from the
back side with the nut. Insert the new latch and test if it
closes to the right side. Secure the latch with the washers
and screw and mount it to the bottom.
Hints:
The following steps should be done with two people while the bank is safely on the ground. If a connector
cannot be pushed in by hand, use a rubber mallet carefully. All parts are connected with a connector! Push
in all connectors from that side where they are easily accessible and releasable. The connectors have to
click 2x. If a connector is hard to mount, check that the parts are perpendicular to each other. If necessary,
use a rubber hammer to snap the connector into place..
Depending on the model the rail
plates may have two rails. Hold the
outer rail plates from above with a
screwdriver or reach through the
hole with your finger and push the
connector in (see picture).
For the large bottom track plates, you can use you finger to
reach through one of the holes or use a screwdriver to grasp
it. Best practice: attach the connectors in the back (FROM
THE BACKSIDE) and then the front ones (see picture).
Atttach a magnet to the latch plate on
the side of the door, at the bottom and
top. (green spots)
In the last step, the wooden plate is fixed with the
wood screws in 4 places.
Now the bench can be put on
its feet, please turn over
carefully with two people.
We wish you a lot of pleasure with your INDUSTRIAL Werkbank WB177!
Take a look at our other INDUSTRIAL workshop facilities.
Screw the foot threaded rod with the ball
joint outwards into the hole. Then tighten it
with the nut and mount the foot cap on it.
Push the
connectors in
the intended
places.
In the WB177 with doors, the doors can be monted into the workbench
now. The dorr pin hinges are inserted from above into the door. The oin
hinges are snapped into the door and then inserted. You can also insert
the drawers. Attention: The rails must be tight when the drawer is
inserted.
Closed
Open to mount
the drawer

Other INDUSTRIAL Indoor Furnishing manuals

INDUSTRIAL HS1 User manual

INDUSTRIAL

INDUSTRIAL HS1 User manual

INDUSTRIAL Wandschrank WS3 User manual

INDUSTRIAL

INDUSTRIAL Wandschrank WS3 User manual

Popular Indoor Furnishing manuals by other brands

Ballard Designs Banyan Bone Inlay Bed manual
Ballard Designs

Ballard Designs Banyan Bone Inlay Bed manual

Health Care Logistics 5091 Assembly instructions

Health Care Logistics

Health Care Logistics 5091 Assembly instructions

Safavieh Furniture ACC5709 quick start guide

Safavieh Furniture

Safavieh Furniture ACC5709 quick start guide

Manhattan Comfort Eldridge Wardrobe manual
Manhattan Comfort

Manhattan Comfort Eldridge Wardrobe manual

Royo GO ON 90 manual

Royo

Royo GO ON 90 manual

Broyhill BS20004 Assembly instructions

Broyhill

Broyhill BS20004 Assembly instructions

JWA KALUNDBORG 70446 Assembly instruction

JWA

JWA KALUNDBORG 70446 Assembly instruction

Ergo Furniture UL1-05 installation manual

Ergo Furniture

Ergo Furniture UL1-05 installation manual

Ovela THEODORE OVTHEOGLKGA user guide

Ovela

Ovela THEODORE OVTHEOGLKGA user guide

Knight Eko Bookcase 1800H Assembly instructions
Knight

Knight Eko Bookcase 1800H Assembly instructions

Nienkamper CERN BOOKCASE CREDENZA installation guide

Nienkamper

Nienkamper CERN BOOKCASE CREDENZA installation guide

Home affaire Trinidad 42424958 Assembly instructions
Home affaire

Home affaire Trinidad 42424958 Assembly instructions

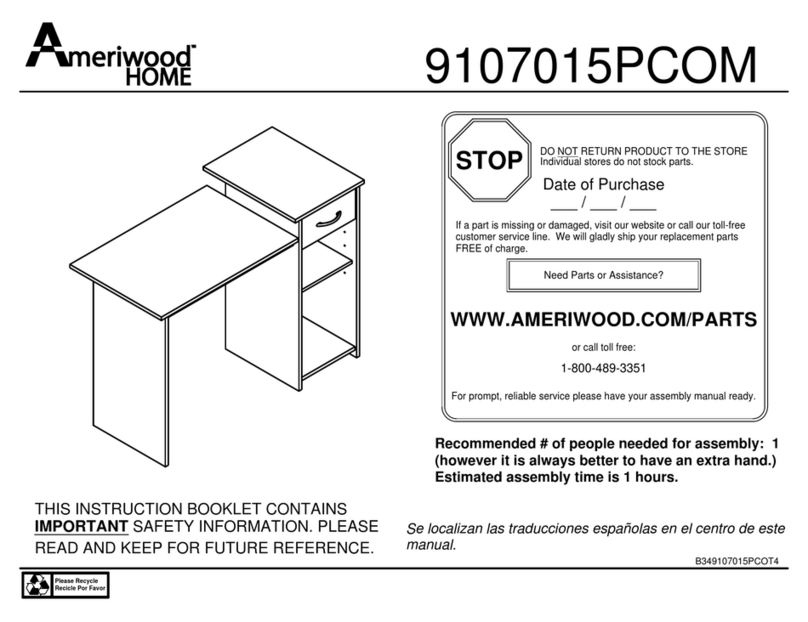
Ameriwood HOME 9107015PCOM Instruction booklet

Ameriwood HOME

Ameriwood HOME 9107015PCOM Instruction booklet

Perma child safety 2748 instruction manual

Perma child safety

Perma child safety 2748 instruction manual

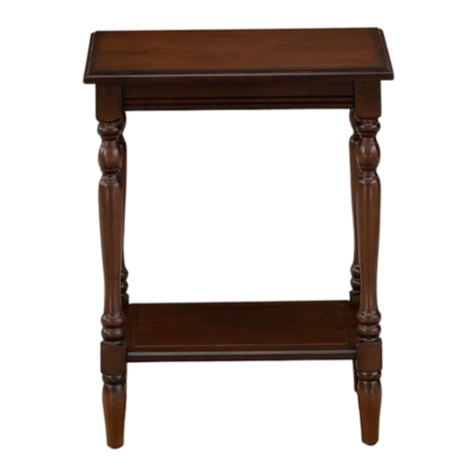
Noble House Home Furnishings Club Chair Assembly instructions
Noble House Home Furnishings

Noble House Home Furnishings Club Chair Assembly instructions

East West Furniture BEDFORD RECTANGULAR NIGHT STAND END TABLE... Assembly instructions

East West Furniture

East West Furniture BEDFORD RECTANGULAR NIGHT STAND END TABLE... Assembly instructions

Costway HW63452-4 user manual

Costway

Costway HW63452-4 user manual
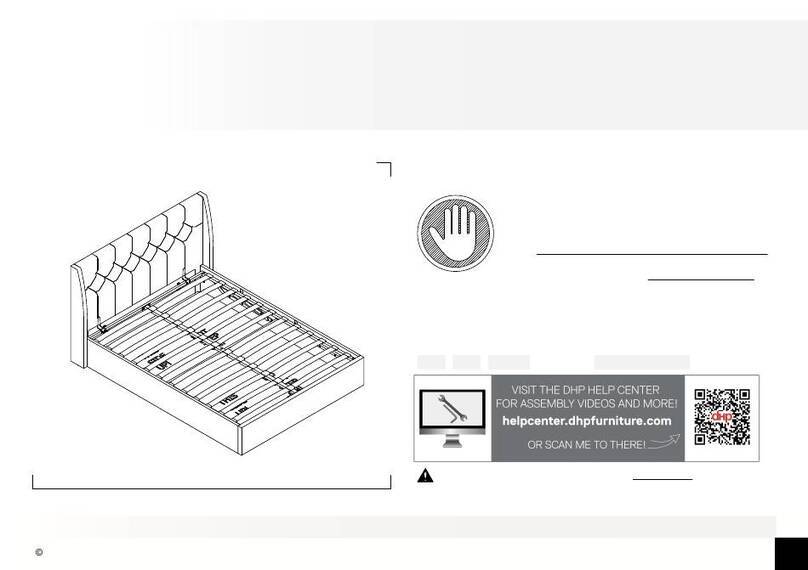
Dorel Home Products 4638439N manual

Dorel Home Products

Dorel Home Products 4638439N manual

manuals.online logo
manuals.online logoBrands
  • About & Mission
  • Contact us
  • Privacy Policy
  • Terms and Conditions

Copyright 2025 Manuals.Online. All Rights Reserved.