Industry Supplies SMART3D User manual

User manual
Macro Printer

Copyright
Copyright © 2022 Industry Supplies, Inc. All rights reserved.
-
Trademarks
FCC Compliance
DISCLAMER:
Equipment Recycling in the European Union
02

Using This Guide
www.smart3d.tech
support@smart3d.tech
•
•
INTRODUCTION
Basic checks
HOW TO START A PRINT
Step 1: Smart3D DryFeed™ units installa�on
Step 2: Powering up the unit
Step 3: Print prepara�on
Step 4: Load filament
Step 5: Slicing the model
Step 6: Upload the print job
Step 7: Launch the print
05
06
08
11
15
16
23
25
29
34
35
Index
Danger!
Aenon!
Please note:
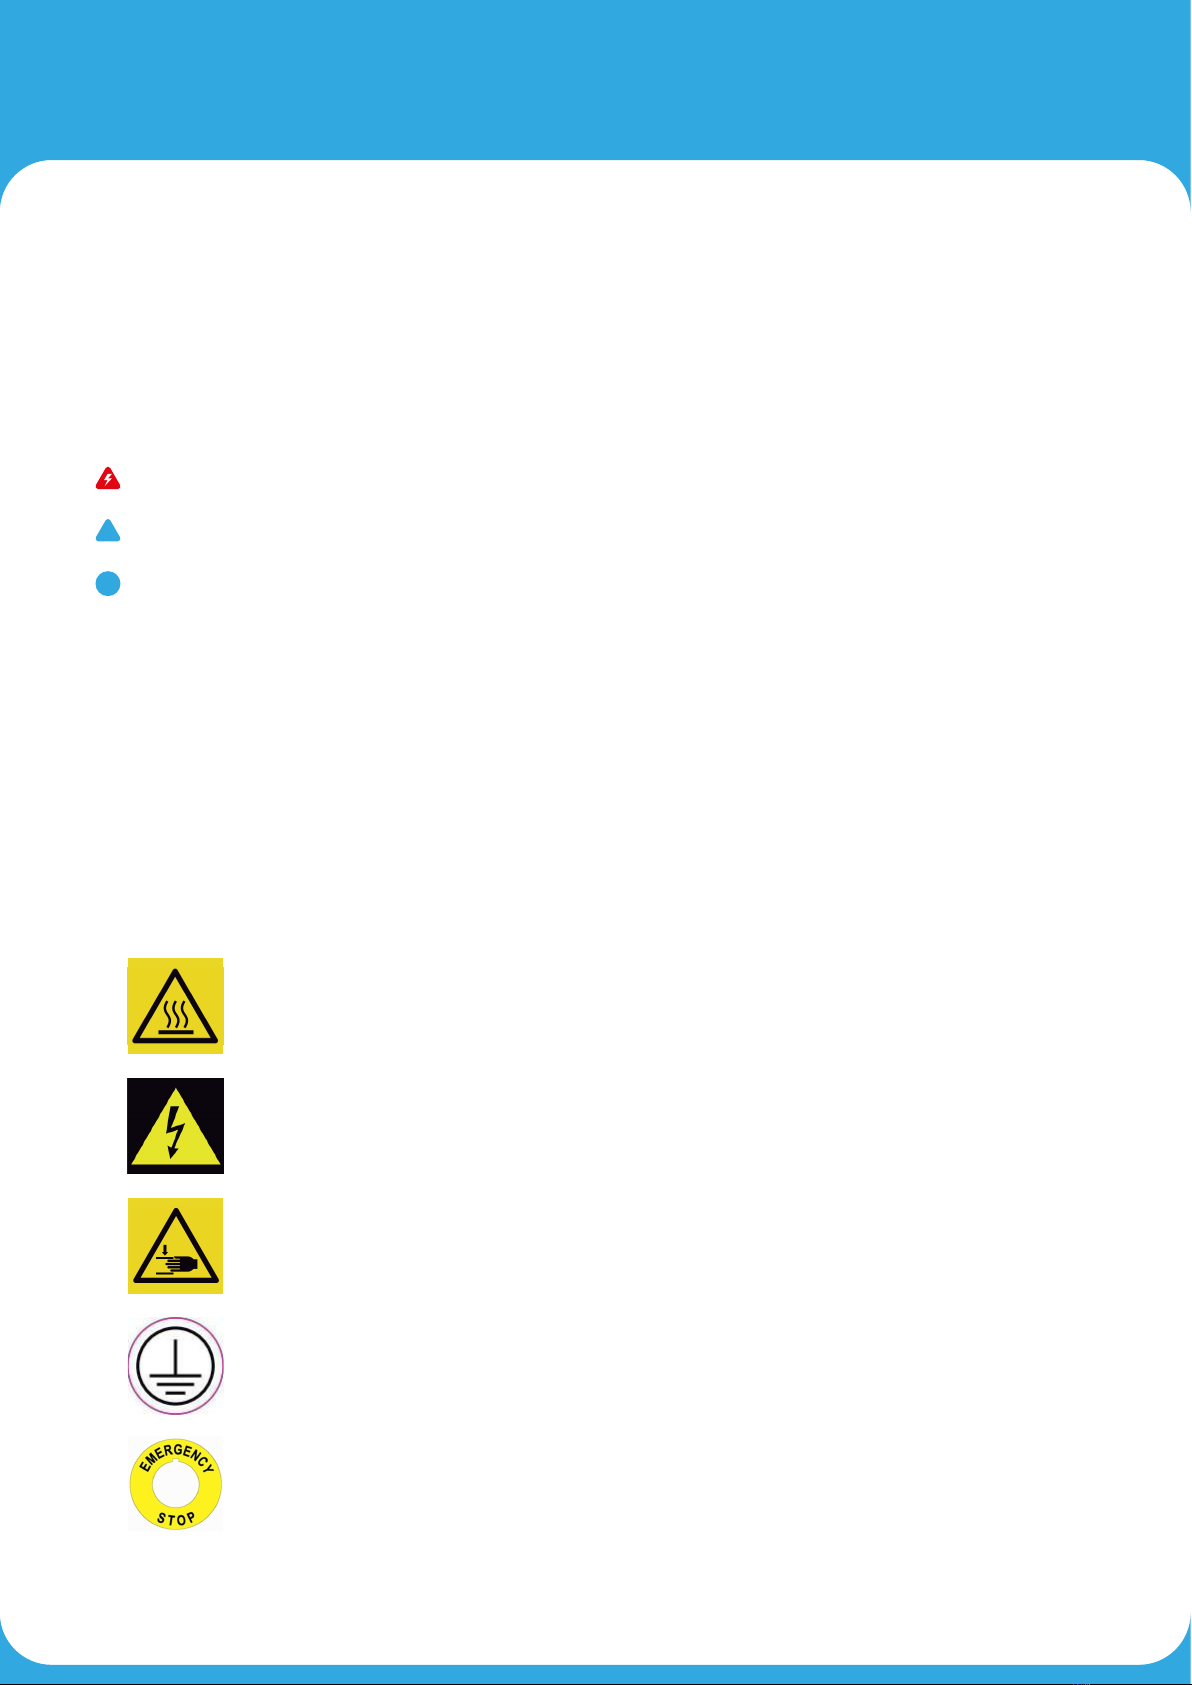
Hot Area
High Voltage
Crushed Hand
Ground
Emergency Stop
!
i
INTRODUCTION

Aenon!
Danger!
It is recommended that the unit is connected to an independent electrical circuit, with adequate
•
•
•
•
•
•
•
•
•
•
•
•
•
•
•
•
•
•
•
•
•
!
SAFETY
06

How to Use the E-Stop
Please note:
i
07
SAFETY
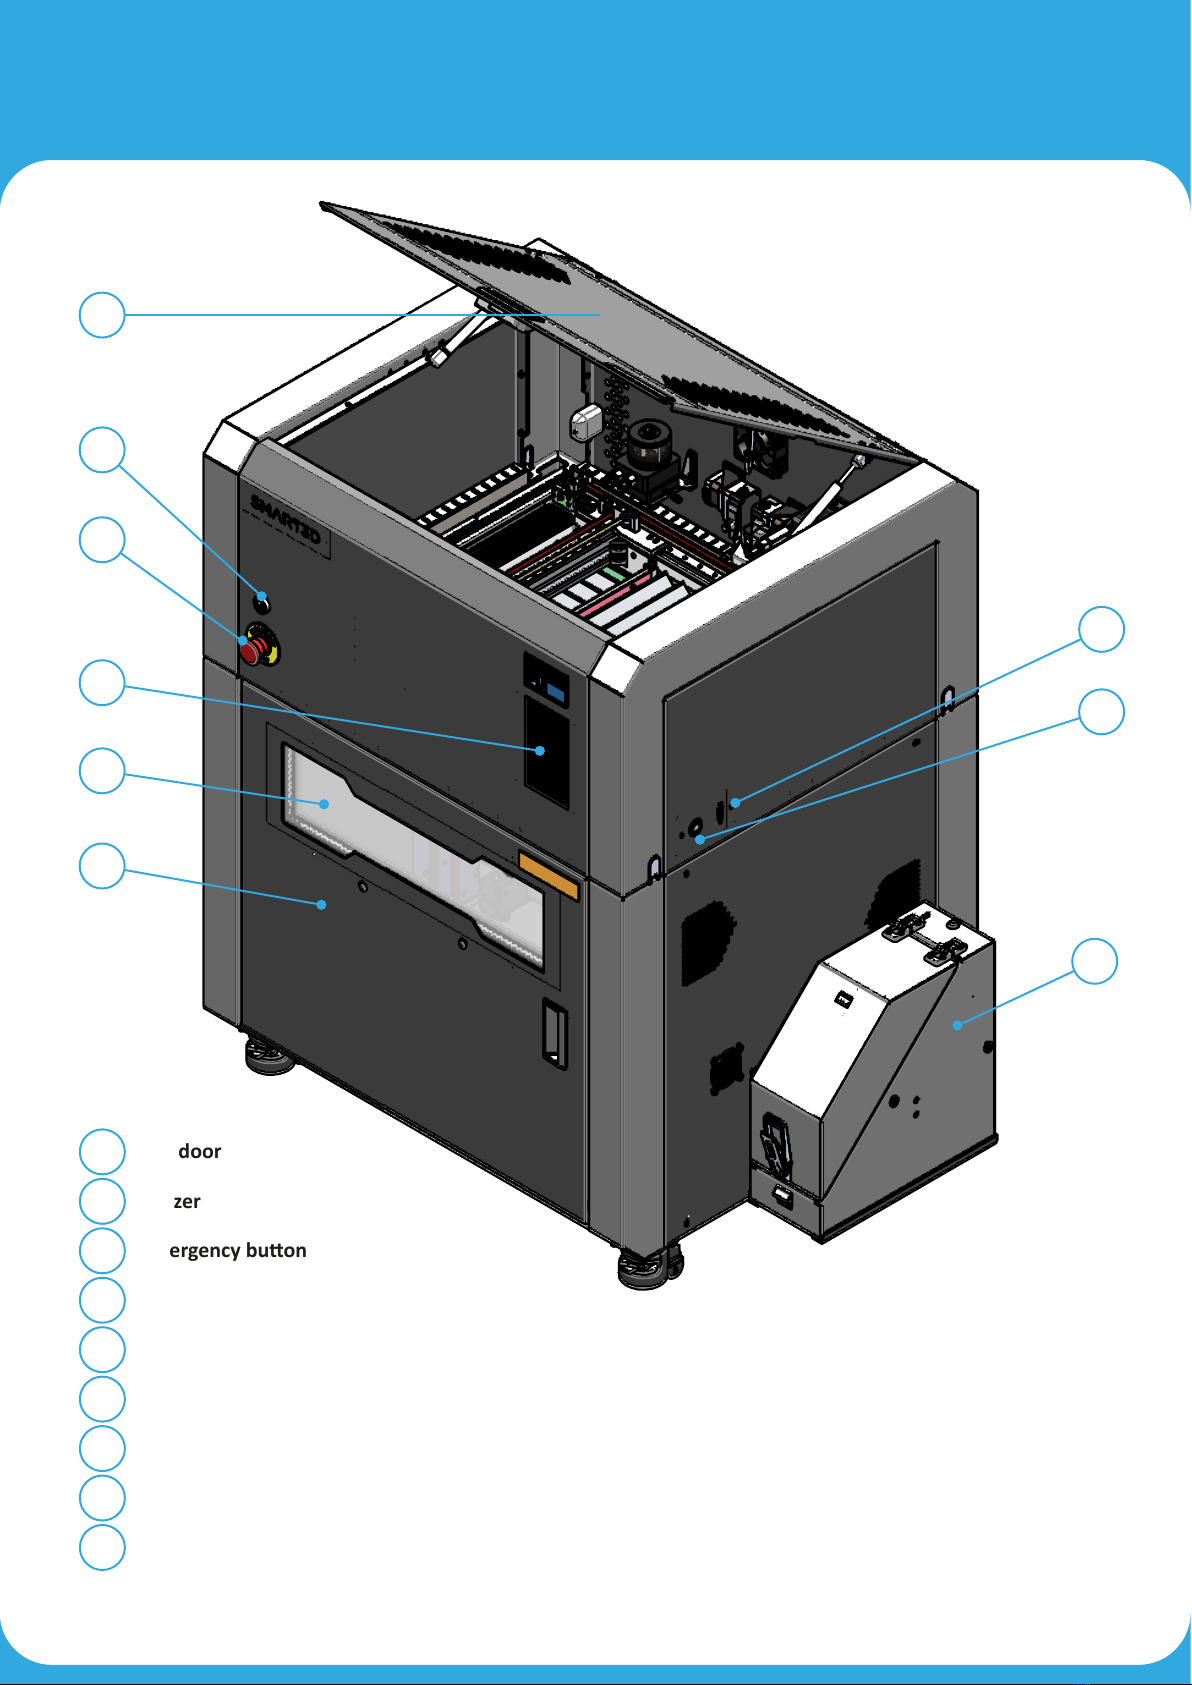
Top door
Buzzer
Touchscreen
Door window
Door
Front USB port
1
2
3
4
5
6
7
8
9
1
2
3
4
5
6
7
8
9
REQUIREMENTS FOR INSTALLATION
08
SYSTEM DESCRIPTION
10
11
12
13
14
10
11
12
13
14
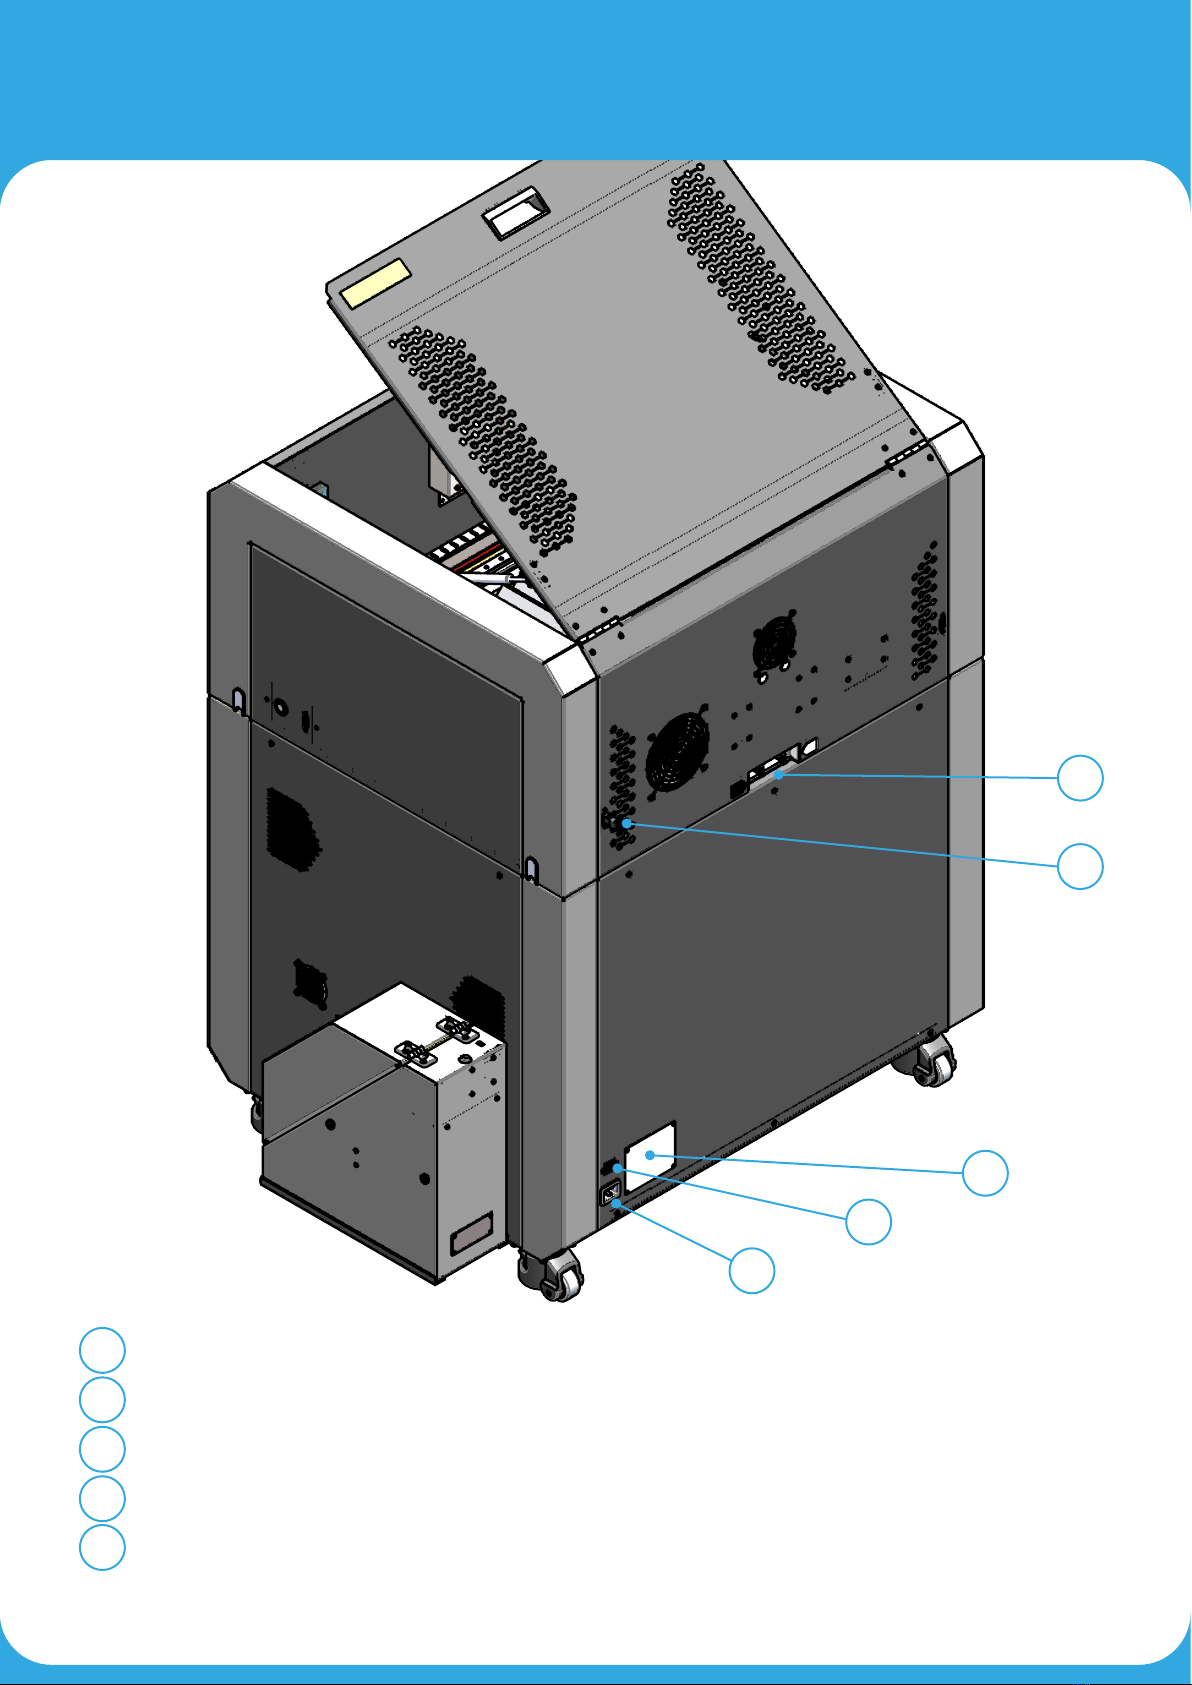
Ethernet port
Power supply plug
REQUIREMENTS FOR INSTALLATION
09
SYSTEM DESCRIPTION

Hinges
Screen
Top
Lock
Support pin
Filament entry
Spool adapter
RFID reader
Silica reservoir
Bowden connector
USB port Type B
15
16
17
18
19
20
21
22
23
24
25
26
19
18
17
16
15 20
21
22
23
24
25
26
SYSTEM DESCRIPTION
-
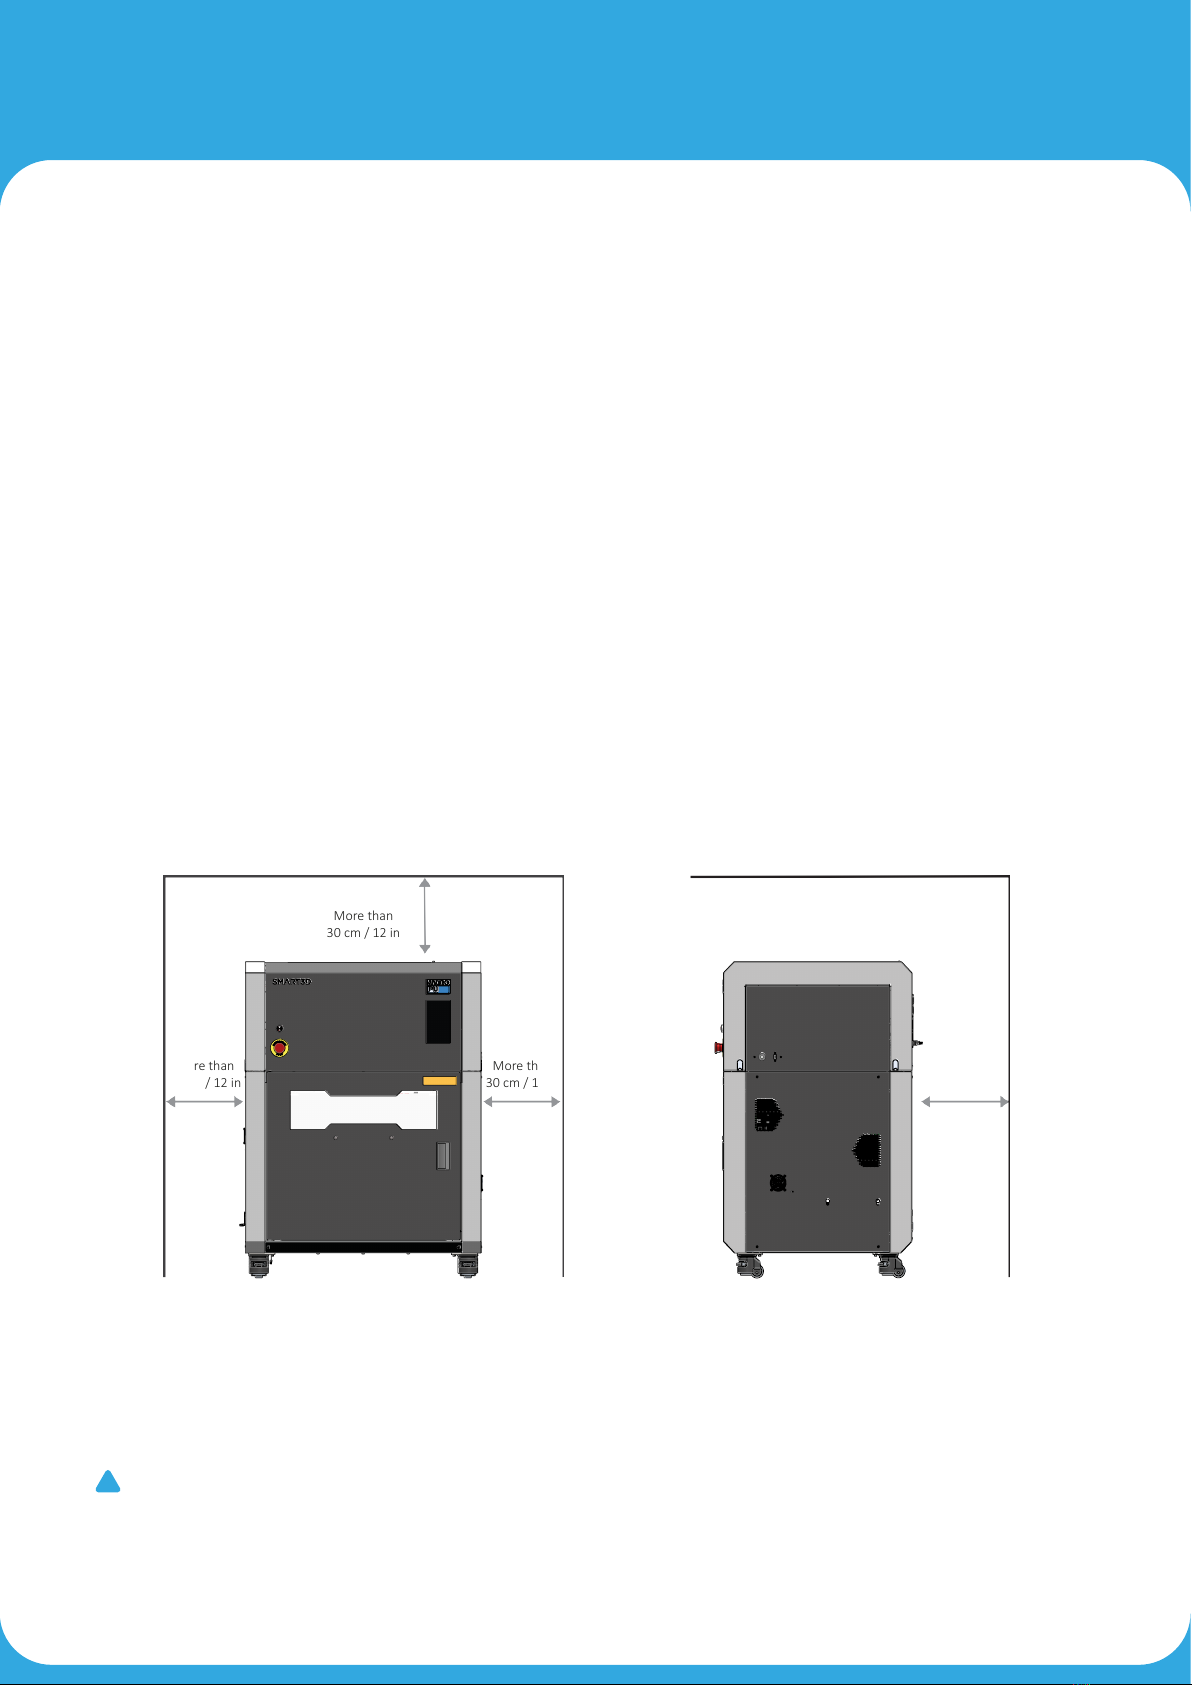
Work Environment
Aenon!
•
•
•
•
•
•
•
•
•
•
•
•
More than
30 cm / 12 in
More than
30 cm / 12 in
More than
25 cm / 10 in
More than
30 cm / 12 in
!
BASIC CHECKS

•
•
•
•
•
•
•
•
•
•
!
Power Cord
STEP 1.
STEP 2.
Door and Top Door
Aenon!
Danger!
BASIC CHECKS

Cooling System
Aenon! Never turn on the Macro PU without coolant. This could damage the coolant pump.
Always wear gloves when maintaining the cooling system.
Aenon!
immediately and thoroughly with soap and cool water, then remove contaminated clothing.
1.
2.
3.
4.
!
!
BASIC CHECKS

Please note:
cause hardware damage.
Please note:
WARNING:
www.P65Warnings.ca.gov
ALWAYS USE THIS PRODUCT IN A WELL-VENTILATED AREA.
i
i
5.
6.
MAX
MIN
BASIC CHECKS

Aenon!
T0T1 on the
color and status
Please note: We encourage you to always use the
!
1.
2.
3.
i
HOW TO START A PRINT

!
!
!
i
•
•
•
•
•
•
•
STEP 2. Powering the unit
Aenon!
Aenon! Never turn on the Macro PU without coolant. This could damage the coolant pump.
Please note:
sound, and a Status Idle message will appear
Aenon!
Please note:
Aenon!
Control
Files
!
i
HOW TO START A PRINT
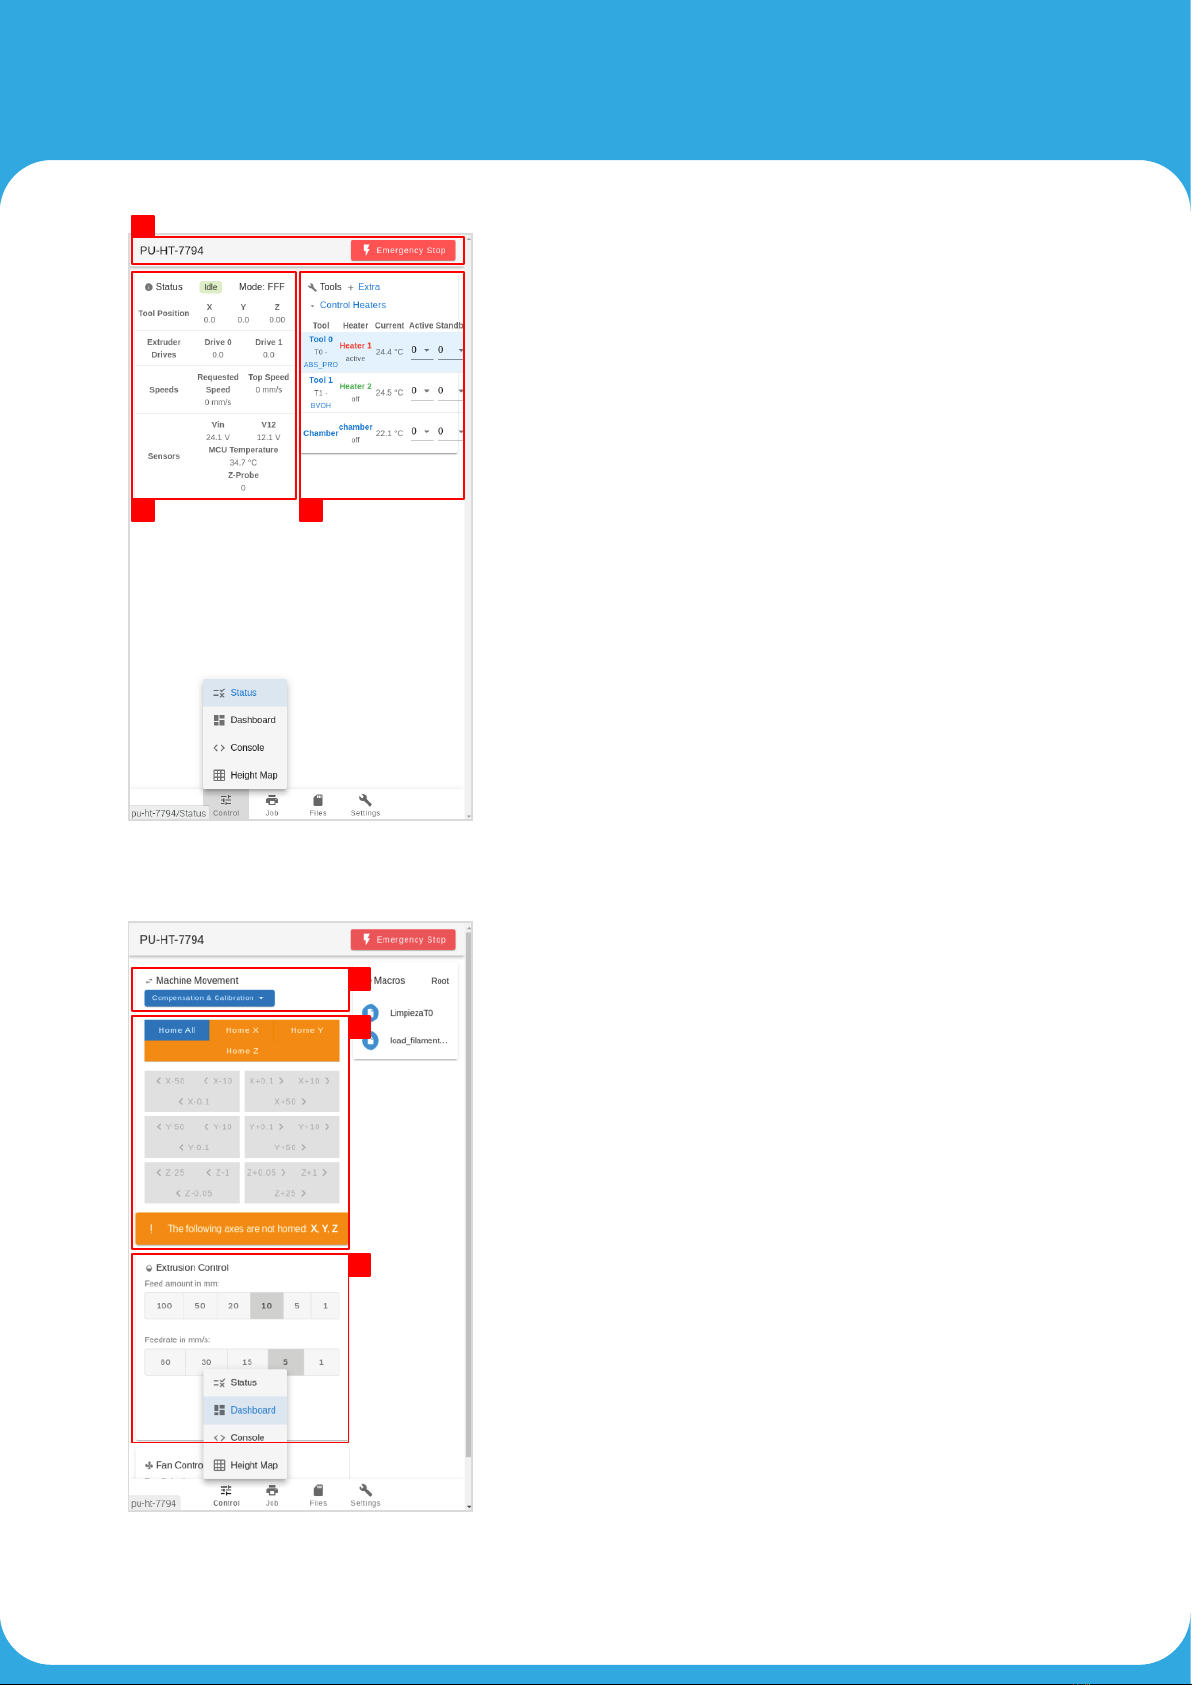
Control > Status
Status
Tools + Extra
Home and Axes Movement
Home all
Extrusion Control
1.
2.
3.
4.
5.
6.
1
2 3
4
5
6
HOW TO START A PRINT

Control > Console
Control > Height Map
7.
8.
7
8
HOW TO START A PRINT

s > G-Code Viewer
Files > Filaments
The
Files > Macros
Macros
Ethernet port
Power supply plug
HOW TO START A PRINT

Files > System
General
Appearance
Language
General
rate
9.
10.
11.
12.
13.
9
10
11
12
13
20
HOW TO START A PRINT
This manual suits for next models
2
Table of contents


