1
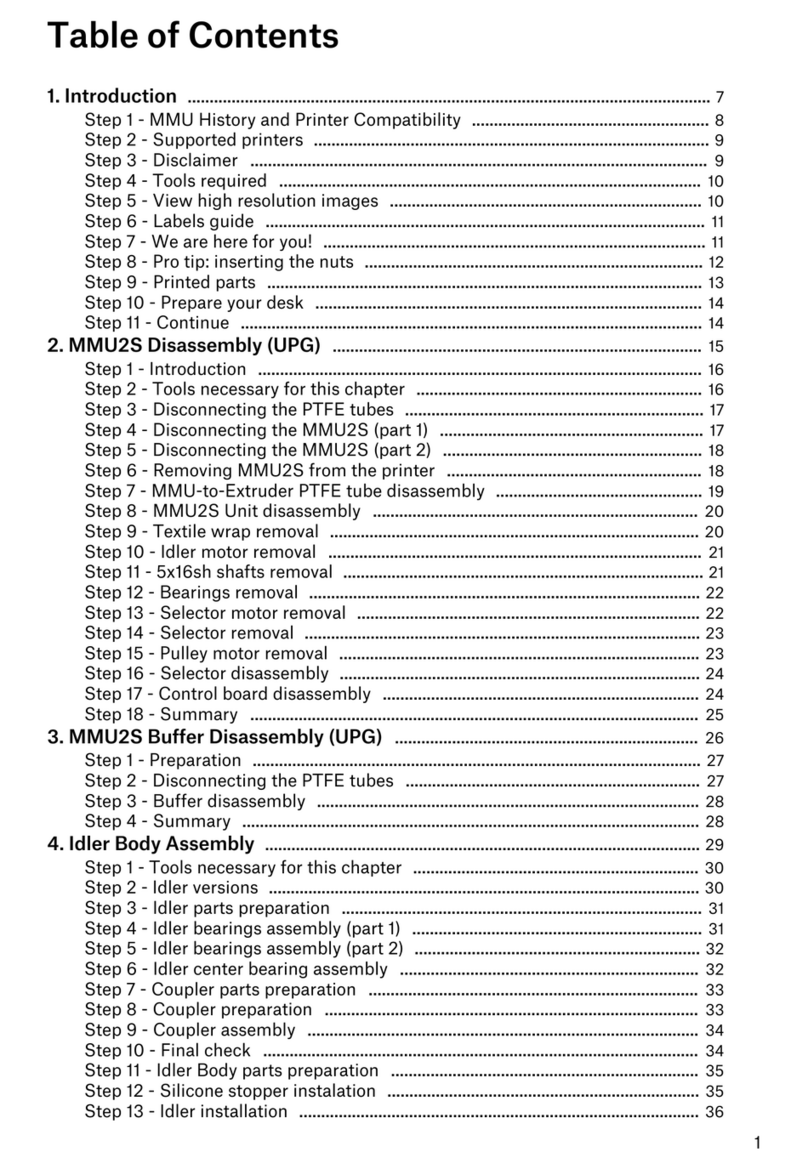
Table of Contents
Manual changelog MINI+ semi-assembly 3 ................................................................
Step 1 - Version history 4 .................................................................................................
Building your MINI+ 5 ...........................................................................................................
Step 1 - Preassembled vs kit version 6 ...........................................................................
Step 2 - Different hardware revisions 6 .........................................................................
Step 3 - All the required tools are included 6 ...............................................................
Step 4 - Use labels for reference 7 .................................................................................
Step 5 - We are here for you! 7 ........................................................................................
Step 6 - XYZ-axes parts preparation 8 ..........................................................................
Step 7 - XYZ-axes parts preparation 8 ...........................................................................
Step 8 - Foam pads - preparation 9 ...............................................................................
Step 9 - Foam pads installation 9 ...................................................................................
Step 10 - Opening the box with the electronics 10 ......................................................
Step 11 - Connecting the LCD cable 10 ..........................................................................
Step 12 - Connecting the Y and XZ-axis assembly 11 .................................................
Step 13 - Joining the parts together - preparation 12 ..................................................
Step 14 - Protecting the LCD cable 13 ...........................................................................
Step 15 - Joining the parts together - phase 1 13 ..........................................................
Step 16 - Joining the parts together - phase 2 14 .........................................................
Step 17 - Joining the parts together - phase 3 14 .........................................................
Step 18 - Aligning the XZ-axis assembly 15 ..................................................................
Step 19 - Final tightening 15 ............................................................................................
Step 20 - Haribo time! 16 .................................................................................................
Step 21 - LCD parts preparation 16 ................................................................................
Step 22 - Mounting the LCD 17 .......................................................................................
Step 23 - Connecting the LCD 17 ...................................................................................
Step 24 - Guiding the LCD cable 18 ...............................................................................
Step 25 - Connecting the Y-axis motor 18 ....................................................................
Step 26 - Connecting the heatbed cable 18 ..................................................................
Step 27 - Filament sensor (optional) 19 .........................................................................
Step 28 - Filament sensor installation (optional) 19 ....................................................
Step 29 - Connecting the filament sensor (optional) 20 ............................................
Step 30 - Covering the electronics 20 ...........................................................................
Step 31 - Haribo time! 21 ..................................................................................................
Step 32 - Spool holder parts preparation 21 .................................................................
Step 33 - Spool holder parts preparation 22 ................................................................
Step 34 - Assembling the spool holder base(s) 22 ......................................................
Step 35 - Adding the spool holder rails 23 ....................................................................
Step 36 - Adjusting the spool holder width 23 ............................................................
Step 37 - Attaching anti-slip pads 24 ............................................................................
Step 38 - Haribo time! 24 .................................................................................................
Step 39 - Finalising the assembly 25 .............................................................................
Step 40 - Connecting the PSU 25 ..................................................................................
Step 41 - What is next? 26 ...............................................................................................


