manuals.online logo
Brands
  1. Home
  2. •
  3. Brands
  4. •
  5. Snapmaker
  6. •
  7. 3D Printer
  8. •
  9. Snapmaker F350 User manual

Snapmaker F350 User manual

QUICK START GUIDE
MAKE SOMETHING WONDERFUL
| F350
01
10
36
Before You Start
Machine Assembly
3D Printing
CONTENTS
Quick Start Guide | 1
BEFORE
YOU
START
2|
Before You Start
Copyright © 2021 Snapmaker. All rights reserved.
This language version of the manual is verified by the manufacturer (Original Instruction). No part of this
publication, including pictures may be reproduced or made public, whether by printing, photocopying, microfilm
or by any other means whatsoever, without the prior written permission of Snapmaker.
Quick Start Guide | 3
1.1 Disclaimer
Please read and understand the contents of the manual of this product carefully. Failure to read the manual
may lead to personal injury, inferior results or damage to the Snapmaker products. Always make sure that
anyone who uses this product knows and understands the contents of this manual to make the most out of it.
This manual is provided for reference purposes only, we do not warrant the accuracy or completeness of the
information provided by this manual. We reserve the right to modify or revise this manual in our sole discretion
at any time without notice, users can download the most up-to-date version of this manual on our official
website.
When making objects using Snapmaker products, users remain responsible to ensure that they do not infringe
any third party intellectual property rights or violate any applicable laws or regulations. The conditions or
methods used for assembling, handling, storage, use, maintaining or disposal of this product are beyond
our control. For this reason, we do not assume responsibility and expressly disclaim liability for loss, injuries,
damage, or expense arising out of or in any way connected with the assembly, handling, storage, use,
maintaining or disposal of this product.
1.2 Intended Use
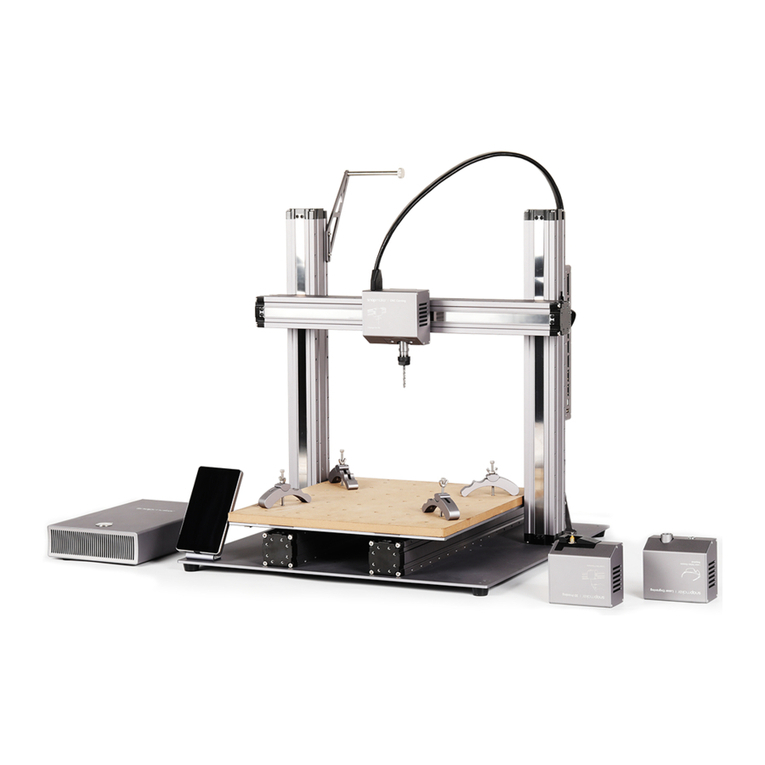
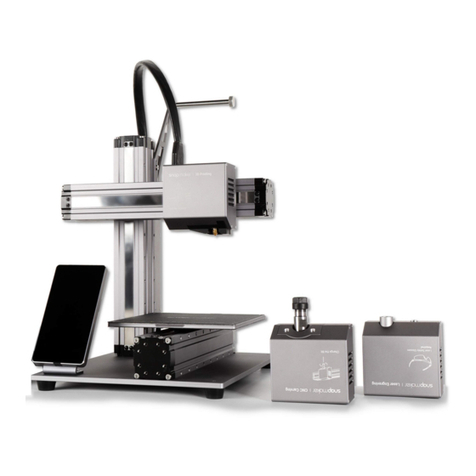
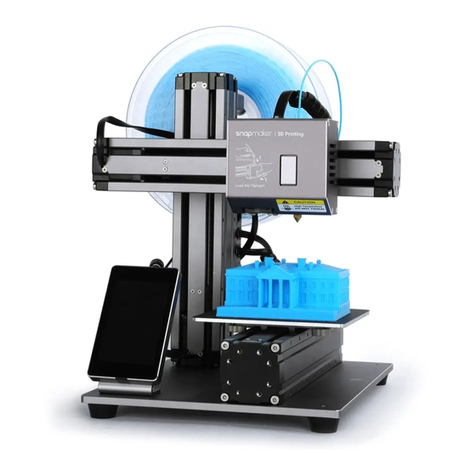
Snapmaker modular 3D printers are the ideal choice for beginners, hobbyists who prefer more customized
options, as well as engineers and designers who want to make large objects or fine parts with outstanding
fabrication quality. Snapmaker modular 3D printers are intended for use under the guidelines provided in the
product manual. When making objects using Snapmaker modular 3D printers, users remain responsible to
qualify and validate the application of the created object for its intended use, especially for applications in
strictly regulated areas like medical devices and aeronautic.
1.3 Safety and Compliance
General Safety Information
- Always operate this machine indoors on a solid horizontal table or workbench.
- Do not expose this machine to rain or wet conditions.
- Keep children and bystanders away while operating this machine. It requires the supervision and
assistance of an adult when children use this machine.
- Stay alert, watch what you are doing and use common sense when operating this machine. Do not use this
machine while you are tired or under the influence of drugs, alcohol or medication.
- Do not reach inside the machine or touch the moving parts while the machine is still in operation, as it may
cause injury.
- Do not leave the machine unattended while it is still on.
In all EU member states, operation of 5150-5250 MHz is restricted to indoor use only.
Turn off the machine immediately and stop using this product, if any of the following occurs:
4|
Before You Start
- You smell burning in this machine at any point.
- The machine stops working unexpectedly.
- You see any damage to the interior components of this machine.
- Unusual lights, sparks, or sounds come out of this machine which were not occurring previously.
3D Printing Safety
- Do not touch the nozzle, Print Sheet and Heated Bed when the machine is printing or heating.
- Always unplug the power cord from the electrical outlet before performing maintenance or modifications.
- Set up the printer in a well-ventilated place when printing with ABS. The melting of some materials may
release toxic fumes.
FCC Compliance
This equipment has been tested and found to comply with the limits for a Class B digital device, pursuant
to part 15 of the FCC Rules. These limits are designed to provide reasonable protection against harmful
interference in a residential installation. This equipment generates, uses and can radiate radio frequency
energy and, if not installed and used in accordance with the instructions, may cause harmful interference
to radio communications. However, there is no guarantee that interference will not occur in a particular
installation. If this equipment does cause harmful interference to radio or television reception, which can be
determined by turning the equipment off and on, the user is encouraged to try to correct the interference by
one or more of the following measures:
- Reorient or relocate the receiving antenna.
- Increase the separation between the equipment and receiver.
- Connect the equipment into an outlet on a circuit different from that to which the receiver is connected.
- Consult the dealer or an experienced radio / TV technician for help.
Caution: Any changes or modifications to this device not explicitly approved by manufacturer could void your
authority to operate this equipment.
This device complies with part 15 of the FCC Rules. Operation is subject to the following two conditions:
(1) This device may not cause harmful interference, and (2) this device must accept any interference received,
including interference that may cause undesired operation.
This equipment complies with FCC radiation exposure limits set forth for an uncontrolled environment. This
equipment should be installed and operated with minimum distance 20cm between the radiator & your body.
ISEDC Compliance
This device complies with Innovation, Science and Economic Development Canada License exempt RSS
standard(s). Operation is subject to the following two conditions:
(1) this device may not cause harmful interference, and (2) this device must accept any interference received,
including inter ference that may cause undesired operation of the device.
Le présent appareil est conforme aux CNR d' Innovation, Sciences et Développement économique Canada
applicables aux appareils radio exempts de licence. L'exploitation est autorisée aux deux conditions suivantes :
(1) l'appareil nedoit pas produire de brouillage, et(2) l'utilisateur de l'appareil doit accepter tout brouillage
radioélectrique subi, même si le brouillage est susceptible d'en compromettre le fonctionnement.
The device is compliance with RF exposure guidelines, users can obtain Canadian information on RF exposure
nd compliance. The minimum distance from body to use the device is 20cm.
Le présent appareil est conforme Après examen de ce matériel aux conformité ou aux limites d’intensité
de champ RF, les utilisateurs peuvent sur l’exposition aux radiofréquences et compliance d’acquérir les
informations correspondantes. La distance minimale du corps à utiliser le dispositif est de 20cm.
Quick Start Guide | 5
1.4 Label on Your Snapmaker
Safety Label Hazard Warning Location
Hot surface
Avoid contact with hot
surface.
On the 3D Printing
Module, Print Sheet
and Heated Bed
1.5 Specifications
General
3D Printing
Aluminum Alloys
Wi-Fi, USB Cable, USB Disk
5”TFT, Android System
Snapmaker Luban and third-party software
.stl, .obj, more formats to be added
MacOS, Windows, Linux
320 W
F250: 230 x 250 x 235 mm
F350: 320 x 350 x 330 mm
F250: Up to 100°C
F350: Up to 80°C
50 - 300 microns
Up to 275°C
0.4 mm
PLA, ABS, TPU, Wooded PLA, etc.
Frame Material
Connectivity
Touchscreen
Software
Supported File Types
Supported OS
Rated Power
Build Volume
Heated Bed Temperature
Layer Resolution
Nozzle Temperature
Nozzle Diameter
Supported Materials
Note: Design and specifications are subject to change without notice.
6|
Before You Start
1.6 Parts List
Base Plate x 1
3D Printing Module x 1
AC Power Cable x 1
Touchscreen x 1 Controller x 1
USB Cable x 1
Z Conversion
Cable x 1
Y Conversion
Cable x 1
Touchscreen Holder x 1
DC Power Cable x 1
Toolhead Cable x 1
Quick Start Guide | 7
Print Sheet x 1Platform x 1Heated Bed x 1
Filament Holder Sheet x 1
Filament Holder Tube x 1Tool Box x 1
Power Module x 1
Linear Module x 5 Quick Start Guide x 1
Z-axis Holder x 2
Converter x 2
Filament x 1
QUICK START GUIDE
MAKE SOMETHING WONDERFUL
| F350
Calibration Card x 2
8|
Before You Start
M4 x 10 Hex Socket
Head Screw x 17
Palette Knife x 1
M4 x 8 Screw x 68
M4 x 10 Hex Flat Head Screw
x 22
Screwdriver x 1
USB Disk x 1
Tweezers x 1
M4 x 30 Screw x 12
Tool Box
Diagonal Pliers x 1
Foot x 4 + M4 x 10 Hex Socket
Head Screw x 4
Divider x 6
Cable Holder x 1 Hot End Kit x 1 Cable Tie x 1
Quick Start Guide | 9
1.7 Video Tutorials
Apart from this Quick Start Guide, we also make video tutorials. Read this guide to finish assembly, and if you
are feeling adventurous, tricks that are not included in this guide can be found in the video tutorials. Visit our
website at https://support.snapmaker.com/hc/en-us -> select Snapmaker 2.0 -> Go to Video Tutorial.
1.8 Used Symbols
1.9 Get the Screwdriver Ready
The screwdriver head H 2.5 is used for assembling the machine. The other heads are used for maintenance.
Make sure the screw head holder has been put back inside of the handle before use.
CAUTION
NOTE
TIPS
Ignoring this type of message might result in malfunction or damage of the
machine and injuries to users.
Details you should be aware of throughout the process.
Tips offer you convenient operations and additional options.
Make sure that the highlighted part is facing the right way.
Do not tighten the screws when this symbol appears. Always tighten the
screws when it is absent.
10 |
Machine Assembly
Quick Start Guide | 11
MACHINE
ASSEMBLY
12 |
Machine Assembly
 01/24
Attach the feet to the Base Plate.
M4 x 10 Hex Socket Head Screw x 4
Base Plate x 1
Foot x 4
Quick Start Guide | 13
 02/24
All Linear Modules must be assembled in their intended position. Now,
identify two Linear Modules with the laser pattern "Lead 20 mm"; they will
be the Y Axes.
There are three Linear Modules engraved with the laser pattern "Lead 20 mm". The unused
one will be defined as X Axis in Step 13.
Linear Module × 2
14 |
Machine Assembly
 03/24
Make sure the sliders are aligning with each other. If not, you can move
them to the same position as illustrated. DONE!12Hold the Linear Modules carefully to prevent them from falling.
Do not press the steel strip.
Quick Start Guide | 15
M4 x 8 Screw x 8
 04/24
Attach the Y Axes to the Platform. Do not tighten the screws until Step 6.
Platform x 1
Make sure to assemble the
Platform in correct orientation.
16 |
Machine Assembly
 05/24
Attach the Y Axes to the Base Plate.
M4 x 8 Screw x 16
Make sure the Y-axis
Linear Modules are
accurately mounted
onto the grooves of
the Base Plate.
Quick Start Guide | 17
If the screws on the sliders are not aligning with the screw holes on the Base Plate, move the
Platform to the proper position.
 06/24
Tighten the screws on the Y-axis sliders.
18 |
Machine Assembly
M4 x 8 Screw x 8
Z-axis Holder x 2
 07/24
Attach the Z-axis Holders to the Base Plate.

This manual suits for next models

2

Other Snapmaker 3D Printer manuals

Snapmaker Artisan User manual

Snapmaker

Snapmaker Artisan User manual

Snapmaker 2.0 User manual

Snapmaker

Snapmaker 2.0 User manual

Snapmaker Dual Extrusion 3D Printing Module User manual

Snapmaker

Snapmaker Dual Extrusion 3D Printing Module User manual

Snapmaker 3-in-1 3D Printer User manual

Snapmaker

Snapmaker 3-in-1 3D Printer User manual

Snapmaker A250T User manual

Snapmaker

Snapmaker A250T User manual

Snapmaker J1 User manual

Snapmaker

Snapmaker J1 User manual

Snapmaker A350T User manual

Snapmaker

Snapmaker A350T User manual

Snapmaker Artisan User manual

Snapmaker

Snapmaker Artisan User manual

Snapmaker CAN Hub A150 User manual

Snapmaker

Snapmaker CAN Hub A150 User manual

Snapmaker A250 User manual

Snapmaker

Snapmaker A250 User manual

Snapmaker Snapmaker User manual

Snapmaker

Snapmaker Snapmaker User manual

Snapmaker A150 User manual

Snapmaker

Snapmaker A150 User manual

Snapmaker A350 User manual

Snapmaker

Snapmaker A350 User manual

Snapmaker A150 User manual

Snapmaker

Snapmaker A150 User manual

Snapmaker A250 User manual

Snapmaker

Snapmaker A250 User manual

Snapmaker A150 User manual

Snapmaker

Snapmaker A150 User manual

Snapmaker Enclosure User manual

Snapmaker

Snapmaker Enclosure User manual

Snapmaker J1 User manual

Snapmaker

Snapmaker J1 User manual

Snapmaker Snapmaker User manual

Snapmaker

Snapmaker Snapmaker User manual

Snapmaker Ray User manual

Snapmaker

Snapmaker Ray User manual

Snapmaker 2.0 User manual

Snapmaker

Snapmaker 2.0 User manual

Snapmaker CNC Carving User manual

Snapmaker

Snapmaker CNC Carving User manual

Snapmaker J1s User manual

Snapmaker

Snapmaker J1s User manual

Snapmaker Snapmaker User manual

Snapmaker

Snapmaker Snapmaker User manual

Popular 3D Printer manuals by other brands

StoneFlower Ceramic 3D Printing KIT Basic user manual

StoneFlower

StoneFlower Ceramic 3D Printing KIT Basic user manual

Creality Ender-3 V3 SE user manual

Creality

Creality Ender-3 V3 SE user manual

Fusion3 EDGE manual

Fusion3

Fusion3 EDGE manual

GE ArcamEBM Spectra H Operation manual

GE

GE ArcamEBM Spectra H Operation manual

TRONXY VEHO 600-2E user manual

TRONXY

TRONXY VEHO 600-2E user manual

ANISOPRINT COMPOSER A4 user manual

ANISOPRINT

ANISOPRINT COMPOSER A4 user manual

PhotoCentric CURE M+ user manual

PhotoCentric

PhotoCentric CURE M+ user manual

Sindoh 3DWOX-1 user manual

Sindoh

Sindoh 3DWOX-1 user manual

Stratasys Objet260 Connex user guide

Stratasys

Stratasys Objet260 Connex user guide

WEEDO M2 user manual

WEEDO

WEEDO M2 user manual

Zonestar Z8X installation guide

Zonestar

Zonestar Z8X installation guide

zortrax Inkspire Unpacking guide

zortrax

zortrax Inkspire Unpacking guide

Afinia H800 user manual

Afinia

Afinia H800 user manual

Qilive Q.3622 instruction manual

Qilive

Qilive Q.3622 instruction manual

Felix Storch Pro L Series Service manual

Felix Storch

Felix Storch Pro L Series Service manual

Objet Alaris30 Service guide

Objet

Objet Alaris30 Service guide

RAISE 3D E2 user manual

RAISE 3D

RAISE 3D E2 user manual

MakerBot Replicator 2 user manual

MakerBot

MakerBot Replicator 2 user manual

manuals.online logo
manuals.online logoBrands
  • About & Mission
  • Contact us
  • Privacy Policy
  • Terms and Conditions

Copyright 2025 Manuals.Online. All Rights Reserved.