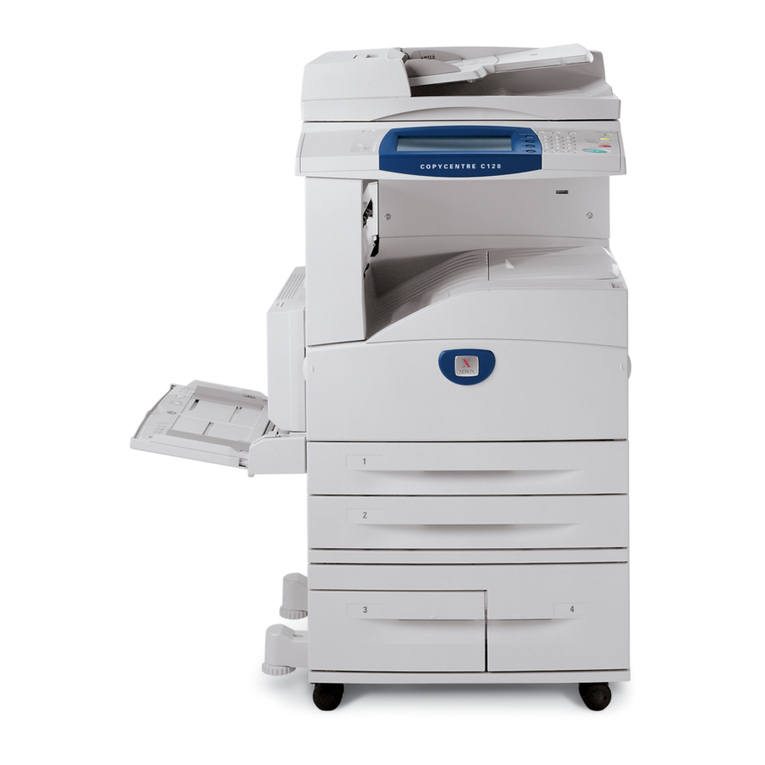
Inepro KM-3050 User manual

© 2014 Inepro B.V. All rights reserved
Installation Manual | KM Copier Serial Interface Kit
KM Copier Serial Interface
Kit
Product Version: N/A
Version of this manual: 1.0.9


Version 1.0.9 Inepro B.V. http://www.inepro.com
Table of Contents
Introduction 2
Check Kit Content 4
Hardware Setup 6
........................................................................................................................................................ 61Construct the Kit
........................................................................................................................................................ 72Attach the kit to the copier
Set up the copier 12
Appendixes 16
........................................................................................................................................................ 161Technical Details
........................................................................................................................................................ 172 How to connect an Inepro PayMatic?
........................................................................................................................................................ 183How to connect an Inepro PayCon / PayMatic Coin & Card?


Introduction
Part
I

2 - KM Copier Serial Interface Kit
Introduction
Introduction
The purpose of this kit is to provide an interface for a payment or registration system for a wide range Kyocera Mita
based copiers.
This kit is tested for the following copiers:
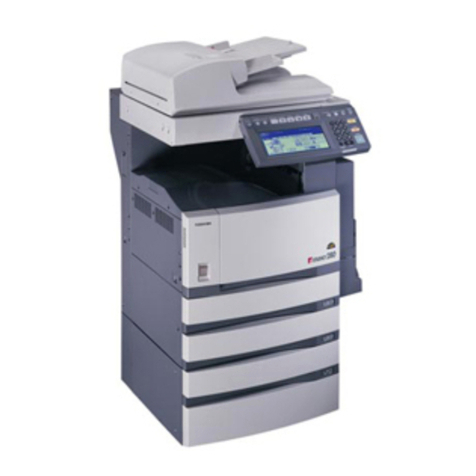
-KM-3050 / KM-4050 / KM-5050
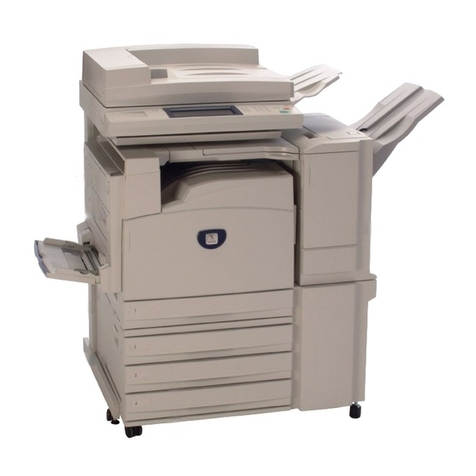
-KM-C2520 / KM-C3225 / KM-C3232
Although we have only tested it with these copiers, it was designed to work with all copiers that support the "Japanese
coin vender".
The kit has two connections for a payment or registration interface, a advanced keycounter interface and a serial
interface.
At this moment (may 2007) the serial interface is not yet available.
To install this kit we shall:
1. Check the content of kit, read more on page
2. Prepare and construct the hardware. To read more go to page
3. Set up the copier, read more on page
4
4
4

Check Kit Content
Part
II

4 - KM Copier Serial Interface Kit
Check Kit Content
Check Kit Content
Before you start installing the kit, you should check if you have received all the packages you need.
KM Copier Serial Interface Kit
Please check the content of the box and make sure all kits are complete.
KM Copier Serial Interface Kit
In the "KM Copier Serial Interface Kit" you should find:
·1x Controller board
·1x Plastic housing with 4 screws
·1x Metal housing plate
·1x Kyocera Copier Serial IF Kit Cable Art. No. 142582
·1x Sticker with article number
·2x Cable relief
·4x Screw 3x 6mm
·4x Self-Adhesive hook-and-loop fasteners
·1x Dongle for copier release
·1x Standard copier data cable (not visible in the image) Art. No. 251006
·1x This manual
Additional requirements for installation
·Payment device

Hardware Setup
Part
III

6 - KM Copier Serial Interface Kit
Hardware Setup
Hardware Setup
Additional requirements:
·No. 1 PosiDriv head screwdriver
·Payment device
Construct the Kit
or
1. Fasten the print board with the screws in the housing, placing the connector you will use on the open side of the
housing
2. Insert the metal plate
3. Connect the copier data cable and the payment device cable. Note: If you temporarily want to copy without a payment
device connect the dongle to release the copier.
4. Insert the cable reliefs

Version 1.0.9 - 7
Construct the Kit
5. Close the housing with the screws
6. Apply the adhesive hook-and-loop fasteners on the corners of the housing
7. Place the sticker on the housing
Attach the PayCon kit to the copier
KM 3050 / 4050 / 5050
1. Remove the covers at the backside.
2. Place the interface kit on the back panel with hook-and-loop fasteners and and guide the cable through the holes.

8 - KM Copier Serial Interface Kit
Hardware Setup
3. Connect the cable to connector YC19 of the main board.
4. Attach the fan and the covers to the copier.

Version 1.0.9 - 9
Attach the kit to the copier
KM C2520 / C3225 / C3232
1. Remove the covers and the fan at the backside.
2. Place the interface kit on the back panel with hook-and-loop fasteners and and guide the cable through the holes.
3. Connect the cable to connector YC35 of the main board.
4. Attach the fan and the covers to the copier.


Set up the copier
Part
IV

12 - KM Copier Serial Interface Kit
Set up the copier
Set up the copier
Turn on the copier. In this chapter you will set up the copier for use with this kit. Examine the exact settings below, (they
differ per copier type).
The 'prices' in the copier settings are virtual prices to determine the different products. Please don't edit them, the
real prices will be set by the payment system itself.
KM-3050 / KM-4050 / KM-5050
1. Press <Status / Job Cancel>
2. Press <1> <0> <8> <7> <1> <0> <8> <7> (maintenance mode appears)
3. Press <2> <6> <0> <Start> (U260, count up location)
-Select FEED => press <Start> (default = EJECT)
4. Press <2> <0> <6> <Start> (U206, coin vendor mode):
-Select ON/OFF => select ON => press <Start> => press <Stop>
-Select NO COIN ACTION => select AUTO CLEAR ON => press <Start> => press <Stop> (default = AUTO CLEAR
OFF)
-Select PRICE
-Select A3-LGR => adjust to 40 (default = 20)
-Select B4 => adjust to 10 (default = 20)
-Select CARD => adjust to 10 (default = 20)
-OTHERS => 10 (default)
-Press <Start> => press <Stop>
5. Press <Stop>
6. Reboot copier

Version 1.0.9 - 13
KM-C2520 / KM-C3225 / KM-C3232
1. Press <1> <0> <8> <7> <1> <0> <8> <7> (maintenance mode appears)
2. Press <2> <6> <0> <Start> (U260, copy count mode)
-Select FEED => press <Start> (default = EJECT)
3. Press <2> <0> <6> <Start> (U206, coin vender mode):
-Select NO COIN MODE1 => select ALL CLEAR ON => press <Start> (default = AUTO CLEAR OFF)
-Select NO COIN MODE2 => select ALL CLEAR ON => press <Start> (default = AUTO CLEAR ON)
-Select SELECT Unit Charge => select Black/White
-Select A3 => adjust to 40 (default = 10)
-Postcard => 10 (default)
-B4 => 10 (default)
-Others => 10 (default)
-Press <Start>
-Select SELECT Unit Charge => select C,M,Y
-Select A3 => adjust to 200 (default = 100)
-B4 => 50 (default)
-Others => 50 (default)
-Press <Start>
-Select SELECT Unit Charge => select R,G,B
-Select A3 => adjust to 200 (default = 100)
-B4 => 50 (default)
-Others => 50 (default)
-Press <Start>
-Select SELECT Unit Charge => select Full-Color
-Select A3 => adjust to 200 (default = 100)
-Postcard => 30 (default)
-B4 => 50 (default)
-Others => 50 (default)
-Press <Start>
-Select ON/OFF => select ON => press <Start>
4. Reboot copier


Appendixes
Part
V

16 - KM Copier Serial Interface Kit
Appendixes
Appendix
Technical Details
This page is intentionally left blank, the information will be added at a later stage.
This manual suits for next models
5
Table of contents

