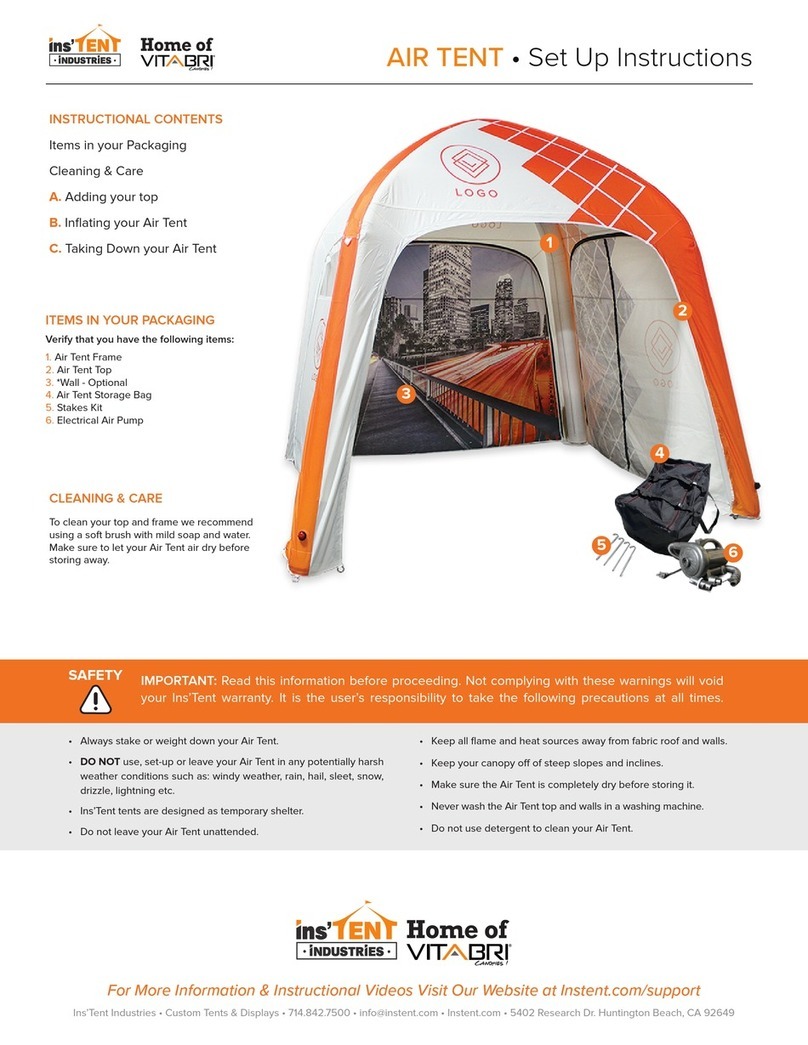
Ins'Tent Vitabri V3 Manual

Table of Contents
A. How To Set Up Your Tent
Tent Components & Warnings
B. How To Set Up Walls
C. How To Set Up Rail Skirts
D. How To Take Down Your Tent
2
Page 4 - 5
Page 3
Page 6
Page 7
Page 8
Cleaning & Care
Warning: Do NOT use bleach or harsh detergents to clean your canopy top, walls or rail skirts.
Note: Never put your top or walls and rail skirts
away if they are damp or wet. Doing so will
damage the material.
If you need to clean your top, walls or rail skirts, we recommend that you dry clean them longer color vibrancy. You
can also use a pressure washer on very low with mild soap or Simple Green® and water.
1. To clean with a pressure washer, leave the top and
the walls on the frame.
2. Then, gently moisten your top and walls with
water and use mild soap or Simple Green® and a
soft brush to clean them.
3. Rinse out the soap and let your top air dry.

Set Up Instructions
Congratulations on the purchase of your tent. Please read the instructions before
setting up your tent. Failure to do so may void warranty. It is the user’s responsibility to
take special precautions before setting up your tent.
• Always stake or weigh down your tent.
• Do not use, set up or leave your tent in any potentially harsh weather conditions:
strong winds, rain, hail, sleet, snow, drizzle, or lightning.
• Ins’tent tents are designed as temporary shelter only.
• Be cautious while handling. Avoid pinching hands or fingers as frame opens or closes.
• Do not leave your tent unattended.
• Keep all flame and heat sources away from fabric top and walls.
• Do not allow water of any kind to accumulate on the tent.
• Make sure your tent is completely dry before storing.
• Keep your tent o of steep slopes and inclines.
• Do not use strong detergents to clean your canopy. Use only mild detergent with warm water.
• Never wash the tent top and walls in a washing machine.
• For further instructions on how to clean your tent, please see page 2.
• Do not ship your tent with the top on the frame. Doing so could cause tears in the fabric.
WARNINGS
Tent Components
Note: Before you begin, please make sure you go over your tent’s components.
Failure to do so may result in damaging your tent.
Frame Push Button Leg Push ButtonTruss Bars
Important: Read this information before proceeding. Non-compliance with these warning instructions will void your
warranty. It is the user’s responsibility to take the following precautions at all times.
3

1. Place your folded tent frame on its feet in the center
of your setup space. With a partner, grab legs on
opposite sides, extend and move backwards, while
partially spreading the frame out.
2. Then, get a friend to help you put the top on. Take
your new top by the corners and throw the top
over the partially expanded frame. Line up all four
corners of the top with the corners of the frame.
3. Expand the frame further by grabbing the bottom
truss bars and by pulling back until the frame is
almost fully extended.
4. Then, attach the canopy top to the corners by
wrapping the 2” hook and loop fastener straps
around each corner. Repeat for all corners.
A. How To Set Up Your Tent
6. Extend the frame as far as it can go by taking the
truss bars and pushing the bottom outward like
you did earlier.
5. Once the top is securely placed on the truss
bars, secure the valance strap to the top junction
pieces of the frame. Repeat for all sides.
Important: Your top, walls, and rail skirts will be shipped separately from your tent hardware.
4
PULL BACK

8. With a friend, lift two of the legs and slide out the
bottom portion of the leg until it locks in place.
10. Repeat this step on the other side of the tent.9. Adjust the legs to the desired height by pressing
the push button and sliding the legs out to the
desired level. Do this on the other side of the tent.
You’re all set. Enjoy!
A. How To Set Up Your Tent Continued
Note: You do not have to remove your top after each event. If it is wet, make sure that it is fully dry before putting it away.
7. Lock the frame in place by putting your hand on the
top of the corner cap and pushing the leg slider
up until you hear the push button click into place.
Repeat this for all four corners.
5

B. How To Set Up Walls
1. Locate the hook and loop fasteners on your tent’s
top and on the inside of your wall.
2. Next, attach your wall’s hook & loop fasteners to
the hook and loop fasteners on your tent’s top.
3. Lastly, your polyester side walls should come
with 4 hook and loop fasteners on the each side.
Attach these onto the legs of the tent to secure
your wall.
6
Important: Your fabric top, walls, and rail skirts will be shipped separately from your tent hardware.

1. Locate your rail skirts poles and clamps.
You should have (2) two clamps
for each rail skirt pole.
Note: Always have the clamp
knobs facing outside.
Left Right
2. Begin by extending the pole until it locks. With a
partner, insert the pole through the fabric sleeve
of the rails skirt and make sure the pole ends are
visible. Have your partner hold the pole and rail
skirt fabric so it doesn’t get it dirty, while you
the place the clamps on the tent.
3. Wrap the clamp around the top portion of the
leg and insert the pole into the clamp. When
the pole and clamp are in place, push in the
knob through the pole.
C. How To Set Up Rail Skirts
4. Then, lock the knob by turning it clockwise until
secured.
Repeat this on the other side.
5. Your railskirt pole and`= clamps should look
like the picture above when completed.
6. Lastly, wrap around the 3 hook and look fasteners
unto the leg. Repeat this on the other side.
7
Important: Your fabric top, walls, and rail skirts will be shipped separately from your tent hardware.
Right Right

1. With a friend take two of the legs, lift them up and push
the thumb-lock to release the legs and allow them to
slide down. Then, repeat this on the other side.
3. Grab the top truss bars and push forward until the
legs slide close enough for you to reach them and
the tent is closed.
4. Store your tent in one of our professional roller-
bags or heavy-duty transport cases to be ready
for your next event.
D. How To Take Down Your Tent
Note: You do not have to remove your top after each event. If it is wet, make sure that it is fully dry before putting it away.
2. Put your hand on the corner cap inside and push
up slightly to release the pressure on the corner
button. Press the lock button and allow the leg to
slide down. Then, repeat this on all four corners.
PUSH FORWARD
8
Other Ins'Tent Tent manuals
Popular Tent manuals by other brands

Grand Canyon
Grand Canyon Parks 5 manual
Extreme marquees
Extreme marquees EMX ALPHA instructions
Vaude
Vaude Hogan SUL xp 2P user manual

Ballard Designs
Ballard Designs JU017 Assembly instructions
Eureka
Eureka Grand Manan 7 Assembly instructions

Johnson Outdoors
Johnson Outdoors Eureka! MIDORI 3 Assembly instructions

