Thank you for purchasing an INTEGRAL LED product. When installed correctly this unit will provide years of
service. For support or warranty information please see integral-led.com.
Important Details – Please read prior to installation
1. Installation must be completed by a qualied electrician in accordance with all recognised local and national electrical and
construction regulations.
2. Ensure that the power is OFF during installation and that power cannot be unexpectedly reconnected.
3. The light tting is designed to operate with a 100V-240V 50Hz/60Hz electricity supply. Do not use the light tting if damaged
or if the LED protective cover is missing or damaged. Do NOT open the driver over on the rear of the unit or remove the
front protective Cover. There are no serviceable parts inside.
4. This light tting is rated IP65 (see Technical Features table) – suitable for indoor and outdoor use, on industrial and
commercial applications, e.g. entrances, garages, parking areas, corridors etc.
5. Do NOT cover the light source or heat-sink.
6. To avoid damage; do NOT lift, carry or let the light tting hang by its cable.
7. Suitable to be mounted on solid at surfaces and lighting masts. U-shape bracket supplied as standard; other mounting
options available can be found in our website or with your supplier.
8. Failure to comply with the recommendations and instructions provided herein may cause damage to the light tting
or present a risk of injury or death (e.g. short-circuit, re, burns or electric shock). Any modications to the light tting,
incorrect installation or unsuitable positioning may be dangerous to users and may cause the warranty to become void.
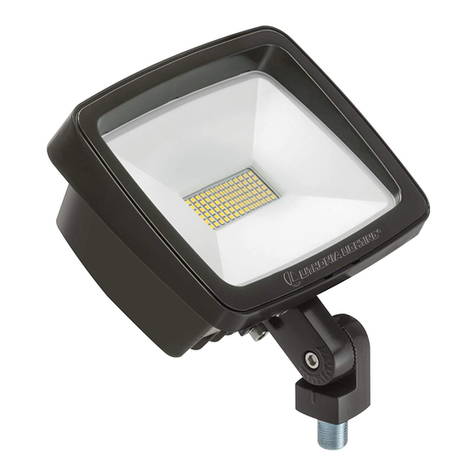
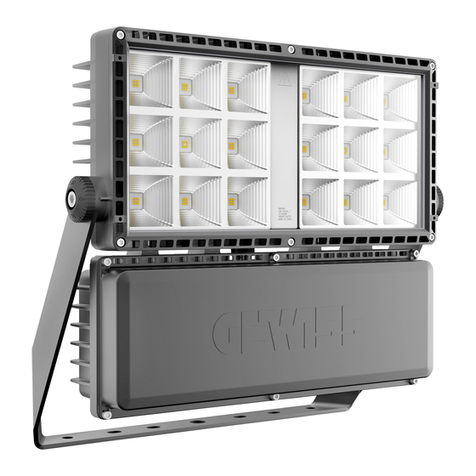
9. Figure images are for illustrative purposes only. Please note the size of the luminaire diers depending on product wattage.
Installation Instructions
10. Ensure that the power is OFF during installation and that power cannot be unexpectedly reconnected.
11. Fix the bracket / Pole Mounting on its denite position, regarding the xing points dimensions indicated on gure 1.
Fixing accessories are not supplied. Please consider the specic environment characteristics where you are installing the
oodlight to select the adequate xing devices (salty, humidity, causticity, acidity, temperature)
12. Please consider the structure you are xing the product to and ensure it can bear the weight of the oodlight before
installation, keeping in mind the eects of wind resistance.
13. Once the bracket is xed, aim the LED oodlight ensuring the appropriate angle so the area you wish to illuminate is
properly covered (g 2). Ensure bolts are tight on both sides of the bracket after aiming the product adequately.
14. If needed, a glare shield is available as an accessory. Please, check our website for product details.
15. All oodlights are supplied with 2 meters cable H05RN-F 3x1.00mm2 (g 3) to connect the oodlight to mains.
16. Use of a suitable junction box or connector providing installed IP65 rating (or greater) is required to connect the oodlight
cable to the mains. Please pay special attention to the cable polarity and earth.
17. Connect the oodlight to the controller using the supplied 2m signal cable with male-female connectors (g 3). Extension
signal cables are available; please, check our website for product details.
18. The oodlight is a CLASS I device – an EARTH connection is MANDATORY.
19. Check connections and switch power ON when safe to do so.
Product Code Wattage Beam Angle
ILFLRGBW001
80W
30°
ILFLRGBW002 60°
ILFLRGBW003 90°
ILFLRGBW004 120°
ILFLRGBW005 85°x135°
ILFLRGBW006 60°x135°
ILFLRGBW011
100W
30°
ILFLRGBW012 60°
ILFLRGBW013 90°
ILFLRGBW014 120°
ILFLRGBW015 85°x135°
ILFLRGBW016 60°x135°
Product Code Wattage Beam Angle
ILFLRGBW021
120W
30°
ILFLRGBW022 60°
ILFLRGBW023 90°
ILFLRGBW024 120°
ILFLRGBW025 85°x135°
ILFLRGBW026 60°x135°
ILFLRGBW031
300W
30°
ILFLRGBW032 60°
ILFLRGBW033 90°
ILFLRGBW034 120°
ILFLRGBW035 85°x135°
ILFLRGBW036 60°x135°
INSTALLATION INSTRUCTION
Precision Pro RGBW Floodlight
The oodlights in this range are RED GREEN BLUE and WHITE colour changing
Method to change colour is via a supplied DMX controller
EN

