Inter-Play FAb Lab Tie Dye Kit User manual

Warning! Not suitable for children under 8 years.
For use under adult supervision. Contains some chemicals which
present a hazard to health. Read these instructions before use,
follow them and keep them for reference. Do not allow chemicals
to come into contact with any part of the body, particularly the
mouth and eyes. Keep young children and animals away from the
experimental area. Store this set in its original packaging out of
reach of children under 8 years of age.
D
E
S
I
G
N
E
R
I
n
s
t
r
u
c
t
i
o
n
s
Experimental!
Creative!
Fun!
Interplay UK Limited
Meter House, Fieldhouse Lane, Marlow,
Buckinghamshire. SL7 1LW
Designed by Interplay UK Limited
Made in China
Product Code FL004 v1.0 2015
Please retain our address for future reference.
Interplay on the Web!
To get all the latest information about
Interplay’s range of products, visit
www.interplayuk.com
Also in the FabLab range:

D
E
S
I
G
N
E
R
I
n
s
t
r
u
c
t
i
o
n
s
WARNING!
Not suitable for children under 8 years.
For use under adult supervision.
Do not take the powdered dye out of the containers in
which it is supplied. Once diluted, the dye must be used
immediately, and any surplus must be disposed of in the
household waste.
Contains some chemicals which are classified as a safety
hazard. Read these instructions before use, follow them and
keep them for reference. Do not allow chemicals to come into
contact with any part of the body, particularly the mouth and
eyes. Do not inhale the dust or powder. Keep young children
and animals away from the area where you are applying
the dyes. Store this set in its original packaging out of reach
of children under 8 years of age. Clean all equipment after
use. Make sure that unused containers are fully closed and
properly stored after use. Wash hands after carrying out the
activities. Do not use equipment which has not been supplied
with this set or recommended in the instructions for use. Do
not eat or drink in the area in which you are carrying out the
activities. Always use the protective gloves provided when
handling the chemicals. Rinse the gloves before taking them
off. Safety equipment for supervising adults is not included.
Advice for supervising adults
Read and follow these instructions, the safety rules and
the first aid information, and keep them for reference. The
incorrect use of chemicals can cause injury and damage to
health. Only carry out those experiments which are listed
in the instructions. This experimental set is for use only by
children over 8 years. Because children’s abilities vary so
much, even within age groups, supervising adults should
exercise discretion as to which experiments are suitable and
safe for them. The instructions should enable supervisors
to assess any experiment to establish its suitability for a
particular child. The supervising adult should discuss the
warnings and safety information with the child or children
before commencing the experiments. Particular attention
should be paid to the safe handling of acids and alkalis. The
area surrounding the experiment should be kept clear of any
instructions and away from the storage of food. It should be
well lit and ventilated and close to a water supply.
First Aid information
In case of eye contact, rinse immediately with plenty of
water, holding the eye open if necessary. Remove contact
lenses if present and easy to do. Continue rinsing. Seek
medical advice. If swallowed, wash out mouth with water,
drink some fresh water. Do NOT induce vomiting. Seek
medical advice. In case of inhalation, move person to fresh
air. In case of skin contact and burns, wash affected area
with plenty of water for 5 minutes. In case of doubt or
injury, always seek medical advice without delay. Take the
chemical, its container, and this leaflet with you.
Please add the telephone number of your local
poison centre or hospital here:
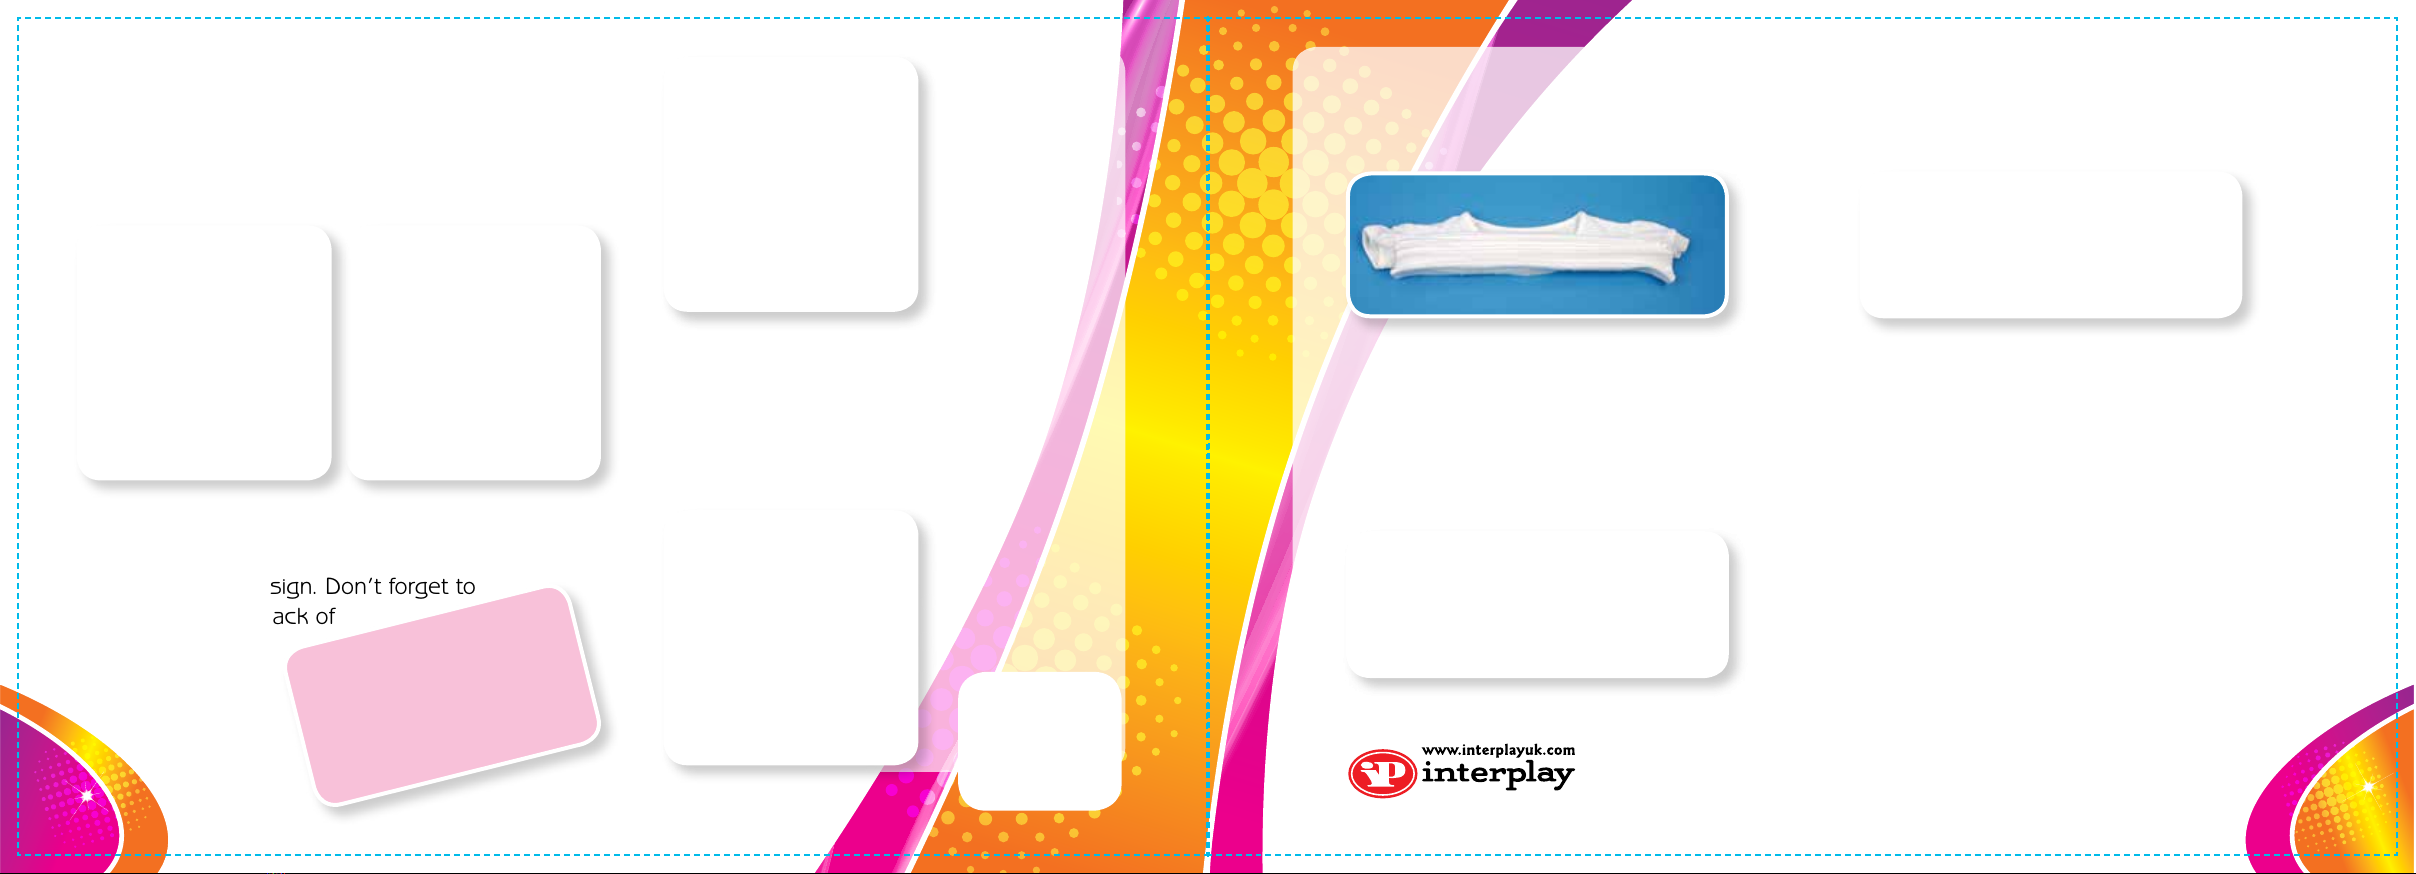
Contents
4 x Plastic applicator bottles with
Coloured Dye Mixture
30 x Latex-Free Elastic Bands
2 x Pairs of Gloves
Dye Composition
Each bottle of dye contains 5.25g
of dye mixture, comprising Sodium
Carbonate CAS 144-55-8, Dye,
Etherised cellulose CAS 9004-57-3
Causes Serious Eye Irritation
Yellow Dye = Benzenesulphonic acid
CAS 50662-99-2
Turquoise Dye = Reactive Blue
CAS 12236-86-1
Purple Dye = Reactive Violet
CAS 12239-45-1
Fushsia Dye = Acid Red
CAS 95050-79-4
(Xi)
Irritant
Warning
2 3

Part 1:
Set up a Work Area
Tie dying can be a very messy
business. Always cover the table with
a plastic covering (a big rubbish bag
works well) and make sure you work
away from any furniture or carpet.
Make sure that you have all your
supplies gathered with you at your work
area before you begin.
Prep Your Shirt
Soak the item you’d like
to tie dye in lukewarm water.
Dying a damp shirt helps
the colour to travel further,
faster.
Do not use cold or hot water, as it can
make the dyes less effective.
If you don’t want the dyes to spread
very far on the shirt, leave the shirt dry
then add the colour.
Prepare Your Dyes
Put on the protective gloves before
handling the dyes.
Add water right up to the neck of
the bottle. Replace the cap tightly.
Shake the bottle until the powder has
dissolved.
For bright intense colours, fill the bottle
with less water. For pastel soft colours,
fill the bottle with more water.
Do not add water to the powder mix
until you are ready to tie dye. It’s a good
idea to have 3-4 items ready to dye at
the same time. Apply the dye within 45
minutes of mixing. Dye left unapplied
after 45 minutes will begin to lose
intensity and won’t produce such vibrant
colours. Do not tip the powdered dye out
of the dye bottle.
Dye Your Shirt
Here are some Top Tips for when you
start dying your shirts, in section 2
of this manual you’ll find lots of great
designs to try out!
100% Cotton materials work best for tie
dying. Avoid using synthetic fabrics, as
they will react with the dye differently
than regular cotton and may not hold the
dye.
Top Tip:
Always create your
brighter designs first
before diluting the dye
.
Top Tip:
Having paper towels
or old rags on hand is
handy in case of any
accidental spills.
Introduction
This booklet is in two parts:
Part 1 - Teaches you all about
tie dying from start to finish with
loads of helpful hints and tips.
Part 2 - Shows you how to create
some cool designs with step by
step instructions.
4 5

Rinse Out The Dye
Wearing the protective gloves, take the
shirt out of the plastic bag and unwrap
any rubber bands that you have used.
Rinse the shirt with cold water in the sink
to remove the excess dye. Be careful
not to splash the water too much to
avoid dying your clothes or countertops.
Wash Your Shirt
Put your shirt into the washing machine
and wash on a cold cycle without adding
detergents or fabric softeners. If you
are dying more than 1 item at a time,
ONLY put 1 of the items in the washing
machine at once otherwise the colours
may transfer. Run the wash again with
an empty cycle and a little detergent
to get rid of any dye that might have
transferred to the inside of the machine.
Dry and Wear Your Shirt
Hang the shirt up to dry. Once dry it is
ready to wear!
Part 2:
This section of the manual shows you
some fashionable ways to dye your
shirt. You can also try dying a scarf,
vest top or EVEN shoes!
Spirals
This is the most basic of the tie dye
techniques and one of the most popular.
1. Lay a shirt flat on a countertop or
table.
You don’t have to dye the entire shirt.
You can do a few small sections of tie
dye and allow the original shirt colour
to show through. Be creative and make
your design unique!
Let The Dye Set
Once you have finished dying your shirt,
wrap the shirt in a plastic grocery bag to
keep it moist. Set it aside for 4-8 hours
so that the dye has time to react with
the cloth. Placing the shirt in a warm
area will help the dye to cure faster.
The longer the dye sets, the more
intense the colours will be.
If you plan on layering colours, always
apply the lighter colours first, eg. yellow
then pink.
Be careful when mixing colours - colours
opposite each other on the colour wheel
eg. yellow and purple will turn a brownish
colour when mixed!
76

3. Add dye to your shirt - you can dye
the whole shirt, or just squirt dye onto
the small sections that are sticking up.
Top Tip:
To create small dots, only leave
1 - 2cm of fabric outside of the
elastic band. Larger dots can be
made by tying the fabric further
down so that a larger section of
fabric sticks out.
2. Then, put your thumb and index finger
in the centre of the shirt. Begin moving
them in a circular motion, spiralling the
shirt around the centre point.
When you have spiralled the entire shirt,
loop elastic bands around the shirt.
7. Once your shirt is covered with dye,
pop the shirt into a plastic bag and
leave it to set. Follow the instructions
in Section 1 to finish your shirt.
Create Polka Dots
1. To create a polka dot design, take
your shirt, and pinch small sections of
fabric between your fingers.
2. Wrap an elastic band around the
end of the fabric.
3. Use at least three elastic bands over
the shirt to create 6 sections.
It’s now time to dye your shirt!
4. First put on the gloves provided in
the kit, then mix your dye following
the instructions on page 5.
5. Using the squirt bottle upside down
apply colour directly to the shirt.
6. Once the top side of your shirt is
covered in dye, turn the shirt over and
cover this side with dye.
8 9

Stripes
1. To create colourful stripes on a
t-shirt, lay your t-shirt out flat.
Starting at the bottom of the shirt,
fold the shirt into pleats.
2. Pleat the whole shirt as pictured.
3. Use elastic bands to tie the shirt
into sections. This will create the
stripe pattern on your t-shirt and also
help keep your dye in sections.
4. Squirt dye on each section of the
shirt.
5. Continue on with the dying
process as outlined in Section 1.
The possibilities are endless with Tie
Dying, check out these great sites
for more colourful ideas!
www.favecrafts.com/Tie-Dye/Tie-Dye-
Techniques-and-Patterns
www.lifedaily.com/5-easy-tie-dye-
patterns-for-t-shirts/
www.wikihow.com/Tie-Dye
Crumpled
This is a simple technique to make a
stylish crumpled look!
1. Scrunch fabric into a crumpled heap.
Squirt on Dye
Using 1 colour of dye creates the best
effect for this design. Don’t forget to
add dye to the back of
the fabric too!
Top Tip:
Don’t forget to put your
gloves on before you
begin dying!
1110
Table of contents
Other Inter-Play Toy manuals