Intercel eSAM User manual

2
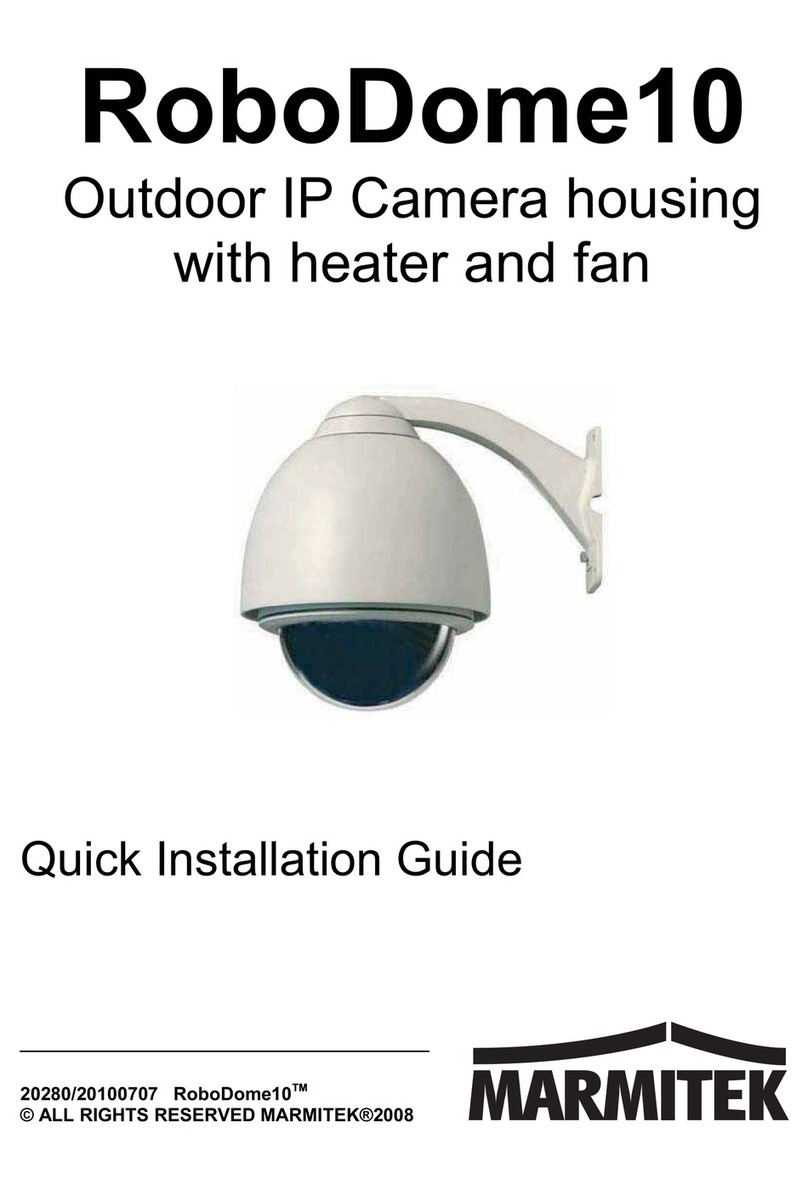
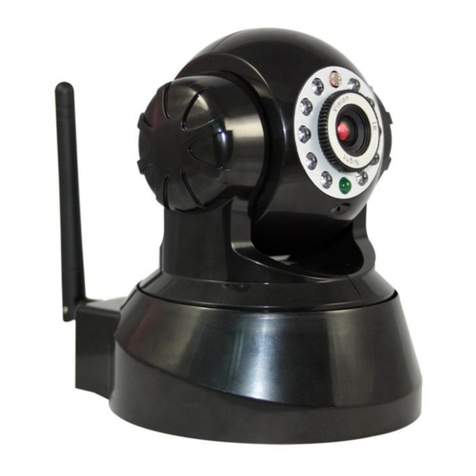
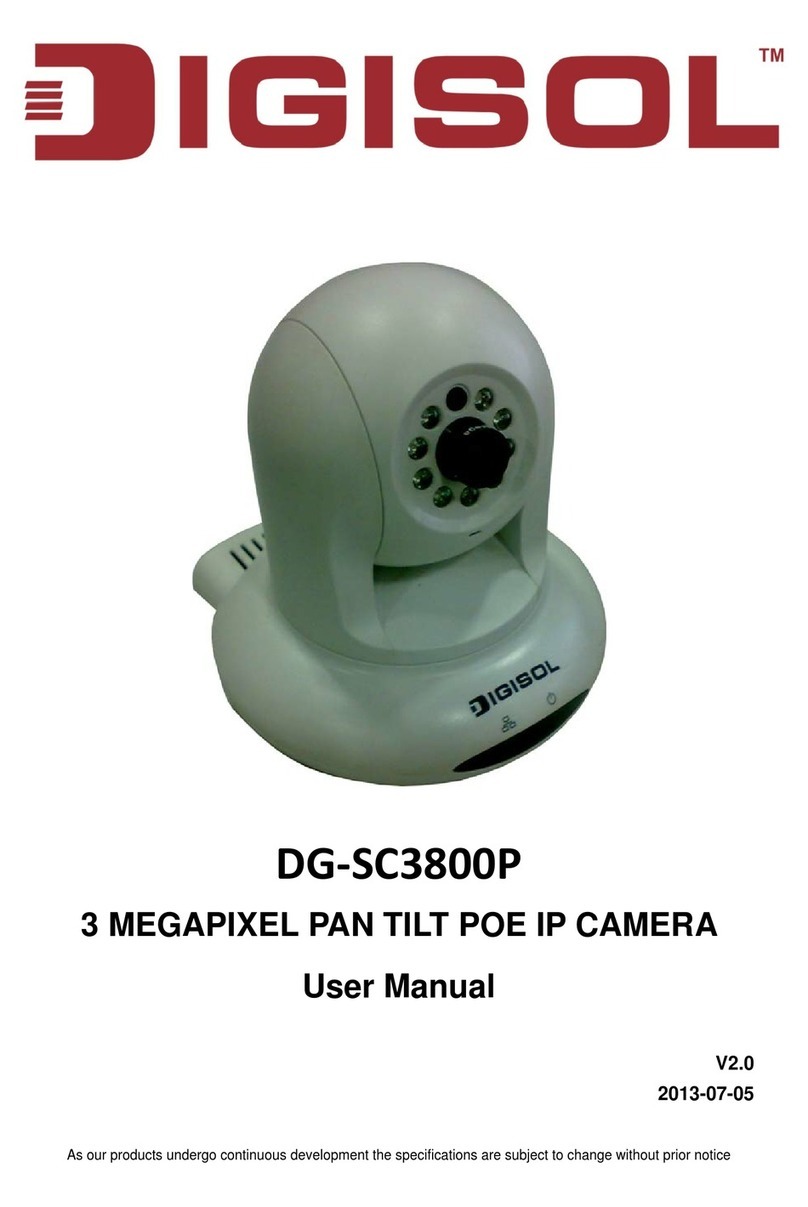
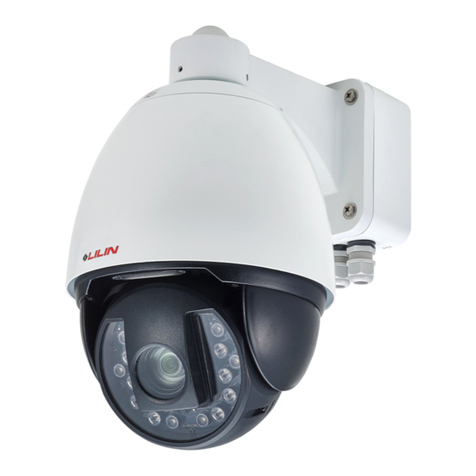
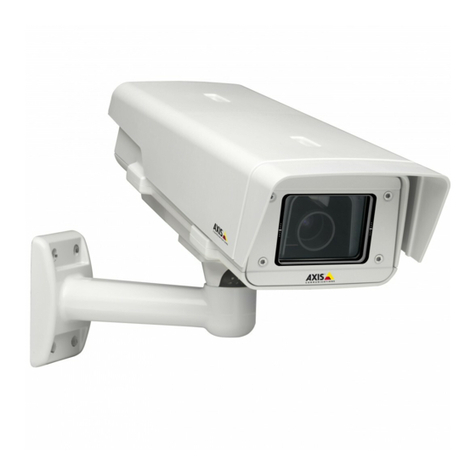
This guide will explain how to set up a basic configuration for accessing and IP camera remotely using the eSAM
router.
To achieve this, we will follow the following steps
1. Enable remote access on the modem
2. Port Forward from the modem to the IP Camera so we can access it remotely.
3. Create a Dynamic DNS (DDNS) URL we can use to access the modem remotely without needing to know its
IP Address
Please consult the instruction manual of your IP camera before proceeding, as different cameras may operate in
different ways.
If you have any queries regarding the eSAM, please contact Intercel technical support at i[email protected]om.au.

3
In this section we will configure an eSAM to be easily accessed over the internet.
1. Use your web browser to connect to the eSAM. By default, this can be done by connecting your computer to
the eSAM’s Ethernet port and entering the IP Address http://192.168.1.1 into your web browser. You should
be presented with the screen below
2. Log into the eSAM. The default login details are:
Username: admin
Password: admin
(You should change these details for security reasons.)
3. For this guide, you will need to have a SIM card that provides you with a public IP address. This may be, for
example, a Telstra.extranet SIM Card.

4
4. Open the ‘Security>Remote Access’ screen. Enable WEB Access. Telnet and SSH are not required for this
guide, so we can leave them disabled. Press ‘Save’ to save the settings.
5. Open the ‘Status>Modem’ screen.
Please confirm that your modem has been assigned a public IP address. Public IP Addresses are any
addresses that are not in any of the following ranges:
10.x.x.x
192.x.x.x
If your device has not been assigned a Public IP Address, you may need to adjust your APN Settings or to
contact your ISP

5
6. Copy the IP Address from step 5 and paste it into your URL bar.
Press enter to access the modem using its public IP.
You should now be able to unplug the modem from your computer and still access it.

6
In this section we will configure port forwarding on the eSAM to access an IP Camera.
1. First, I will need to access the Camera from my computer. To do this I first read the IP address from the IP
Camera’s manual. The manual tells me that out of the box the Camera has the IP Address 192.168.1.158 –
please double check the manual of your camera to check that this is the same.
For the IP Camera and the Modem to communicate, they must both have an IP address on the same subnet
(the first three number of the IP address must match). I can accomplish this either by setting the IP Camera’s
IP to match that of the eSAM or changing the IP of the eSAM to match that of the Camera.
For this example I’ll change the IP of the eSAM to match the subnet of the camera.
So, I will change the eSAM’s local IP Address to 192.168.1.1 so it can communicate with the IP Camera at
192.168.1.158
Open the ‘Network > LAN’ screen on the modem
And change IP1 to 192.168.1.1. Press ‘Save’ to save your changes.
Please reboot the modem after changing the IP, to avoid confusing any devices already connected to it.

7
Note: If your webcam is assigned an IP by DHCP, or has an IP Address in the correct subnet, you will not
have to perform this step. Please contact Intercel technical support at [email protected].au if you have
any questions about your specific IP Camera Model.
2. Now connect the webcam to the Ethernet port of the eSAM. After connecting the two together, open the
‘System > Network Test’ Screen.
Enter the IP Address of the Camera into the ‘destination’ field and press ping. If the modem can communicate
with the Camera, then the Result field will show that a series of successful ping messages have been sent
from the modem to the IP Camera.
If you do not see a screen like this, then it indicates that the modem and IP Camera are not configured
correctly. In this case, please ensure that the modem and the camera are both on the same subnet.
3. Now that the camera and modem can communicate, we can add a port forwarding rule to forward traffic from
the modem’s internet-facing IP address to the IP Camera’s local IP address.
Open the ‘Forward> NAT’ screen

8
Press the ‘Add’ Button. Enter the details for your webcam as described below:
Interface: modem
Original Port: 8080
Mapping Address: The IP Address of the Camera (for this Camera, it is 192.168.1.158)
Mapping Port: 80 (the port for the web GUI of the IP Camera)
Press Save to save this rule.

9
Your ‘Forward> NAT’ screen should now look like this:

10
4. Now that we have forwarded a port for the IP Camera to use, we should be able to access it remotely using
the public IP Address.
Open a browser window and enter the public IP of your modem, followed by ‘:8080’. This tells the web
browser that we want to communicate with port 8080, which is the port we forwarded to the IP camera.
For this example, I must browse to http://120.157.66.109:8080/. Please replace ‘120.157.66.109’ with the
public IP address of your modem.
I can now access the IP Camera remotely from anywhere with an internet connection.
The port forwarding we are using works like this:
The modem acts as a go-between, using its NAT table to decide what it should do when sent data from
outside the network. Using the port the data was sent on as a guide it decides which device on the LAN the
packet should be sent to.
Please see the related Port Forwarding User Guide for more general instructions on port forwarding.

11
At this point, we can remotely access both the camera and the modem using the IP Address of the Modem.
However, if the modem is reset its IP address may change and we will be unable to access it.
To prevent this from becoming a problem, we will use the Dynamic DNS (DDNS) functionality built into the modem
combined with a free service called Duck DNS.
It would also be possible to purchase a Static IP Address from Telstra, but these are expensive and difficult to
purchase so a DDNS solution is usually a more cost-effective option.
1. Visit www.duckdns.org. Select an account-type you want to link with DuckDNS. For this example, we will use
Google.
2. Log into your google account

12
3. Enter the name of the sub-domain you want to use into the ‘domains’ box, and then press ‘add domain’.
4. Note down the following information from the DuckDNS page. These values will have to be entered into the
eSAM. i. The Token: A long alphanumeric string used to authenticate that you have control over the
domain.
ii. The Domain; The domain name you will use to access your modem remotely.

13
1. Log into your eSAM, and open the ‘Applications > DDNS’ screen
2. Enter the following settings into the DDNS Screen:
a. Select duckdns from the service provider dropdown.
b. Enter the token copied from the earlier step into the Token Field.
c. Enter the domain you are using in the user domain field.
d. Enter a username and password. These are required by the DDNS feature but are not used by Duck
DNS. What you enter here does not matter.
e. Set the interval to a sensible setting. The maximum (86400 seconds) is fine if your modem does not
often get reset. If this modem is used for testing and is often rebooted, I would suggest entering a
smaller value.
3. Press ‘Save’ to save the settings on your eSAM.

14
4. Once your eSAM is provided with the correct settings, it will update the IP on Duck DNS to match your IP. You
can monitor this happening using DuckDNS or your modem’s log. You will then be able to access the modem
using the Ducks DNS Domain.

15
Having followed these steps, the following solution is now implemented:
The modem can be accessed remotely using a public duckdns domain ‘intercel1.duckdns.org’, or whichever
other duckdns domain name you choose to register.
Using port 8080 through the domain ‘intercel1.duckdns.org:8080’ we can remotely access the IP Camera
connected to the eSAM modem
If the modem is rebooted or for any reason changes its IP address, the DDNS service will compensate for the
change automatically without any human intervention.

Other manuals for eSAM
5


