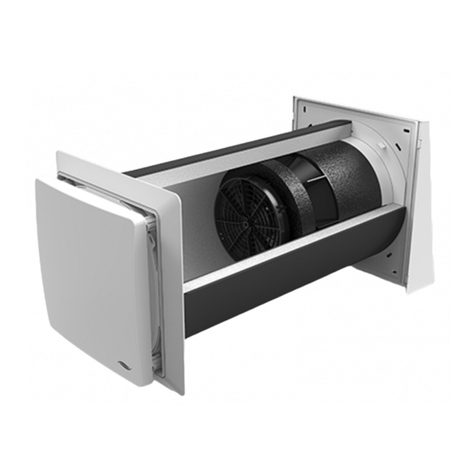
1. Assembly Instruction "General Part"
inVENTer® www.inventer.de 3
inVENTer®Quality and Guarantee
The inVENTer ventilation system is manufactured according to the DIBt permit and strict
quality guidelines. Only high-quality and corrosion resistant materials such as plastic,
ceramic and stainless steel are used.
The inVENTer ventilator is designed for continuous operation. With only an average 2.5
W connection capacity per ventilator (including controller losses), about 40 times more
(heat) energy is saved than used.
We are subject to a statutory warranty period of 2 years. For an additional fee it is
possible to extend the warranty for another 3 years. Additionally, we provide a
supplemental guarantee of 8 years on the ceramic heat storage tank.
The manufacturer does not assume warranty if the installation was not completed
according to the assembly instruction.
Intended use
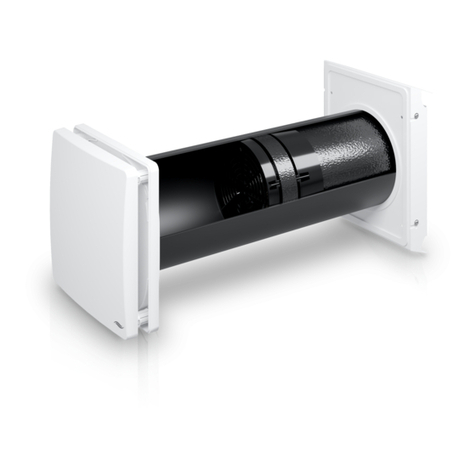
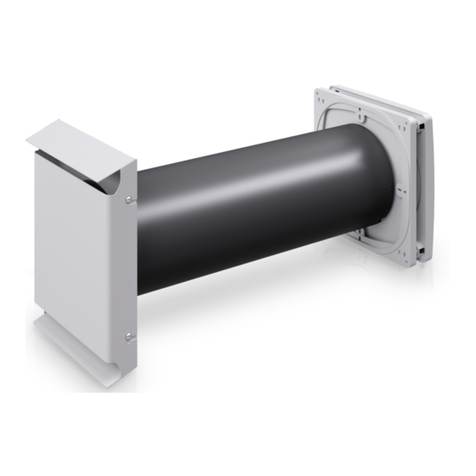
The inVENTer ventilation system is used to ventilate and aerate living spaces and similar
rooms (e.g., offices, medical offices, etc.) and is installed on exterior walls. When
planning, installing and operating, please follow the stipulations and valid building codes.
The iV twin was especially developed for individual room ventilation.
¾The inVENTer ventilator may not be used in rooms that are subject to high levels of dust
accumulation (e.g., in model construction) and may not be used in rooms with aggressive
or corrosive gases.
¾The inVENTer ventilator may not be operated without a dust filter and inner cover plate.
¾Please close the inVENTer dust-tight during construction work, and put the ventilation
system into operation only after concluding the construction work. Please inform the
respective contract builders and responsible construction manager.
¾The inVENTer ventilator is not suitable for building drying during the construction phase
and for ventilation while working with high levels of dust accumulation (e.g. sanding
plaster board).
The manufacturer is not liable for damages created by improper installation and non-
compliance with intended use.
Safety
Please always follow the safety, warning and processing information of the materials and
tools used, as well as the points specified in this instruction. Furthermore, when carrying
out the work and using materials and tools, the current applicable legislature must be
followed. Non-compliance can lead to damages to the device or bodily injuries.
The inVENTer ventilation system works with a low-voltage protector. Therefore, the
inVENTer ventilator may never be directly connected to the 230 V mains supply; rather it
must be connected via a controller. Damages caused by incorrect installation are not
included in the warranty obligation.
Attention for fireplaces!
Please follow the valid building codes and regulations (e.g., FeuVO [Firing Regulation])!
Before installing the ventilation system please talk to your chimney sweeper!
