Invion GPS-3V906-IUS User manual

INSTRUCTION MANUAL
EN
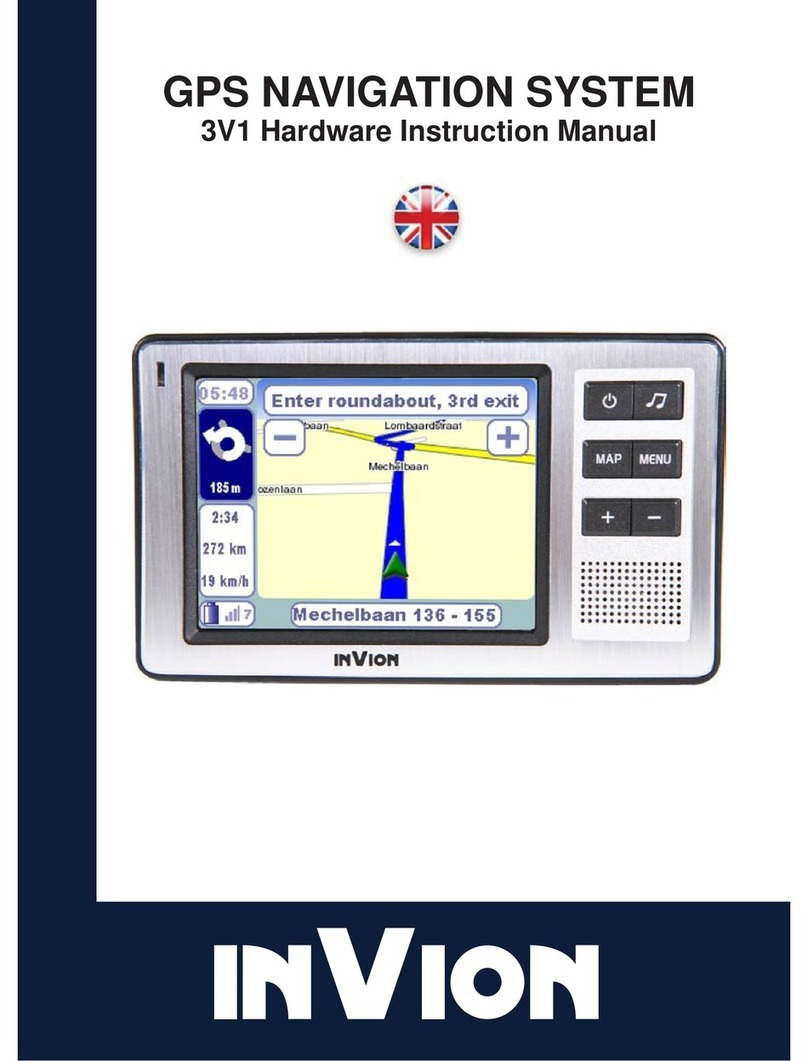
GPS NAVIGATION SYSTEM
GPS-3V906-IUS

1
Congratulations on choosing your new INVION product. We have every
expectation that you will be completely satisfied with your new purchase.
To always guarantee optimal function and performance of your product, we would
ask the following:
łBefore using the product for the first time, carefully read the operating
instructions and adhere to the safety precautions.
łAll activities at and with this product may only be carried out as described in
these operating instructions.
łPlease be sure to include the operating instructions in case you pass along this
product to someone else.
Packaging:
This product is delivered in protective packaging to prevent transportation damage.
Packaging materials are raw materials and can therefore be recycled. Please
recycle these materials.

Brief introduction of hardware. . . . . . . . . . . . . . . . . . . . . . . . .4
NavigationManual...................................6
Contents
1 Getting Started......................................
Configuration Wizard ................................
Main Menu .......................................
2 Create a Route ....................................
Go Menu ........................................
Address .........................................
POI ............................................
Recent Locations ..................................
Favorites ........................................
3 Maps ............................................
Map Screen ......................................
Current Location Indicator ............................
Map Point .......................................
Map Views .......................................
Map Buttons and Icons ..............................
Map Settings .....................................
Browse Map Mode .................................
Select Map Screen .................................
4 Routes ..........................................
Manage Route Button ...............................
Route Menu ......................................
Driving Directions ..................................
Cancel Route .....................................
Route Overview ...................................
Road Types ......................................
Create Detour .....................................
6
6
8
9
9
10
14
18
19
21
21
21
22
22
24
25
26
27
29
29
29
30
32
32
32
33
2
3
ENGLISH
5 Settings .........................................
Settings Menu Button ..............................
Settings Menus ............................... ...
Day/Night Views ..................................
Browse Map .....................................
POI Display .....................................
Map Settings ....................................
Prompts ........................................
Units of Measure ..................................
Language .......................................
Time Settings ....................................
QuickNav .......................................
Look & Feel .....................................
Select Map ......................................
Start Demo ......................................
GPS Signal ......................................
Help ...........................................
About ..........................................
Main Menu.........................................
Specifications ......................................
Legal .............................................
1. Notices, Disclaimers, and Terms of Use .................
2. Copyright notice ..................................
3. Safety advice .....................................
4. Caution .........................................
5. FCC compliance ..................................
Claims & Warranties .................................
34
34
35
35
35
35
35
36
37
37
38
39
40
41
41
41
42
43
44
46
47
47
48
49
50
51
52

4
Brief introduction of hardware
Standard package
Before getting started with your GPS, check to see that your INVION package
includes the following items (if you are missing any parts, please contact your
INVION dealer immediately):
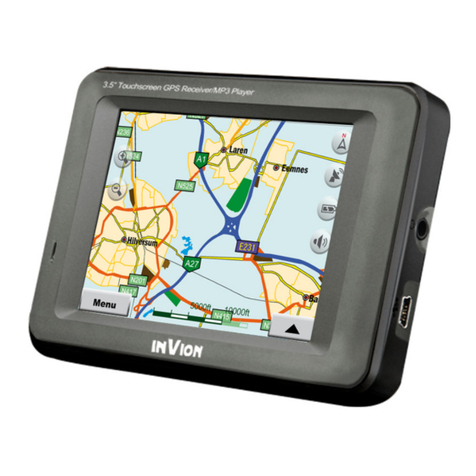
GPS unit Car power adapter
Suction mountUSB cable
Instruction manual Mounting bracket
Stylus
Quick Start Guide
(1) Power on/off
(2) Power jack
(3) Hibernate/wake up
(4) SD card slot
(5) Earphone jack
(6) Reset button
(7) USB port
1
8
2
3
4
5
6
7
(8) Stylus
Please note the maps are pre-loaded onto the units' internal memory.

5
About the Touch Screen
Do not touch the TOUCH SCREEN until the unit starts up completely. Otherwise,
the touch screen may not function correctly.
The navigation device is mainly operated by touching the buttons on the touch
screen.
If nothing happens when you touch the buttons on the touch screen, remove
your hand from the screen and touch the button again.
Do not touch any buttons that are grayed out.
When cleaning the touch screen please use a soft cloth. Do not use water, soap,
or abrasive cleansers.
Connection
Connect to Car Power
Connect the plug of the car power adapter to the DC port on the side of the GPS
Unit.
Connect the car cigarette lighter plug of the car power adapter into the car
cigarette lighter socket.

6
Navigation Manual
1 Getting Started
1.1 Configuration Wizard
This wizard, which automatically starts the first time you use the GPS ,lets you
easily configure the system settings by providing a step-by-step setup process.
The user can also configure these system settings by going to these system
features from the Settingsmenu (see Section 5.2 Settings Menus on page 35):
1.1.1 Language Settings
Set text and voice language preferences.
Figure 1 - Language Screen
1.1.2 Map License Agreement
Please review the license information and tap the I Agree button. The EULA
screen appears each time you use a new map.
Figure 2 – Map License Agreement
Before you use your GPS for the first time please charge it for a full 8 hours.
When turning on your GPS please be sure the on/off switch is in the ‘on’position.
Refer to the diagram on page 4.

7
1.1.3 Time Settings
Specify the time zone and adjust for Daylight Savings.
Figure 3 – Time Zone Settings
1.1.4 Units of Measure
Specify system measurement units.
Figure 4 – Units of Measure
1.1.5 Driver Warning
Review the driver warning information and tap the OK button to continue. Tapping
the Disagree button causes Destinator to end.
Figure 5 – Driver Warning

8
1.2 Main Menu
This high level menu lets you access all other Software menus and the map, and is
displayed after agreeing to the Driver Warning screen or whenyou have
completed the Configuration Wizard.
Figure 6 – Main Menu
1.2.1 Go Menu Button
When you tap the Go button, the Go menu is displayed, providing basic GPS
navigation features, such as traveling to an address, points of interest, or to a
favorite location.
Figure 7 – Go Menu
1.2.2 Map Menu Button
When you tap the Map button, the Map screen is displayed. Default icons and
buttons let you to zoom out or in, change the 2D/3D map view, show next turn, and
GPS travel information.

9
Figure 8 – Map Screen
1.2.3 Settings Menu Button
When you tap the Settings button, the Settings menu is displayed, providing
features to better configure the Software application.
Figure 9 – Settings Menu
2 Create a Route
This chapter discusses all the GPS features that let you create a route.
2.1 Go Menu
From the Main menu, tap the Go button to display the Go menu.
Figure 10 –Go Button and Go Menu

10
2.2 Address
2.2.1 Address Menu Button
From the Go menu, tap the Address button to create a route to an address.
Figure 11 –Address Button
2.2.2 Address Mode Screen
This screen lets you determine the address entry screen order.
Figure 12 –Address Mode Screen
2.2.2.1 Cities First
When you tap the City First button,the GPS displays the
following address entry order: Address City, Address Street,
and Address Number.
2.2.2.2 Intersections
When you tap the Intersections button, the GPS displays the
following address entry order: Address City screen, Address
Street screen, and the Address Cross Street screen.
2.2.2.3 Change State
For North American maps, the Change State button lets you
select from a list of States.

11
Figure 13 –Address State Screen
2.2.3 Default Address Flow
2.2.3.1 City
The Enter City screen displays a list of cities to choose from. You can use the
keyboard to search the list, based on the characters entered. You can also use the
Browse keys to move through the list.
Figure 14 –Address City Screen
You can tap the See List button to enlarge the list display, so that it covers the
keyboard. Tap the Show Keyboard button to reduce the list display.
When you have selected a city, tap OK to move to the next address screen.
2.2.3.2 Street
The Enter Street screen displays a list of streets to choose from. City Center is
displayed first. You can use the keyboard to search the list, based on the characters
entered.

12
Figure 15 –Address Street Screen
You can also use the Browse keys to move through the list. You can tap the See
List button to enlarge the list display, so that it covers the keyboard. Tap the Show
Keyboard button to reduce the list display. When you have selected a street, tap
OK to move to the next address screen.
2.2.3.3 Address Number
The Enter Address Number screen displays a list of address numbers to choose
from. Street Midpoint is displayed first. You can use the keyboard to search the
list based on the characters entered.
Figure 16 – Address Number Screen
You can also use the Browse keys to move through the list. You can tap the See
List button to enlarge the list display, so that it covers the keyboard. Tap the Show
Keyboard button to reduce the list display.

13
2.2.4 Navigation Screen Buttons
Figure 17 – Navigation Screen Buttons
1Lets you go to the previous screen.
2Lets you scroll up or down the list of city or street names.
3Lets you remove a character that you have entered.
4
Lets you display different keyboards, including special characters and
numbers. The operating system installed on the device must be able to
support these characters.
Note: INVION lets you search for city and streetnames without having
special characters, such asumlauts or accent marks, which are used in
many European languages.
5Lets you extend the address list by hiding the keyboard. When the list is
expanded, tap the Show Keyboard button to display the keyboard.
6Tap the OK button to move to the next address screen.
2.2.5 Go to an Address
When you have tapped the OK button from the last address screen, the Traveling
To screen is displayed. This screen displays the selected address information and
the Go and Cancel buttons.
Figure 18 – Address Traveling To Screen
Tap the Cancel button to return to the Go Menu. Tap the Go button to instruct
INVION to calculate a route to the selected address from your current position.
Tap the Back button to return to the last address entry screen.
1
2
3
4
5
6

14
2.2.6 Actions
Figure 19 –Traveling To Options
From the Travel To screen, you can choose from the following options:
Save – Tap this button to save the selected location to the Favorites screen.
Start Point – Tap this button to designate the selected location as the starting
point.
Demo Route – Tap this button to start a demo route to the selected location.
2.3 POI
2.3.1 Points of Interest Button
From the Go menu, tap the Points of Interest button to display the Find POI
screen.
Figure 20 –Points of Interest Button
2.3.2 Search Around Options
The Find POI screen lets you select from the following Search Around locations:
My Current Location– Search for POI near your current location.
My Destination – Search for POI locations near your destination.
Another City – When you select this option the Address Mode screen appears.
Select the address that you want to search around.
Figure 21 –Find POI Screen

15
2.3.3 Search by Name
From the Find POI screen, tap the Search by Name button to display the POI
Search screen.
Figure 22 –POI Search Screen
Enter search characters and tap the Search button. You can search with characters
that are in the middle or end of the word.
2.3.4 Search by Category
From the Find POI screen, tap the Search by Category button to display the POI
menu.
Figure 23 –POI Category Menu
Select a POI category and subcategory to display the POI Result list. Tap the Next
button to display the entire POI Category list.

16
2.3.5 POI Results
The result screen displays the first six result locations based on distance (default).
Figure 24 –POI Results Screen
You can use the Browse buttons to show the next or previous six POI location
results. Tap the Back button to return to the previous screen.
2.3.5.1 Sort by ABC/Distance
Tap the Sort by ABC button to sort the POI results alphabetically.
Figure 25 –POI Results Sorted Alphabetically
When the POI results are sorted alphabetically, tap the By Distance button to
display the results by distance from your current location.
2.3.5.2 Show on Map
From the POI Result screen, tap the Show on Map button to display the six
locations displayed as points on the map. Number buttons correspond to each
location.

17
Figure 26 –Display POI Results on Map
Tap the number button to display the address and to center the location on the map.
Tap OK to go to the Travel To screen.
2.3.6 Go to POI
When you have selected a POI location from the POI Result screen, the Travel To
screen appears, displaying the POI address.
Tap Go to start route or Cancel to return to the Go menu. Tap the Back button to
return to the previous screen.
2.3.7 Actions
See Section 2.2.6 on page 14.
2.3.8 POI Display
You can designate POI Category icons to display on the map when you are
traveling.
2.3.8.1 POI Display Menu Button
From the Settings menu, tap the POI Display button to display the POI Display
screen.
Figure 27 –POI Display Button
2.3.8.2 POI Display Screen
The POI Display screen displays all of the POI categories.

18
Figure 28 –POI Display Screen
Select the POI categories that you want to display on the map and then tap the OK
button.
2.4 Recent Locations
The GPSsaves up to 64 locations. You can select a previous location to travel to.
2.4.1 Recent Locations Menu Button
From the Go menu, tap the Recent Locations button to display the Recent
Locations screen.
Figure 29 –Recent Locations Button
2.4.2 Recent Locations Screen
The Recent Locations screen displays, a list of recent locations thatyou have
traveled to.
Figure 30 –Recent Locations Screen

19
2.4.3 Go to a Recent Location
After you have selected the recent location, tap OK to display the Travel To
screen.
This screen shows the location’s address. Tap Go to instruct the GPS to create a
route or Cancel to return to the Go menu. Tap the Back button to return to the
previous screen.
2.4.5 Actions
See Section 2.2.6 on page 14 .
2.5 Favorites
The Favorites screen displays saved locations.
2.5.1 Save Favorite Point
From the Travel To screen, tap the Save button to save the selected location in
Favorites.
Figure 31 –Save to Favorites Screen
2.5.2 Favorites Menu Button
From the Go menu, tap the Favorites button to display the Favorites screen.
Figure 32 –Favorites Button
Table of contents
Other Invion GPS manuals

Invion
Invion GPS-3V106-IUS Assembly Instructions

Invion
Invion GPS-4V506-IUS User manual

Invion
Invion GPS-4V606-IUS User manual

Invion
Invion GPS-4V106-IUS Assembly Instructions

Invion
Invion GPS-5V1 User manual

Invion
Invion GPS-3V506-IUS User manual

Invion
Invion GPS-7V106-IUS Assembly Instructions

Invion
Invion GPS-4V206-IUS Assembly Instructions

Invion
Invion GPS-5V106-IUS Assembly Instructions

Invion
Invion GPS-3V106-IUS User manual