NoteTaker User Manual Rev 2.5
Overview
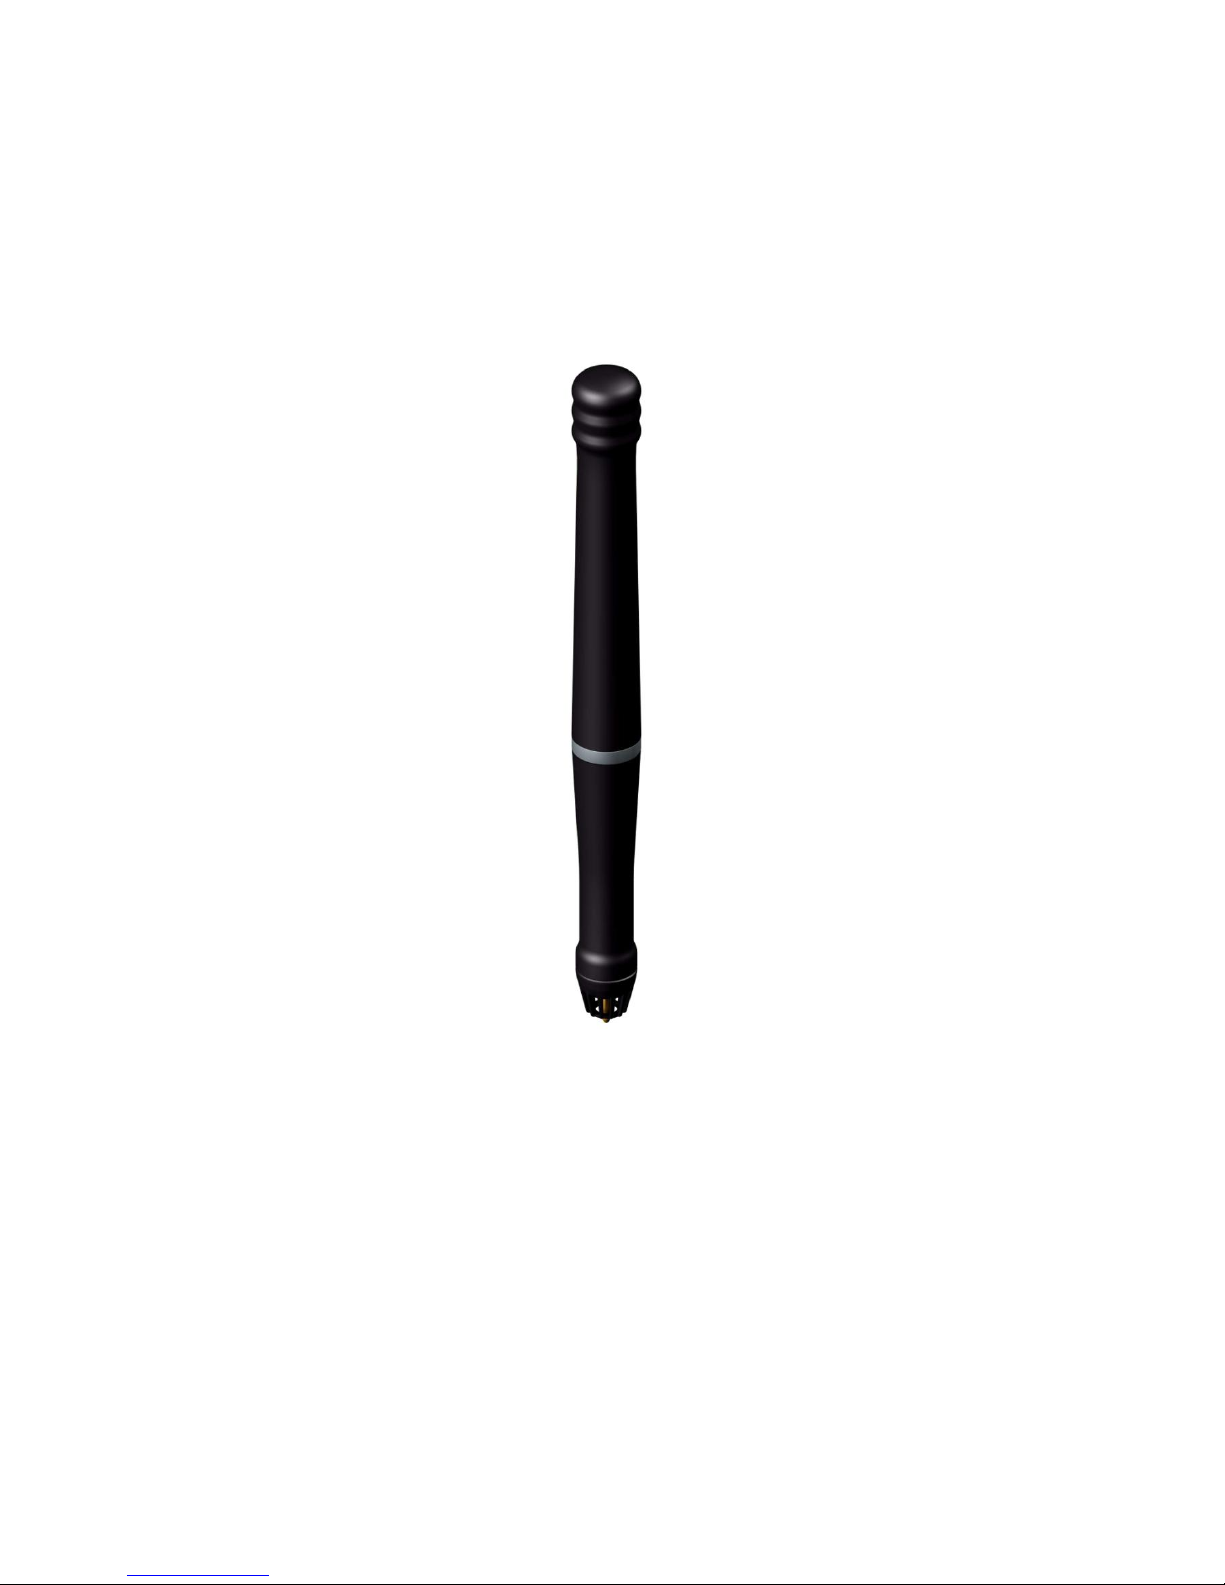
Your Pen is a unique device that captures notes handwritten on plain paper, and
transmits them to the base unit
The Pen Uses patented technology combining Ultrasound and Infrared
technologies with sophisticated algorithms to enable an accurate tracking and
positioning system that tracks the movement of the tip of the pen on any surface
and converts the movement into a vector image of the user‟s handwriting.
Setting up Your Pen
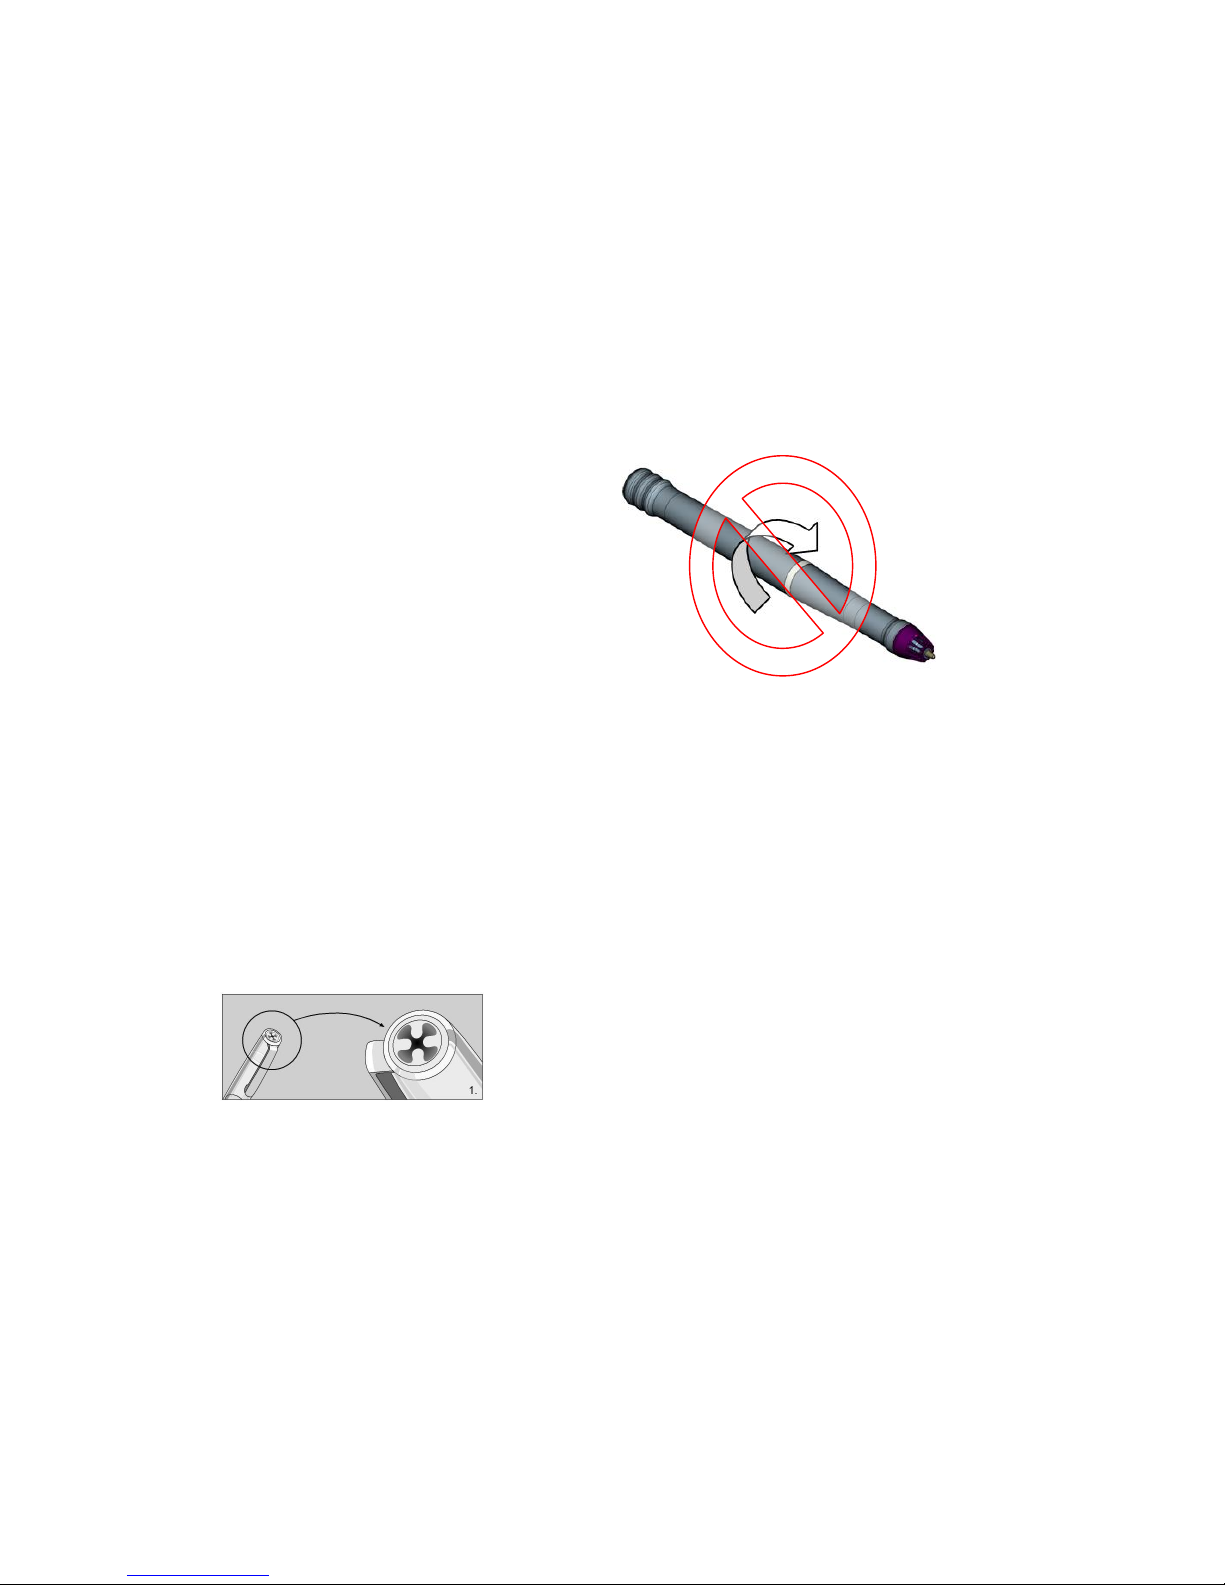
WARNING:
Do not attempt to open the Digital
Pen.
This may cause the pen to
malfunction
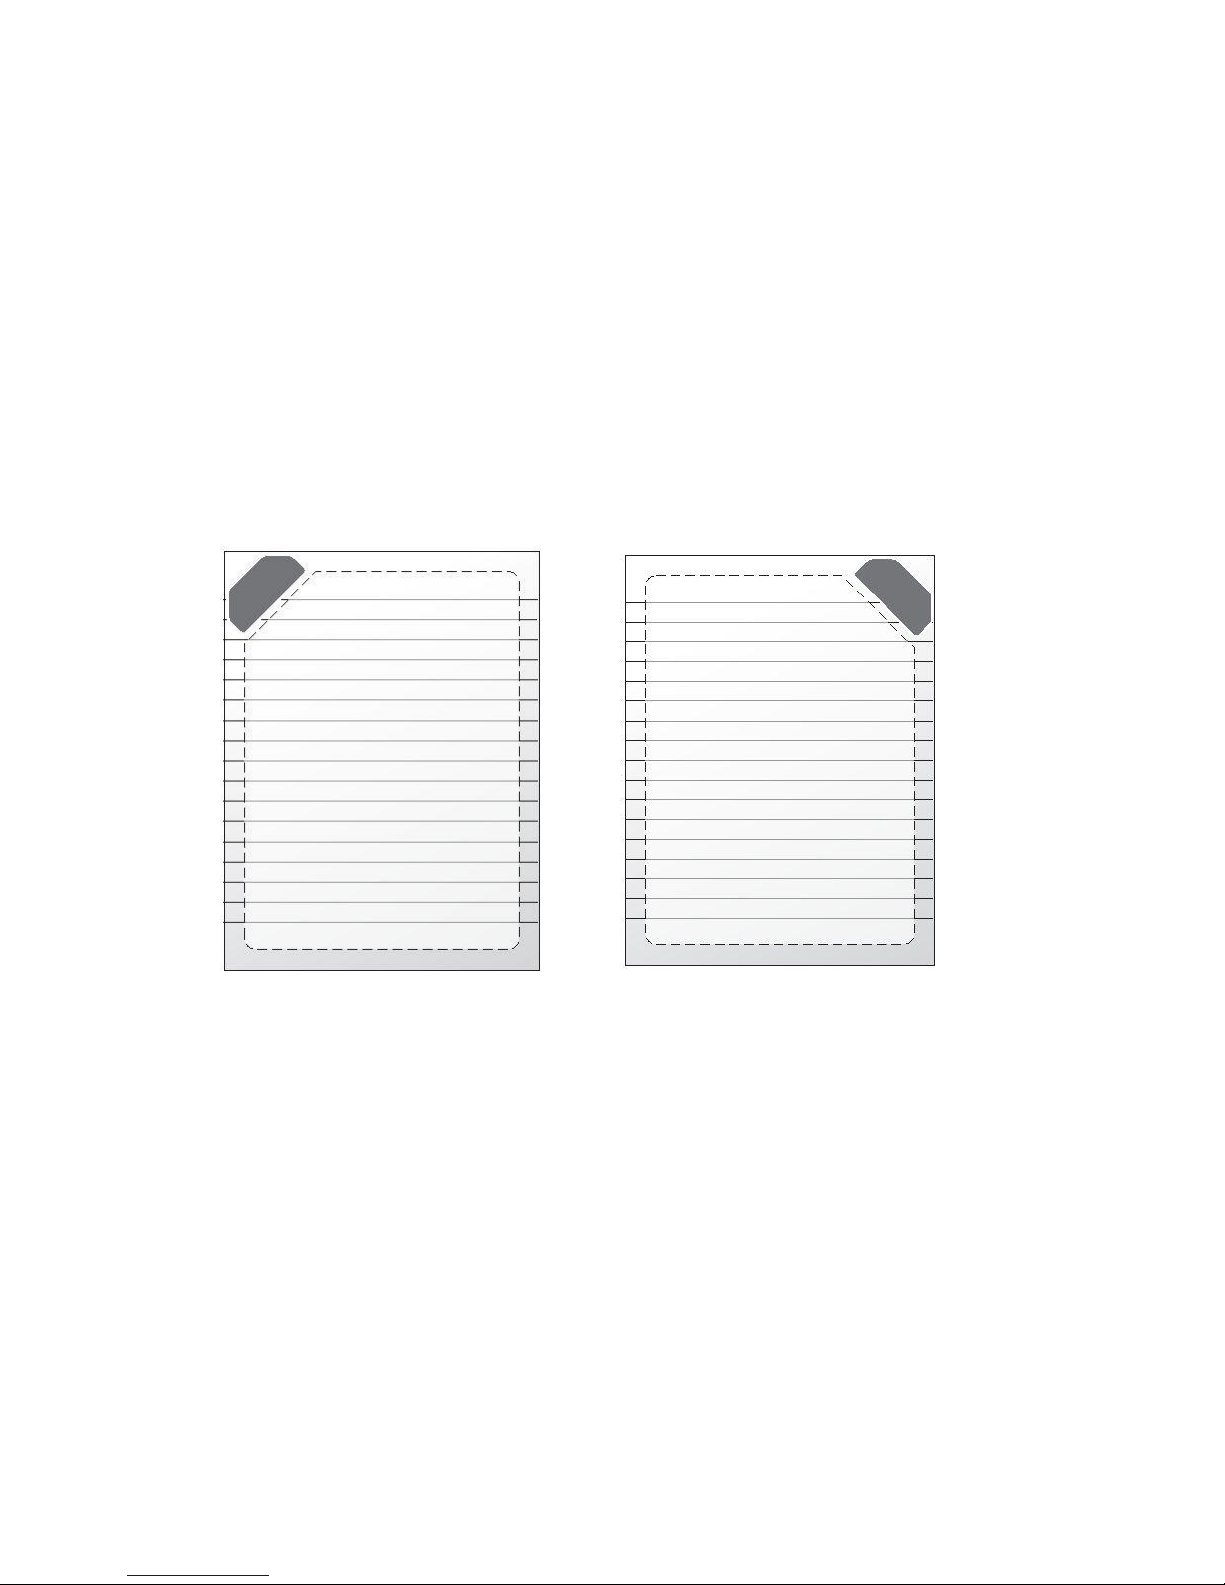
When you pick up the pen, find a position
that is comfortable for you,
Be careful to hold the pen in a way that does
not block the signals sent from the tip of the
pen to the memory unit receivers
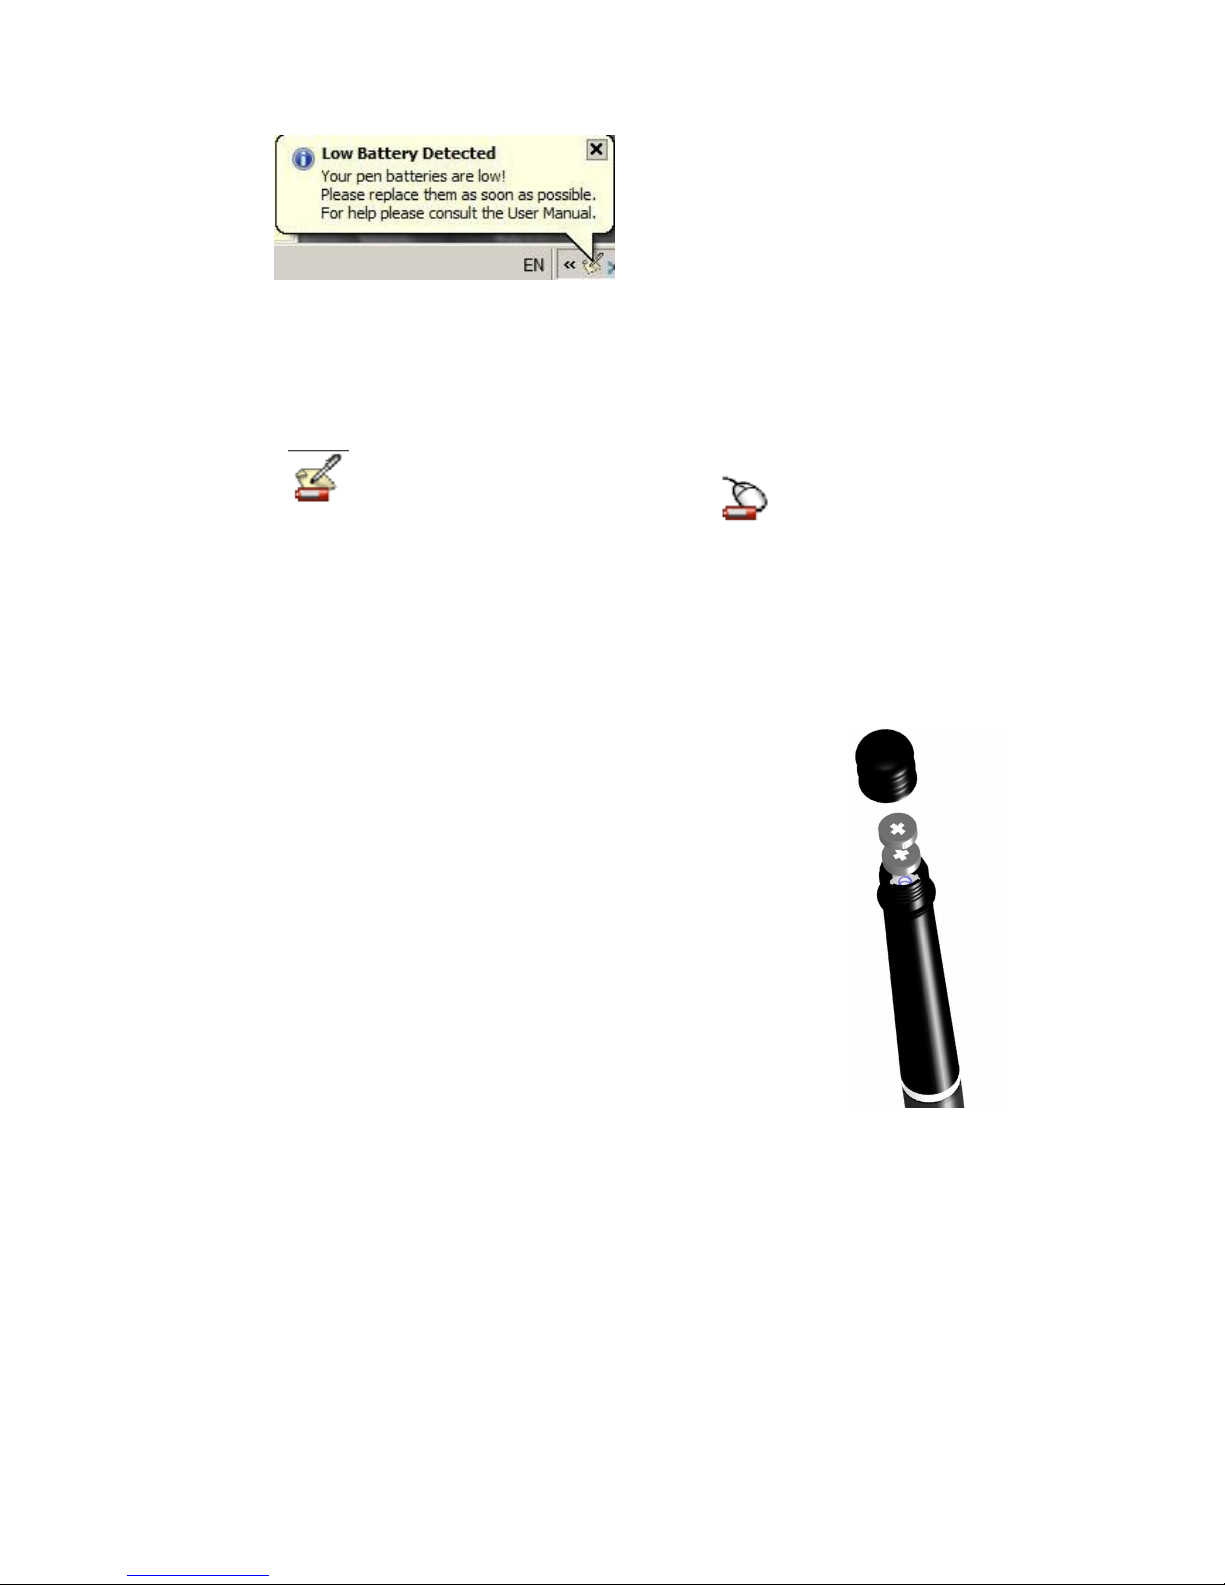
Installing/Replacing an Ink Refill into the Pen
The top of the pen cap also functions as an ink refill extractor.
NOTE: Make sure you use a refill that is similar to the original (standard refill
(67.0mm long X 2.35mm diameter).
To replace the ink refill:
1. Detach the cap from the digital pen
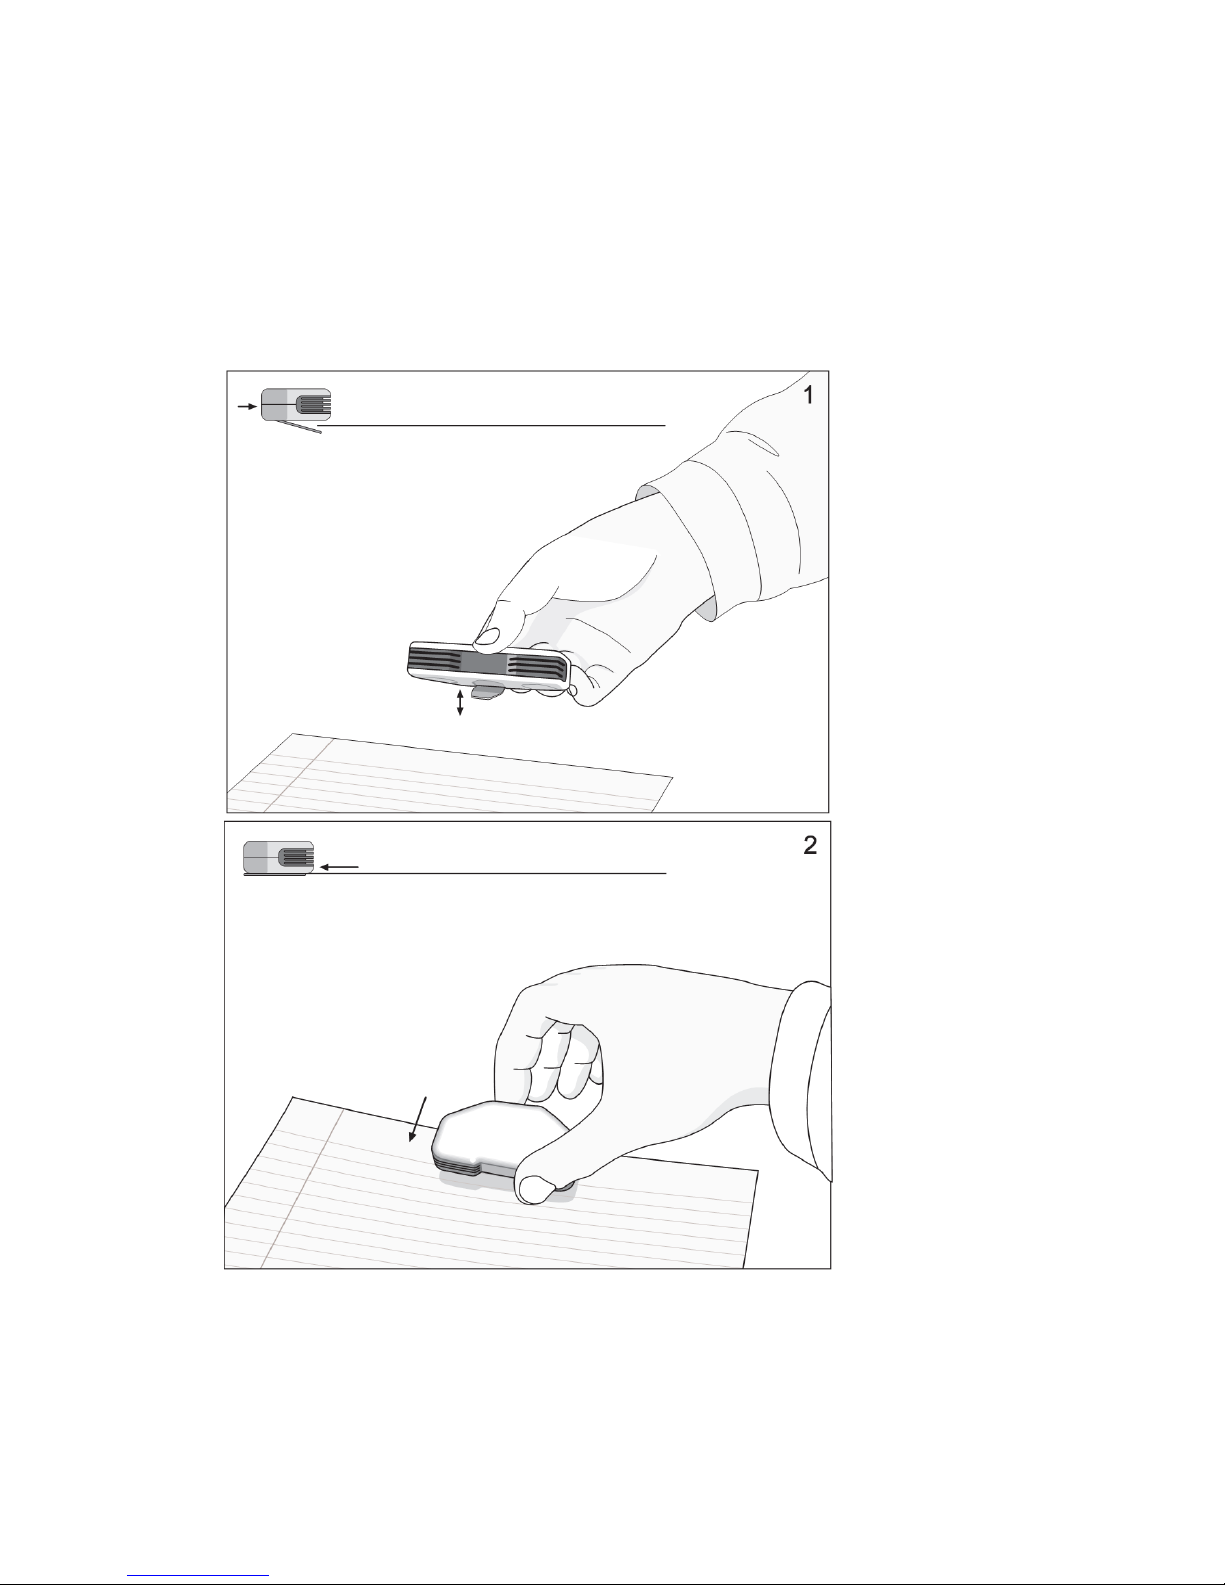
2. Place the ink refill in the middle of the
extractor. Hold the pen firmly, and apply
pressure with the extractor against it
3. Pull the used Refill out