Carefree of Colorado Service Manual MARQUEE
052549-301 5
MOTOR REPLACEMENT
This operation can be done while the awning is mounted on the RV. Use care to not damage the walls etc.
1. Disconnect power to the awning.
2. If the awning is extended: (Refer to Detail A) Carefully push the lead rail
toward the case so that the arms collapse. While holding the lead rail in this
position, firmly tie the elbows of the spring arms together. Use a minimum 1/2"
rope - do not use bungee cords. When tying the rope, use a non-slip knot such
as a square knot or equivalent.
3. If the awning is closed: Firmly brace the lead rail in the closed position. A second person can hold the lead
rail steady during the disassembly process.
CAUTION
FAILURE TO SECURE THE LEAD RAIL AS DESCRIBED WILL ALLOW THE SPRING ARMS TO UNEXPECTANTLY
EXTEND OUT POSSIBLY CAUSING PERSONAL INJURY AND DAMAGE TO THE AWNING.
4. Remove the 4 screws holding the end cap to the case, do not remove the motor attach screws at this time.
5. Pull the end cap and motor partially out from
the awning case. CAUTIONS
WHEN PULLING THE MOTOR OUT OF THE CASE,THE
SERVICING TECHNICIAN MUST USE CARE TO NOT
BREAK OR DAMAGE THE MOTOR CABLES.
WHEN PULLING THE MOTOR,DO NOT LET THE
ROLLBAR COME OUT MORE THAN 1"; OTHERWISE THE
ROLLBAR IDLER WILL DISENGAGE FROM THE
OPPOSITE END PLATE.IF THIS OCCURS,REINSERT
THE IDLER ONTO THE ENDPLATE BEFORE CONTINUING.
6. Disconnect the motor wires from inside the coach and pull out or clip the motor wires. If cutting the
motor wires be sure to leave enough wire that can be stripped and spliced.
7. Pull the motor, crown, roller bearing and drive hub out of the roll bar and remove the attaching screws holding
the motor to the end cap. Make note of the motor orientation on the end cap.
NOTE: If the awning is closed when the motor is removed the spring arms will try to open.
Support the roll bar and allow the awning to open slowly then secure the arms by tying
the elbows together as described in step 2.
8. Remove the crown, roller bearing and drive hub from the old motor and install on the new motor.
9. Attach the new motor to the end plate paying attention to match the orientation from the old motor.
NOTE: To improve the motor mounting, the motor screws have been lengthened to increase the
screw thread engagement. The original screws were M4 x 20mm. Current production and
replacement screws are M4 x 25mm. The motor replacement kit (R001531) includes new
screws and washers.
•When replacing a motor that is attached using the shorter screws, discard the existing
screws and attach the motor using the longer screws and the washers included with the
motor replacement kit.
•The current production end caps have been upgraded to use the longer screw. If replacing
a motor with the longer screws, DO NOT use the washers. The motor is attached with just
the screws.
10. Partially slide the new motor assembly into the roll bar. Ensure that the motor drive gear and crown are
properly seated inside the roll bar.
Marquee012
Spring Arms
Firmly Tie
Elbows Together
Figure 4. Tying the Arms.
Marquee012
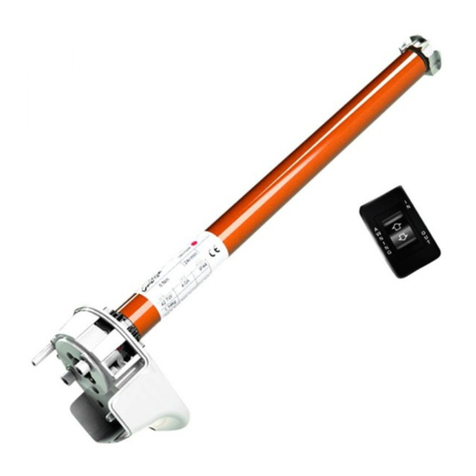
Motor
Crown
Roller Bearing
Drive Hub
Motor
Screws
Wall Closeout
End Cap
Figure 5. Replacing the Motor.
