Ion Energy Solutions M54122 Service manual

Page 1
Ion Energy Solutions
The Most Powerful Utility Data in the World in MultiFamily
Ion Energy Solutions
(888) 819-2837 - Louisville Kentucky
www.ionenergysolutions.com
Installation &
Instruction Manual
Water Meter &
Flow Sensor

Page 2
Ion Energy Solutions
The Most Powerful Utility Data in the World in MultiFamily
Ion Energy Solutions
(888) 819-2837 - Louisville Kentucky
www.ionenergysolutions.com
Dear Valued Customer,
We are pleased that you chose to buy one of our products and want you to be just as
pleased with it.
To be sure that you are 100% satised with our products, we provide technical and sales
support Monday through Friday, 8:00 am to 5:00 pm, eastern time at (888) 819-2837. In
addition, you may also reach us via email at [email protected].
Before installing your new ION product, please read the information on the following
pages carefully.
We believe that you will nd the ION water meters easy to install and use for monitoring
and managing your water and utility consumption.
Be sure to forward this manual to the owner after installation is complete so that they
may use it as a reference guide.
Thank you.
ION

Page 3
Ion Energy Solutions
The Most Powerful Utility Data in the World in MultiFamily
Ion Energy Solutions
(888) 819-2837 - Louisville Kentucky
www.ionenergysolutions.com
Introduction
These instructions detail the installation of the ION water meter and ow sensor.
Your ION package includes (1) ow sensor and (1) water meter (line powered or battery powered.)
ION Water Meter
The water meter is a fully enclosed unit with no serviceable parts inside.
Part # M54122
Line-Powered Water Meter
Part # M54120
Battery Powered Water Meter
ION Flow Sensor
The ow sensor is the unit that comes in contact with the water supply.
Flow Sensor - Part # PLM10100

Page 4
Ion Energy Solutions
The Most Powerful Utility Data in the World in MultiFamily
Ion Energy Solutions
(888) 819-2837 - Louisville Kentucky
www.ionenergysolutions.com
Pre-Installation & Flow Sensor Installation
Pre-Installation Information
Before beginning the installation of the ION water meter and ow sensor make sure that the properly
identied plumbing assembly is available for this particular location.
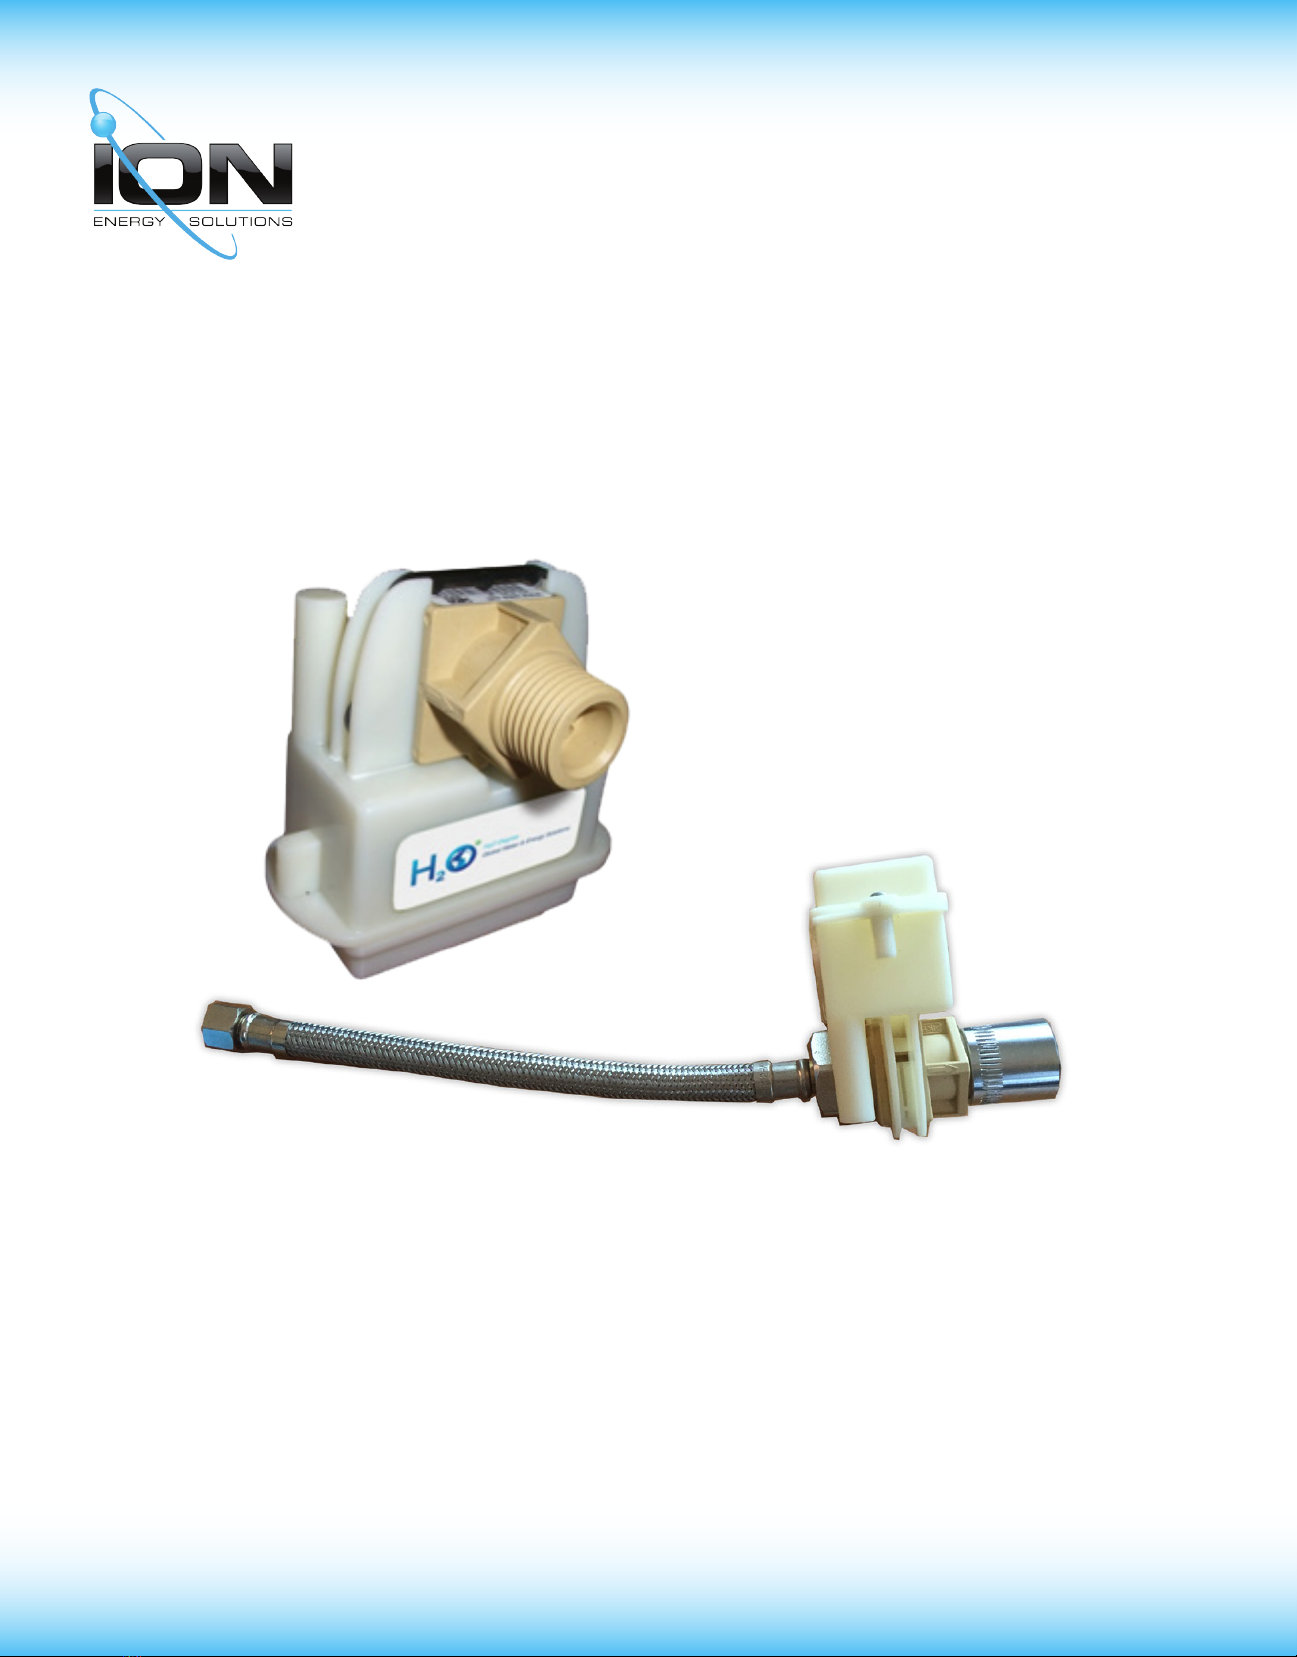
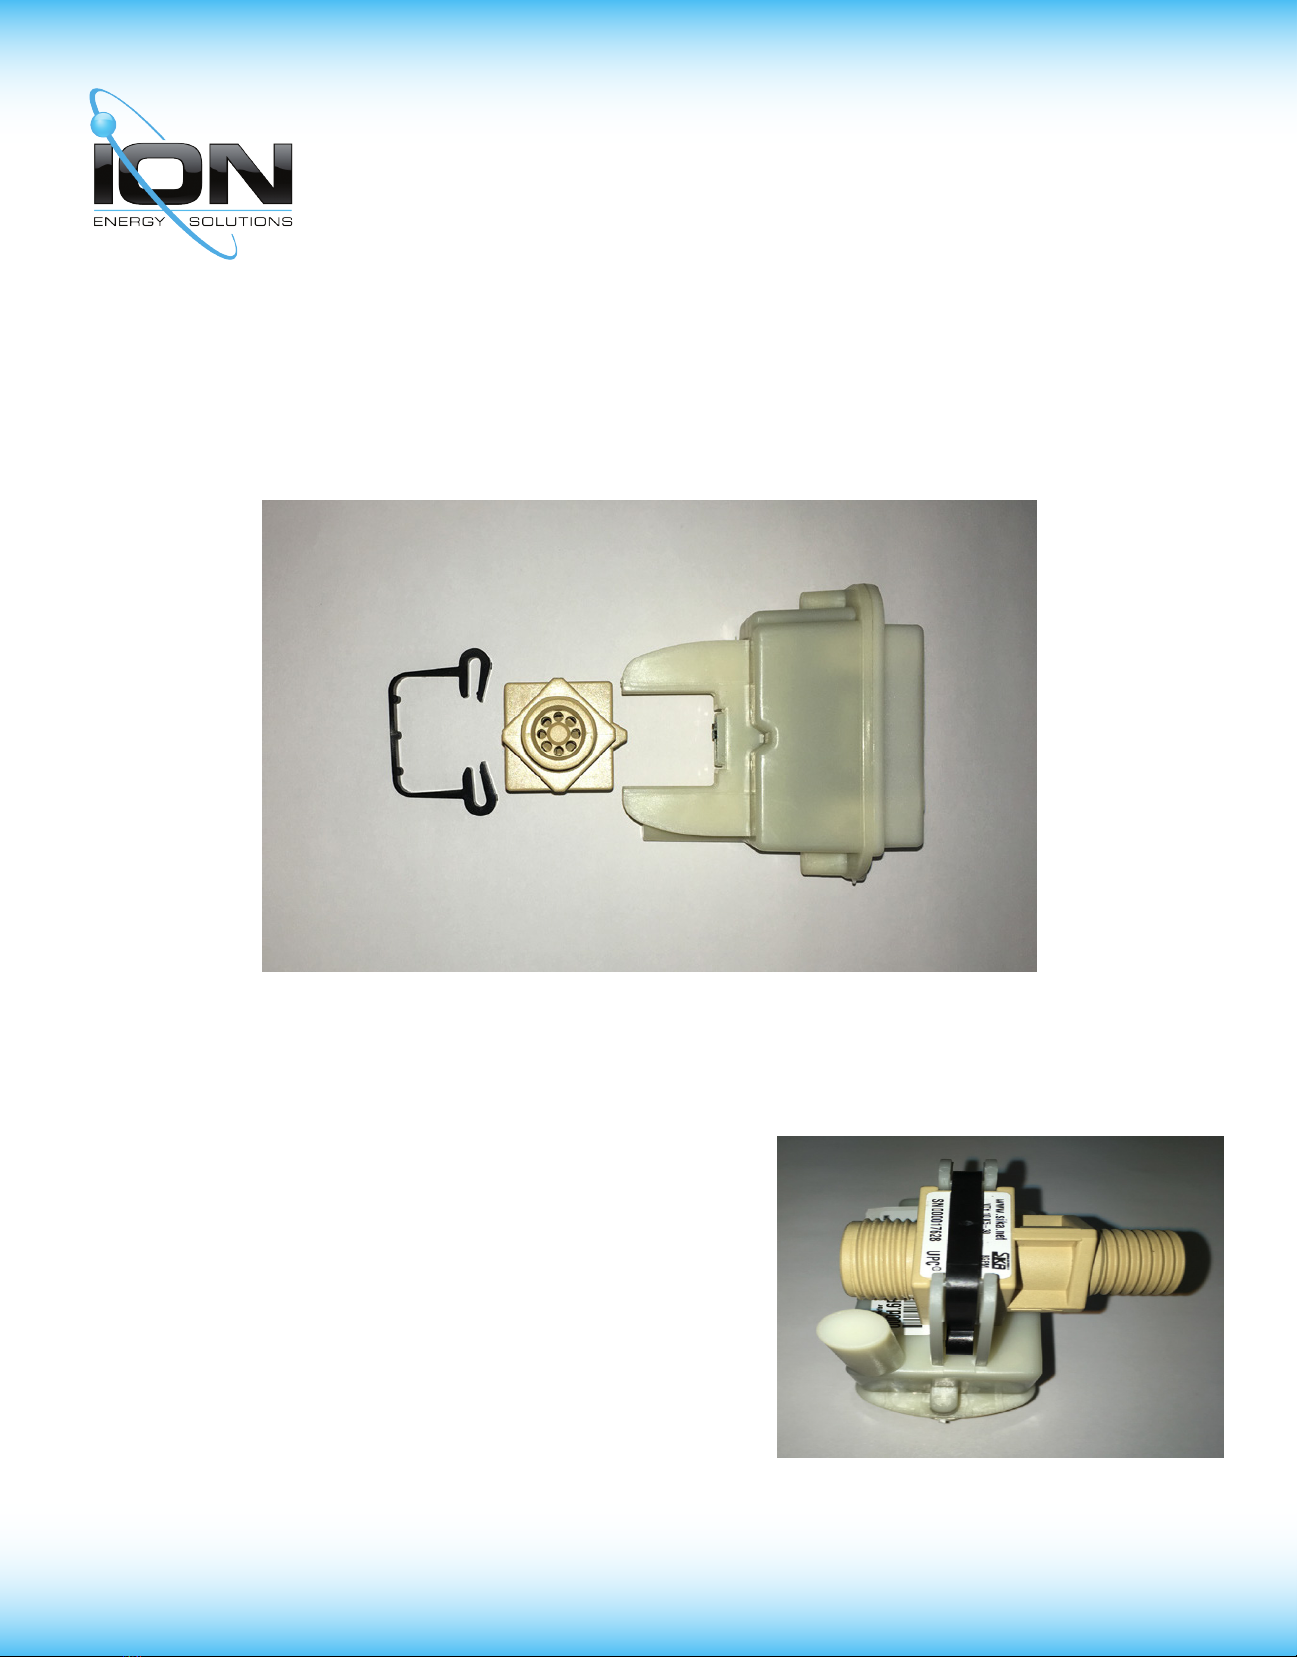
Flow Sensor Installation Information
** IMPORTANT ** Flow Sensor Direction
Be sure to note the water ow direction. The water ow direction is critical for proper ow sensor
operation. The proper water ow direction is indicated by an arrow on the ow sensor shown in the
circle on Figure 1. The ow sensor inlet has the 3/4” NPSM Connection.
Figure 1
** WARNING ** NO Plumbers Putty or Paste!
Do not use plumber’s putty or paste on the ow sensor as it may interfere with proper ow sensor
operation. Use of either material will void any warranty.
** CAUTION ** NO Channel Locks to Tighten!
The ION ow sensor is made of a special plastic that is NSF 61G certied. Installation requires
care not to strip the plastic threads or crack the plastic body. The ow sensor is attached by hand
tightening to the hose or tting, then turning the ow sensor a quarter turn using open end or
adjustable wrenches. Do NOT use channel locks.

Page 5
Ion Energy Solutions
The Most Powerful Utility Data in the World in MultiFamily
Ion Energy Solutions
(888) 819-2837 - Louisville Kentucky
www.ionenergysolutions.com
1. The 1/2” NPT side of the ow sensor is the inlet, and is attached to the water line with hoses or
with a rigid connection and a hose. The inlet hose or rigid connection should contain a black face
gasket that will provide a water tight seal. No plumber’s tape or putty is necessary if the ow
sensor is properly tightened.
2. The 3/4” NPSM side of the ow sensor is the Outlet, and is attached to the water line with hoses
or with a rigid connection and a hose. The outlet hose or rigid connection should contain a black
face gasket that will provide a water tight seal. No plumber’s tape or putty is necessary if the ow
sensor is properly tightened.
3. Turn the water on and examine the connection for leaks. Torque a leaking connection just
slightly to stop the leak. If the leak persists, then turn off water and inspect connections. Look for
possible debris, missing gaskets or damage to the ow sensor.
4. Once the plumbing has been completed and checked, the meter can be installed.
Water Meter Installation
Figure 2

Page 6
Ion Energy Solutions
The Most Powerful Utility Data in the World in MultiFamily
Ion Energy Solutions
(888) 819-2837 - Louisville Kentucky
www.ionenergysolutions.com
Water Meter Installation
1. Mate the meter to the ow sensor by aligning the insertion tab on the ow sensor to the indent
on the top of the meter body shown in the red circle in gure 2.
2. Use the black security clip to secure ow sensor & meter together.
** IMPORTANT ** Space between ow sensor and meter guides
Proper installation will show a 1/4” space between the ow sensor and the top of the meter guides.
An improper installation will put the ow sensor even with the end of the meter guides. The plastic
security clip will not engage properly if the orientation is not correct
3. Once the meter is properly installed on the ow sensor,
install the plastic security clip by pressing each clip end
into the meter until a click is heard.There will be two
clicks, one for each side of the meter.
** IMPORTANT ** Clip should not require force to secure!
It should not require alot of force to secure the clip. If the
security clip does not click, it typically means the meter is not
oriented properly, or is not fully engaged with the ow sensor.

Page 7
Ion Energy Solutions
The Most Powerful Utility Data in the World in MultiFamily
Ion Energy Solutions
(888) 819-2837 - Louisville Kentucky
www.ionenergysolutions.com
Water Meter Commissioning
** IMPORTANT ** Validate network connectivity!
To verify that a water meter has successfully joined the wireless network, the installer must magnet
the water, and watch for the appropriate LED sequence.
1. The process of magneting a device causes the device to look for a network. If it nds a network,
then it attempts to join the network, transmit a data packet and give a receive/acknowledgement
indicator (Red and Green LED ashes.)
2. Hold a ceramic block magnet on the upper portion of the water meter body near the insertion
tab.

Page 8
Ion Energy Solutions
The Most Powerful Utility Data in the World in MultiFamily
Ion Energy Solutions
(888) 819-2837 - Louisville Kentucky
www.ionenergysolutions.com
3. You should see the magnet LED sequence start through the
translucent body. Four consecutive green LED ashes means
the meter has successfully joined the network. Any other LED
sequencing requires further troubleshooting.
4. Upon completion of installation and commissioning, attach the meter ID sticker to the master
meter ID sticker sheet for future reference and database setup.
5. Completed meter ID sticker sheets should be faxed to (888) 819-2837, or scan and email to
[email protected] with the property name in the subject line.
Questions?
Please contact ION BEFORE uninstalling, removing or returning any product. Many times we can
assist with issues in the eld without having to return the item. For technical or sales support call
ION at (888) 819-2837 ore-mail info@ionenergysolutions.com.
This manual suits for next models
1
Table of contents
Other Ion Energy Solutions Measuring Instrument manuals
Popular Measuring Instrument manuals by other brands

KYORITSU
KYORITSU KEW SNAP 2009R instruction manual

Hanna Instruments
Hanna Instruments HI 981410 instruction manual

Himmelstein
Himmelstein MCRT 48600V Installation, operation and troubleshooting

Hioki
Hioki CM4141 instruction manual

SLOPE INDICATOR
SLOPE INDICATOR VW manual

Satec
Satec PM172 Series Owner reference guide