Ipevo SOLO User manual

SOLO
SKYPE OFF-PC DESKTOP PHONE
IPEVO SOLO
USER MANUAL
SOLO_ュ^、蟐ゥァ・indd 1 2007/9/7 、U、ネ 03:39:58

002
Getting Started
Check the Package Content
The IPEVO SOLO Phone package includes the following items:
• SOLO phone
• SOLO handset
• AC/DC power adaptor
• Ethernet cable
• User Manual
Getting Started
SOLO_ュ^、蟐ゥァ・indd 2 2007/9/7 、U、ネ 03:39:58

003
Getting Started
Your SOLO Phone: Buttons, Functions, and Locations
11
12
DC IN
13
14
SOLO_ュ^、蟐ゥァ・indd 3 2007/9/7 、U、ネ 03:39:58

004 Getting Started
15 16
Location Buttons Functions/Press to
1LED Light • Blue light when phone is in standby mode.
• Green light when a call is in progress.
• Blinks if you have missed calls or voicemails.
2Display
3Soft Buttons Press to select options shown immediately above these buttons on
the display
SOLO_ュ^、蟐ゥァ・indd 4 2007/9/7 、U、ネ 03:39:59

005
Getting Started
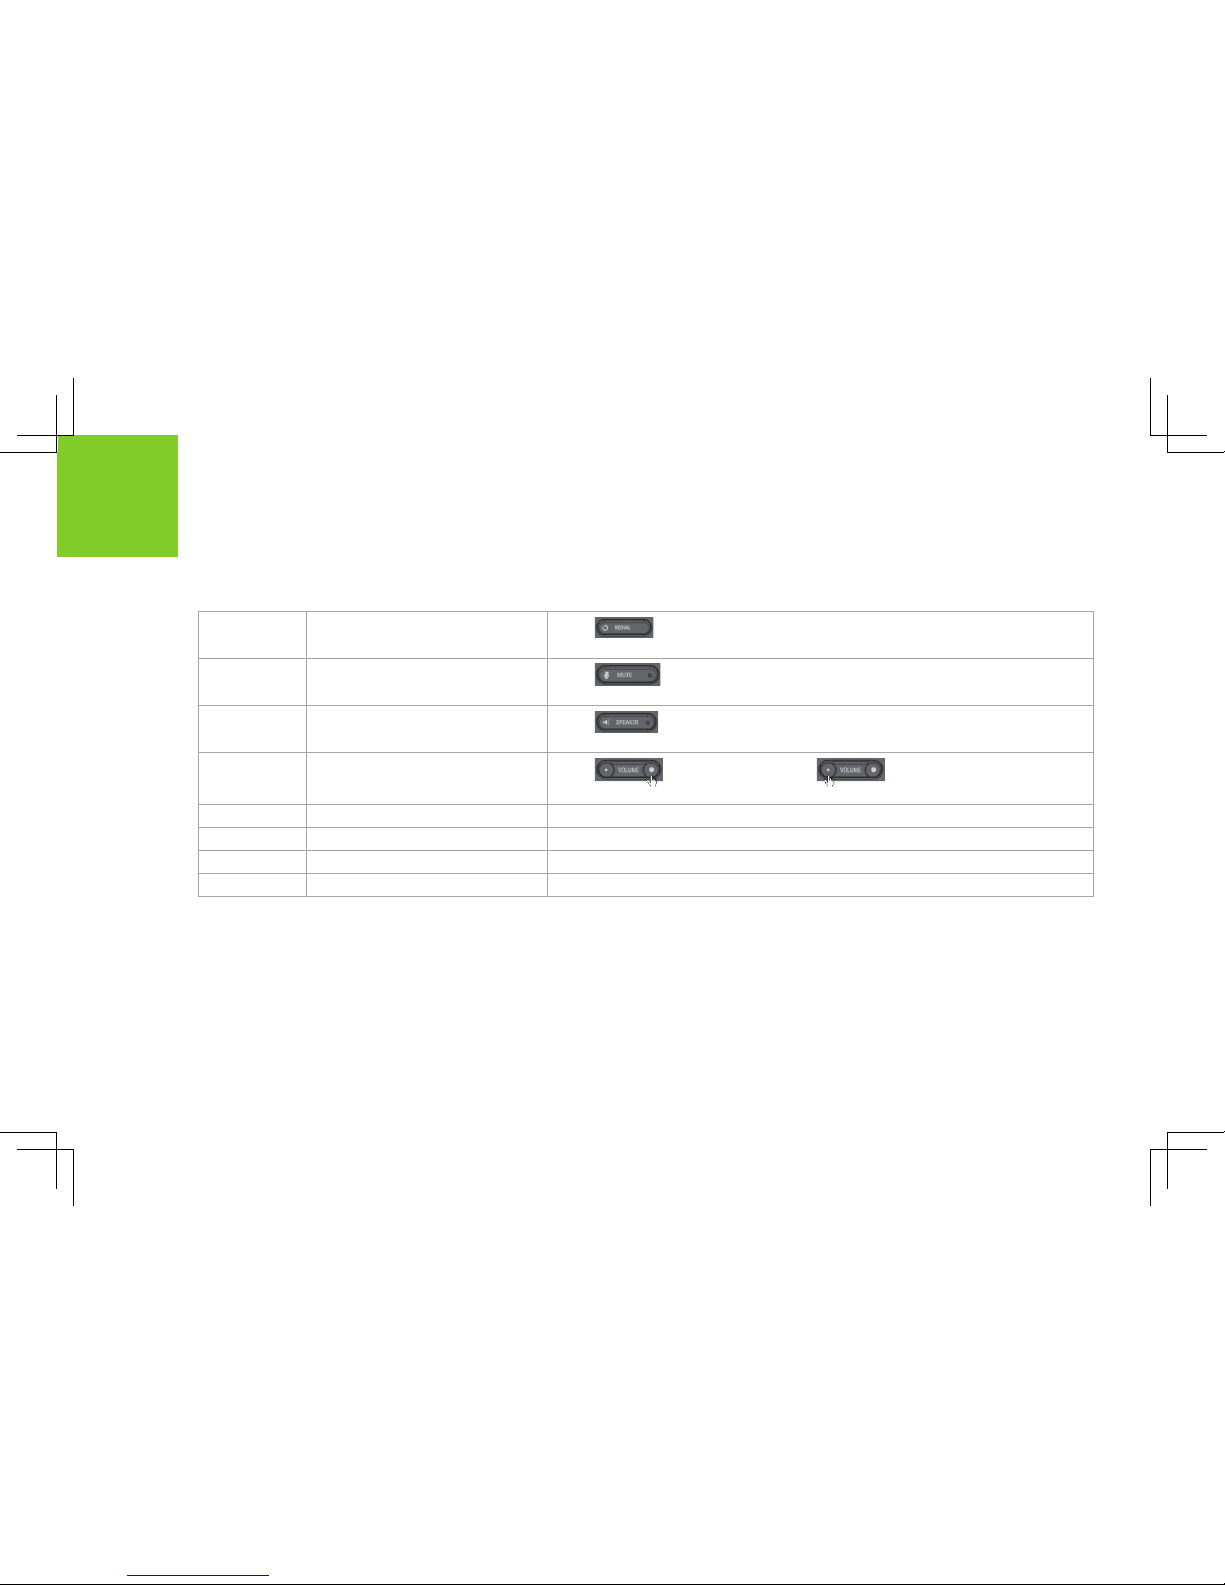
4Navigation/Confirm Buttons Press to select highlighted items.
Press to move through the menus.
In standby mode, press these buttons to go to a shortcuts menu.
• Press to go to the Skype Status menu.
• Press to go to the Contacts menu.
• Press to go to the main Menu.
• Press to go to the Missed calls menu.
5End Press to end an active call or reject or cancel a call.
Press to return to standby.
60~9,*, # • Press to enter numbers or characters
• Press to shift between capital, lower-case letter and numbers.
7Speed Dialing Press to speed dial.
8Call Press to call or answer a call.
In standby mode, press to go to All calls menu.
SOLO_ュ^、蟐ゥァ・indd 5 2007/9/7 、U、ネ 03:40:00

006
9Redial Press to go to the Outgoing calls menu. Select from the lists and
dial.
10 Mute Press to turn-off the microphone. To resume the conversation
press again.
11 Speaker Press to activate hands-free speakerphone mode. Press again to
return to handset mode.
12 Volume Press to increase or press to decrease the ear
speaker volume during a call.
13 Power connector Connect to the power adapter
14 Handset jack Connect the PHONE handset
15 Ethernet jack (WAN) To connect the PHONE to your gateway, router, or modem (ADSL or cable).
16 PC-Out Ethernet jack (LAN) To connect the PC.
Getting Started
SOLO_ュ^、蟐ゥァ・indd 6 2007/9/7 、U、ネ 03:40:01

007
Getting Started
Your SOLO Display Icons
11
Item Meaning
1New voice calls
2New missed calls
3New request waiting
4Skype network alert
5Skype status
Offline
online
Skype me
Away
Not available
Do not disturb
Invisible
6Go to the Contact menu
7Speaker on
8Line on hold
9Mute
10 Network disconnected
11 Go to the Menu
SOLO_ュ^、蟐ゥァ・indd 7 2007/9/7 、U、ネ 03:40:01

008 Getting Started
Access Menu Functions
Press the [Left
soft] button to go
to the <Menu>.
Press [Left]
button to go left.
Press [Right]
button to go right.
Press [Up] button
to go up.
Press [Down]
button to go
down.
Press [OK] button
to select the
highlighted item.
Press [Left Soft] button to
<Select>. Or press [Right soft]
button to go back one level in
the menu.
SOLO_ュ^、蟐ゥァ・indd 8 2007/9/7 、U、ネ 03:40:03

009
Getting Started
• From the standby display, press the [Left soft] button to go to the Skype’s menu.
• Press the directional buttons to move through the menus.
• Press the [Left soft] button to select the highlighted item or press the [Right soft] button to go back on level in
the menus.
• To quickly resume standby display, press
Menu Table
Search Status Services
Change status
Mood message
My profile
Details shown to all
Private details
Sign out
Skype Credit
SkypeIn
Skype Voicemail
Add Contact History Settings
Skype
Phone number
All calls
Missed calls
Incoming calls
Outgoing calls
Skype Voicemail
Contacts requests
General
Change
password
Auto sign in
Language
Software updates
Reset
Call divert
Call settings
Country code
Area code
Privacy
Calls
SkypeIn calls
Blocked users
Speed dials
Tones
Time and date
Network
Current status
DHCP setting
Static IP settings
PPPoE (Dynamic)
PPPoE (Static)
Phone settings
Brightness
Time out
Advanced
Software updates
Network proxy
Skype ports
About Contacts Sign out
SOLO_ュ^、蟐ゥァ・indd 9 2007/9/7 、U、ネ 03:40:03

010
Installation
Connecting the Phone
Step 1:
Connect the handset to the Phone handset jack located at the bottom of the Phone.
Installation
DC IN
Step 2:
Use the provided Ethernet cable to connect the Phone Ethernet jack
located at the back of the Phone to your ADSL or Cable modem.
ADSL/Cable Modem
15 16 SOLO
15
SOLO_ュ^、蟐ゥァ・indd 10 2007/9/7 、U、ネ 03:40:03

011
Installation
Step 3:
Connect the power adapter to the SOLO located at the bottom of the Phone. Connect the power adapter to the
electrical outlet.
DC IN
15 16
SOLO
ADSL/Cable Modem
PC
Note:
The default network settings of SOLO is DHCP which is used in most
cases. If the SOLO have failed to connect the internet network, you
may need to change the networking setting. Please consult your
Internet service provider or network administrator to have information
of your network configuration. To change the network settings:
1. Press MenuSettingsNetworkNetwork settings.
2. Scroll and select the settings you want.
3. Follow the screen instructions to configure your network settings.
You can use the Phone embedded LAN switch to share the
internet connection between PC and SOLO, as above illustration.
SOLO_ュ^、蟐ゥァ・indd 11 2007/9/7 、U、ネ 03:40:04

012
Setting Up your SOLO Phone
After you connect the power adapter to the electrical outlet, you are prompted to enter the basic settings for SOLO.
Select Language
Installation
Note:
If you want to change the language
setting later, please go to the Menu
SettingsGeneralLanguage
to change the language. Press <Select> to enter
next menus.
Use [Up] or [Down] button
to scroll to a language.
SOLO_ュ^、蟐ゥァ・indd 12 2007/9/7 、U、ネ 03:40:05

013
Installation
Agreement
Read and accept the Skype
Agreement.
Choose your Country and Area Code
Enter area code and press
<OK> to enter next menus.
Press <Select> to select the
highlighted item and enter
next menus.
Use [Up] or [Down] button
to scroll to a country.
Note:
If you want to change this settings later, please go to the MenuSettingsCall settings to
change the country and area code.
SOLO_ュ^、蟐ゥァ・indd 13 2007/9/7 、U、ネ 03:40:06

014 Installation
Time and Date
Note:
If you want to change the settings
later, please go to the MenuSettings
Time and date to change the time
and date.
Use numerical keys to
enter time.
Enter the date and press
<OK> to enter next
menus.
Press <OK> to enter
next menus.
Press <Clear> to make
corrections.
SOLO_ュ^、蟐ゥァ・indd 14 2007/9/7 、U、ネ 03:40:08

015
Installation
Signing In to Skype
After you have successfully set up the Phone, you can sign in Skype. You can use an existing Skype account or
create a new account.
Create a new skype account
Use [down] button to scroll to
<Create new account>. Press
<Select> to enter next menus.
If you want the phone
to automatically sign
you in, press <Yes>
for automatic sign in.
Enter Skype name and
password.
Press to shift between capital,
lower-case letter and numbers.
1
2
3
4
5
6
7
SOLO_ュ^、蟐ゥァ・indd 15 2007/9/7 、U、ネ 03:40:09

016
Entering Text and
Numbers
You will be asked to enter text for some
features such as Skype name, password,
Add Contacts, etc.
Changing the text input mode
Installation
Press to shift between
capital, lower-case letters
and numbers
Text input mode
indicator: abc,
ABC, 123
SOLO_ュ^、蟐ゥァ・indd 16 2007/9/7 、U、ネ 03:40:10

017
Installation
Entering text
Press - repeatedly until the desired character appears on the screen.
Press repeatedly until the
desired character appears
on the screen.
abc mode.
1 9
SOLO_ュ^、蟐ゥァ・indd 17 2007/9/7 、U、ネ 03:40:11

018
Using ABC, abc Mode
Installation
Key Characters in order displayed
Upper Case Lower Case
1. , ? ! - _ @ 1 . , ? ! - _ @ 1
2A B C 2 a b c 2
3D E F 3 d e f 3
4G H I 4 g h i 4
5J K L 5 j k l 5
6M N O 6 m n o 6
7P Q R S 7 p q r s 7
8T U V 8 t u v 8
9W X Y Z 9 w x y z 9
0+ 0 + 0
SOLO_ュ^、蟐ゥァ・indd 18 2007/9/7 、U、ネ 03:40:11

019
Installation
Insert special characters
Press [#] button to
show the <Insert
symbol> menu.
Special Characters Table
. , ‘ ? ! “ - ( )
@ / : _ ; + & % *
= < > ₤ € $ ¥ ° [
] { } \ ~ ^ i § ¿
# | ‘
Press [Up] [Down] [Left]
[Right] to scroll to a symbol.
abc mode.
Press [OK] to insert
a symbol.
SOLO_ュ^、蟐ゥァ・indd 19 2007/9/7 、U、ネ 03:40:12

020
Skype Calling
Skype features
Skype Calling
Skype Call Call other people on Skype for free.
SkypeOut™ SkypeOut™ allows you to place calls to regular telephones (landlines or mobiles) all over
the world. To SkypeOut™ you’ll need to purchase some Skype Credit.
SkypeIn™ With SkypeIn, you can get your own regular phone number. So if your friends who aren’t
using Skype want to call you by dialing a regular number, you can still receive the call in
Skype.
Skype Voicemail™ Skype Voicemail allow you to send and receive Voicemail messages. Skype Voicemail also
allows you to send pre-recorded voice greetings to any other Skype user.
For more information on these features, go to www.skype.com
SOLO_ュ^、蟐ゥァ・indd 20 2007/9/7 、U、ネ 03:40:12
Other manuals for SOLO
2
Table of contents
Other Ipevo Telephone manuals