Road Glide iPhone/GPS Mount
Version 2.0Install Guide
704-255-1780 www.ironacesspeedshop.com
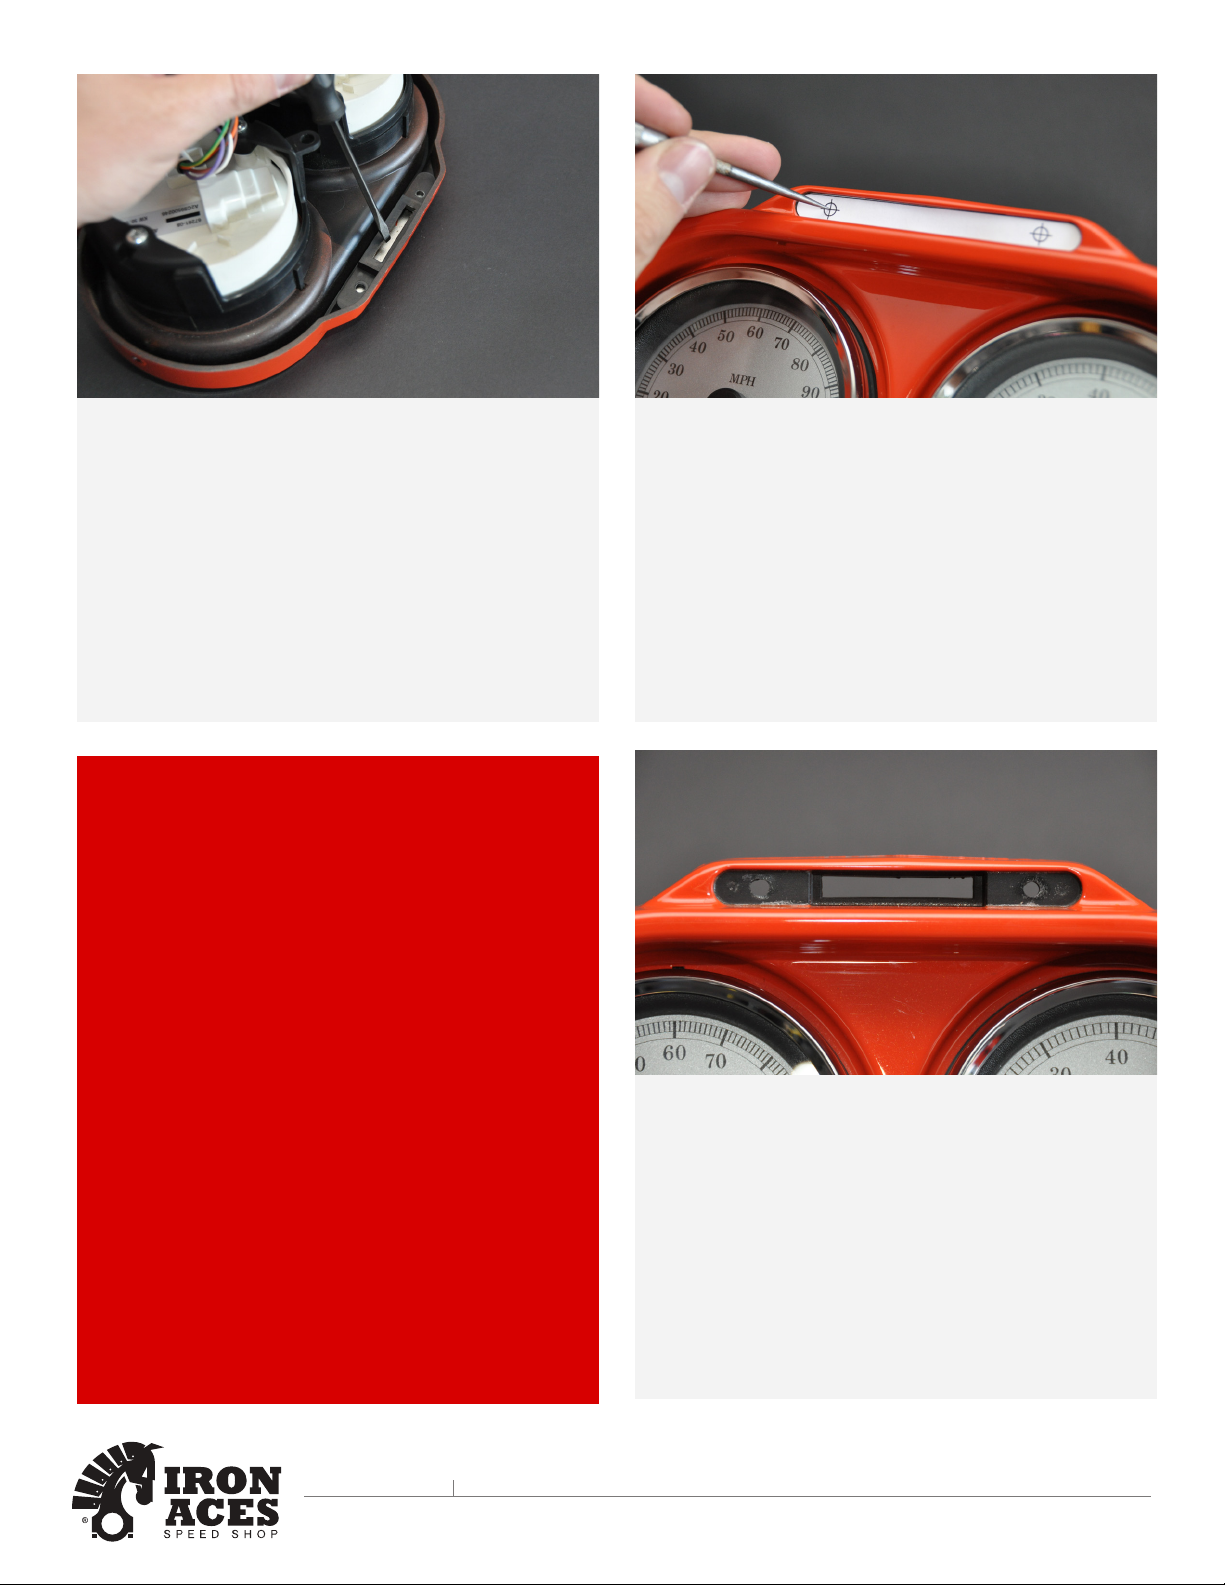
Step 13
Install screw on each side of the instrument bezel. Harley-
Davidson recommends tightening the screws to 25-35
in-lbs. If you do not have a torque wrench do not use a
ratchet, instead tighten to snug with fingers.
****IMPORTANT****
Since screws thread into plastic, over tightening will strip
the threads.
Step 12
After verifying that the left and right sides of the instrument
nacelle are properly mated, insert tab at rear of instrument
bezel into slot of instrument nacelle (just in front of the
ignition switch). Holding left and right sides of nacelle
together place bezel over instrument nacelle flange. When
properly mated, tabs at front of instrument nacelle engage
lip in slot at front of bezel.
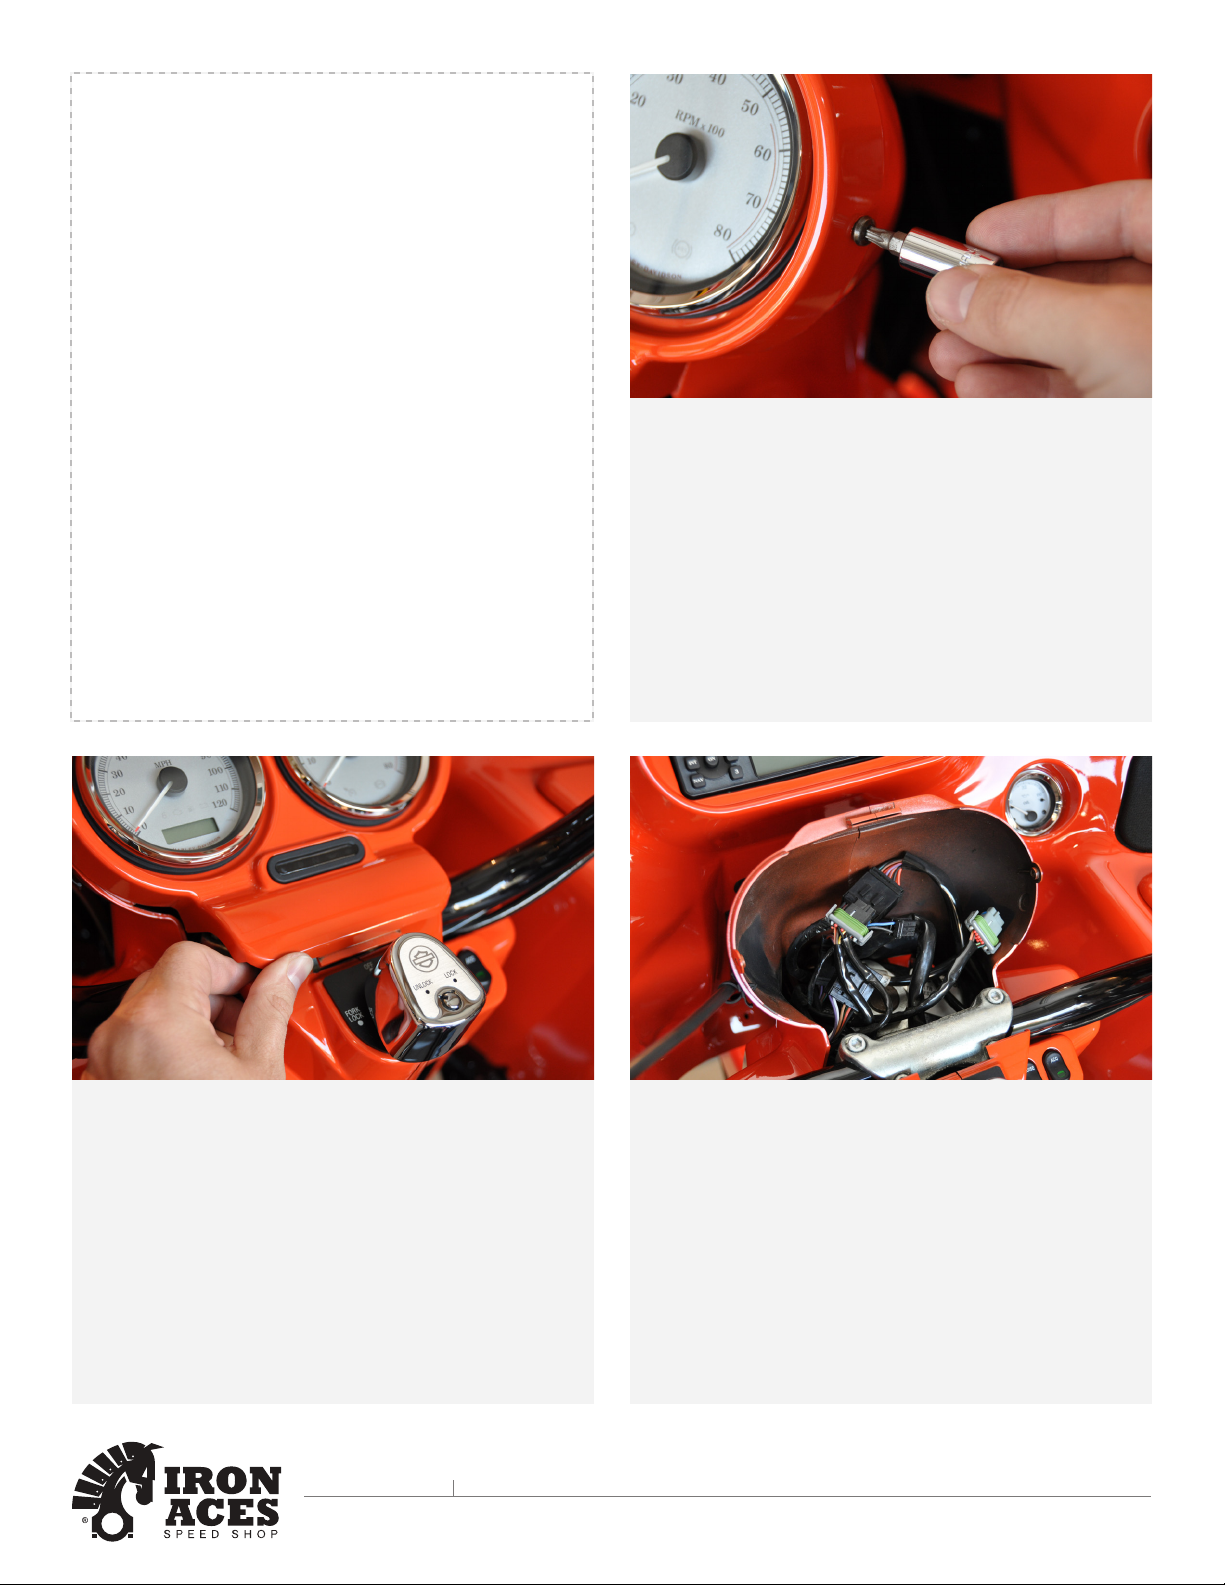
Step 11
Reconnect speedometer, tachometer and indicator light
connectors into the instrument bezel interconnect harness.
Step 10
Once Road Glide iPhone/GPS Mount is affixed to the
instrument bezel, fasten the RAM Mount cradle.
iPhone Users - Fasten the RAM Mount to the far left of
the Mount with the disconnect tab pointing to the right.
Zumo Users - Use the supplied hardware to fasten your
5xx, 6xx or 350LM cradle to the four Zumo specific
location holes.